How To Choose A Home Tool Kit For Apartment Living
Looking to choose a home tool kit for apartment living? Get a simple guide on must have tools, sizes, storage tips, and budget friendly picks for small spaces.
Living in an apartment is great. You have less space to clean, lower utility bills, and often a nice community feel. But when something breaks, you cannot always call the super or a handyman. Sometimes the fix is small. A loose cabinet hinge. A wobbly chair leg. A picture hook that fell off. That is where a home tool kit helps.
Many people think tools are only for big houses with garages. That is not true. Apartments need tools too. But you cannot store a whole workshop in a one bedroom flat. So you need to choose a home tool kit for apartment living that is small, smart, and useful. This guide helps you pick exactly what you need. No extra stuff. No waste of money or space.
“An ounce of prevention is worth a pound of cure.”
— Benjamin Franklin
That quote fits tool kits perfectly. A tiny screwdriver now stops a big repair bill later. Let us walk through the process step by step.
Why Apartment Living Needs a Different Tool Kit
A house with a garage can hold a big tool chest. An apartment cannot. You share walls with neighbors. You have limited closet space. You maybe move every few years. So your tool kit must be portable, quiet, and compact.
Also, apartment repairs are often small. You do not need a power saw or a pipe wrench. You need basic items to tighten, patch, hang, and measure. When you choose a home tool kit for apartment living, focus on those small fixes. Leave the heavy duty tools for later, or for borrowing from a tool library.
Another point. Many apartments have rules about drilling big holes or changing plumbing. So your tool kit should respect those limits. Use damage free hooks. Use patch kits for drywall. Think like a renter who wants their security deposit back.
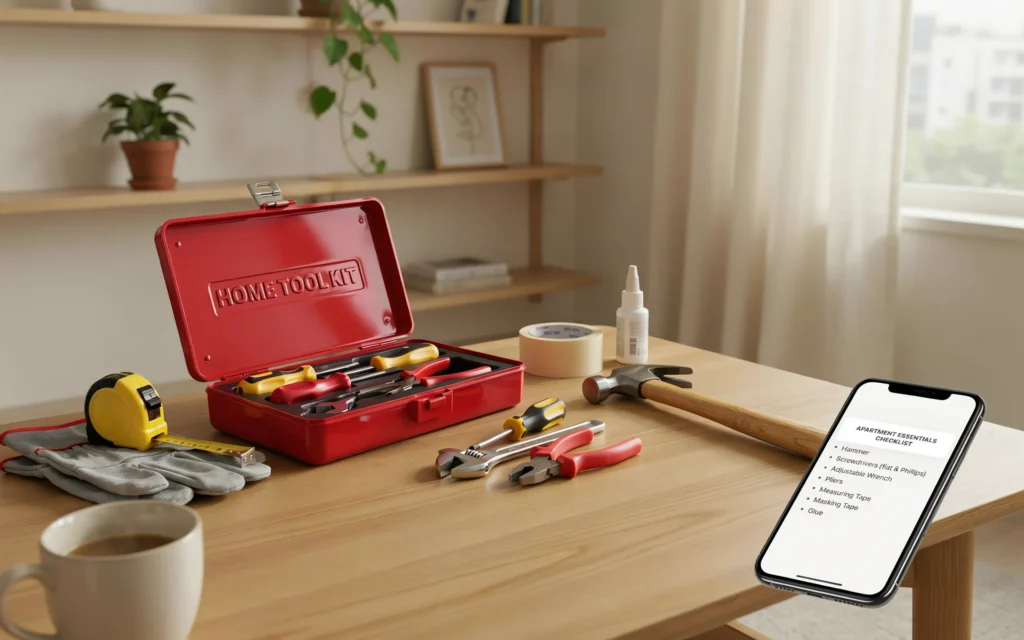
Step 1: Start with the Absolute Basics
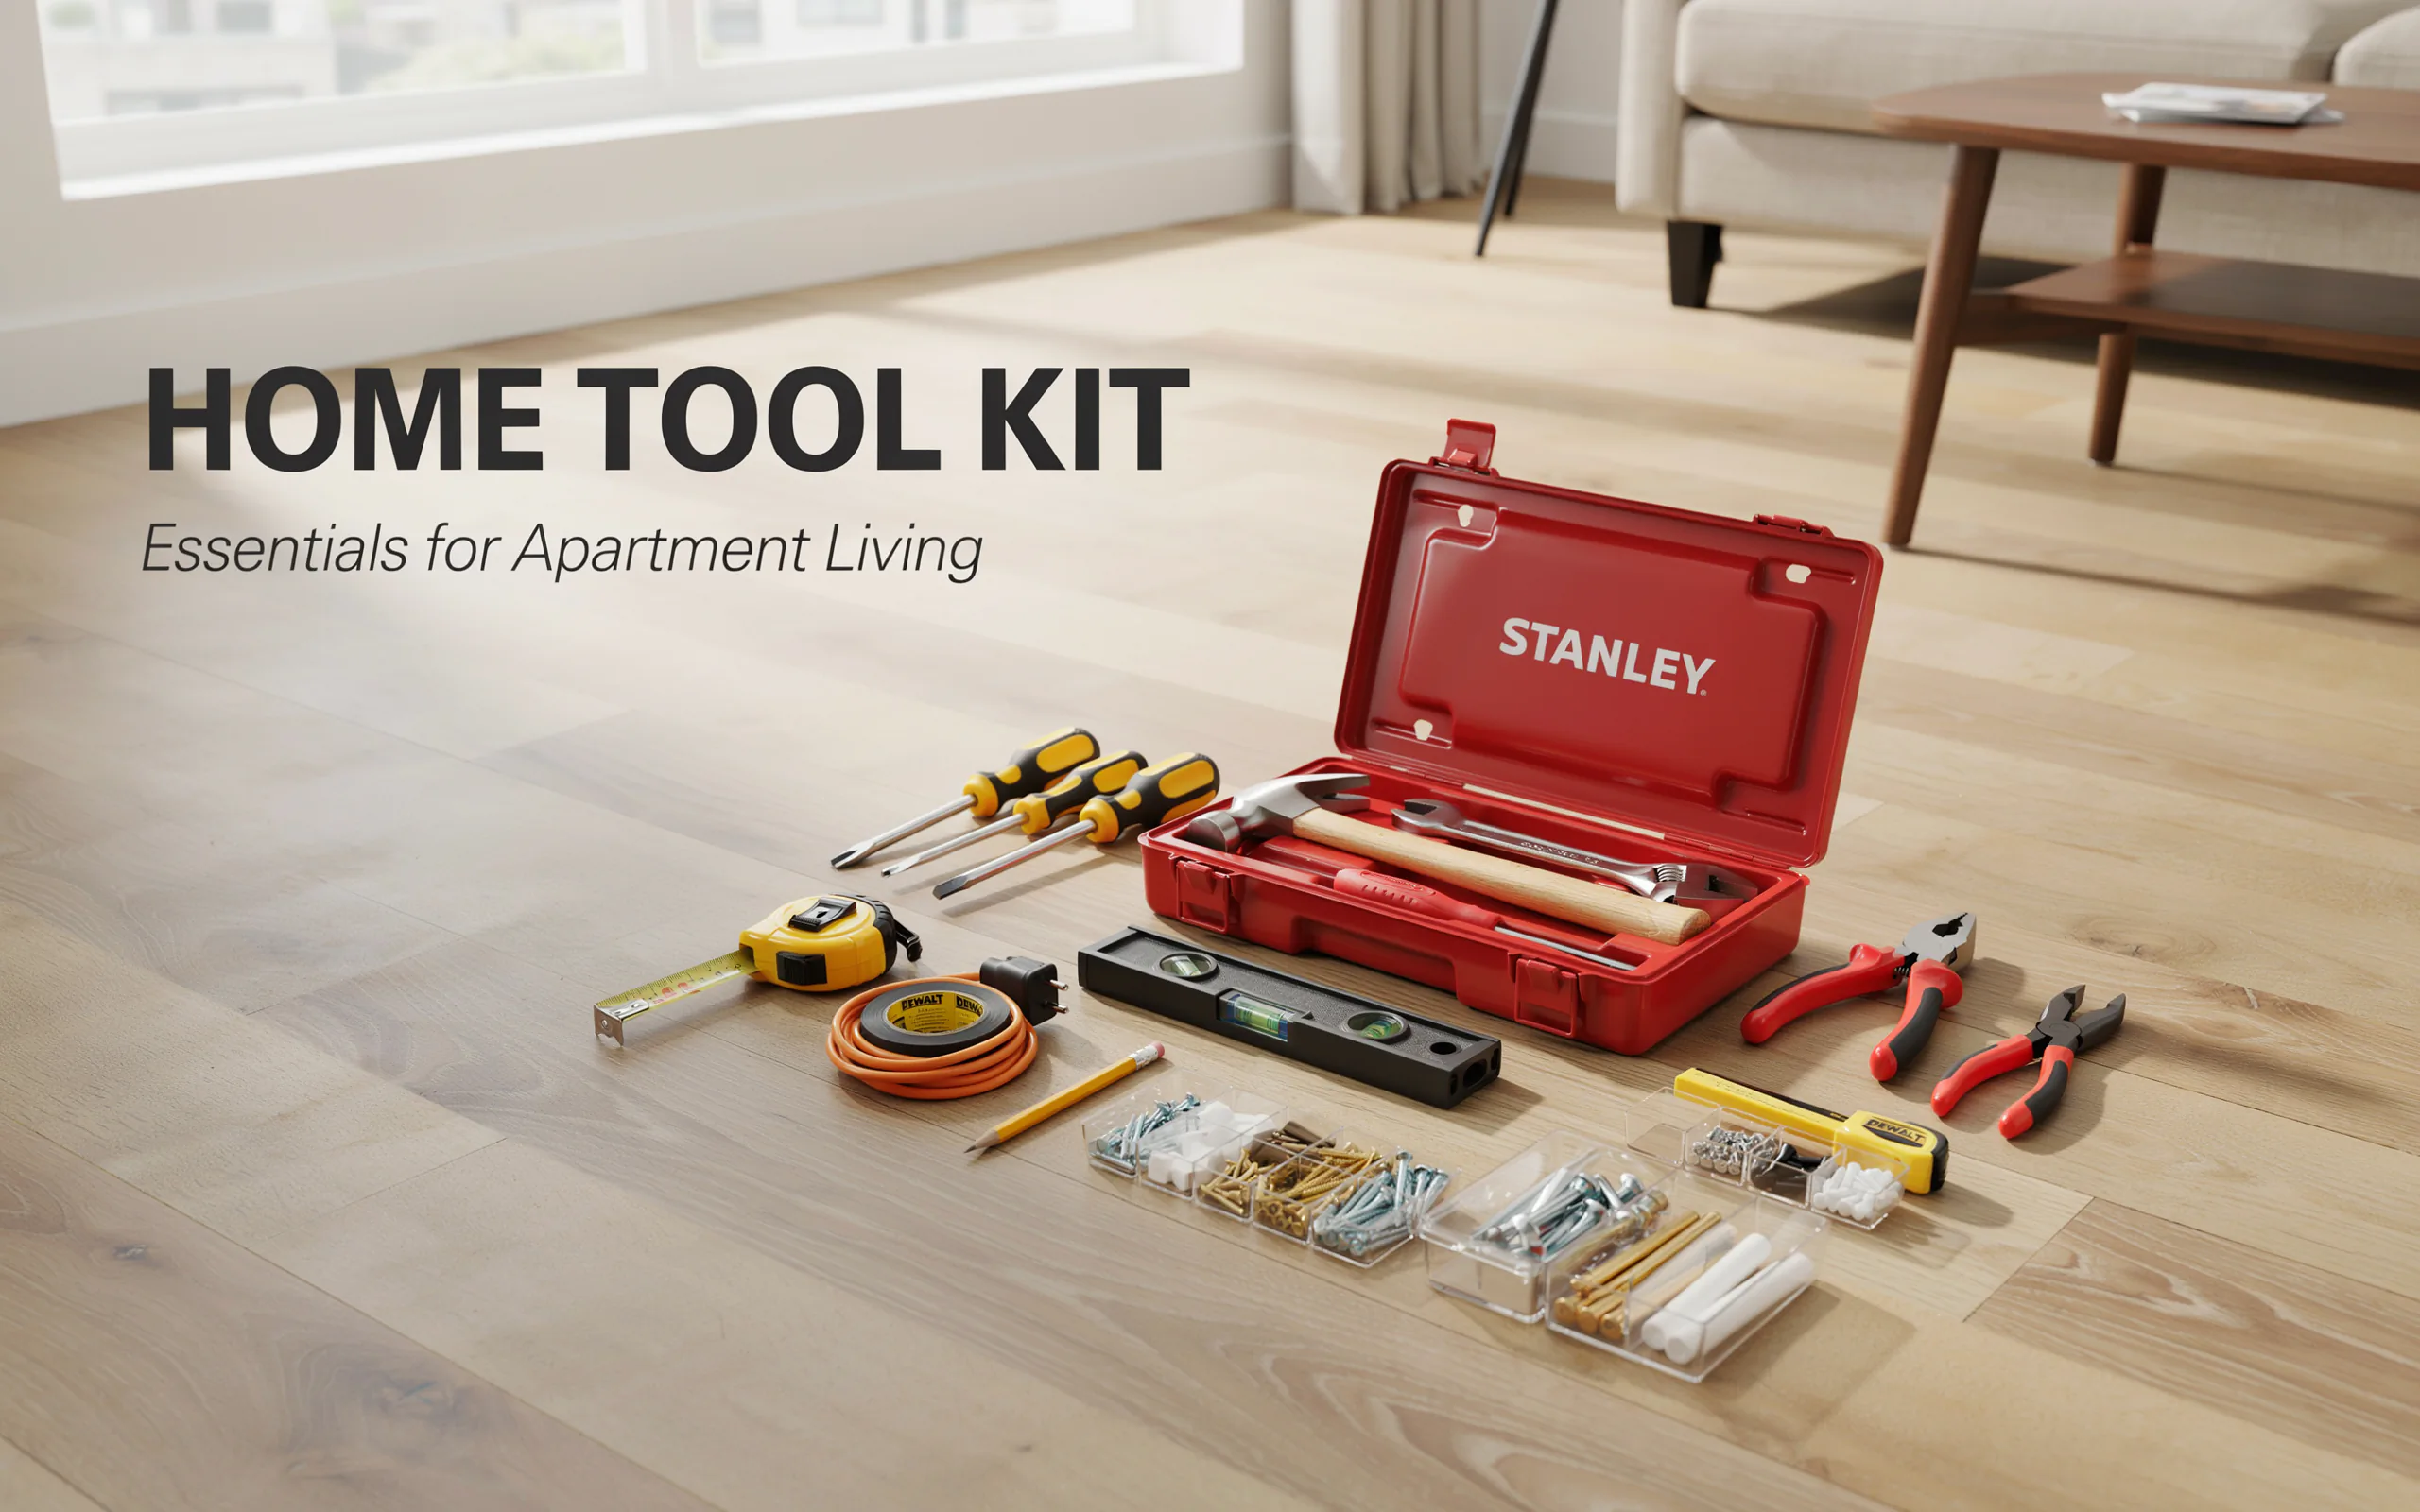
Do not buy a giant set with fifty pieces. Most of those pieces are cheap and break fast. Or they are weird shapes you never use. Start with ten to fifteen basic tools. That is enough for 90% of apartment jobs.
Here is the list of core tools every apartment dweller needs:
- Hammer (8 to 10 ounces) – A small claw hammer. Light enough for hanging pictures. Strong enough for light assembly.
- Screwdriver set – Get one with interchangeable bits. Or get two separate drivers: one flathead, one Phillips. The Phillips size #2 fits most screws in furniture.
- Adjustable wrench (6 inch) – This grips nuts and bolts of different sizes. Perfect for fixing a loose toilet handle or tightening a bed frame.
- Pliers (slip joint or needle nose) – Needle nose pliers reach tight spots. Use them to pull out a broken zipper or hold a small nut.
- Tape measure (12 or 16 feet) – Short but plenty for measuring walls, furniture, and window curtains.
- Utility knife – For opening boxes, cutting tape, trimming cords, or scoring drywall patches.
- Level (small 9 inch or a torpedo level) – Hang frames straight the first time. No more crooked shelves.
- Flashlight – For looking under sinks, behind fridges, or in dark closets. A small LED one works fine.
- Allen wrenches (hex keys) – Most flat pack furniture uses these. A small folding set with multiple sizes saves the day.
That is nine items. Add a roll of painter’s tape (sticks but peels off clean) and a small tube of super glue. Now you have a solid start.
Table 1: Essential Tools for Your Apartment Toolkit
| Tool | Primary Use | Space Saving Tip |
|---|---|---|
| Claw hammer (8 oz) | Hanging nails, tapping parts | Keep in a drawer with a rubber band on the handle |
| Screwdriver with bits | Tightening hinges, furniture assembly | Use a bit holder that stores bits inside the handle |
| Adjustable wrench (6″) | Nuts and bolts on plumbing or beds | Hang it on a magnetic strip inside a cabinet |
| Needle nose pliers | Gripping small parts, cutting wires | Slip into a pencil pouch with other small tools |
| Tape measure (12′) | Measuring furniture and spaces | Clip onto the outside of a tool bag |
| Utility knife | Opening boxes, cutting drywall tape | Retract blade after each use for safety |
| Torpedo level | Hanging pictures and shelves | Attach a magnet so it sticks to metal surfaces |
| LED flashlight | Seeing in dark corners or under sinks | Choose a headlamp style to keep hands free |
| Folding hex key set | Building flat pack shelves or desks | Keep in a small ziplock bag with the instruction book |
When you choose a home tool kit for apartment living, remember that smaller tools fit in smaller spaces. You do not need a heavy 16 ounce hammer. A light one works fine on apartment walls.
Step 2: Think About Your Apartment’s Specific Needs
Every apartment is a little different. Do you have carpet or hardwood floors? Old windows that stick? IKEA furniture or secondhand pieces? Your tool kit should match your home.
Let us break it down.
For Renters
Renters cannot change plumbing or electrical things. But you can fix loose drawer slides. You can patch small nail holes. You can tighten a wobbly ceiling fan. Add these three items to your kit:
- Small container of spackle – For filling nail holes before moving out. Get the pink kind that turns white when dry.
- Sandpaper sheet (fine grit, 120 or 150) – Smooth the spackle so the wall looks new.
- Command strips or damage free hooks – Hang things without drilling. Your landlord will thank you.
For Owners (or Long Term Renters)
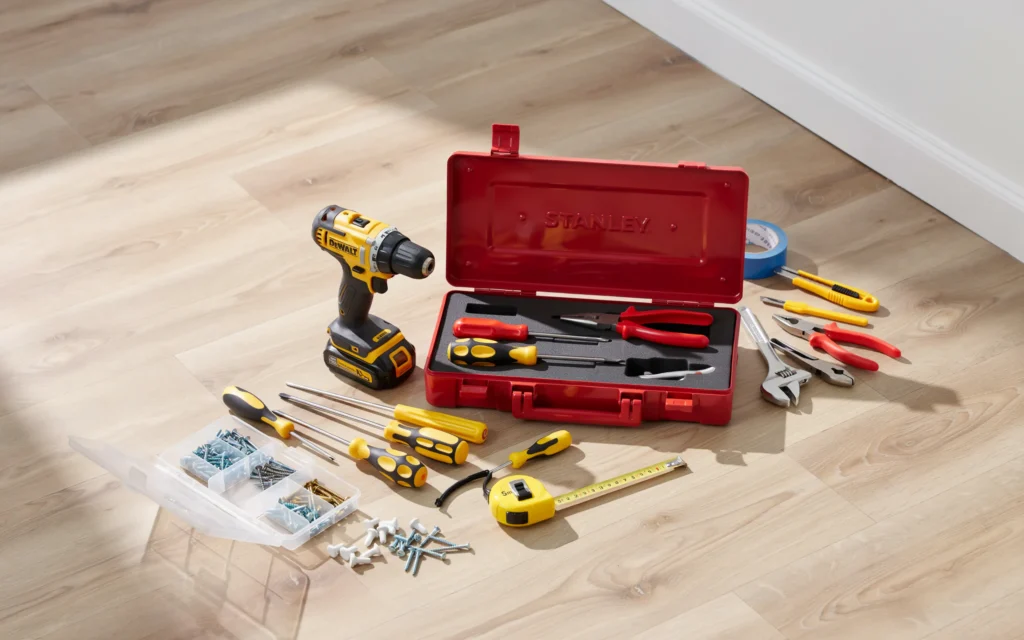
If you own your apartment or live there for many years, you have more freedom. You can drill into studs. You can change a faucet washer. Add:
- Cordless drill/driver (12 volt) – Lightweight and strong enough for most jobs. Get one with a charger and two batteries.
- Drill bit set – Small set with common sizes (1/16 inch to 1/4 inch).
- Stud finder – Find wood behind drywall to hold heavy shelves.
But even owners should not go overboard. Keep the kit lean.
“Simplicity is the ultimate sophistication.”
— Leonardo da Vinci
Your tool kit does not need to be complex. A simple, well chosen set of tools will handle almost any apartment repair.
Step 3: Choose Quality Over Quantity
This step is very important. Many people buy cheap tool kits from discount stores. The screwdriver strips. The hammer head flies off. The pliers bend. Then you get frustrated and buy another cheap set. That costs more in the long run.
Instead, choose a home tool kit for apartment living that uses good materials. Look for:
- Steel that is forged, not stamped – Forged tools last decades. Stamped tools bend.
- Comfortable grips – Rubber or bi material handles prevent slipping.
- Brands with warranties – Many good brands replace broken tools for free.
You do not need the most expensive professional brand. Middle range is fine. For example, a $15 hammer from a hardware store lasts longer than a $5 hammer from a discount bin.
How to test quality in the store? Pick up the tool. Does it feel solid? Does the wrench turn smoothly? Do the screwdriver tips fit screws without wobbling? Trust your hand.
Buying good tools also saves space. You need fewer tools because one good tool does the job of three cheap ones.
Table 2: Storage Options for Small Apartments
| Storage Solution | Best For | Where To Put It |
|---|---|---|
| Small fabric tool bag | 10 to 15 tools | Under the sink or in a closet corner |
| Plastic tool box with tray | Organizing small bits | On top of the fridge or inside a pantry |
| Wall mounted magnetic strip | Metal tools like wrenches and pliers | Inside a cabinet door or behind a curtain |
| Drawer organizer (soft foam) | Keeping tools from rattling | In a kitchen drawer near the junk drawer |
| Zippered pencil case | Small items like hex keys, bits, tape | Inside any drawer or backpack |
| Hanging shoe organizer (clear pockets) | Full tool set, visible and tidy | Back of a closet door or inside a pantry door |
When you store your kit, keep it in one place. A consistent spot means you never waste time searching. Many apartment dwellers put their kit in the front hall closet or under the bathroom sink. Choose a dry place away from heat and moisture.
Step 4: Set a Realistic Budget
You do not need to spend a lot. A basic apartment tool kit costs between $30 and $60. That buys all the hand tools listed above from a good brand. If you want a cordless drill, add $40 to $80 for a decent 12 volt model.
Here is a sample budget:
- Hammer: $10
- Screwdriver set with bits: $12
- 6 inch adjustable wrench: $8
- Needle nose pliers: $8
- Tape measure: $5
- Utility knife: $5
- Level: $8
- Flashlight: $6
- Hex key set: $5
- Tool bag: $10
Total: $77. That is less than one service call from a handyman. And you own the tools forever.
If you have a very low budget, buy the tools one at a time. Start with the hammer, screwdriver, and wrench. Then add pliers next month. Then the level. Spread the cost over a few paychecks.
Another money saving tip. Check secondhand stores or online marketplaces. Many people sell barely used tools. Look for estate sales too. Old tools are often better quality than new cheap ones.
“Do what you can, with what you have, where you are.”
— Theodore Roosevelt
Start with what you can afford. A single screwdriver and a hammer already fix many things. You can grow your kit slowly.
Step 5: How to Grow Your Kit Over Time
After you choose a home tool kit for apartment living, you will notice new needs. Maybe you get a plant shelf that needs anchors. Or a bike that needs a tire pump. Or a squeaky door that needs oil.
Add tools only when a job asks for them. This prevents clutter. Here are some common additions that apartment dwellers often add later:
- Rubber mallet – For assembling furniture without marring the surface.
- Wire cutter/stripper – If you have lamps or electronics that need new plugs.
- Small handsaw (6 to 8 inch) – For cutting a broom handle to fit a closet, or trimming a baseboard for a new appliance.
- Pry bar (small 5 inch) – For removing old nails or opening stuck drawers.
- Nail set – To sink a nail head below the wood surface before spackling.
- Voltage tester – A pen style non contact tester. Safe way to check if a light switch is live before you work on it.
- Small oil (3 in one or sewing machine oil) – For squeaky hinges and sticky locks.
- Duct tape – Temporary fixes. Use it to patch a torn screen or seal a leaking hose.
Keep these extras in a separate small box or pouch. Label it “Apartment Extras.” That way your main kit stays simple.
Common Mistakes to Avoid
Many people make the same errors when they build a home tool kit. Avoid these and you will save both money and frustration.
Mistake 1: Buying a huge set with plastic tools
Large sets look like a bargain. But the tools are often weak. The plastic case breaks. The screwdriver tips twist. Buy separate tools of good quality instead.
Mistake 2: Forgetting about measuring and marking
You need a tape measure, a pencil, and maybe a small square. Without these, you will hang shelves crooked or cut things too short.
Mistake 3: No safety gear
Add safety glasses. A tiny piece of wire or wood can fly into your eye. Also keep a pair of work gloves for rough jobs.
Mistake 4: Using tools the wrong way
Do not use a screwdriver as a chisel. Do not use pliers on a nut if you have a wrench. Using the right tool prevents damage to both the tool and your home.
Mistake 5: Storing tools loose in a drawer
Loose tools scratch each other. They also get lost. A small bag or box keeps everything together and easy to find.
Frequently Asked Questions
1. What is the first tool I should buy for an apartment?
A screwdriver with interchangeable bits. Most apartment repairs involve screws. With a good screwdriver, you can tighten hinges, fix drawer slides, and assemble furniture.
2. Can I use a multi tool instead of a full kit?
Multi tools like a Leatherman are helpful for small tasks, but they are not comfortable for real work. For hanging a picture or tightening a loose bolt, a real hammer and real pliers work much better. Keep a multi tool in your bag for quick fixes, but still build a proper kit.
3. How do I choose a home tool kit for apartment living if I have no storage?
Look for a small fabric tool bag that fits in a drawer. Or use a plastic shoebox. You can also hang tools on a magnetic strip inside a cabinet. Every apartment has some unused corner. Behind the kitchen trash can. Under the bathroom sink. Inside a nightstand drawer. Get creative.
4. Should I buy a cordless drill right away?
No. Start with hand tools. A manual screwdriver works for most jobs. Only buy a drill when you need to drill holes into walls (like for heavy shelves) or when you assemble many flat pack furniture pieces. If you buy a drill, get a 12 volt model. It is smaller and lighter than 18 or 20 volt.
5. What about tools for hanging things on walls?
You need a hammer, a level, a pencil, and the right hooks or anchors. For concrete or brick walls (common in many apartments), you need a hammer drill. But many apartments allow you to use damage free strips. Check your lease first.
6. How often should I check my tool kit?
Look at your kit twice a year. Replace any broken or missing tools. Add a tool if you needed it more than twice in the last few months. Remove a tool if you never used it in two years.
7. Can I share tools with neighbors?
Yes, if you trust them. Sharing saves money and space. You buy the hammer and screwdriver. Your neighbor buys the drill and level. Then you both borrow as needed. Just agree on return rules.
8. What should I do with tools when I move?
Pack them in a small box or your tool bag. Do not put heavy tools in a cardboard box with fragile items. Keep the kit with your personal bags so you have it right away in your new apartment.
Conclusion
Learning to choose a home tool kit for apartment living is not hard. You do not need a garage full of power tools. You need a small collection of quality hand tools that fix the little problems of daily life. A hammer, screwdriver, wrench, pliers, tape measure, utility knife, level, flashlight, and hex keys. That is it.
Start simple. Buy good tools even if they cost a bit more. Store them in a place you can reach. Add new tools only when a job asks for them. And always put your tools back after use.
With a small, smart tool kit, you save money on repair calls. You fix things right away instead of waiting. You feel more confident in your home. Plus, you protect your security deposit by doing small repairs yourself.
So go ahead. Get a small tool bag this week. Buy the first five tools. You will be surprised how often you use them. And the next time a cabinet door sags or a picture falls, you will be ready. Your apartment will thank you.
Now go fix something small. You have got this.
Related posts
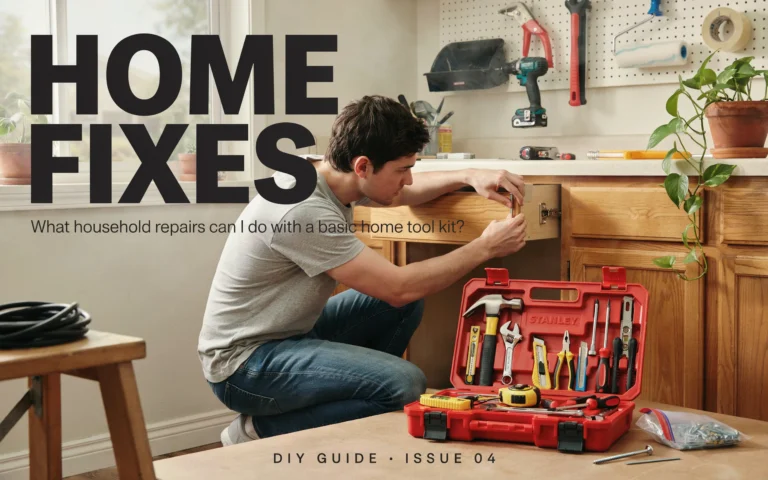 What Household Repairs Can I Do With A Basic Home Tool Kit
If you have ever wondered what household repairs can I do with a basic home tool kit, the answer is plenty. From fixing leaky faucets to…
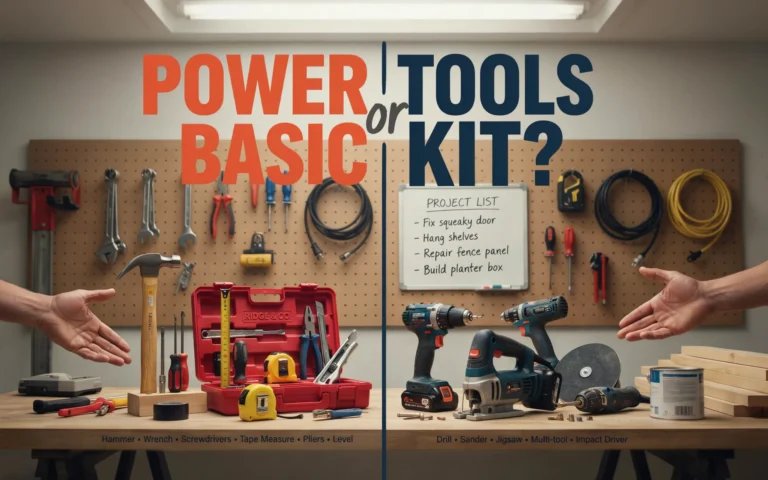 Do I Need Power Tools Or Is A Basic Home Tool Kit Enough
Trying to decide between power tools or is a basic home tool kit enough for your home repairs? A basic kit handles 80% of small jobs.…
 How To Use A Home Tool Kit To Hang Pictures And Shelves
Learn how to use a home tool kit to hang pictures and shelves safely. This guide shows you each step, the tools you need, and fixes…