How To Use A Home Tool Kit To Hang Pictures And Shelves
Learn how to use a home tool kit to hang pictures and shelves safely. This guide shows you each step, the tools you need, and fixes for common wall issues.
Do you have pictures waiting on the floor? Are shelves still leaning against the wall? Many people feel stuck because they do not know how to start. But I have good news. You already have what you need. A small home tool kit is enough. You just need to learn a few simple steps.
I have helped friends and family hang things for years. I made many mistakes. I drilled holes in the wrong spots. I dropped a shelf on my toe once. But I learned. Now I want to share what I know. This guide will show you how to use a home tool kit to hang pictures and shelves like someone who does it every week.
You do not need big power tools. You do not need a workbench. A basic kit with a hammer, a screwdriver, a drill (or even a manual screwdriver), a level, and a tape measure is enough. Let me walk you through it.
“The joy of hanging your own pictures is not about perfection. It is about trying, learning, and seeing your home become yours.” — Sarah Thompson, home DIY coach
What You Need in a Basic Home Tool Kit
Before you hang anything, open your tool kit. Check what is inside. A good home tool kit for hanging pictures and shelves does not need to be fancy. Here are the must have items.
Hammer – For tapping nails into walls. Also useful for light wall anchors.
Screwdriver set – Both flathead and Phillips. You will turn screws into walls.
Electric drill – Optional but helpful. If you do not have one, a manual screwdriver works for small jobs.
Tape measure – To find the right height and spacing.
Level – A small bubble level. It tells you if your picture is straight.
Pencil – For marking spots on the wall. Erase later if needed.
Wall anchors – Plastic or metal. These help screws hold tight in drywall.
Stud finder – Small electronic tool. Finds wood beams behind the wall.
If your kit is missing something, do not worry. You can buy these items one by one. Most cost less than a coffee drink.
Here is a quick table to help you see what each tool does.
Essential Tools for Hanging
| Tool | What It Does | When You Need It |
|---|---|---|
| Hammer | Drives nails into walls | For light pictures under 5 pounds |
| Screwdriver | Turns screws into anchors or studs | For shelves and heavier frames |
| Tape measure | Measures height and distance | To center pictures or align shelves |
| Level | Checks if the item is straight | Every time you hang something |
| Pencil | Marks drill spots | Before any hole is made |
| Stud finder | Locates wood beams | For heavy shelves or large mirrors |
Now that you know your tools, let me show you how to use a home tool kit to hang pictures and shelves the right way. The first skill is finding what is behind your wall.
How to Find Studs and Choose Wall Anchors
Walls are not solid all the way through. Most interior walls have drywall. Behind the drywall, there are wood studs. Studs are strong. You can screw directly into them. But if you miss the stud, you need wall anchors.
Using a Stud Finder
Take your stud finder. Turn it on. Place it flat on the wall. Move it slowly to the side. When it beeps or lights up, you found a stud. Mark that spot with your pencil. Studs are usually 16 or 24 inches apart. Find two or three to be sure.
“A stud finder is the one tool that saves you from the most frustration. Trust the beep, not your knock.” — David Chen, carpenter and handyman
If you do not have a stud finder, you can knock on the wall. A hollow sound means no stud. A solid thud means a stud is there. This method is not perfect. But it works in a pinch.
When You Need Wall Anchors
Sometimes the spot you want is not near a stud. That is fine. You can use a home tool kit to hang pictures and shelves with wall anchors. Anchors give drywall extra strength.
There are many types. Plastic expansion anchors are common. You drill a hole. Push the anchor in. Then screw into it. Another type is the self drilling anchor. No drill needed. You screw it directly into the wall with a screwdriver.
For a light picture (under 10 pounds), a simple plastic anchor is fine. For a shelf with books, use metal toggle bolts or heavy duty anchors.
Here is a second table to help you match your wall type to the right method.
Wall Types and Solutions
| Wall Type | Best Hanging Method | Tool to Use |
|---|---|---|
| Drywall with stud | Screw directly into stud | Drill, screwdriver |
| Drywall no stud | Plastic anchor or toggle bolt | Drill, hammer, screwdriver |
| Plaster | Drill first, then use anchor | Drill, masonry bit, anchor |
| Concrete or brick | Hammer drill and masonry anchor | Hammer drill, special bit |
Understanding your wall is half the work. Now let us hang something.
Step by Step Guide to Hang a Picture
Hanging a picture is the easiest way to practice. Start with a small frame. You will build confidence fast.
Marking and Measuring
Hold the picture against the wall. Decide where you want it. Eye level is good for most rooms. That is about 57 to 60 inches from the floor to the center of the picture.
Use your tape measure. Mark the top center point lightly with a pencil. Then measure the distance from the picture wire or hanging hook to the top of the frame. Add that number to your wall mark. That is where your nail or screw goes.
For example, if your picture wire hangs 2 inches down from the top, and you want the top at 60 inches, put the nail at 58 inches.
Double check with your level. Place the level on the wall where the picture will sit. Make sure the bubble is in the middle.
Drilling and Hanging
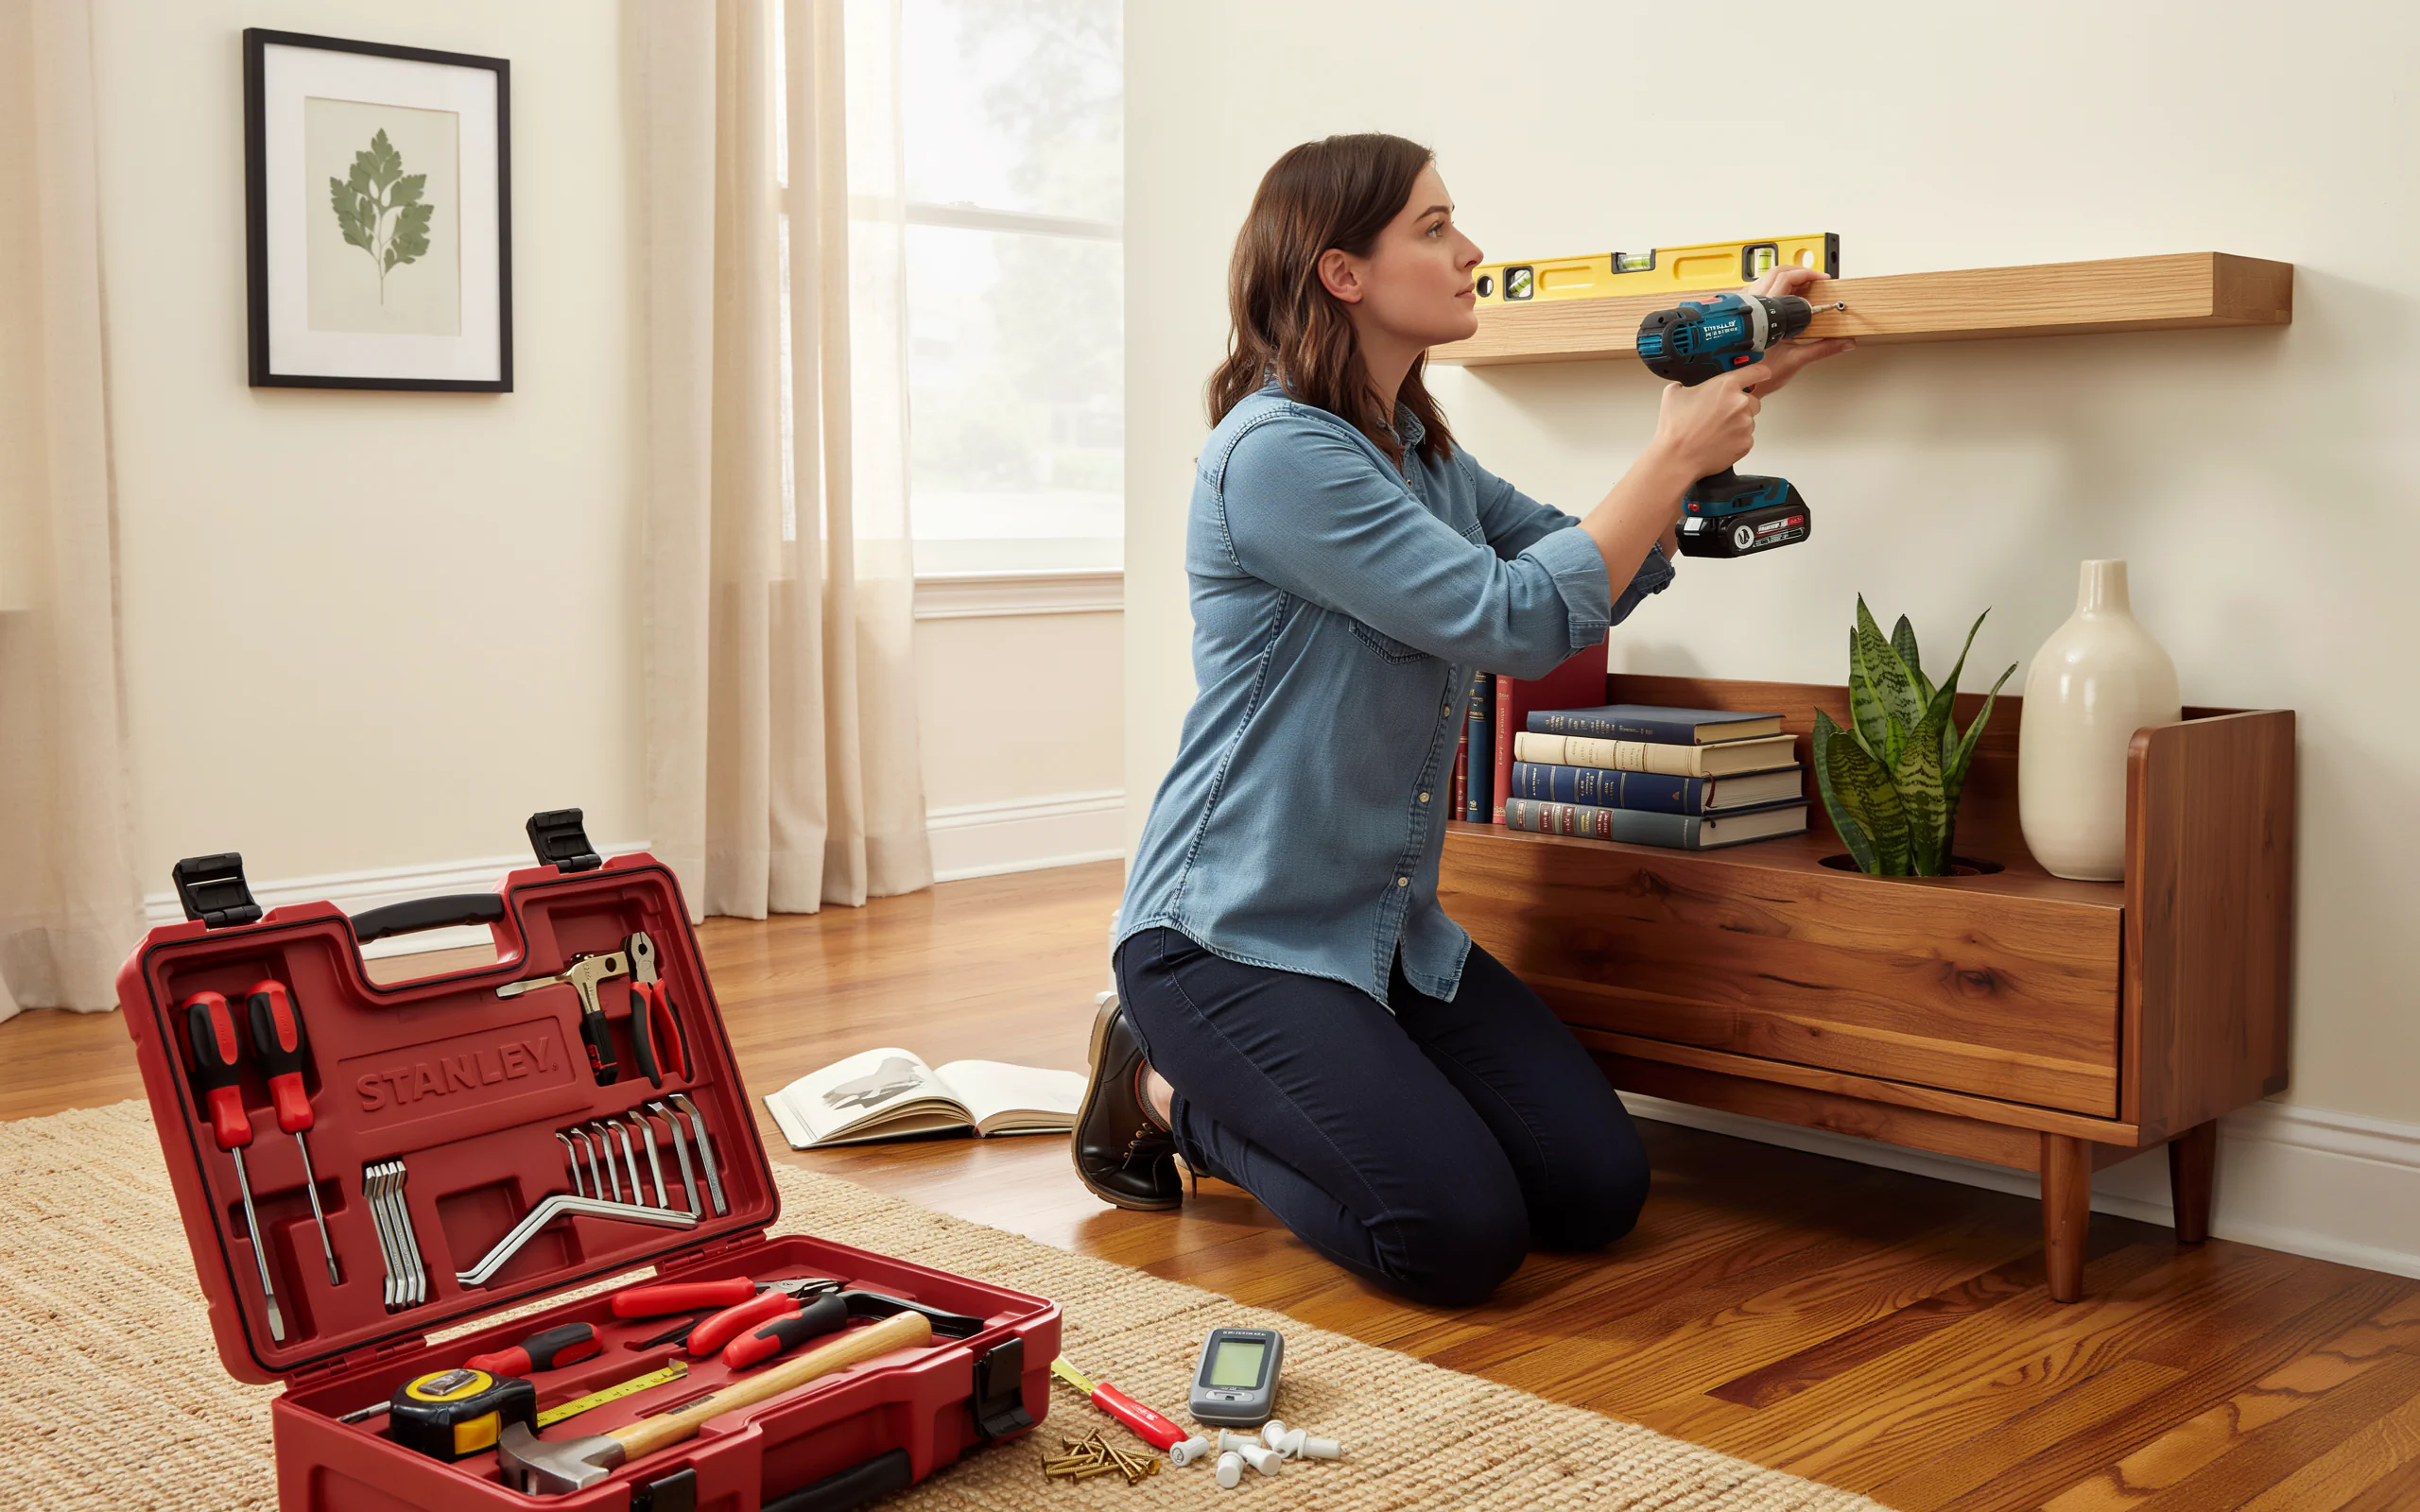
Now take your hammer or drill. If you are using a nail, tap it gently into the wall at your mark. Leave about half an inch out. Hang the picture on the nail. Step back. Look. Is it straight? Adjust slightly if needed.
If you are using a screw and anchor, drill a hole first. Use a drill bit the same size as the anchor. Push the anchor into the hole. Tap it flush with the hammer. Then screw into the anchor. Leave a small gap. Hang the picture.
To use a home tool kit to hang pictures and shelves well, always check your level after hanging. Even a small tilt will bother you later.
“The secret to straight pictures is not a steady hand. It is using your level after every single move.” — Linda Garcia, interior organizer
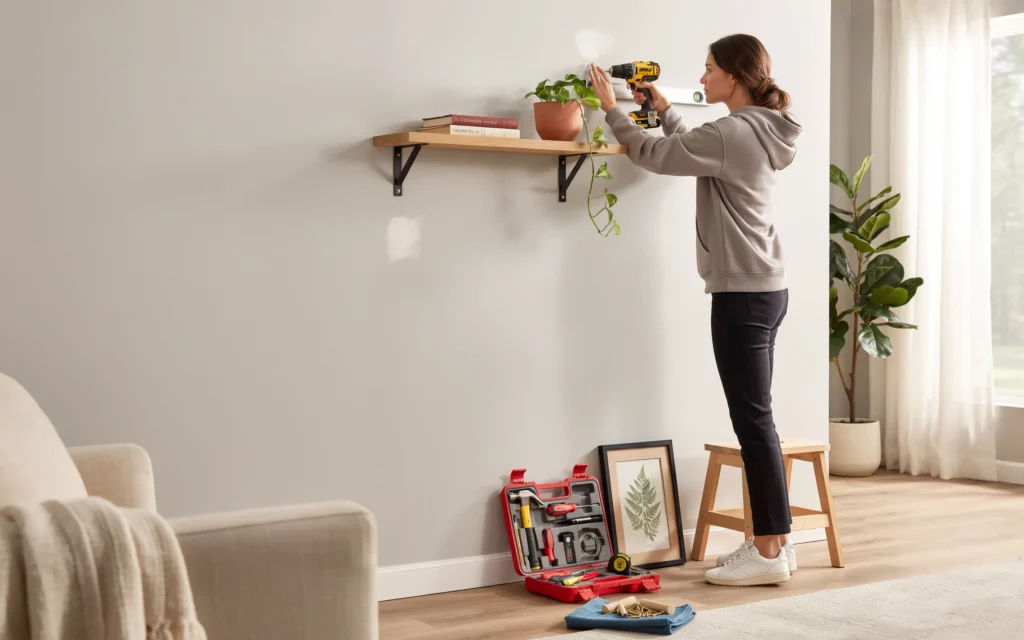
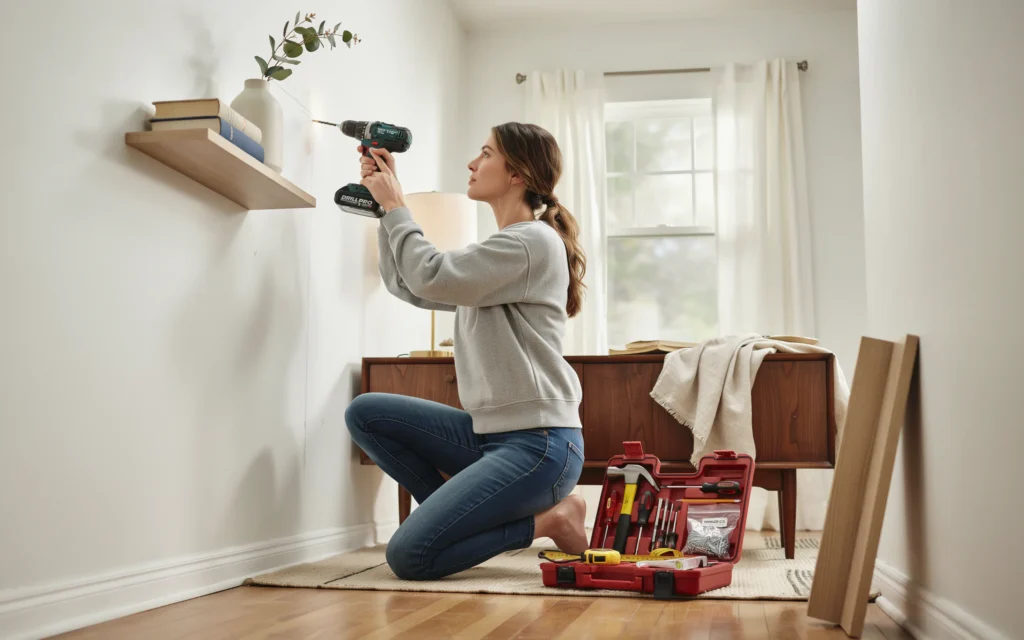
Step by Step Guide to Hang a Shelf
Shelves carry weight. You need to be more careful. A falling shelf can hurt someone or break things. Follow these steps.
Leveling and Bracket Placement
First, hold the shelf against the wall. Mark where the brackets will go. Most shelves need two brackets. They should be near the ends but not right at the edge.
Use your tape measure. Mark the left bracket spot. Then measure to the right bracket. Make sure both marks are at the same height.
Place your level horizontally on the wall between the marks. Adjust the marks until the bubble shows level. Now you have a straight line.
If your shelf is long, use three brackets. Put one in the middle too.
Securing the Shelf
Find studs for shelf brackets if you can. Shelves with books or dishes are heavy. Studs are the safest. Run your stud finder over the bracket marks. If a stud is there, screw directly into it.
If no stud is there, use heavy duty anchors. Toggle bolts work well for shelves. They spread the weight behind the drywall.
Drill holes at your marks. Insert the anchors. Then screw the brackets into the anchors. Place the shelf on top. Screw the shelf to the brackets from below.
Now put some weight on the shelf. Push down gently. Does it move? If it feels solid, you are done. If it wiggles, tighten the screws or add more anchors.
You can use a home tool kit to hang pictures and shelves for any room. Living room, kitchen, bedroom. The steps are the same. Measure. Mark. Drill. Anchor. Level.
Common Problems and Quick Fixes
Even with good planning, things go wrong. Here are common issues and how to fix them.
The hole is too big. This happens if you use the wrong drill bit. Take a toothpick or a matchstick. Put wood glue on it. Stick it into the hole. Break it off flush. Let it dry. Then screw into the same spot.
The picture keeps tilting. Use two nails instead of one. Place them a few inches apart. Or use adhesive putty on the bottom corners of the frame. The putty holds the picture against the wall.
The anchor spins in the hole. That means the hole is too large. Remove the anchor. Fill the hole with spackle or even a rolled up piece of paper. Push the anchor back in. It will grip better.
The drill bit wanders. Start with a small nail. Tap it lightly to make a dent. Then drill into that dent. The bit will stay in place.
You hit a pipe or wire. Stop immediately. If you see sparks or water, call a professional. Always avoid spots above or below outlets and light switches.
Most mistakes are easy to fix. Do not panic. The more you practice, the fewer mistakes you make.
Safety Tips for Using Your Tool Kit
Tools are helpful but they can hurt you. Follow these simple rules.
Wear safety glasses when drilling. Drywall dust and small debris can fly into your eyes. Keep your fingers away from the drill bit. Do not force a screw. If it resists, back it out and try a smaller pilot hole.
Use a sturdy step stool or ladder. Do not stand on chairs or boxes. Keep your tool kit closed when not in use. Small children and pets are curious.
When you use a home tool kit to hang pictures and shelves, work slowly. Rushing leads to crooked nails and broken walls. Take breaks if you feel tired.
Frequently Asked Questions (FAQ)
1. Can I use a home tool kit to hang pictures and shelves without a drill?
Yes. Use a hammer and nails for light pictures. For shelves, use a screwdriver with self drilling anchors. A drill just makes the work faster.
2. How much weight can a drywall anchor hold?
A plastic anchor holds about 10 to 25 pounds. A toggle bolt holds 50 pounds or more. Always check the package. Do not guess.
3. What if my wall is concrete or brick?
You need a hammer drill and masonry bits. Regular drills will not work. Use special concrete anchors. If you do not have these tools, ask a friend or hire a handyman.
4. How do I remove a nail or screw without damaging the wall?
Use a claw hammer for nails. Put a thin piece of cardboard under the hammer head to protect the wall. For screws, turn them out with a screwdriver. Fill the hole with spackle.
5. Why does my picture lean forward at the top?
The nail is too far from the wall. Tap it in a little more. Or use a smaller nail. Some picture hooks have a tilt adjustment. Read the package.
6. Do I need a level for every job?
Yes. Our eyes trick us. A level is cheap and small. Keep one in your tool kit always.

Conclusion
You now know how to use a home tool kit to hang pictures and shelves with confidence. The steps are simple. Know your wall. Pick the right anchor or stud. Measure twice. Mark once. Drill gently. Level often. Hang with care.
Start with a small picture in a hidden spot. Then try a shelf in the garage. Soon you will hang things in your living room without fear. Your home will feel more like you. And you will save money by not calling a pro for every small job.
I still hang things for my neighbors. They bring coffee. I bring my tool kit. We laugh about the crooked frames from years ago. You will make mistakes too. That is fine. Every hole you drill teaches you something. Keep your tools clean. Keep practicing. And enjoy your beautiful walls.
Now go pick a picture. Get your tool kit. And make your home yours.
Related posts
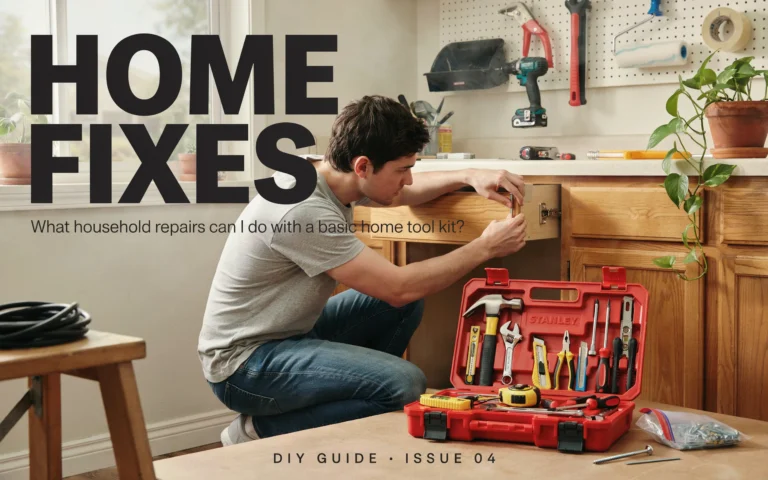 What Household Repairs Can I Do With A Basic Home Tool Kit
If you have ever wondered what household repairs can I do with a basic home tool kit, the answer is plenty. From fixing leaky faucets to…
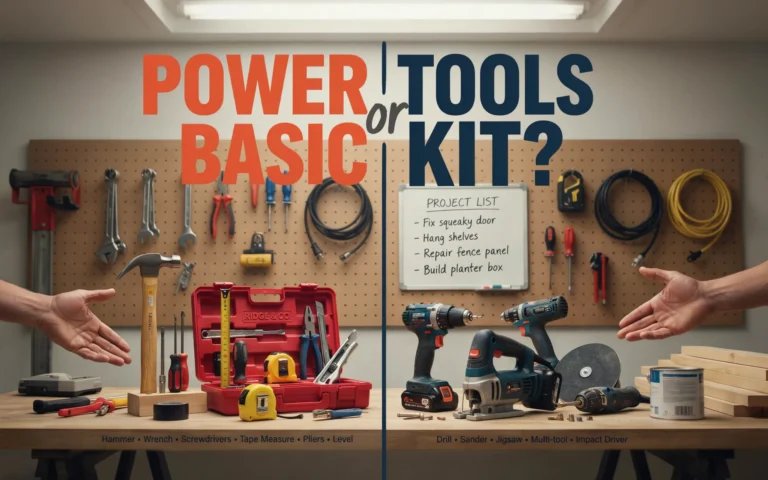 Do I Need Power Tools Or Is A Basic Home Tool Kit Enough
Trying to decide between power tools or is a basic home tool kit enough for your home repairs? A basic kit handles 80% of small jobs.…
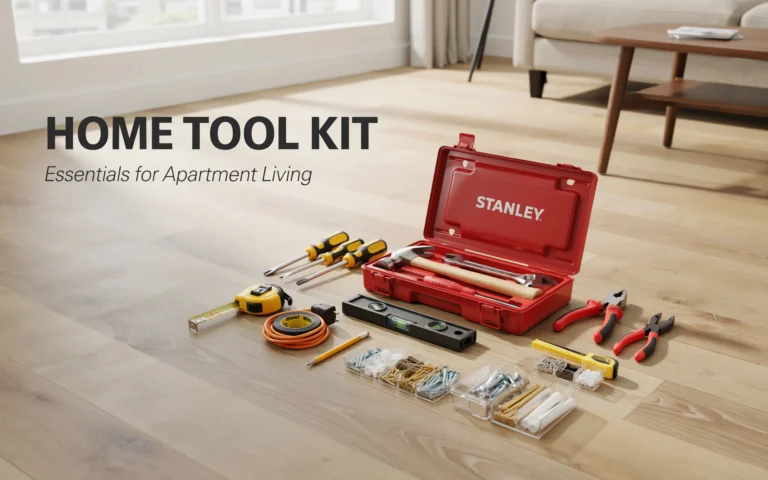 How To Choose A Home Tool Kit For Apartment Living
Looking to choose a home tool kit for apartment living? Get a simple guide on must have tools, sizes, storage tips, and budget friendly picks for…