How to use a home tool kit to assemble furniture
Learn how to use a home tool kit to assemble furniture with ease. This simple guide shows you the right tools, steps, and safety tips for any flat‑pack project.
You just bought a new shelf, a desk, or a bed. It comes in a flat box. You open it and see many parts, screws, and a small Allen key. Do you feel a little lost? Do not worry. Many people feel the same. But you can fix this. You just need to know how to use a home tool kit to assemble furniture. Your home tool kit already has most of what you need. This guide will show you the simple way. I have built many pieces myself. I made mistakes. I learned from them. Now I want to help you save time and avoid frustration.
Before we start, let me share a quick truth.
The right tool for the right job makes all the difference.” – Jane Jacobs, home repair coach
This quote is very true. If you try to tighten a screw with a butter knife, you will have a bad time. But with a proper screwdriver from your home kit, the same task takes seconds. So let us look at what you need.
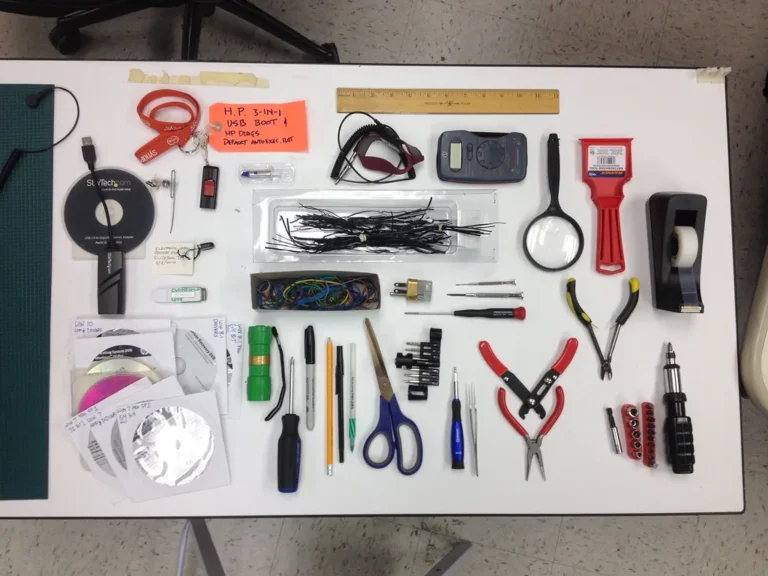
What You Need in Your Home Tool Kit
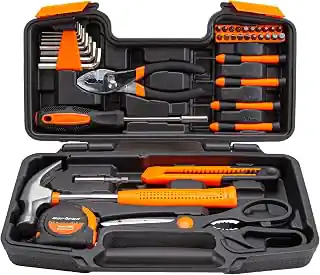
A basic home tool kit is not fancy. It does not need many expensive items. You probably already have a small kit in a drawer or closet. If not, you can buy a simple set for a low price. The key is to know which tools work best when you use a home tool kit to assemble furniture.
Basic Tools for Furniture Assembly
Most flat‑pack furniture uses common fasteners. Here are the tools you should have:
- Phillips head screwdriver (cross shape). This fits 90% of screws in furniture kits.
- Flat head screwdriver (straight blade). Good for some screws and for prying parts.
- Allen key (hex key). Most kits give you a small L‑shaped one. But a set of Allen keys with a handle is much easier to hold.
- Hammer (light weight). Used for tapping dowels or pins into place.
- Rubber mallet. Better than a metal hammer because it does not damage the wood.
- Adjustable wrench or a small set of combination wrenches. For nuts and bolts.
- Measuring tape (short, 5–10 feet is fine).
- Level (small bubble level). Helps make sure your shelf or cabinet stands straight.
Optional but Handy Tools
These are not required, but they make your work faster and easier.
- Power drill with bits. You can use it to drive screws, but be careful not to over‑tighten.
- Clamps. Hold two pieces together while you insert screws.
- Pliers. Good for holding small nuts or bending a wire if needed.
- Magnetic parts tray. Keeps screws from rolling off the table.
Most people already have at least five of these items at home. If you do not, you can borrow from a neighbor or buy a small kit for under $20.
Table 1: Common Tools in a Home Tool Kit and Their Uses
| Tool | What it does for furniture assembly |
|---|---|
| Phillips screwdriver | Turns cross‑head screws |
| Allen key | Turns hex screws (often for IKEA style) |
| Rubber mallet | Taps dowels and pins without damage |
| Adjustable wrench | Tightens nuts and bolts |
| Level | Checks if your furniture is straight |
Now that you know your tools, let us go step by step.
Step by Step: How to Use a Home Tool Kit to Assemble Furniture
I will walk you through the whole process. Follow these steps in order. Do not skip ahead. Each step matters.
Step 1 – Read the Instructions First
Yes, I know. Many people throw the paper away. Do not do that. Take five minutes to look at the diagrams. Find out which screws go where. Check if any step needs a special tool you do not have. The instructions often tell you exactly how to use a home tool kit to assemble furniture for that specific model.
“Patience and the right tool will fix almost anything.” – Martha Stewart, homemaking expert
Read the parts list. Lay the instruction book next to your work area. If you get stuck on a drawing, look at the next page. Sometimes the picture becomes clearer later.
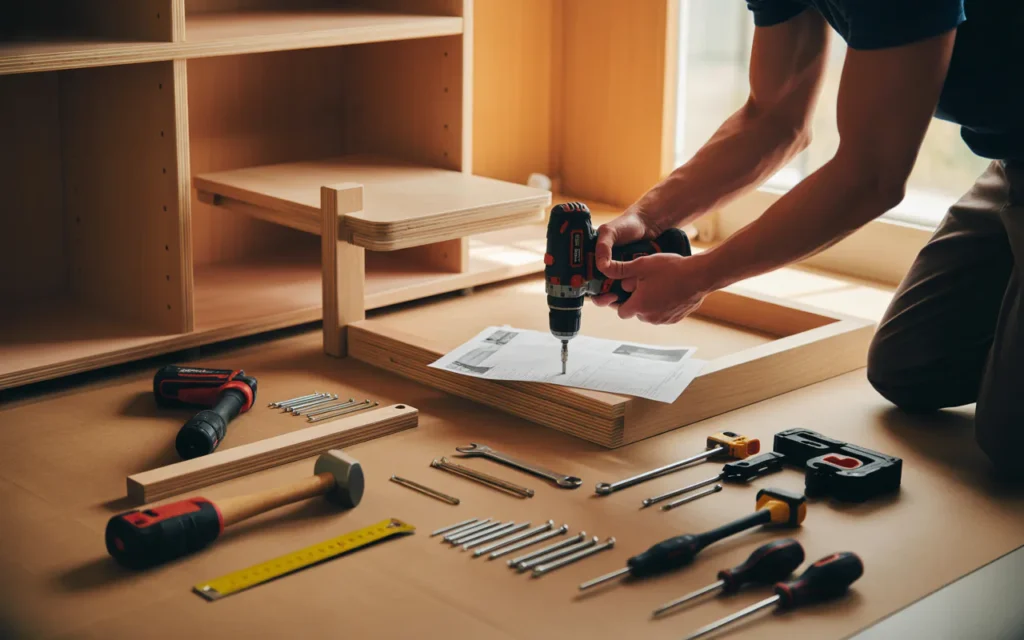
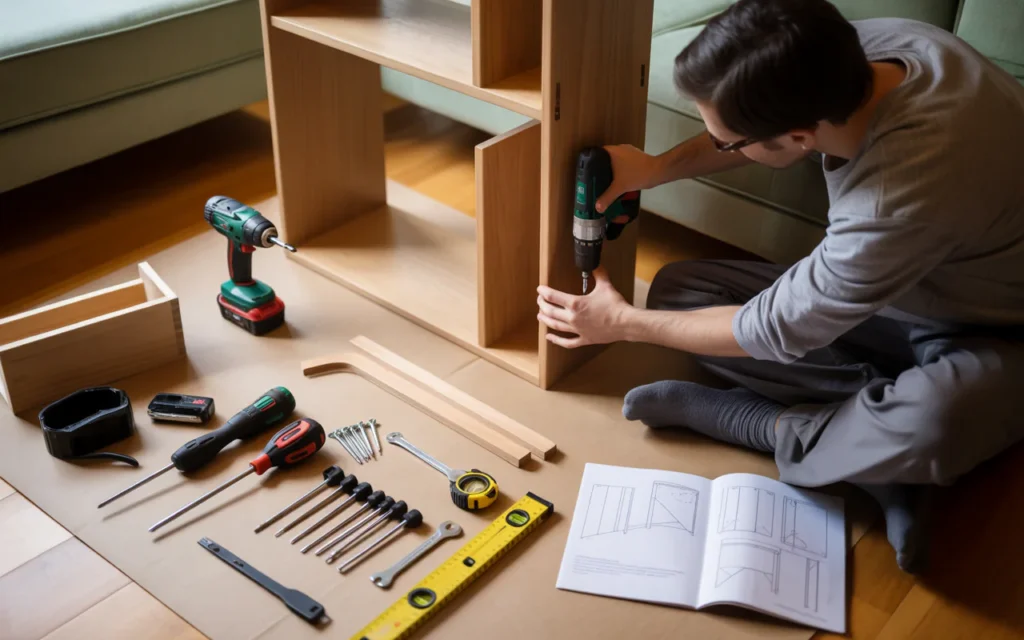
Step 2 – Lay Out All Parts and Tools
Find a clean, flat space. A floor with a rug or a large table works well. Open the box and take out every piece. Put the screws, dowels, and small parts in a cup or a bowl. This stops them from rolling away. Arrange the big wood panels so you can see their labels (like “left side” or “shelf B”).
Now gather your home tool kit. Place the screwdrivers, hammer, Allen keys, and wrench on a cloth next to you. Keep the level close. This preparation saves you from walking back and forth.
Step 3 – Follow the Sequence Carefully
Most instructions show a number order. Step 1, then step 2, and so on. Do not jump to step 5 before step 3. I did that once with a wardrobe. I had to take it apart after two hours. Learn from my mistake.
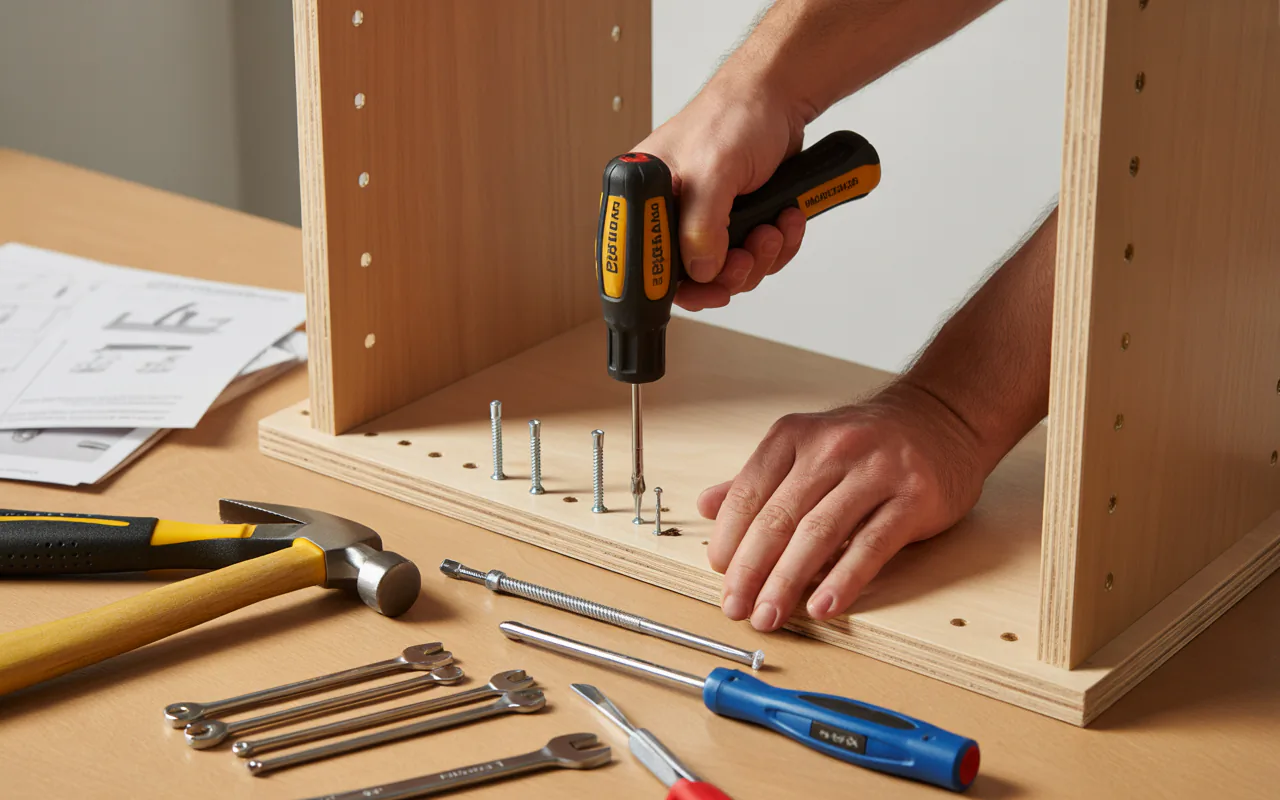
When you use a home tool kit to assemble furniture, always start with the base or the back panel. Then add sides, then shelves or drawers. Use your screwdriver or Allen key to turn screws only halfway at first. Leave them a little loose until the whole frame is together. Then go back and tighten everything.
Use the hammer or rubber mallet to tap wooden dowels into their holes. Do not hit too hard. A gentle tap is enough. If you use a metal hammer, put a piece of cloth over the wood to avoid dents.
Step 4 – Tighten Fasteners Correctly
After the frame is assembled, check all joints. Are there gaps? Tighten screws more, but do not overdo it. Over‑tightening can strip the screw hole or crack the wood. Stop when the screw feels firm.
For nuts and bolts, use your adjustable wrench. Hold the bolt head with the screwdriver or Allen key, then turn the nut with the wrench. Make it snug, not forced.
Finally, use your level. Place it on top of the furniture. If the bubble is not centered, adjust the legs or loosen and shift the frame. A crooked shelf will wobble and may break later.
Common Mistakes and How to Avoid Them
Even with good tools, small errors happen. Here are the most frequent problems people face when they try to use a home tool kit to assemble furniture. And here is how to fix them.
Mistake 1: Using the wrong screwdriver size.
A screwdriver that is too small will slip and damage the screw head. Always match the tip size to the screw. If it wiggles, find a larger one.
Mistake 2: Not sorting screws first.
All screws look similar but have different lengths. Using a long screw in a short hole will poke through the wood. Sort them into groups by looking at the instructions.
Mistake 3: Forgetting the back panel.
Some furniture (like bookcases) needs the thin back panel nailed before the final tightening. If you forget, you have to loosen everything again. Check step 3 or 4 for this detail.
Mistake 4: Building on a carpet.
A soft carpet makes the furniture tilt. Build on a hard floor or a sheet of cardboard. This keeps your pieces straight.
Mistake 5: Throwing away extra parts.
Do not panic if you have leftover screws. Many kits include extras. Keep them in a labeled bag for later repairs.
Table 2: Troubleshooting Common Assembly Problems
| Problem | Simple Fix |
|---|---|
| Screw spins and won’t tighten | Put a toothpick or wood glue in the hole, let it dry, then try again |
| Allen key feels loose | Use the next size up (metric vs. imperial) – check your kit |
| Parts do not line up | Loosen nearby screws, adjust, then retighten |
| Wobbly leg | Turn the leg base (if adjustable) or add a felt pad |
“Measure twice, cut once. But for assembly, check twice, tighten once.” – Bob Vila, home improvement expert
Safety Tips When You Use a Home Tool Kit to Assemble Furniture
You are not building a house. But small injuries can still happen. A sharp edge, a falling panel, or a slip of the screwdriver. Follow these simple safety rules.
- Work in a well‑lit area. Good light helps you see screw holes and tool tips.
- Keep your hands away from the hammer swing. Tap slowly until you have control.
- Do not use a power drill on highest speed for small screws. Use low speed and stop as soon as the screw is flush.
- Lift heavy panels with your legs, not your back. Ask a friend if a piece feels too heavy.
- Put tools away after each session. A screwdriver left on the floor can hurt your foot.
- Wear closed‑toe shoes if you are using a hammer or dropping heavy parts.
Also, keep small screws away from children and pets. They can choke on them. Use a magnetic tray or a closed box.
When you use a home tool kit to assemble furniture, remember that safety is part of good work. A small cut or bruise is not worth saving five minutes.
How to Keep Your Tools Ready for the Next Project
After you finish, do not just throw everything back in the drawer. Clean your tools. Wipe off dust and grease from screwdriver handles. Check if any Allen key is bent. Replace missing items. A well‑kept home tool kit lasts for years.
Here is a simple routine:
- Return each tool to its spot in the kit.
- Put leftover screws and dowels in a small bag, label it with the furniture name.
- Store the instruction manual in a file or take a photo on your phone.
- Check your hammer handle for cracks. Replace if needed.
I do this after every build. It takes two minutes. And the next time I need to use a home tool kit to assemble furniture, everything is ready.
Frequently Asked Questions
Q1: Can I use a home tool kit to assemble furniture without an Allen key?
Yes. Many furniture kits include their own Allen key. But if you lose it, a small set of hex bits for a screwdriver works well. Some people also use a small wrench with a hex shape.
Q2: What if my home tool kit does not have a rubber mallet?
You can use a regular hammer if you put a piece of wood or a thick cloth between the hammer and the furniture. Tap gently. Better yet, buy a rubber mallet. They cost about $5.
Q3: How do I know which screwdriver to use?
Look at the screw head. A cross shape needs a Phillips screwdriver. A straight line needs a flat head. For very small screws (like on hinges), use a smaller screwdriver from your kit.
Q4: Is it okay to use a power drill when I use a home tool kit to assemble furniture?
Yes, but be careful. Set the drill to low torque (screw symbol). Stop before the screw is fully tight, then finish by hand. This prevents stripping the wood.
Q5: What is the most important tool in a home kit for furniture assembly?
Most people say a good Phillips screwdriver. But I think a set of Allen keys with a handle is just as important. Many modern flat‑pack designs use hex screws.
Q6: My shelf is wobbling after assembly. What did I do wrong?
Three common reasons. First, you did not tighten all screws. Second, the floor is uneven – use the level and adjust the feet. Third, you missed a cross brace or back panel. Check the instructions again.
Q7: Can I assemble furniture alone or do I need help?
You can do small items like a chair or nightstand alone. For large items like a wardrobe or bed frame, ask a friend. They can hold parts while you screw.
Q8: How long does it take to assemble a typical bookcase with a home tool kit?
About 30 to 60 minutes for a medium bookcase. A simple table may take 20 minutes. A complex desk with drawers can take two hours. Go slow and steady.
Conclusion
You do not need to be a professional. You do not need expensive tools. All you need is a simple home tool kit and a little patience. Now you know how to use a home tool kit to assemble furniture step by step. Read the guide, lay out your parts, follow the sequence, and tighten correctly. Avoid common mistakes like wrong screwdrivers or skipping the back panel. Keep your tools clean and safe.
I have used the same home tool kit for over ten years. It has built shelves, desks, beds, and cabinets for my family. Each piece stands strong. Yours can too. The next time a flat pack arrives at your door, smile. You have the skills. You have the tools. You know exactly what to do.
Now go ahead. Open that box. Get your screwdriver. And enjoy your new furniture.
Related posts
 Top Starter Mechanic Tool Kits for Apprentices: Essential Sets for Your Trade
Explore top starter mechanic tool kits for apprentices. Compare sets for mechanics, electricians, and other trades to find your essential tools. Starting an apprenticeship is an…
 Automotive Tool Kits vs. Mechanic Tool Sets: What’s the Difference?
Understand the key differences between automotive tool kits vs. mechanic tool sets. Learn which is best for your car maintenance needs. When looking for tools to…
 Top Automotive Tool Kits for Garage Workshops: A Buyer’s Guide
Find the top automotive tool kits for garage workshop. Compare versatile sets for car maintenance, home repairs, and DIY projects to choose the best fit. Setting…