What Household Repairs Can I Do With A Basic Home Tool Kit
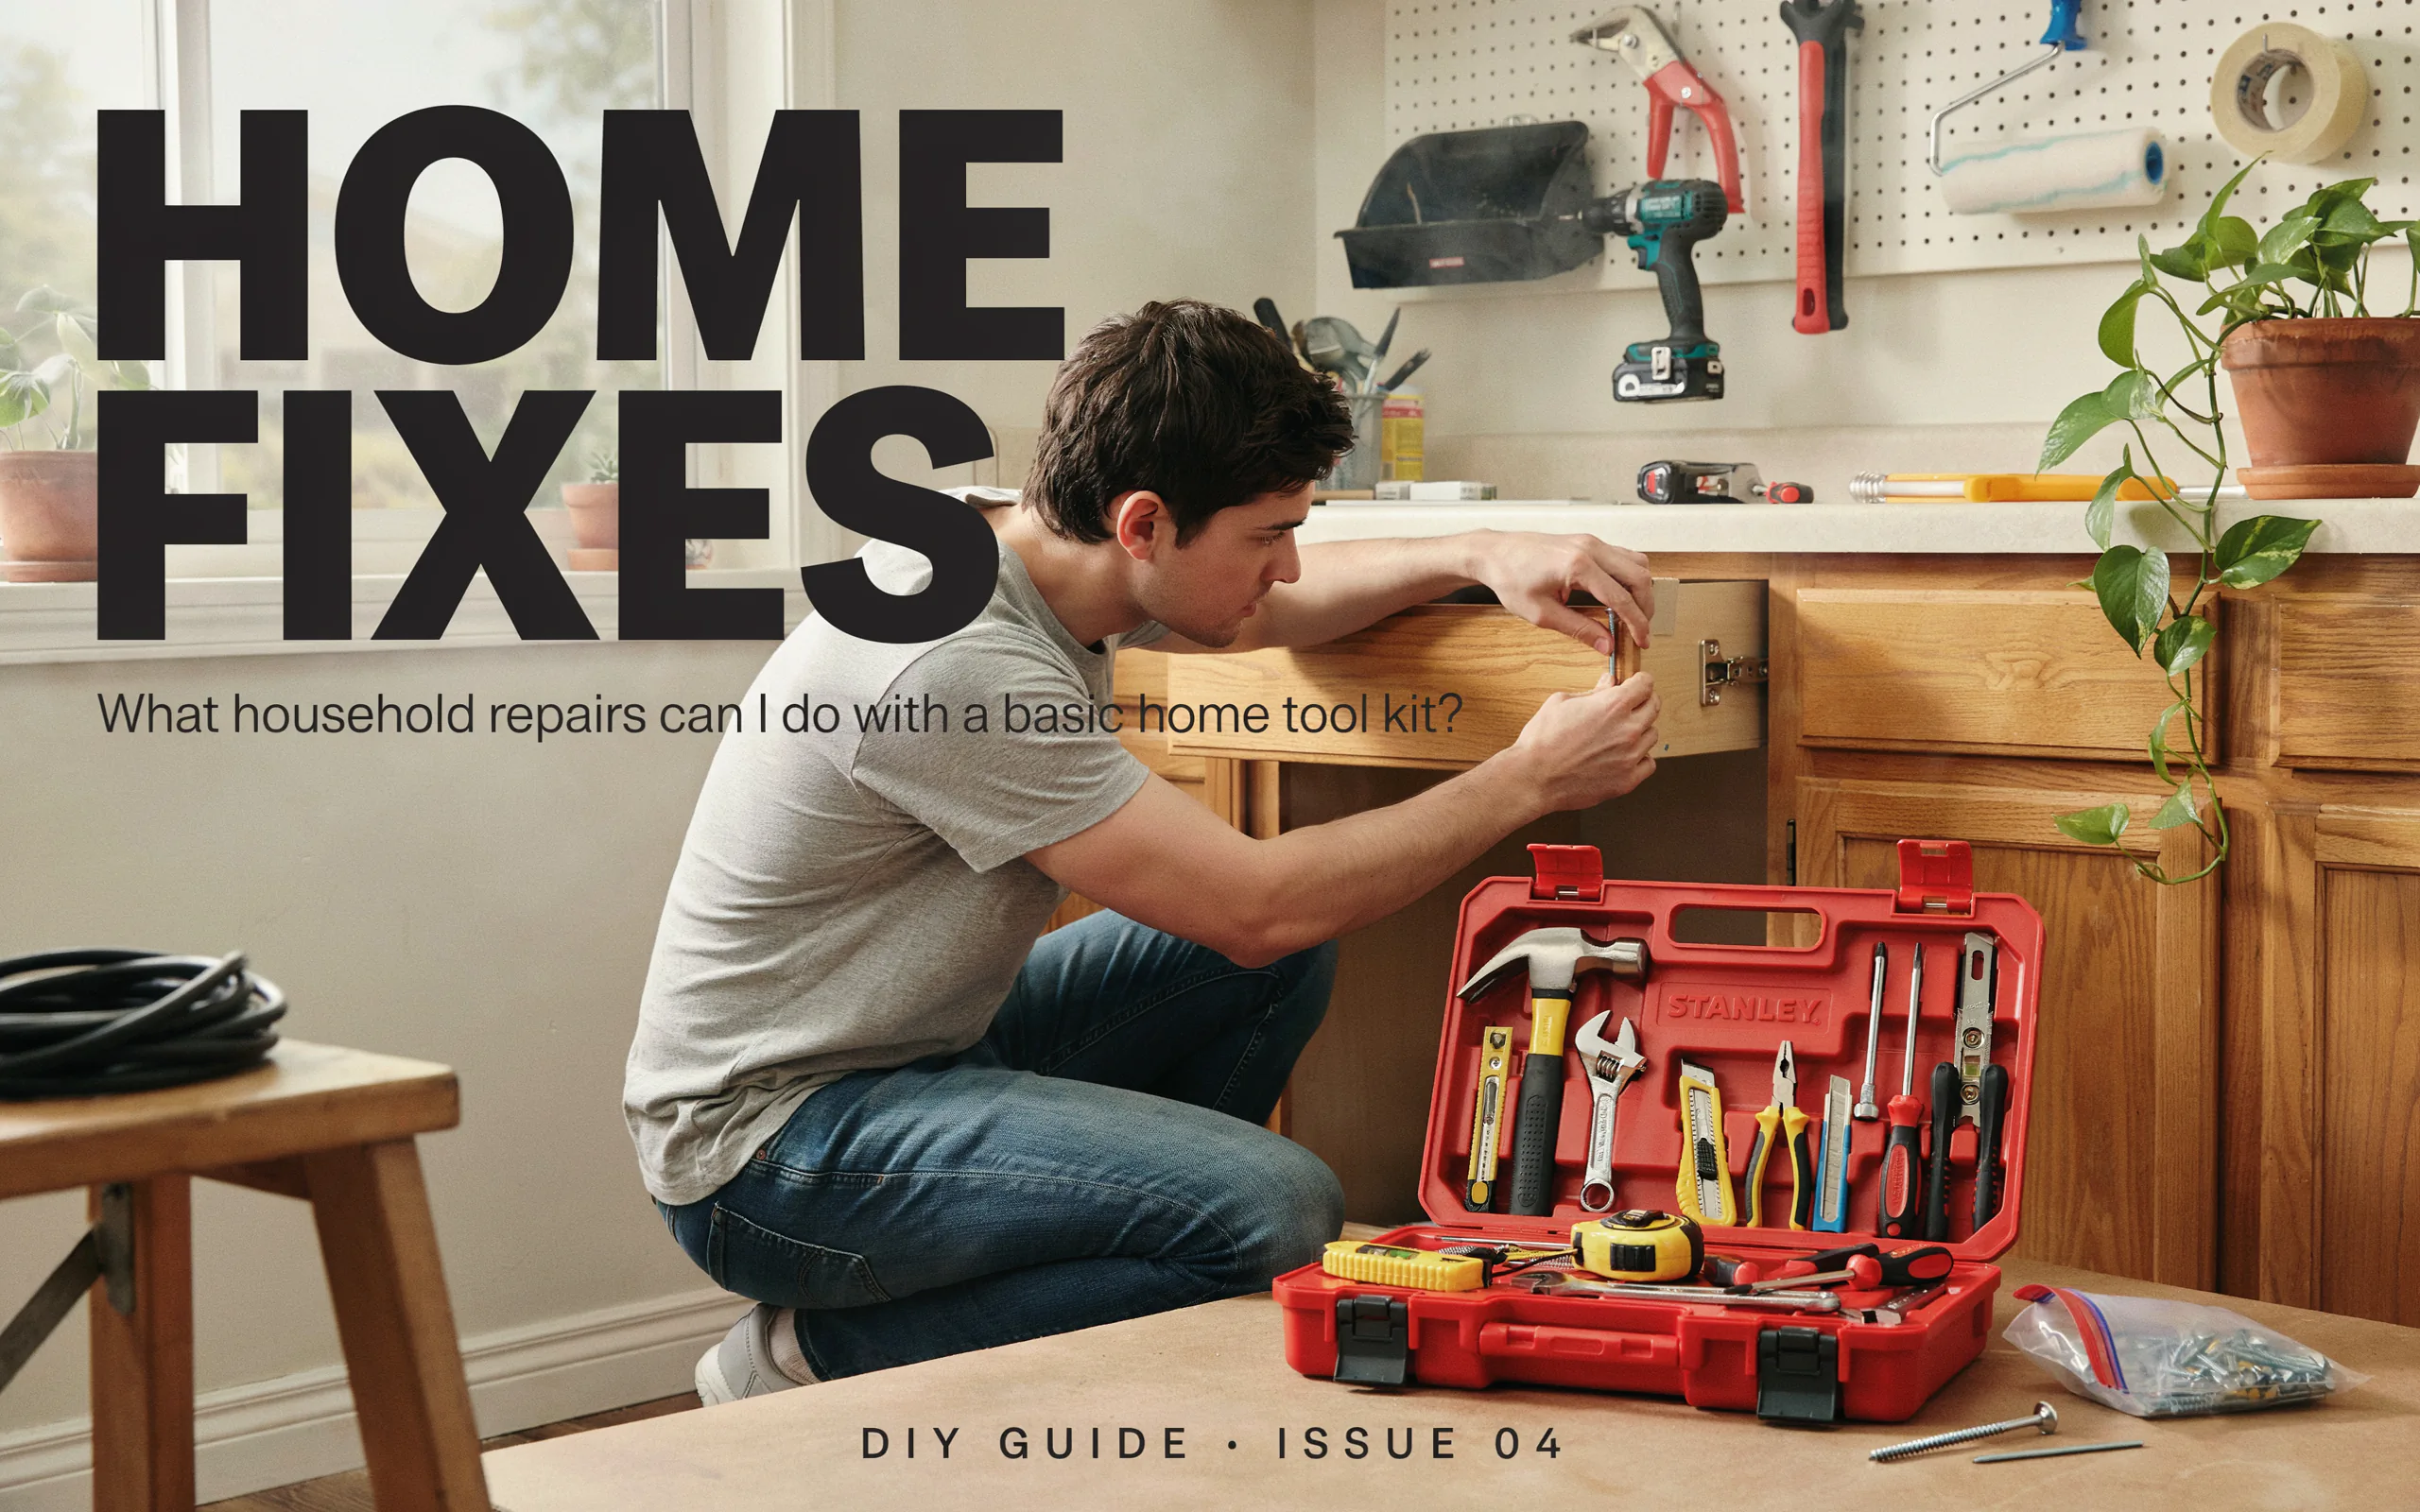
If you have ever wondered what household repairs can I do with a basic home tool kit, the answer is plenty. From fixing leaky faucets to patching walls and tightening loose furniture, a simple set of hand tools empowers you to handle dozens of common issues around your house without calling a professional.
Have you ever stood in your kitchen, staring at a dripping faucet, and thought, “I really should call a plumber”? Or maybe you have a wobbly chair that you keep avoiding because you are not sure how to fix it. The truth is, many common household repairs are much easier than they seem. With just a few basic tools, you can solve a surprising number of problems yourself.
The question “what household repairs can I do with a basic home tool kit” is one that many homeowners and renters ask themselves. And the good news is that the list is long. You do not need an expensive workshop full of power tools to keep your home in good shape. A simple kit with a hammer, screwdrivers, pliers, a wrench, and a tape measure can handle a wide range of everyday issues.
In this guide, we will walk through the essential tools you need, the repairs you can tackle, and the step-by-step methods to get them done. Whether you are a complete beginner or someone who has done a few small projects, this article will give you the confidence to pick up your tools and get to work.
As home improvement expert Bob Vila once said, “The best tool in your box is your own two hands. With a little knowledge, they can fix almost anything.” Let us explore exactly what you can accomplish.
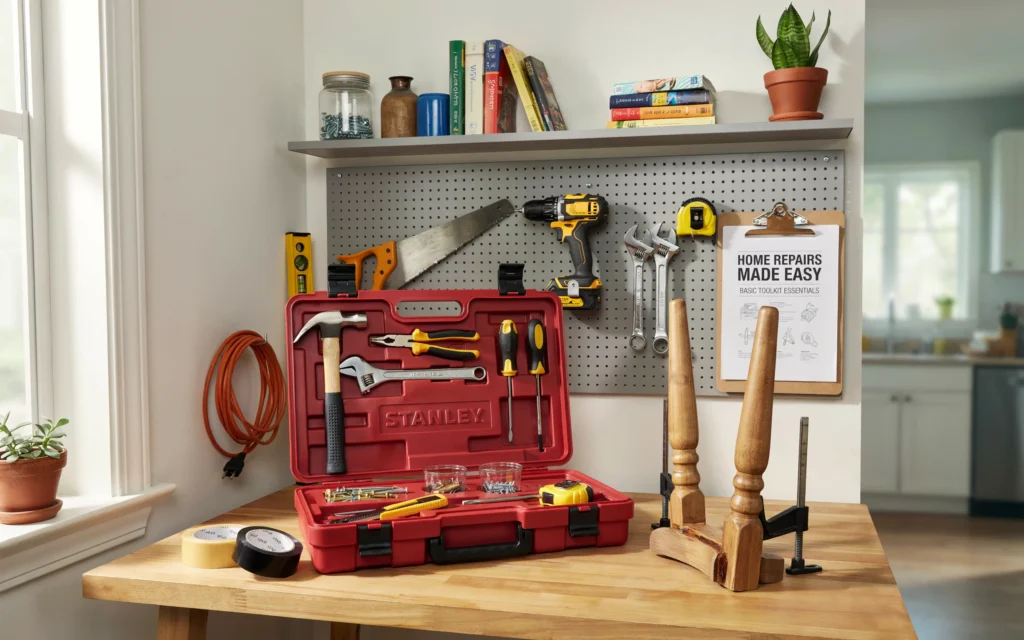
What Exactly Is a Basic Home Tool Kit?
Before we answer the question “what household repairs can I do with a basic home tool kit,” we need to define what that kit actually contains. A basic tool kit does not need to be fancy or expensive. In fact, you can put one together for less than the cost of a single service call from a handyman.
The Essential Tools You Need
Here is a simple list of tools that form the foundation of any basic home tool kit:
| Tool | Primary Use |
|---|---|
| Claw Hammer | Driving and removing nails |
| Screwdriver Set (Phillips and Flathead) | Tightening and loosening screws |
| Adjustable Wrench | Gripping and turning nuts and bolts |
| Pliers (Needle-Nose and Groove-Joint) | Gripping, bending, and cutting wire |
| Tape Measure | Measuring spaces and materials |
| Utility Knife | Cutting boxes, rope, and other materials |
| Level | Ensuring things are straight |
| Flashlight | Illuminating dark spaces |
| Assorted Screws and Nails | Replacing lost or damaged hardware |
With these tools alone, you can handle dozens of common repairs. Some people also add a cordless drill to their kit, but it is not strictly necessary for most basic tasks. A simple screwdriver will do the job just fine for many projects.
Why Having These Tools Matters
Think about how often something small breaks or comes loose around your home. A cabinet hinge gets loose. A picture frame falls off the wall. A drawer starts sticking. These little annoyances add up over time. When you have the right tools on hand, you can fix them in minutes instead of letting them pile up.
“Most people are surprised by how much they can fix themselves once they have the right tools,” says Sarah Richardson, a home renovation expert. “The confidence comes from knowing you have what you need to try.”
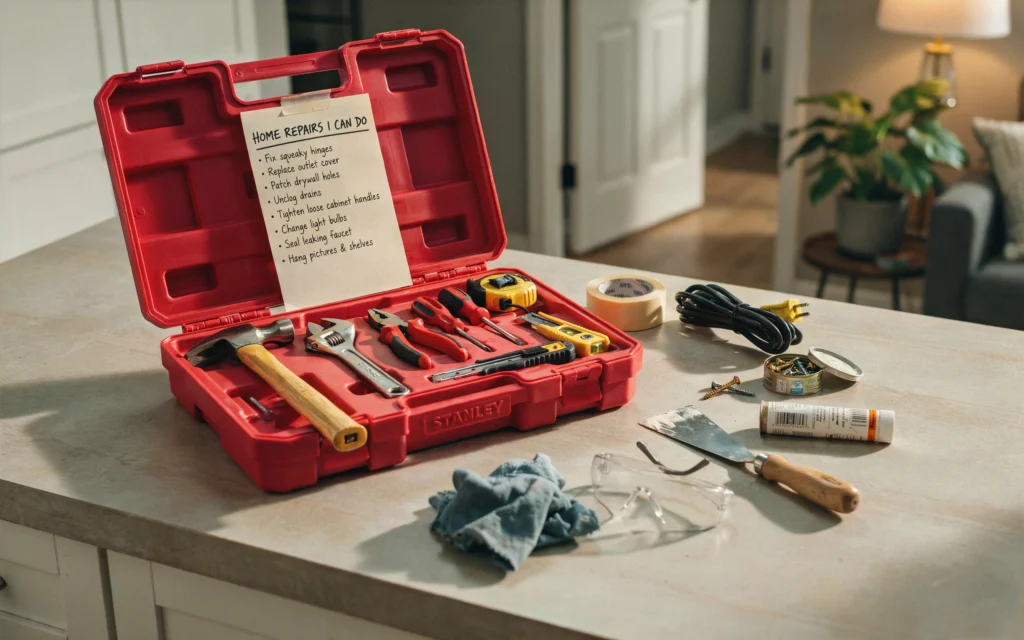
Now that we know what is in the kit, let us look at the actual repairs you can do.
Wall Repairs You Can Handle with Basic Tools
Walls take a lot of abuse over the years. From picture hooks to accidental bumps, they end up with holes, scratches, and marks. The good news is that wall repairs are among the easiest projects you can do with a basic home tool kit.
Patching Small Holes and Nail Marks
Every home has those tiny holes left behind by nails and screws. Maybe you moved a picture or took down a shelf. These small holes are simple to fix.
You will need your putty knife (or a small flathead screwdriver can work in a pinch), some spackling paste, and sandpaper. Clean the hole to remove any dust. Apply a small amount of spackle with your putty knife, pressing it into the hole and smoothing it flat. Let it dry for a few hours, then sand it smooth. If the wall is painted, you can touch it up with a small brush.
This is one of the most common answers to the question “what household repairs can I do with a basic home tool kit” because it requires almost no skill and very few tools.
Fixing Larger Holes
For holes bigger than a quarter, you may need a drywall patch. These are inexpensive and available at any hardware store. Place the patch over the hole, apply joint compound over it with your putty knife, let it dry, sand it, and paint over it. Your basic tool kit has everything you need except the patch itself.
Repairing Scuffed or Damaged Paint
Scuffs and scratches on walls happen all the time. You can often fix them with a damp sponge and some mild soap. For deeper marks, a small amount of touch-up paint applied with a small brush will do the trick. Keep a sample of your wall paint colors somewhere handy for exactly this purpose.
Furniture Repairs and Assembly
Furniture takes a beating from daily use. Chairs get wobbly. Drawers stick. Screws work themselves loose. These are all problems you can solve with your basic tool kit.
Tightening Loose Screws and Joints
This is one of the simplest repairs you will ever do. Walk through your home and check every piece of furniture. You will likely find several loose screws. Use your screwdriver to tighten them. For wooden furniture, wood glue can reinforce loose joints. Apply a small amount, clamp or hold the pieces together, and let it dry.
Fixing Wobbly Chairs and Tables
A wobbly table or chair is usually caused by a loose leg or joint. Flip the piece over and look at the connections. Tighten any visible screws or bolts with your screwdriver or adjustable wrench. If the joint is glued and has come apart, you can clean the old glue off, apply fresh wood glue, and clamp it until it dries.
Assembling Flat-Pack Furniture
If you have ever bought furniture from a big-box store, you know it comes with instructions and a bag of hardware. Your basic tool kit is perfect for assembly. The screwdrivers and adjustable wrench will handle most of the connections. A rubber mallet (not in every basic kit) can help with stubborn dowels, but a regular hammer with a piece of scrap wood works too.
Plumbing Repairs That Do Not Require a Plumber
Plumbing can sound intimidating, but many small plumbing issues are well within your abilities. The question “what household repairs can I do with a basic home tool kit” often includes plumbing tasks, and for good reason.
Fixing a Leaky Faucet
A dripping faucet is annoying and wasteful. It is also one of the easiest plumbing repairs to do. Turn off the water supply under the sink. Remove the faucet handle with your screwdriver. Use your adjustable wrench to loosen the valve stem. Inspect the washer or O-ring inside. If it is worn or damaged, replace it with a new one from the hardware store. Reassemble everything and turn the water back on.
Most faucet repairs take less than thirty minutes and cost only a few dollars for replacement parts.
Unclogging a Drain
Slow drains are common in bathrooms and kitchens. Before you reach for harsh chemicals, try a plunger. A simple plunger is one of the cheapest and most effective tools you can own. For sink drains, remove the stopper and use the plunger to create suction. For tougher clogs, you can use a drain snake or even a straightened wire coat hanger to pull out hair and debris.
Replacing a Showerhead
If your showerhead has low pressure or is just old, replacing it is a straightforward job. Use your adjustable wrench to remove the old showerhead. Clean the threads on the pipe, wrap them with plumber’s tape (also called Teflon tape), and screw on the new showerhead. Tighten it by hand, then give it a final quarter-turn with your wrench.
Stopping a Running Toilet
A toilet that keeps running is usually caused by a faulty flapper or fill valve. These parts are inexpensive and easy to replace. Turn off the water supply to the toilet, flush to empty the tank, and remove the old flapper. Install the new one according to the package instructions. Your adjustable wrench and maybe some pliers are all you need.
Door and Window Fixes
Doors and windows are used constantly, so they develop problems over time. Sticking doors, loose handles, and drafty windows are all fixable with basic tools.
Tightening Loose Door Handles and Knobs
A loose door handle is annoying and can eventually stop working altogether. Most handles have a small screw on the inside or a set screw on the base. Use your screwdriver to tighten it. If the screw is stripped, replace it with a new one from your hardware assortment.
Fixing a Sticking Door
Doors that stick or rub against the frame are often caused by humidity or settling. Look at the gap between the door and the frame. If it is uneven, you may need to tighten the hinge screws. Sometimes, simply tightening the hinges pulls the door back into alignment. If the door still sticks, you can sand the edge lightly with sandpaper.
Adjusting Windows That Will Not Close
Windows that are hard to open or close often have paint buildup or dirt in the tracks. Clean the tracks with a brush and some soapy water. If the window is wooden and swollen, sand the edges lightly. For metal or vinyl windows, a little silicone spray on the tracks can work wonders.
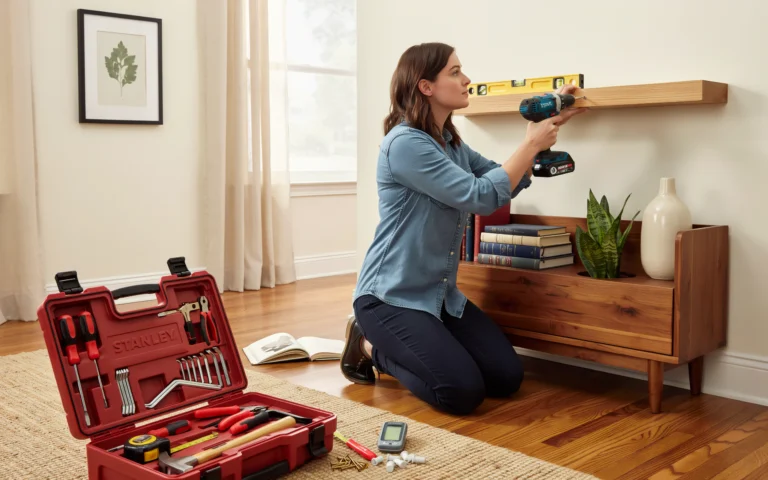
Hanging Pictures and Shelves
This is one of the most common uses for a basic tool kit. Use your tape measure to find the right position, your level to make sure everything is straight, and your hammer to drive the nail or your screwdriver to install wall anchors. For heavier items, use wall anchors that spread the load across the drywall.
Here is a quick reference for common hardware needs:
| Task | Tool Needed | Hardware Needed |
|---|---|---|
| Hang a light picture | Hammer | Small nail |
| Hang a heavy mirror | Drill or screwdriver | Wall anchor and screw |
| Install a shelf | Level, screwdriver | Brackets, screws, wall anchors |
| Repair a loose hinge | Screwdriver | New screws if needed |
Electrical Repairs You Can Safely Do
Electrical work can be dangerous, but there are some safe, simple tasks you can handle. Always turn off the power at the circuit breaker before doing any electrical work. If you are unsure about anything, call a professional.
Replacing Light Switches and Outlets
Replacing a standard light switch or outlet is a beginner-friendly task. Turn off the power, remove the cover plate with your screwdriver, unscrew the switch or outlet, disconnect the wires, and connect the new one the same way. Your basic screwdriver is all you need.
Changing Light Fixtures
Swapping out a light fixture is similar to replacing a switch. Turn off the power, remove the old fixture, and install the new one following the instructions. You may need your adjustable wrench for some connections.
Replacing Switch and Outlet Covers
This is the simplest electrical task of all. Unscrew the old cover plate and screw on a new one. It takes less than a minute and can make a room look much fresher.
“The key to safe DIY electrical work is knowing your limits,” advises electrician Mike Holmes. “Stick to replacing fixtures and switches, and leave the wiring upgrades to the pros.”
Outdoor and Garden Repairs
Your basic tool kit is also useful outside the house. From the garden to the garage, many outdoor tasks are well within your reach.
Repairing Fences and Gates
Loose fence boards and sagging gates are common problems. Use your hammer to re-nail loose boards. For gates, check the hinges and tighten any loose screws. If the gate is dragging on the ground, you may need to adjust the hinges or trim the bottom.
Fixing Garden Tools
Shovels, rakes, and hoes can come loose from their handles. A screwdriver or wrench can tighten the connections. For wooden handles, you can also add a screw to secure the head more firmly.
Hanging Outdoor Decorations
From wind chimes to birdhouses, hanging things outside uses the same skills as hanging pictures indoors. Your tape measure, level, hammer, and screwdriver will get the job done.
Preventive Maintenance Tasks
The best repairs are the ones you never have to do because you prevented them. Your basic tool kit can help with regular maintenance that keeps your home in good condition.
Checking and Replacing Air Filters
Your HVAC system needs its air filter changed every few months. This is a simple task that requires no tools at all in many cases. Some filters are held in place with a clip or screw, which your screwdriver can handle.
Cleaning Dryer Vents
A clogged dryer vent is a fire hazard. Disconnect the vent from the dryer and the wall, and clean out the lint. Your utility knife can help cut through any tape or seals. A screwdriver may be needed to remove the vent cover outside.
Tightening Loose Railings and Banisters
Over time, railings can become loose. Check the connections at the top and bottom. Tighten any screws or bolts with your screwdriver or wrench. This is an important safety task, especially if you have children or elderly family members.
When to Call a Professional
While we have covered many tasks, it is important to know your limits. Some jobs are best left to the experts. Complex plumbing, major electrical work, structural repairs, and gas line work all require professional training and licenses.
If you are ever unsure about a repair, stop and ask for help. There is no shame in calling a professional. The goal is to fix things safely, not to prove you can do everything yourself.
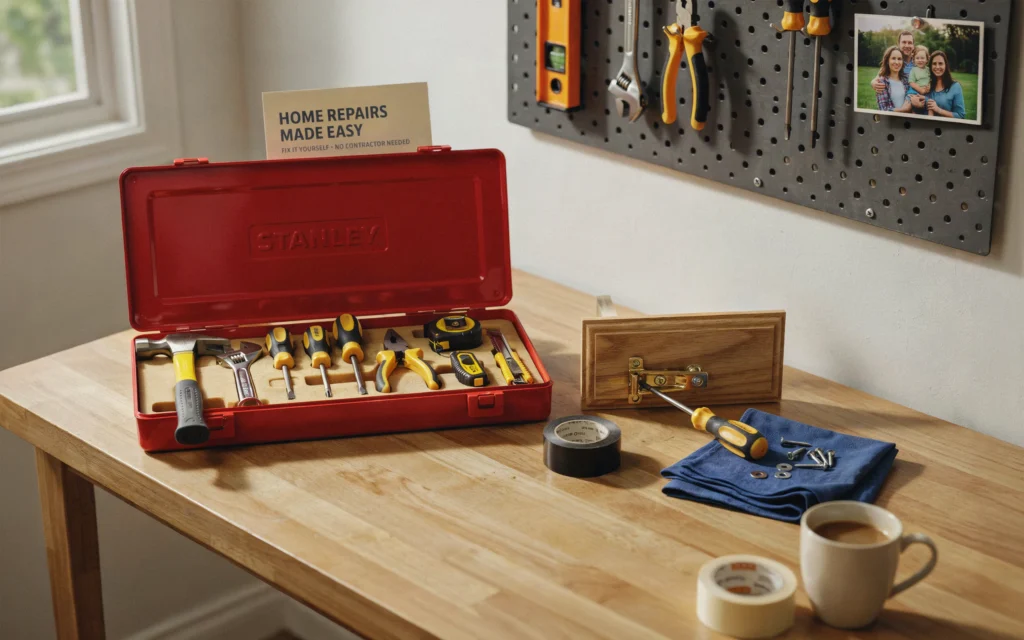
Building Your Skills Over Time
The more repairs you do, the more confident you become. Start with the simple tasks on this list and work your way up. Each successful repair teaches you something new and adds to your skills.
Keep your tools organized and in good condition. Clean them after each use and store them in a dry place. A little maintenance goes a long way in keeping your tools ready for the next job.
As you gain experience, you may want to add more tools to your kit. A cordless drill, a set of socket wrenches, and a stud finder are all useful additions. But remember, you can do a lot with just the basics.
Frequently Asked Questions
Q: What is the most important tool to have in a basic home tool kit?
A: A good screwdriver set with both Phillips and flathead tips is probably the most used tool. You will use it for everything from tightening cabinet hinges to assembling furniture.
Q: Can I really fix a leaky faucet with just basic tools?
A: Yes. Most leaky faucets just need a new washer or O-ring. Your adjustable wrench and screwdriver are all you need to take the faucet apart and replace the worn part.
Q: How do I know if a repair is too difficult for me?
A: If the repair involves gas lines, major structural changes, or complex electrical work, it is best to call a professional. Also, if you have tried a repair and it is not working, do not be afraid to ask for help.
Q: Do I need a power drill in my basic tool kit?
A: A power drill is helpful but not essential. Many tasks can be done with a manual screwdriver. If you do a lot of furniture assembly or hanging shelves, a drill will save you time.
Q: How much does a basic home tool kit cost?
A: You can put together a good basic kit for under fifty dollars. Many hardware stores sell pre-assembled kits that include all the essential tools.
Q: What household repairs can I do with a basic home tool kit that save the most money?
A: Fixing leaky faucets, patching walls, tightening loose furniture, and unclogging drains are among the biggest money-savers. Each of these tasks would cost you a service call fee if you hired someone.
Q: How often should I check my tools?
A: Check your tools every few months. Look for rust, loose handles, or dull blades. Clean and maintain them so they are ready when you need them.
Conclusion
So, what household repairs can I do with a basic home tool kit? The answer is: a lot more than you probably think. From patching holes in walls to fixing leaky faucets, tightening loose furniture to hanging pictures, your basic tools give you the power to handle dozens of common problems around your home.
The key is to start small and build your confidence. Pick one repair from this list and try it. You might be surprised at how easy it is. Each success will encourage you to take on the next project.
Remember the words of home improvement author Cheryl Mendelson: “A home is not a museum; it is a place where life happens. And where life happens, things break. Learning to fix them is part of caring for your home and yourself.”
Your basic home tool kit is more than just a collection of metal and plastic. It is a set of capabilities. It is the difference between feeling helpless when something breaks and feeling capable of handling it. It saves you money, time, and the hassle of waiting for a repair person.
So go ahead. Open that toolbox. Pick a project. And discover just how much you can do with a few simple tools. Your home will thank you, and so will your wallet.
Related posts
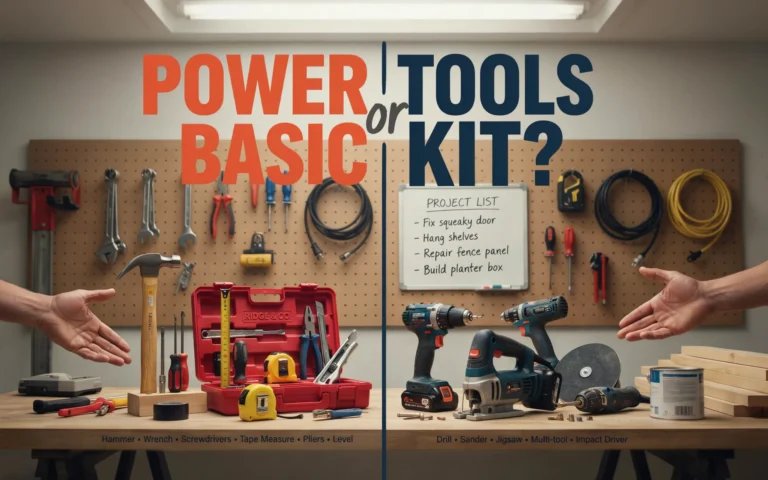 Do I Need Power Tools Or Is A Basic Home Tool Kit Enough
Trying to decide between power tools or is a basic home tool kit enough for your home repairs? A basic kit handles 80% of small jobs.…
 How To Use A Home Tool Kit To Hang Pictures And Shelves
Learn how to use a home tool kit to hang pictures and shelves safely. This guide shows you each step, the tools you need, and fixes…
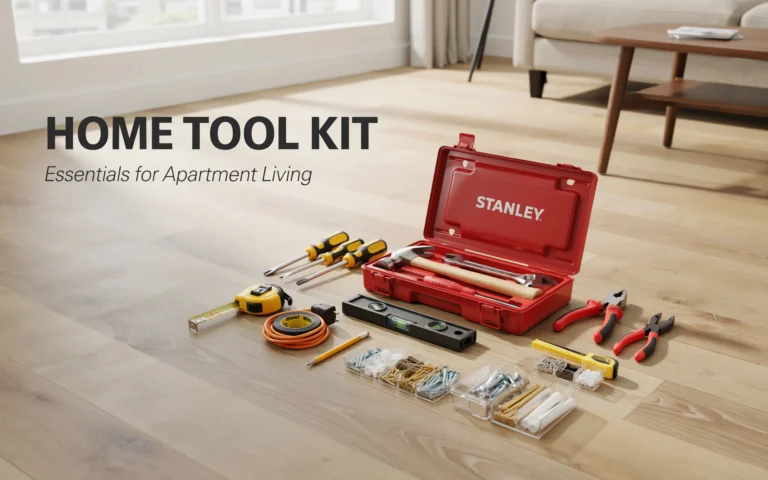 How To Choose A Home Tool Kit For Apartment Living
Looking to choose a home tool kit for apartment living? Get a simple guide on must have tools, sizes, storage tips, and budget friendly picks for…