How to upgrade your home tool kit as your skills grow

Ready to fix more things yourself? Learn how to upgrade your home tool kit as your skills grow from beginner to confident DIYer. This guide shows which tools to add next, how to pick quality gear, and smart ways to store everything safely.
Every home project teaches you something new. Maybe you started with a simple hammer and a screwdriver. You fixed a loose drawer or hung a picture. That felt good. Now you want to do more. You want to build shelves, repair drywall, or install new light fixtures. That means you need better tools. But you do not need to buy everything at once. The smart way is to upgrade your home tool kit as your skills grow step by step. This keeps your costs low and your learning curve smooth. Let me show you how to do this the right way.
“The best tool is the one you know how to use safely. Buy better tools as you learn better skills.”
— Norm Abram, Master Carpenter
Start With The Basic Home Tool Kit
Before you add anything new, look at what you already own. A basic home tool kit usually has these items. Check if you have them in good shape.
| Basic Tool | What It Does |
|---|---|
| Claw hammer | Drives and pulls nails |
| Phillips and flathead screwdrivers (3 sizes each) | Turns screws in tight spots |
| Adjustable wrench | Loosens or tightens nuts and bolts |
| Needle nose pliers | Grips small parts and cuts wires |
| Tape measure (16 feet or longer) | Measures spaces accurately |
| Utility knife | Cuts boxes, drywall, and rope |
| Level (2 feet) | Makes sure things are straight |
If you have these tools, you can handle most small fixes around the house. But as you try bigger projects, you will notice limits. That is your signal to upgrade your home tool kit as your skills grow. Do not feel bad about outgrowing your starter set. That means you are learning.
Signs You Need To Upgrade Your Home Tool Kit As Your Skills Grow
How do you know when it is time for better tools? Watch for these clear signs.
You spend too much time on each task. A cheap screwdriver strips screw heads. A dull saw makes rough cuts. You fight the tool instead of the project. That frustration tells you to upgrade.
You borrow the same tool from a neighbor every week. If you ask for a power drill or a stud finder more than twice, buy your own. Borrowing is fine for one time jobs. But regular needs mean you should own that tool.
Your projects get bigger and more complex. Moving from hanging a picture to building a bookshelf changes what tools you need. You cannot build a frame with only a hammer and nails. You need saws, clamps, and squares.
You watch DIY videos and feel lost. The person on screen uses a mitre saw or a pocket hole jig. You have no idea what those are. That is a good sign. It means you are ready to learn new skills and buy new tools.
When you see these signs, do not rush to the store. Make a list first. Think about what you want to build or fix in the next six months. Then plan how to upgrade your home tool kit as your skills grow in a way that matches your actual projects.
The First Upgrade: Better Measuring And Marking Tools
Good work starts with good measurements. A cheap tape measure can stretch or bend. That throws off every cut you make. So your first upgrade should focus on accuracy.
Get a quality tape measure. Look for one with a stiff blade that extends 8 feet without bending. The hook on the end should move slightly. That movement gives you accurate inside and outside measurements. Brands like Stanley, Milwaukee, and Komelon make reliable ones for 15 to 25 dollars.
Add a combo square. This tool measures 90 and 45 degree angles. It also marks straight lines across boards. A 6 inch or 12 inch combo square fits most home shops. Look for cast iron heads, not plastic. Expect to pay 20 to 40 dollars for a good one.
Buy a laser level. This sounds fancy but basic models cost only 30 to 50 dollars. A laser level helps you hang multiple pictures in a straight line. It also helps you install shelves, tile backsplashes, and mount TVs. You will wonder how you lived without it.
Get a digital angle finder. This is for advanced projects like building stairs or cutting crown molding. But even beginners use it to check if a table leg is truly square. Prices start at 25 dollars.
Better measuring tools save you from wasted wood and redo jobs. One mistake on a cut can cost you a 60 dollar sheet of plywood. A 20 dollar tool prevents that loss. That is a smart way to upgrade your home tool kit as your skills grow without wasting money.
“Measure twice, cut once is not just a saying. It is a rule that separates good work from wasted materials. Invest in tools that help you measure better.”
— Tom Silva, This Old House General Contractor
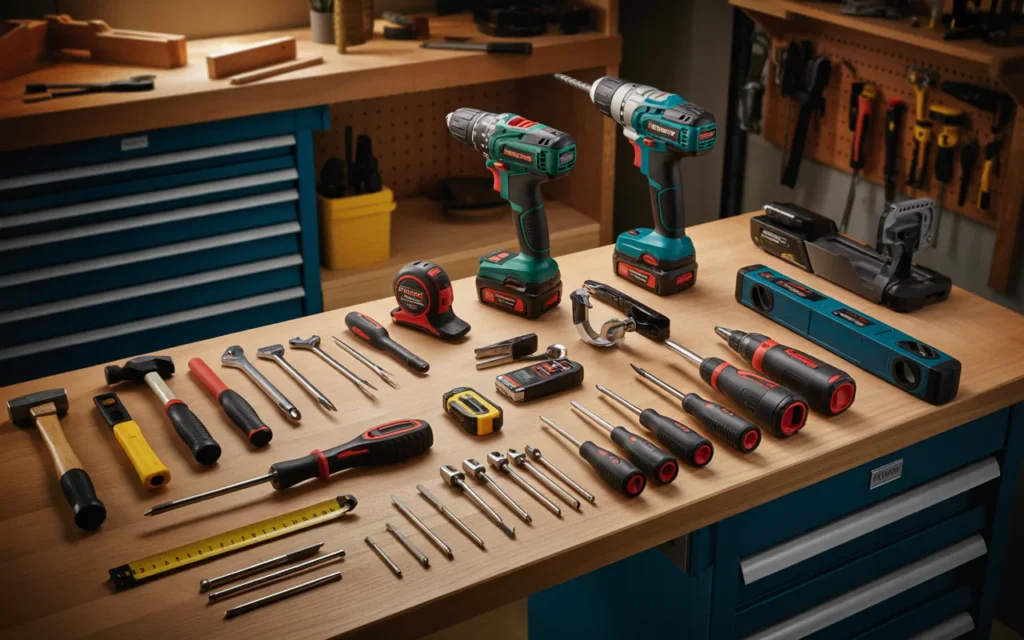
Adding Power Tools The Smart Way
Power tools change how you work. They make tasks faster and easier. But they also cost more money. So add them one at a time. Learn each tool fully before buying the next.
Cordless Drill: Your New Best Friend
This is the first power tool for almost every DIYer. A cordless drill drives screws faster than any screwdriver. It also drills holes in wood, plastic, and soft metal. Do not buy the cheapest one. Look for these features.
| Feature | Why It Matters |
|---|---|
| 18 volts or higher | Enough power for most home tasks |
| Two speed settings | Low for screws, high for drilling |
| Clutch with 15+ settings | Prevents stripping screws |
| Lithium ion battery | Holds charge longer than old batteries |
| Extra battery | Lets you keep working while one charges |
A good drill costs 80 to 150 dollars. Brands like DeWalt, Makita, Bosch, and Ryobi make solid choices. Once you own a drill, you will use it for every project. That is the first big step to upgrade your home tool kit as your skills grow.
The Circular Saw And Jigsaw
After the drill, add a saw. A circular saw cuts straight lines across plywood and 2×4 lumber. A jigsaw cuts curves and circles. Which one first? Think about your projects.
If you plan to build shelves, repair fences, or make a workbench, get a circular saw first. Look for one with a 7.25 inch blade. That size cuts through standard lumber in one pass. Prices range from 60 to 150 dollars.
If you plan to make decorative projects like cutting shapes for kids toys or fitting pipes around curves, get a jigsaw first. Look for one with variable speed and a tool free blade change. Prices start at 40 dollars.
Do not buy both at once. Pick one saw, learn to use it safely for three months, then save for the other. This slow approach helps you upgrade your home tool kit as your skills grow without going broke.
Specialty Tools For Advanced Projects
Once you finish 10 or more projects, you might want to try specific jobs. Each job needs a few specialty tools. Here is a table to guide you.
| Project Type | Specialty Tools Needed | Approximate Cost |
|---|---|---|
| Installing tile | Notched trowel, tile cutter, grout float, sponge | 50 to 100 dollars |
| Building furniture | Pocket hole jig, bar clamps, random orbital sander | 80 to 200 dollars |
| Electrical work | Non contact voltage tester, wire strippers, outlet tester | 30 to 60 dollars |
| Plumbing repairs | Basin wrench, pipe cutter, plumber’s tape, torch (for soldering) | 40 to 150 dollars |
| Painting rooms | Paint sprayer, edger tool, angle brush, roller frame with extension pole | 70 to 200 dollars |
Do not buy all these tools at once. Pick one project. Buy exactly what you need for that job. After finishing, store the tools properly. Next time you do a similar project, you already own the right gear. This is the smartest way to upgrade your home tool kit as your skills grow project by project.
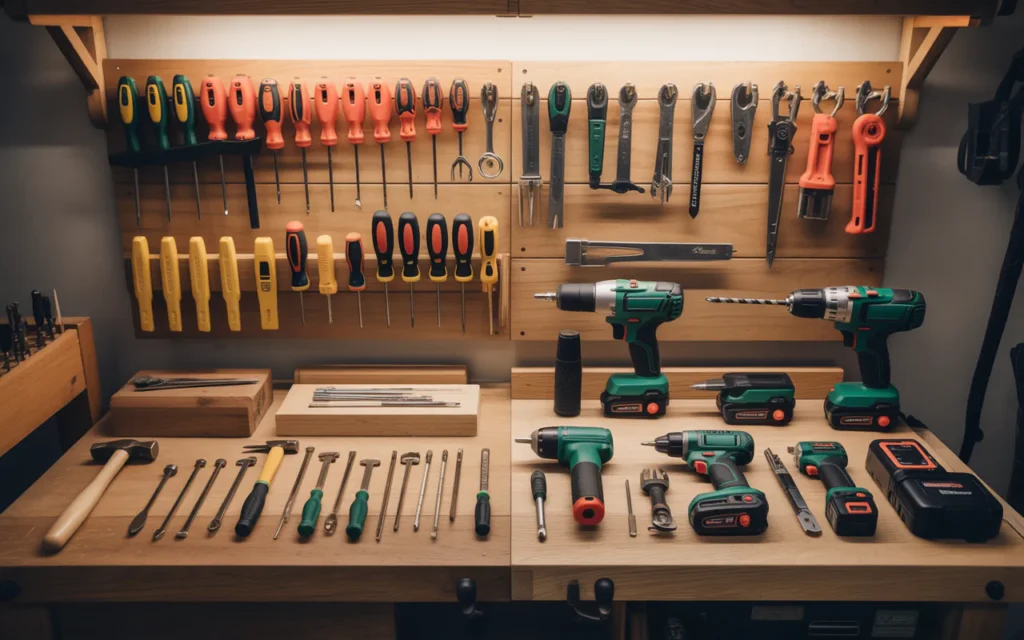
Tool Storage And Organization For Growing Collections
As you add more tools, you need a place to keep them. A messy pile of tools leads to lost time, broken tips, and duplicate purchases. Good storage protects your investment.
Start with a tool bag or small toolbox. For the first year, a 16 inch tool bag works fine. Look for one with many pockets. Keep similar tools together. Screwdrivers in one pocket. Pliers in another. Tape measure clipped outside.
Add a tool box with drawers. When you own 30 or more tools, a bag gets too heavy. A rolling tool chest or a portable stack system works better. The stack systems from DeWalt, Milwaukee, or Ridgid let you add boxes as you grow. Each box holds one type of tool. One box for drills and bits. Another for saws and blades. A third for clamps and squares.
Build a pegboard wall. A 4 foot by 4 foot pegboard on your garage wall holds frequently used tools. Hang your hammer, level, tape measure, and safety glasses where you see them every day. This saves you from digging through boxes for common tools.
Label everything. Use a cheap label maker or masking tape and a marker. Write “drywall tools” on the box. Write “sanding supplies” on another. Labels save you 10 minutes of searching before every project.
Good storage makes it easy to upgrade your home tool kit as your skills grow because you always know what you own and what you still need.
Safety Gear That Grows With Your Skills
Beginners often skip safety gear. That is a mistake. As your skills grow, you use more dangerous tools. Table saws, angle grinders, and nail guns can hurt you fast. Protect yourself first.
Safety glasses cost 5 to 15 dollars. Buy three pairs. Keep one in your tool bag, one in your workshop, and one in your car. Wear them every time you drill, cut, or hammer. One flying nail or wood chip can blind you. No project is worth that risk.
Hearing protection matters when you use power tools. A circular saw makes 110 decibels. That damages your ears after 15 minutes. Get foam earplugs or earmuffs. Use them for any tool that makes loud noise.
Dust mask or respirator keeps your lungs clean. Sanding wood, cutting drywall, and painting release fine dust into the air. An N95 mask costs 2 dollars. A respirator with replaceable filters costs 30 dollars. Buy the respirator if you plan to do many dusty jobs.
Work gloves protect your hands from splinters, hot metal, and sharp edges. Look for gloves with rubber dots on the palms. They give you grip without losing feel. Replace them when holes appear.
First aid kit hangs on your workshop wall. Stock it with bandages, antiseptic wipes, tweezers, and medical tape. Add a bottle of saline for eye rinsing. Check the kit every six months.
Every time you upgrade your home tool kit as your skills grow, also check your safety gear. New tools need new protection. A router needs hearing protection and dust collection. A soldering iron needs fire resistant gloves. Think safety first.
“I have seen too many DIYers lose a weekend of work to a simple injury that a 10 dollar pair of glasses would have prevented. Protect your eyes, ears, and lungs like your life depends on it. Because it does.”
— Bob Vila, Home Improvement Expert
How To Choose Quality Without Breaking The Bank
You do not need the most expensive tools. But you should avoid the very cheapest ones. Here is a simple rule for how to upgrade your home tool kit as your skills grow on a budget.
Buy used for some tools. Hand tools like hammers, wrenches, and levels last forever. You can find them at garage sales and pawn shops for 80 percent less than new. Check for rust and cracks. A little rust cleans off with sandpaper. A cracked handle or bent shaft means pass.
Buy new for safety tools. Safety glasses, dust masks, and gloves should be new. You do not know what a used respirator has been through. Same for electrical testers and batteries.
Rent expensive tools you use once. A concrete mixer costs 500 dollars to buy. You can rent one for 50 dollars a day. A floor sander costs 300 dollars to buy. Rent for 40 dollars. Renting lets you upgrade your home tool kit as your skills grow without buying tools you rarely touch.
Wait for sales. Home improvement stores put tools on sale around Father’s Day, Black Friday, and New Year’s. Online prices drop in July and January. Make a wish list and watch prices. You can save 30 to 50 percent.
Consider house brands. Stores like Harbor Freight, Home Depot (Ryobi), and Lowe’s (Kobalt) make tools that work fine for home use. A 40 dollar drill from Harbor Freight will drill hundreds of holes. It will not last as long as a 150 dollar DeWalt. But for a beginner, that is fine. When it breaks, you will know which features matter to you. Then buy a better one.
Maintaining Your Expanded Tool Kit
Tools need care to last. A rusty saw blade cuts poorly. A dull drill bit slips and scratches your work. A dirty tool rusts faster. Spend 10 minutes on cleaning after each project. That adds years to your tools.
Clean saw blades with a blade cleaner spray or warm soapy water. Resin from wood builds up on the teeth. That causes burning and rough cuts. Wipe the blade with a rag after use.
Oil moving parts. Pliers, wrenches, and adjustable clamps have hinges and joints. Spray them with WD 40 or 3 in 1 oil once a month. Work the oil in by opening and closing the tool several times.
Sharpen cutting tools. Utility knife blades should change after every big project. Chisel and plane blades need sharpening with a stone or diamond plate. A dull chisel is dangerous. It slips instead of cutting.
Check cordless batteries. Lithium ion batteries lose capacity if stored dead or fully charged. Keep them at 50 percent charge for long term storage. Use them at least once every two months. Replace batteries that take longer than an hour to charge or that run out in five minutes.
Dry tools before storage. If you work in a damp basement or garage, moisture rusts your tools. Wipe each tool with a dry rag before putting it away. Add silica gel packets to your tool boxes. Change them every six months.
A well maintained tool kit saves you money. You do not have to replace broken tools. That means you can afford to upgrade your home tool kit as your skills grow in other areas, like adding a air compressor or a table saw.
Frequently Asked Questions
How often should I upgrade my home tool kit as my skills grow?
Upgrade every three to six months or after finishing three projects. Look at which tool slowed you down most on the last job. That is your next upgrade.
What is the single best tool to buy after a basic kit?
A cordless drill. It replaces screwdrivers for 90 percent of tasks. It also drills holes for anchors and dowels. No other tool gives you as much value.
Should I buy tool sets or individual tools?
Buy individual tools. Sets often include low quality items you never use. A 100 dollar set might have 50 tools. Only five of them are good. Spend that 100 dollars on three excellent tools instead.
Can I upgrade my home tool kit as my skills grow with a small budget?
Yes. Set aside 20 dollars per week. In one month you have 80 dollars. Buy one good tool each month. Over one year you add 12 quality tools. That is plenty for most home projects.
What tools should I never buy used?
Batteries, safety gear, electrical testers, and saw blades. These wear out or degrade over time. New ones cost little and give you peace of mind.
How do I know when a tool brand is good enough for home use?
Read reviews from other home DIYers. Look for comments about ease of use, battery life, and customer service. Avoid brands that only sell through social media ads. Stick to brands found in hardware stores.
Do I need cordless or corded tools?
Cordless for tools you move around a lot (drill, jigsaw, sander). Corded for tools you use in one spot for a long time (table saw, mitre saw, shop vac). Corded tools never run out of battery and cost less.
Conclusion
Your home tool kit should grow just like your skills do. Start small. Use basic tools for simple fixes. Notice what limits you. Then buy exactly what you need for the next project. This step by step approach saves money, reduces clutter, and builds confidence.
Remember to upgrade your home tool kit as your skills grow in a way that fits your actual work. Do not buy a tile saw if you never install tile. Do not buy a welding kit if you only hang pictures. Stay focused on what you truly build and fix.
Every tool you add should solve a problem you faced in a recent project. That keeps your kit lean and useful. And always buy safety gear before fancy tools. Your hands, eyes, and ears are the only ones you get.
Now go look at your current tool kit. Find one tool that frustrates you. Replace it this week. Then pick your next project. Buy one new tool for that project. Use it, learn it, and store it well. That is how you grow as a DIYer. That is how you build a tool kit you can be proud of for years.
“The difference between a frustrated homeowner and a happy DIYer is often just one good tool. Buy what you need, learn how to use it, and take care of it. Everything else is just practice.”
— Amy Matthews, Contractor and TV Host
Related posts
 Top Starter Mechanic Tool Kits for Apprentices: Essential Sets for Your Trade
Explore top starter mechanic tool kits for apprentices. Compare sets for mechanics, electricians, and other trades to find your essential tools. Starting an apprenticeship is an…
 Automotive Tool Kits vs. Mechanic Tool Sets: What’s the Difference?
Understand the key differences between automotive tool kits vs. mechanic tool sets. Learn which is best for your car maintenance needs. When looking for tools to…
 Top Automotive Tool Kits for Garage Workshops: A Buyer’s Guide
Find the top automotive tool kits for garage workshop. Compare versatile sets for car maintenance, home repairs, and DIY projects to choose the best fit. Setting…