How Can A Beginner Learn DIY Skills With A Home Tool Kit
If you wonder how a beginner learn DIY skills with a home tool kit, this guide gives simple steps, essential tool lists, and easy first projects. Start fixing and creating with confidence today.
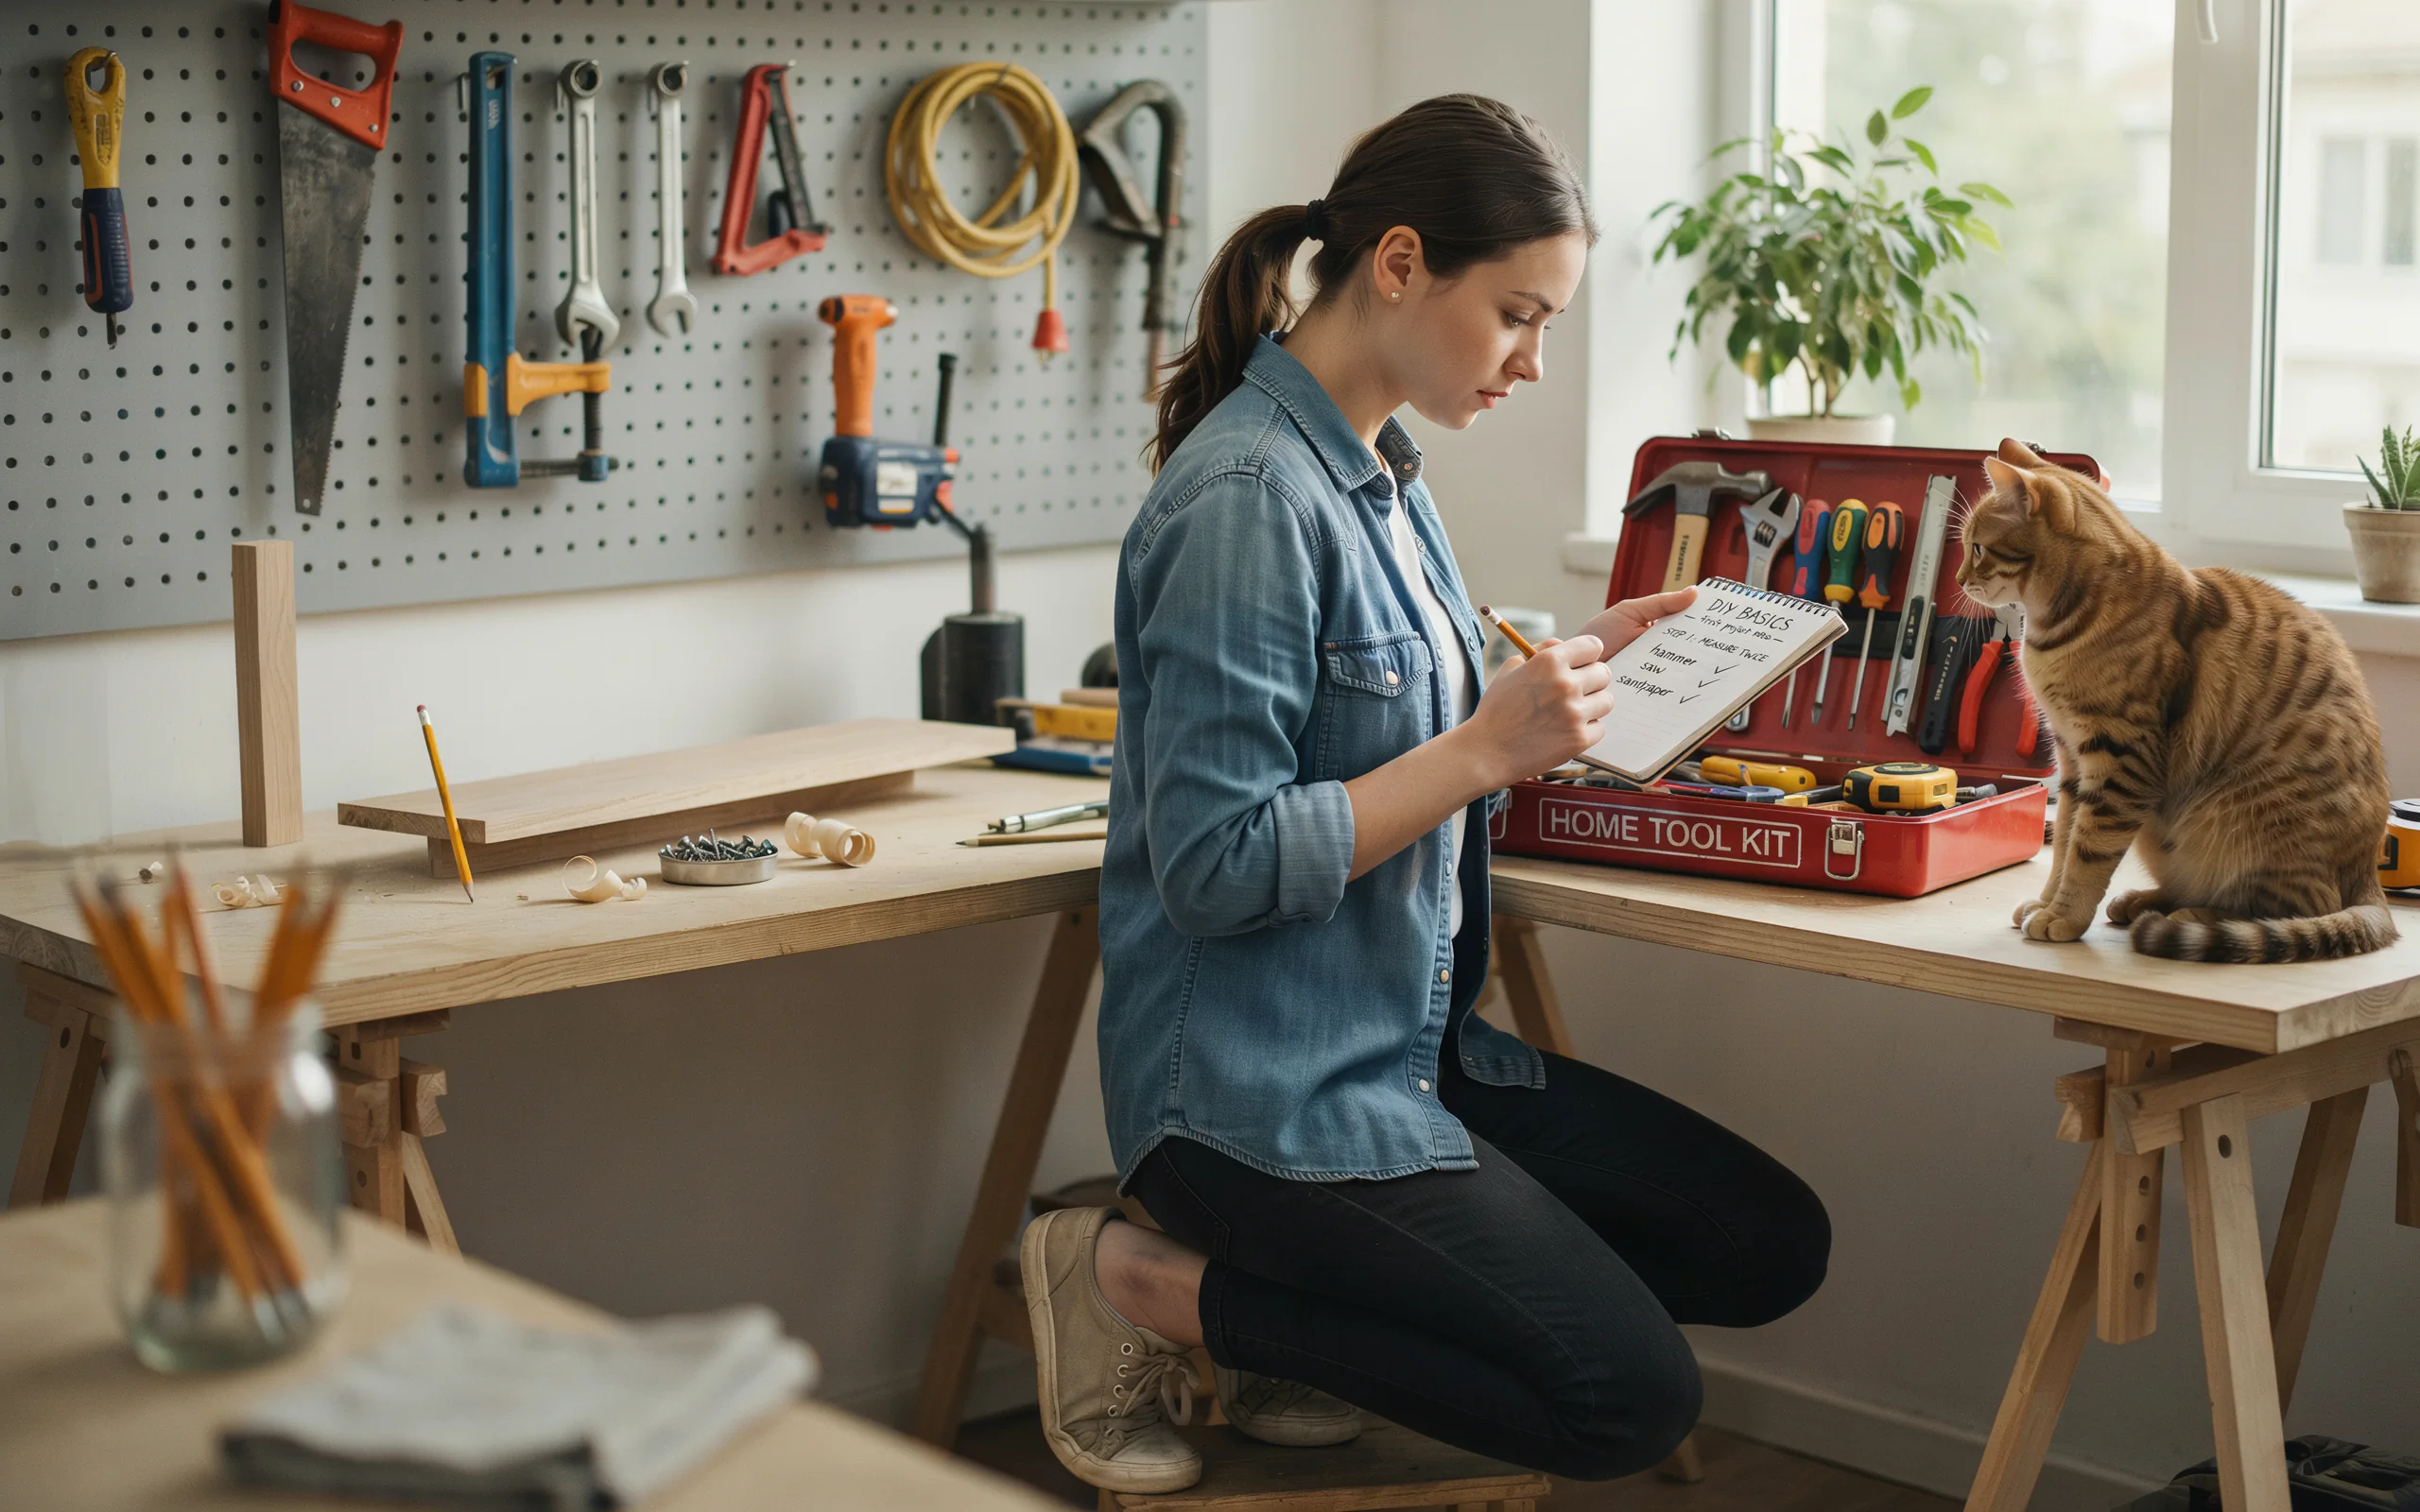
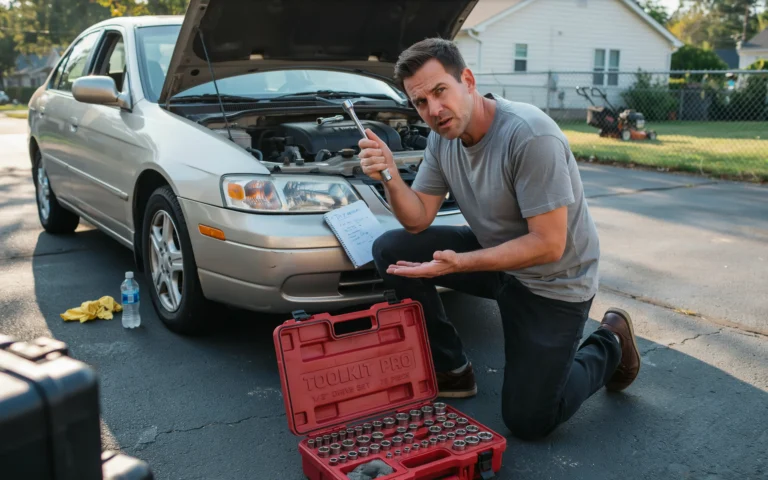
Have you ever looked at a loose shelf or a dripping tap and wished you could fix it yourself? You are not alone. Many people want to do simple home repairs and create their own small projects, but they feel unsure where to start. The good news is that any person can learn. All you need is a basic home tool kit and a little patience. This article will show you exactly how a beginner learn DIY skills with a home tool kit. You will find clear steps, friendly advice, and real examples that help you grow from a complete novice to someone who can handle everyday tasks around the house.
Learning DIY is like learning to cook. You do not start with a fancy five course meal. You begin with boiling an egg or making toast. In the same way, you start with small repairs and very simple builds. Your home tool kit does not need to be large or expensive. A few good quality tools will carry you through many common projects. The key is to practice, stay safe, and enjoy the process of learning by doing.
“The most important tool in your box is your willingness to try. Everything else you can learn along the way.” – Bob Vila
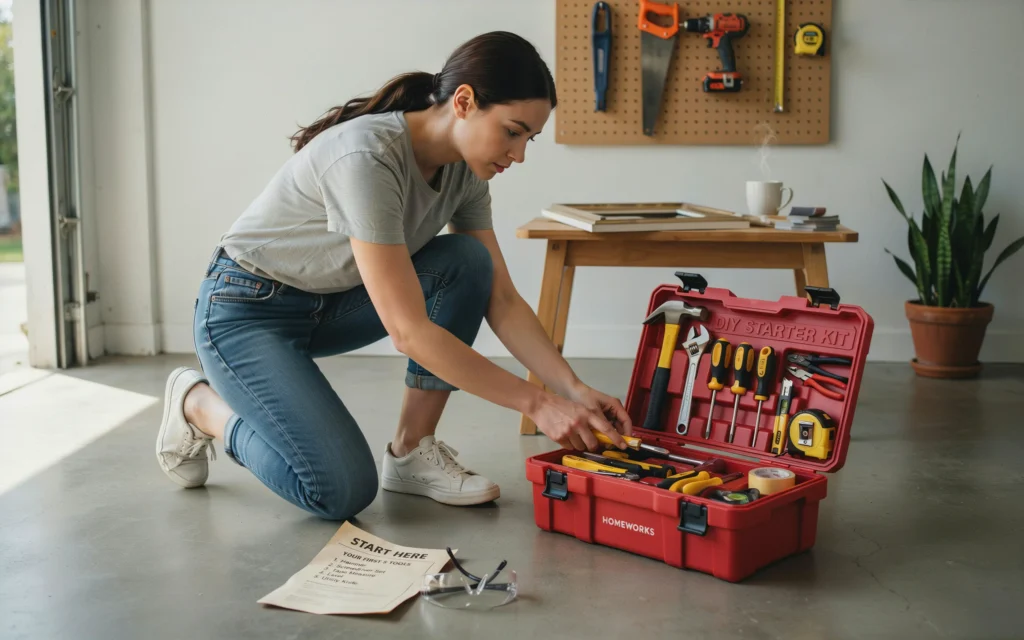
What Exactly Is a Home Tool Kit for a Beginner?
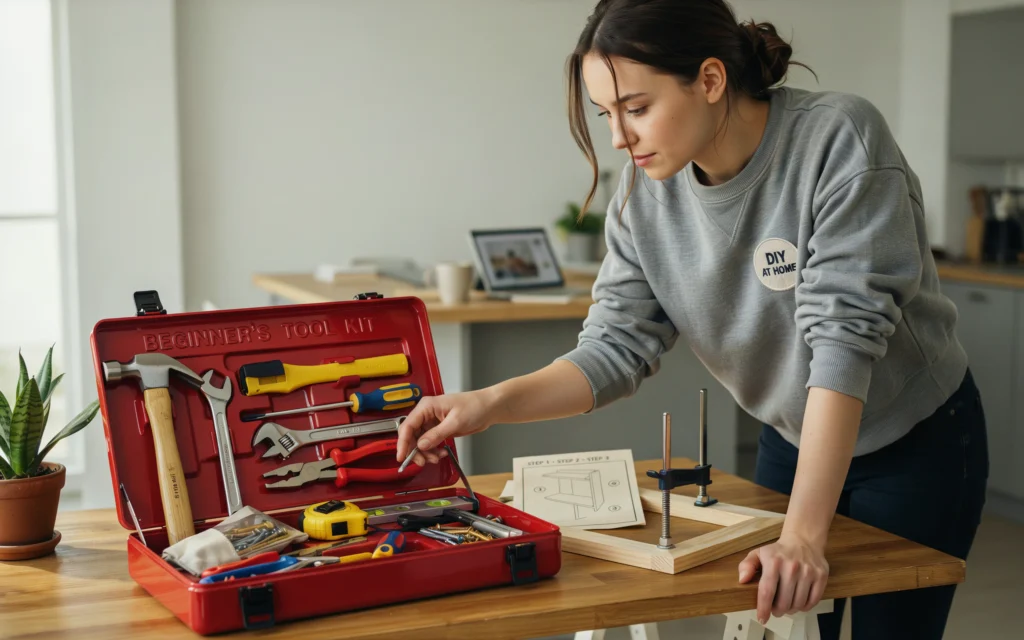
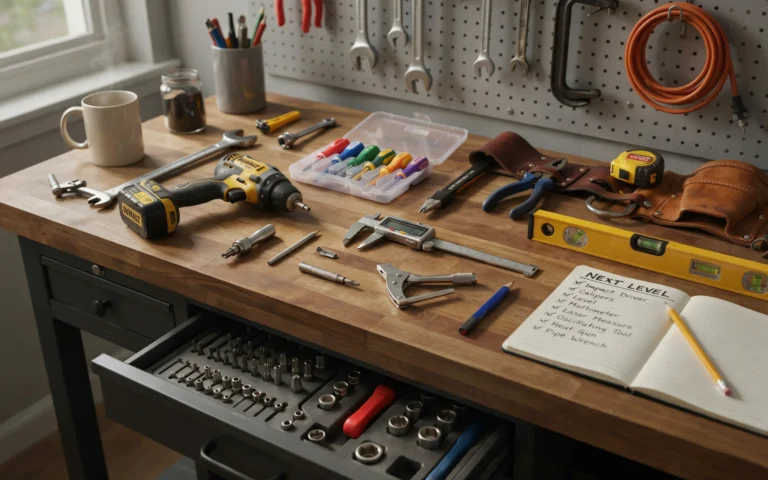
A home tool kit for a beginner is a small collection of basic hand tools. These tools help you tighten, loosen, measure, cut, and join things. You do not need power tools at first. A simple kit might include a hammer, screwdrivers, pliers, a tape measure, a level, an adjustable wrench, and a utility knife. You can buy a pre made kit from any hardware store, or you can build your own piece by piece. The most important thing is that the tools feel comfortable in your hand and that you know what each one does.
When you start, focus on quality over quantity. A cheap hammer that breaks after two uses will frustrate you. A medium priced hammer from a known brand will last for years. The same goes for screwdrivers and pliers. Many hardware stores sell starter sets that are perfect for a beginner learn DIY skills with a home tool kit. These sets usually come with a small carrying case, which helps you keep everything organized.
Essential Tools for Your First Home Tool Kit
Below is a simple table of the basic tools you should gather. Each tool has a clear job. You can add more later as your skills grow.
| Tool | What It Does | Why a Beginner Needs It |
|---|---|---|
| Claw hammer | Drives and removes nails | Hanging pictures, assembling furniture, small carpentry |
| Phillips and flathead screwdrivers (set) | Turns screws of different types | Tightening door handles, fixing toys, securing light switch plates |
| Adjustable wrench | Grips and turns nuts and bolts | Fixing leaky faucets, assembling shelves, bicycle repairs |
| Needle nose pliers | Grips small objects and cuts wire | Electrical work, jewelry making, pulling out broken items |
| Tape measure (16 or 25 feet) | Measures lengths and distances | Hanging curtains, measuring for shelves, checking furniture fit |
| Level (small, 9 or 12 inches) | Shows if a surface is straight | Hanging pictures straight, installing towel bars, aligning cabinets |
| Utility knife with snap off blades | Cuts cardboard, drywall, rope, plastic | Opening boxes, cutting wallpaper, trimming materials |
| Flashlight or headlamp | Lights up dark work areas | Looking under sinks, working in closets, finding dropped screws |
With these eight tools, you can handle around 80 percent of the small repairs and projects that come up in a typical home. That is a great start for any person who wants a beginner learn DIY skills with a home tool kit.
Step One: Get Comfortable with Your Tools Before Any Project
Before you try to fix something broken, spend time just holding your tools. Pick up your hammer. Feel its weight. Swing it gently (not near anything breakable) to see how it moves. Open and close your pliers. Turn screws into a scrap piece of wood. This might sound silly, but it builds muscle memory and confidence. You would not play a piano song without first learning where the keys are. The same idea applies here.
Take your tape measure and measure different things in your home. How wide is your sofa? How tall is your fridge? How long is the hallway? Then try to cut a piece of string to that exact length. This simple exercise teaches you accuracy. Good DIY work depends on measuring twice and cutting once.
“Skill comes only with practice, patience, and a willingness to make mistakes. Every expert was once a beginner.” – Martha Stewart
Step Two: Start with No Risk Practice Pieces
Many beginners make the mistake of trying to fix something important as their first project. That adds pressure and fear of breaking things more. Instead, find scrap materials. Ask a neighbor for leftover wood. Use old cardboard boxes. Pick up free pallets from a store (but check they are clean and safe). Practice hammering nails into a piece of scrap wood until you can drive the nail straight without bending it. Practice using your screwdriver to drive screws into an old board. Practice cutting along a straight line with your utility knife on cardboard.
These practices cost you nothing but time. They also teach you how much force to use. For example, a beginner often hits nails too hard or too soft. After ten minutes of practice on scrap wood, you will feel the right rhythm. The same goes for turning screws. You learn to stop before the screw head sinks too deep or strips the hole.
Step Three: Learn One Simple Repair Project at a Time
After practicing on scrap, move to real but very easy projects around your home. Choose tasks that have no risk of injury or major damage. Good first projects include:
- Tightening a loose cabinet handle
- Fixing a wobbly table leg
- Hanging a small picture frame
- Replacing a worn out washer in a tap (with water turned off)
- Putting together a flat pack piece of furniture
- Changing a shower head
Each of these projects uses only two or three tools from your kit. They also have clear steps that you can follow from a YouTube video or a written guide. The feeling of success after finishing one small repair will push you to try the next one.
A Sample Beginner Project: Tightening a Loose Door Handle
Let me walk you through a common repair. Your bedroom door handle feels loose. You can wiggle it up and down. This is a perfect chance for a beginner learn DIY skills with a home tool kit. First, look at the handle. Most have a small slot or a tiny screw on the side. Use the right size flathead or Phillips screwdriver from your kit. Turn the screw clockwise (righty tighty) until it feels snug. Do not over tighten, or you might strip the screw. Test the handle. If it still moves, check for a second screw on the opposite side. Tighten that one too. The whole job takes two minutes. You have just fixed something yourself. That small win builds real confidence.
Step Four: Use Free Online Resources Wisely
You do not need to take expensive classes to learn DIY. The internet is full of free, high quality tutorials. YouTube has thousands of videos made by experienced tradespeople. Search for phrases like “how to fix a leaky tap” or “how to hang a shelf on drywall.” Watch two or three different videos before you start. Different people explain things in different ways. One video might show a trick that saves you time. Another might warn you about a common mistake.
Besides video, look for written guides with clear photos. Websites like Family Handyman, This Old House, and DIY Network offer step by step instructions. Many local libraries also have DIY books with excellent diagrams. The key is to stick with trusted sources. Avoid random blog posts that seem too simple or that skip important safety steps.
“The beautiful thing about learning DIY is that someone has already made every mistake before you. Learn from them, and you will save time and money.” – Tim Allen
Step Five: Build Safety Into Every Project
Safety sounds boring, but it is the most important part of helping a beginner learn DIY skills with a home tool kit. When you are new, you do not yet know what can go wrong. A hammer can slip and hit your thumb. A utility knife can cut toward your hand instead of away. A screwdriver can poke your palm if it jumps out of a screw head.
Follow these simple safety rules every single time:
- Wear safety glasses when hammering or cutting. Tiny pieces of metal or wood can fly into your eyes.
- Keep your work area clean. Clutter on the floor makes you trip. Clutter on your work surface hides sharp tools.
- Cut away from your body. Always push a knife or saw in a direction that will not stab you if it slips.
- Unplug electrical items before you try to fix them. Turn off water at the main valve before you open a pipe.
- If a task feels beyond your skill, stop. There is no shame in calling a professional. You can watch them work and learn for next time.
Step Six: Keep a Simple Project Log
One excellent way for a beginner learn DIY skills with a home tool kit is to write down what you do. Keep a small notebook in your tool kit. After each project, write the date, what you fixed, which tools you used, and any lessons you learned. For example: “April 5 – Tightened kitchen cabinet hinge. Used Phillips screwdriver. Lesson: The hinge had two screws, not one. Always check both.” This log becomes your personal reference. After six months, you will be surprised how many skills you have collected.
The log also helps you notice which tools you use most often. You might see that you reach for your screwdrivers and pliers more than anything else. That tells you where to invest in better quality later. And if you rarely use a tool, you can keep it but not worry about upgrading it.
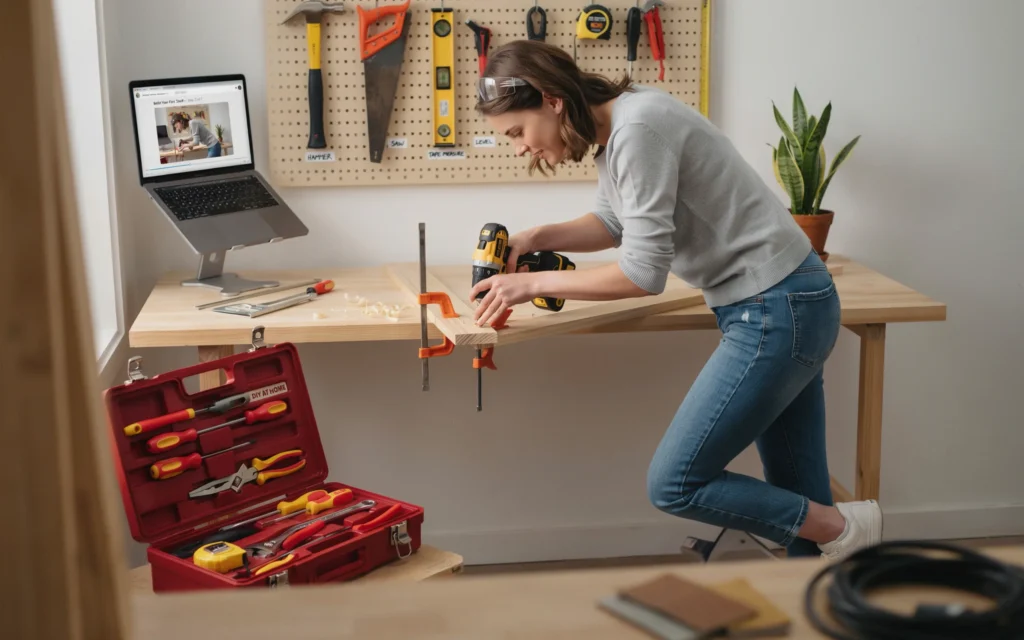
Growing Beyond the Basics: Your First Small Build
After you have completed five or six small repairs, try a simple build from scratch. Building something new feels different from fixing something old. It gives you a chance to measure, cut, and assemble with your own hands. A great first build is a wooden shelf. You can buy a pre cut pine board and simple metal brackets. Your home tool kit has everything you need: hammer for nails (or screwdriver for screws), tape measure, level, and pencil.
Here is how a beginner learn DIY skills with a home tool kit by building a shelf:
- Measure the wall space where you want the shelf. Write down the width.
- Buy a board that is slightly shorter than that width (so it fits easily between walls if needed).
- Hold the board on a flat surface. Mark where the brackets will go. Usually two brackets for a shelf up to three feet long.
- Use your level to make sure the bracket positions are horizontal. This is very important for a straight shelf.
- Attach the brackets to the wall. Most brackets come with screws and wall anchors. Follow the package instructions.
- Place the board on top of the brackets. Screw the board to the brackets from underneath, or let it rest freely if the brackets have pins.
- Put a heavy book on the shelf to test it. Then step back and admire your work.
This project teaches measuring, leveling, drilling (if you use a drill, but you can use a screwdriver manually), and following instructions. It might take you an hour the first time, but that is fine. Speed comes with repetition.
Common Mistakes Beginners Make (And How to Avoid Them)
Even with good advice, every beginner makes mistakes. That is normal. Here are some frequent errors and simple fixes.
| Common Mistake | Why It Happens | How to Avoid It |
|---|---|---|
| Using the wrong screwdriver | Phillips screws have a cross shape; flatheads have a single line. Forcing the wrong type damages the screw | Look at the screw head before you choose your tool. Keep both types in your kit |
| Hammering nails that bend | Hitting off center or too softly at first | Practice on scrap wood. Hold the nail near the tip until the first hit sets it in place |
| Measuring only once | Rushing to finish leads to wrong cuts | Say out loud “measure twice, cut once” every time. It works as a mental reminder |
| Over tightening screws | Not feeling when the screw is seated | Stop turning when the screw head is flush with the surface. A little more will strip the hole |
| Losing small parts | Screws or washers roll away and disappear | Use a magnetic tray or a simple kitchen bowl to hold small pieces while you work |
How to Expand Your Home Tool Kit Over Time
As you complete more projects, you will notice tasks that need a tool you do not have. That is the right time to buy that tool. Do not buy tools just because a sale looks good. Buy them because you have a real need. Good additions for a growing DIYer include:
- A cordless drill (very useful for driving screws faster and drilling holes)
- A set of combination wrenches (for nuts and bolts of different sizes)
- A rubber mallet (for tapping things together without leaving marks)
- A stud finder (to find wooden beams behind drywall for hanging heavy items)
- A hacksaw (for cutting metal pipes or plastic rods)
Each new tool opens up new project possibilities. But remember, you can still do amazing work with just the basic eight tools. More tools do not automatically make you a better DIYer. Practice and patience do.
Keeping Your Tools in Good Shape
Your home tool kit will serve you for many years if you treat it well. Wipe dirt and dust off your tools after each use. A dirty hammer head can slip. A rusty screwdriver can fail to turn a screw. Store your tools in a dry place. If you live in a humid area, put a small silica gel packet inside your tool box to absorb moisture. Oil your pliers and wrench hinges once a year with a drop of machine oil. Check your utility knife blades often and snap off the dull section for a fresh edge.
When you respect your tools, they respect you back. They work better, and they keep you safer. This is a valuable lesson for anyone who wants a beginner learn DIY skills with a home tool kit. The tool is your partner. Treat it well.
Building Confidence Through Small Wins
Do not compare yourself to people on social media who build entire furniture sets from scrap wood. They have years of experience. You are at the start, and that is perfectly fine. Every time you successfully tighten a screw or hang a shelf, you prove to yourself that you can do this. Confidence grows from real action, not from watching others.
Set a small goal for each week. Week one: learn the name of every tool in your kit. Week two: tighten every loose screw you can find in your home (door hinges, drawer pulls, light switch plates). Week three: practice hammering ten nails into a scrap board. Week four: change your shower head. By the end of a month, you will feel like a different person. You will look at small problems around the house and think, “I can fix that.”
“Confidence in DIY does not come from never failing. It comes from knowing you can handle small failures and still finish the job.” – Norm Abram
Frequently Asked Questions (FAQs)
1. How long does it take for a beginner learn DIY skills with a home tool kit?
Most people feel comfortable with basic repairs after about 10 to 20 hours of practice spread over a few weeks. You will fix your first item successfully in under an hour. Real confidence grows over three to six months of regular small projects.
2. Do I need expensive tools to start?
No. A good basic set costs between $30 and $60. Avoid the very cheapest tools because they break easily. But you do not need professional grade tools either. Mid range brands from a hardware store work perfectly for beginners.
3. What is the very first project I should try?
Tightening a loose screw on a cabinet door or a light switch plate. This uses one tool (screwdriver) and takes 30 seconds. It gives you an instant success feeling.
4. Can a beginner learn DIY skills with a home tool kit if I rent my home?
Yes. You can still do small repairs and improvements that do not damage the property. Tighten things, replace washers, install removable shelves, hang pictures with small nails. Ask your landlord before drilling holes or changing fixtures.
5. What if I break something while trying to fix it?
That happens to everyone. Even professionals break things sometimes. Learn what went wrong, then either call a professional or try again with a new approach. Broken items can often be replaced cheaply. The lesson you learn is worth more than the part.
6. Are power tools necessary for a home tool kit?
No. Power tools like drills and saws are helpful but not essential for a beginner. You can do most small repairs with hand tools only. Add power tools later when you find a task that truly needs one.
7. How do I know if a DIY job is too hard for me?
If the job involves gas lines, major electrical wiring, load bearing walls, or anything that could cause serious injury or property damage, call a pro. For everything else, watch a few tutorials. If you feel scared or confused after watching, it might be too hard for now. Save it for later.
8. Where can I find free scrap materials for practice?
Ask at hardware stores for broken or cut wood pieces. Check free community groups online. Look for clean pallets behind stores (ask permission first). Old furniture left on the curb can be taken apart for wood and hardware.
Conclusion
Anyone can learn DIY. You do not need natural talent or years of training. You just need a small home tool kit, a willingness to try, and a smart approach. Start by getting comfortable with your tools. Practice on scrap materials. Then move to simple real repairs like tightening handles or fixing wobbly tables. Use free online tutorials from trusted sources. Stay safe with glasses and clean work areas. Keep a log of your projects to see your progress. Build a simple shelf when you feel ready. And most importantly, celebrate every small win.
Now you know how a beginner learn DIY skills with a home tool kit. The only thing left is to pick up your hammer or screwdriver and start. Your first project is waiting. It might be that loose drawer handle or that picture that has been leaning against the wall for months. Go fix it. You will feel great afterward. And soon enough, your friends will ask you, “How did you learn to do that?” You can smile and say, “I just started small and kept going.”
Related posts
 What Additional Tools Should I Add To My Home Tool Kit Over Time
Wondering what additional tools should I add to my home tool kit over time? Start with a stud finder, then add clamps, a multimeter, and a…
 What If My Automotive Tool Kit doesn’t have a tool I need
If my automotive tool kit doesn’t have a tool I need, I find simple fixes like borrowing, renting, or using creative substitutes. This guide shares easy,…
 What is the Best Multi-Tool to Carry? Top Picks
Discover the best multi-tool to carry for your daily tasks or outdoor adventures. Find top picks and key features to choose your perfect portable toolkit. Choosing…