What Additional Tools Should I Add To My Home Tool Kit Over Time
Wondering what additional tools should I add to my home tool kit over time? Start with a stud finder, then add clamps, a multimeter, and a pipe wrench. This guide gives you a smart order.
You already have a hammer, a couple of screwdrivers, and a tape measure. That basic set handles small fixes like hanging a picture or tightening a loose knob. But as you live in your home longer, new projects come up. You might need to fix a leaking pipe, hang a heavy shelf, or check why an outlet stopped working. That is when you ask yourself: what additional tools should I add to my home tool kit over time? The answer is not to buy everything at once. Instead, you grow your collection slowly, based on the tasks you face. This guide walks you through a smart order of tools. It saves you money, space, and frustration.
Building a home tool kit is like cooking. You start with salt, pepper, and a pan. Then you add spices and better knives as you try new recipes. The same idea works for tools. Do not rush. Buy one new tool when a job needs it. Over a few years, you will have a well rounded kit. Let me help you decide what comes first, second, and later.
“The right tool for the right job makes all the difference.” – Bob Vila
The Smart Way to Grow Your Tool Collection
Many people buy too many tools too fast. They end up with a drawer full of gadgets they never use. Others wait until a repair fails and then rush to the store. Neither way is good. The best method is to look at your home and your habits. Do you own a house with old plumbing? Then pipe tools should come early. Do you like building small furniture? Then clamps and squares are for you.
Think about what additional tools should I add to my home tool kit over time based on frequency. If you fix one thing per month, add one tool per quarter. That keeps your spending low and your skill learning steady. Also, borrow or rent very expensive tools for one time jobs. For example, a tile cutter or a concrete drill may only get used once. No need to own those.
Another tip: buy good quality but not professional grade. Mid range brands like Stanley, Irwin, or Ryobi serve most homeowners well. Avoid the cheapest dollar store tools because they break fast. Also avoid the most expensive contractor brands unless you use them weekly.
First Round of Additional Tools (After the Basics)
Let us assume your basic kit already has a hammer, a Phillips and flathead screwdriver, a 25 foot tape measure, a utility knife, and an adjustable wrench. That is your starting point. Now, what additional tools should I add to my home tool kit over time for the first upgrade? Here are four smart choices.
Stud finder. Hanging a heavy mirror, a TV mount, or a shelf needs to hit a wooden stud behind the drywall. Guessing leads to broken drywall and fallen items. A basic electronic stud finder costs about $15 to $30. It beeps when it finds the stud edge. This tool pays for itself the first time you avoid a repair.
24 inch level. Your small 9 inch level works for picture frames. But for shelves, cabinets, or a wall mounted coat rack, you need a longer level. A two foot level gives you a true straight line. It also helps when checking if a floor slopes or a window frame is square.
Set of clamps. You might think clamps are only for woodworking. Not true. Clamps hold a pipe steady while you unscrew a fitting. They keep two pieces of wood together while glue dries. They also help when you need a third hand to hold something in place. Start with two quick grip clamps of 6 inch and 12 inch sizes.
Rubber mallet. A steel hammer can damage tiles, wood trim, or a stuck pipe. A rubber mallet gives a softer but still strong hit. Use it to seat a stubborn plumbing trap, tap a floor tile into place, or close a paint can without bending the lid.
Basic vs Next Level Tools
| Basic Tool | Additional Tool to Add |
|---|---|
| Hammer | Rubber mallet |
| Screwdriver set | Screwdriver with interchangeable bits |
| Tape measure | Laser distance measurer |
| Utility knife | Drywall saw |
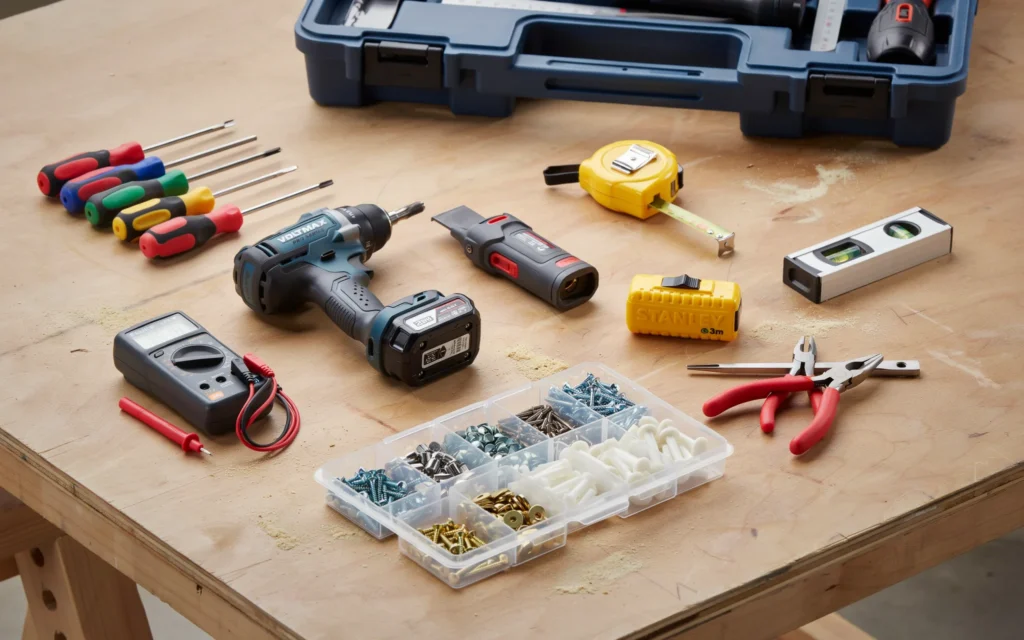
Tools for Electrical and Safety Checks
Electricity scares many homeowners. That is healthy respect. But with the right tools, you can safely swap an outlet, install a light fixture, or test if a wire is live. So what additional tools should I add to my home tool kit over time for electrical work? These three are essential.
Non contact voltage tester. This pen like tool beeps and lights up when it gets near a live wire. You hold it next to a wire or outlet slot. No contact needed. It tells you if the power is off before you touch anything. Always test it on a known live wire first. This tool costs $10 to $20 and can save your life.
Outlet tester. This small plug in device has three lights. It tells you if an outlet is wired correctly. It finds missing ground, reversed polarity, or an open neutral. For old homes, this is very useful. You just plug it in and read the light pattern.
Multimeter. A multimeter does more than a voltage tester. It measures AC and DC voltage, resistance, and continuity. You can test a battery, check a heating element, or find a broken wire. Learning to use a multimeter takes a few minutes of reading. But once you know it, you can solve many electrical problems. This is one of the best answers to what additional tools should I add to my home tool kit over time for serious DIY work.
Plumbing Tools You Will Eventually Need
Every home has pipes, drains, and water supply lines. They leak, clog, or break at the worst times. A Sunday evening with a dripping pipe is not the time to run to a closed store. Be ready. Here is what additional tools should I add to my home tool kit over time for plumbing.
Pipe wrench. An adjustable wrench slips on rounded pipe fittings. A pipe wrench has teeth that bite into the metal. It gives you the grip to loosen old galvanized or steel pipes. Get one 14 inch size. It works for most home pipes.
Basin wrench. This long handled tool reaches behind a sink. It loosens the nuts that hold a faucet in place. Without a basin wrench, you cannot change a kitchen faucet without removing the whole sink. That is a huge hassle. Spend $15 on a basin wrench and save hours.
Plunger (flange type). The basic cup plunger does not seal well in a toilet. Buy a flange plunger with a soft rubber lip that folds into the toilet drain. It creates a much better seal. Keep it next to each toilet.
Plumber’s tape (Teflon tape). This white thin tape wraps around pipe threads. It prevents leaks at threaded connections. Always keep a roll in your kit. It costs less than a dollar.
“A leak ignored is a disaster waiting to happen.” – Richard Trethewey
Second Round: Clamping and Holding Tools
Clamps are like extra hands. Once you start using them, you wonder how you worked without them. For woodworking, gluing, or even repairing a broken chair, clamps are key. So what additional tools should I add to my home tool kit over time after the basic clamps? Here is a table to help you choose.
Clamp Types and Their Uses
| Clamp Type | Best For |
|---|---|
| C-clamp | Metalworking, small wood projects, holding a board to a workbench |
| Bar clamp | Gluing large panels, assembling cabinets, long edge gluing |
| Spring clamp | One handed holding, light duty, keeping a cord out of the way |
| Pipe clamp | Deep reach clamping, building a table top, wide projects |
Start with two bar clamps of 24 inch size. Then add four spring clamps of different sizes. Later, buy a couple of C clamps for metalwork. Each time you ask what additional tools should I add to my home tool kit over time, look at the project you just finished. Did you struggle to hold something? That tells you which clamp to buy next.
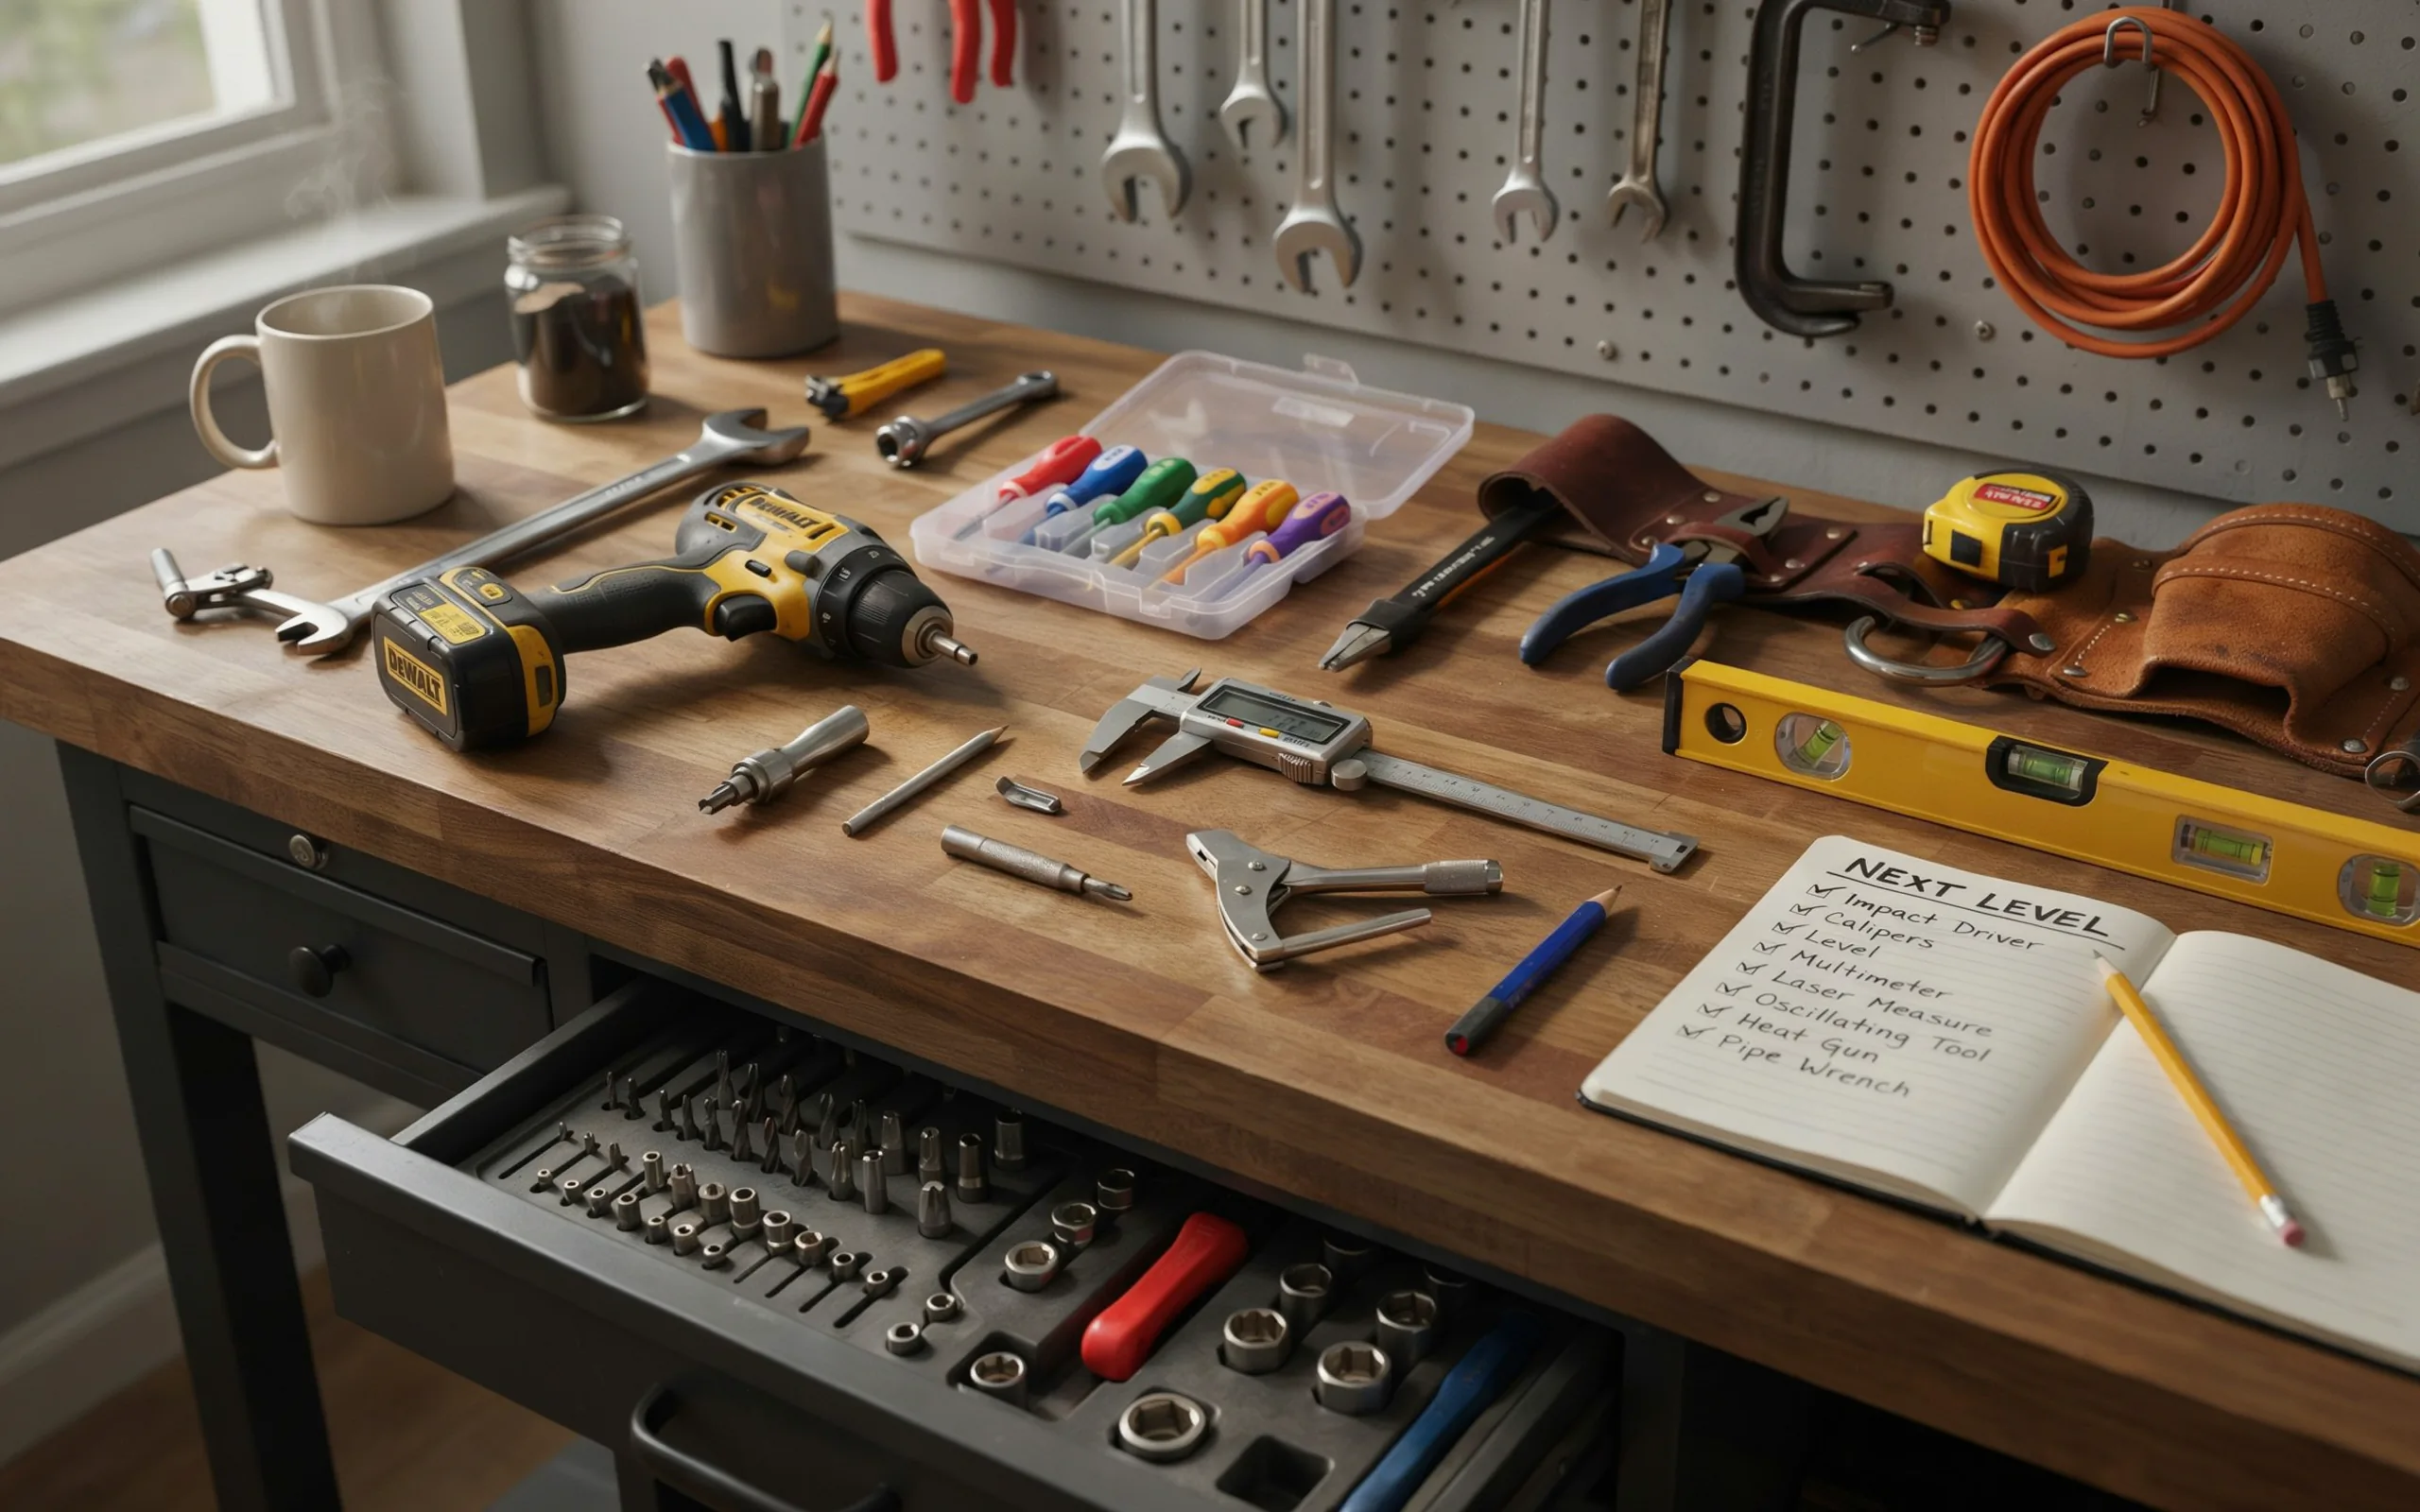
Third Round: Precision and Measuring Tools
Basic measuring with a tape works for rough work. But for fine furniture, trim work, or angles, you need more precision. These tools give you accuracy within a hair.
Combination square. This tool has a ruler and a sliding head. You can set it to 90 or 45 degrees. Use it to mark a straight line across a board, check if a corner is square, or find the center of a round pipe. A 12 inch combination square is a joy to use.
Digital caliper. When you need to know the exact thickness of a shim or the diameter of a screw, a digital caliper gives you numbers down to one thousandth of an inch. It also measures inside holes and depths. For engine repair, 3D printing, or fine woodworking, this tool is gold.
Protractor. A protractor measures angles. Need to cut trim for a non square corner? Set the protractor, read the angle, then set your saw. Digital protractors are even easier. They give you a number on a screen.
Power Tools to Add Over Time
Corded or cordless? That is the first choice. For most homeowners, a single battery platform (like Ryobi One+, DeWalt 20V, or Milwaukee M12) makes sense. You buy one drill with two batteries, then add other tools that use the same batteries. Here is a good order for power tools when you ask what additional tools should I add to my home tool kit over time.
Cordless drill. You likely already have this. But if not, make it your first power tool. A drill drives screws and makes holes. Get a 12V or 18V model with a clutch to stop stripping screws.
Oscillating multi tool. This is the most versatile power tool for home use. It cuts, sands, scrapes, and grinds. With different attachments, you can cut a door jamb, sand a corner, remove old grout, or cut drywall. It fits into tight spaces where no other tool goes. Buy one with variable speed.
Circular saw. For cutting plywood, 2x4s, or shelving, a circular saw works. A 7 1/4 inch corded saw has plenty of power. Cordless is convenient but heavier. Learn to use a guide for straight cuts.
Random orbit sander. Sanding by hand takes forever. A random orbit sander spins a round pad in a small circle. It leaves a smooth finish without swirl marks. Use it for refinishing furniture, smoothing drywall mud, or prepping a deck for stain.
Specialty Tools for Homeowners
Some tools only do one job, but that job comes up often enough to own them. These specialty tools make hard tasks easy.
Infrared thermometer. Point this gun at a surface, and it shows the temperature. Use it to find cold drafts from a window, check if an oven is accurate, or locate an overheating electrical connection. It costs about $25.
Inspection camera (borescope). This flexible camera on a wire connects to your phone. You drill a small hole or drop it down a drain. Then you see inside a wall, under a floor, or in a pipe. Very handy for finding a lost item or checking a leak.
Drywall saw. Also called a jab saw. It has a sharp point and rough teeth. You poke it into drywall and cut a hole for an electrical box or a pipe. A drywall saw costs $10 and saves using a utility knife which breaks.
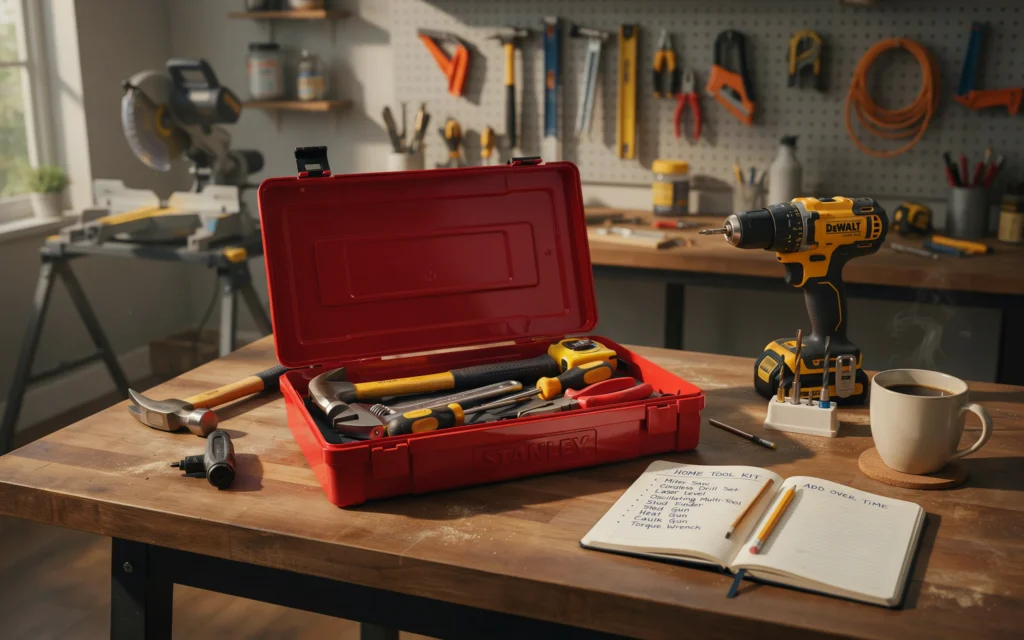
Storage Solutions for Your Growing Kit
As you add tools, you need a place for them. A messy pile in a cardboard box makes you lose time and patience. Good storage means you can find the right tool fast.
Toolbox or tool bag. Start with a small bag for daily carry. Then add a larger box for the rest. Plastic cantilever boxes work well. They have trays for small items like bits and tape.
Pegboard. A sheet of pegboard on your garage or laundry room wall holds your most used tools. Hang them with hooks so you see everything at a glance. It looks nice and keeps tools off the floor.
Tool chest. For serious collectors, a rolling tool chest with drawers is wonderful. But even a small three drawer plastic cart helps. Dedicate one drawer to electrical, one to plumbing, and one to measuring tools.
“Organization is half of the job.” – Norm Abram
Frequently Asked Questions (FAQ)
1. What are the first three additional tools I should buy after a basic set?
Buy a stud finder, a 24 inch level, and a rubber mallet. These three cover hanging, leveling, and gentle striking. They answer what additional tools should I add to my home tool kit over time for most starting projects.
2. Should I buy cheap tools or expensive ones?
Buy mid range. Avoid the very cheapest because they break or give bad results. Avoid the most expensive contractor grade unless you use them weekly. Brands like Stanley, Irwin, Crescent, and Ryobi offer good value.
3. How many clamps do I need?
Start with two quick grip clamps (6 and 12 inches). Then add two 24 inch bar clamps. Later add four spring clamps. That set of eight clamps handles 90 percent of home jobs.
4. Do I really need a multimeter?
Yes, if you do any electrical work. A multimeter confirms that power is off, tests batteries, and checks continuity. For less than $30, it adds safety and troubleshooting ability. It is a top answer to what additional tools should I add to my home tool kit over time.
5. Can I borrow tools instead of buying?
Yes. Many libraries lend tools. Also hardware stores rent big tools. Borrow a tile saw, concrete mixer, or pipe threader. Buy only the tools you use more than once a year.
6. What tool do most homeowners forget?
A good flashlight or headlamp. You cannot fix a dark pipe under a sink with your phone light. Buy a rechargeable headlamp. It keeps both hands free. Also keep a magnetic flashlight in your kit.
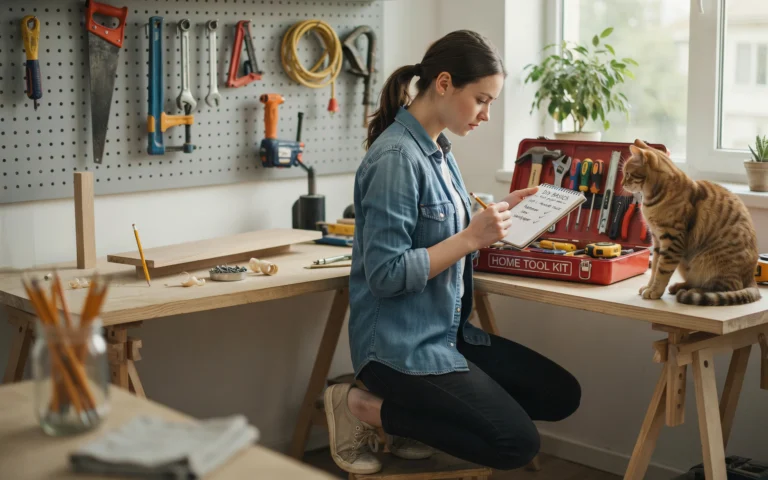
7. How do I know when to add a tool?
When you struggle with a job or use a wrong tool in a clumsy way, that is a sign. Also when you watch a video and see a tool that would make the job easier, write it down. Then buy it before the next similar job.

Conclusion
Your home tool kit does not need to be huge or expensive. It needs to grow with you. Start with the basics. Then, every time you face a new repair or project, ask yourself what additional tools should I add to my home tool kit over time to make this easier. Buy one tool at a time. Learn to use it well. Keep everything organized. Over a few years, you will build a kit that handles almost any home issue. You will save money on repair calls. You will feel confident fixing things yourself. And you will enjoy the pride of a job done with your own hands.
Start today. Look at your current kit. What is missing for your next project? Go get that one tool. Then the next. Your future self will thank you. Happy fixing.
Related posts
 How Can A Beginner Learn DIY Skills With A Home Tool Kit
If you wonder how a beginner learn DIY skills with a home tool kit, this guide gives simple steps, essential tool lists, and easy first projects.…
 What If My Automotive Tool Kit doesn’t have a tool I need
If my automotive tool kit doesn’t have a tool I need, I find simple fixes like borrowing, renting, or using creative substitutes. This guide shares easy,…
 What is the Best Multi-Tool to Carry? Top Picks
Discover the best multi-tool to carry for your daily tasks or outdoor adventures. Find top picks and key features to choose your perfect portable toolkit. Choosing…