
How to Choose Tools for Home Maintenance Without Overspending
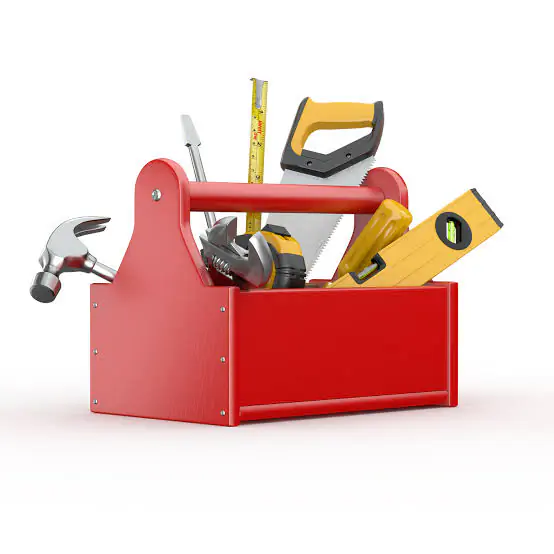
Choosing tools for home maintenance does not require buying the most expensive contractor-grade gear or a massive, multi-piece pre-packaged set. Instead, the process is about matching your tools to your actual home maintenance needs, your physical comfort, and the specific projects you are likely to face.
The most effective way to choose is to evaluate tools based on ergonomics, material quality, and versatility. Start by assessing your immediate repair needs-like tightening a loose cabinet hinge or hanging a picture frame-and build your toolkit incrementally.
| Topic | When it helps | What to keep in mind |
|---|---|---|
| Checkpoint 1 | Hammers, wrenches, pliers, and screwdrivers. | Tools labeled as carbon steel without any mention of forging, which are often brittle and prone to snapping. |
| Checkpoint 2 | Pliers, hammers, utility knives, and handsaws. | Grips that feel loose or twist around the metal handle of the tool. |
| Checkpoint 3 | Small apartments, townhomes, and beginner toolkits. | Overly complex multi-tools that try to do too much and perform poorly at every task. |
| Checkpoint 4 | Drills, circular saws, and sanders. | Buying into a cordless battery platform with very expensive replacement batteries. |
The Core Selection Criteria: Quality vs. Cost
When building a toolkit, it is easy to fall into the trap of buying the cheapest tools available. However, low-quality tools often break during their first use, strip screws, or cause hand fatigue.
Tools with moving parts, such as pliers, adjustable wrenches, and ratchets, require precise manufacturing. Cheap versions of these tools often have loose joints that slip under pressure, which can damage your home fixtures or cause painful hand injuries.
When buying a hammer, spending slightly more on a fiberglass or steel handle with a rubber grip is safer than buying a cheap wooden-handled hammer that can splinter or lose its head.
Buying the cheapest option for tools that require precise movement, such as adjustable wrenches, which often slip and strip bolt heads.

- Splurge on: Screwdrivers, pliers, adjustable wrenches, and safety glasses.
- Save on: Utility knives, tape measures, putty knives, and hand clamps.
- Look for lifetime warranties on hand tools, which many reputable mid-tier brands offer.
- Avoid tools with painted coatings that hide poor metal casting quality underneath.
| Tool Category | What to Look For | Red Flags to Avoid |
|---|---|---|
| Screwdrivers. | Hardened magnetic tips, hex-shaped shafts for wrench assistance. | Soft metal tips that deform easily, slick plastic handles. |
| Pliers. | Smooth pivot joints, hardened cutting edges, insulated grips. | Loose joints, misaligned jaws, thin plastic coating on handles. |
| Wrenches. | Tight tolerances, clear size markings, chrome finish. | Excessive play in the adjustable jaw, rough adjustment screws. |
| Hammers. | Forged steel head, shock-absorbing handle, balanced weight. | Wooden handles with visible knots, loose heads secured by simple wedges. |
A Step-by-Step Strategy for Building Your Tool Collection
You do not need to buy every tool at once. The most efficient way to build a reliable collection is to buy tools in phases based on your immediate home maintenance tasks.
Start with a basic assembly kit for tasks like putting together furniture or hanging shelves. As you gain confidence and tackle more complex tasks, you can expand into basic plumbing, electrical, and outdoor maintenance tools.
Instead of buying a massive 200-piece tool chest on day one, start with a basic screwdriver set and a hammer to hang pictures and tighten loose cabinet doors.
Buying specialized tools, like a pipe wrench or a drywall saw, before you actually have a project that requires them.
- Phase 1 (The Essentials): A claw hammer, a multi-bit screwdriver, a 25-foot tape measure, a.
- Phase 2 (The Adjusters): Slip-joint pliers, an adjustable wrench, a set of hex keys (Allen.
- Phase 3 (The Power Upgrade): A cordless drill/driver with a set of drill bits, a.
- Phase 4 (Specialized Tools): Buy these only when a specific project arises, such as a.

When to Rent Instead of Buy
For large, one-time projects, renting is often the smarter financial choice. Tools like pressure washers, tile saws, carpet cleaners, and heavy-duty rotary hammers are expensive to buy and require significant storage space.
How to Spot Low-Quality Tools Before You Buy
The packaging of a tool can be highly deceptive. Bright colors, professional-looking labels, and claims of professional grade do not guarantee quality.
Pay close attention to the finish, the joints, and the overall alignment of the tool. High-quality manufacturers take pride in the details, while budget manufacturers often cut corners on the final finishing steps.
If you pick up a wrench and notice the chrome plating is already flaking off or has bubbles, the metal underneath is likely cheap cast iron that will snap under heavy pressure.
Assuming that a heavy tool is always a high-quality tool; sometimes cheap manufacturers add heavy lead weights inside plastic handles to mimic the feel of solid steel.
- Check the alignment: The jaws of pliers and wire cutters should meet perfectly with no.
- Inspect the finish: Look for smooth metal surfaces without rough edges, pits, or bubbles in.
- Smell the rubber: Cheap tools often use low-grade rubber grips that emit a strong, chemical.
- Test the moving parts: Adjustable wrenches and ratchets should spin smoothly without catching or binding.
Budget notes
- Prioritize forged steel over cast metal for any tool that handles high tension or impact.
- Test the physical grip and weight of a tool in your hand before purchasing.
- Buy individual high-quality tools as you need them rather than buying a massive, cheap pre-packaged kit.
- Invest more money in tools with moving parts, like ratchets and pliers, and save on simple tools like.
Focus on selection criteria material
Checkpoint 1. Evaluate the Material and Construction
Look for hand tools made from drop-forged steel or chrome vanadium steel. These manufacturing processes compress the metal, making it significantly stronger and less likely to bend or shatter under pressure compared to cheap cast iron.

ul>
Checkpoint 2. Test the Ergonomics and Grip
A tool must feel comfortable in your hand to be safe and effective. Look for slip-resistant, rubberized grips that cushion your palm.
- Pliers, hammers, utility knives, and handsaws.
- Grips that feel loose or twist around the metal handle of the tool.
- Hold the tool in the store and mimic the motion of using it to check for pressure points in your palm.
- Grip Material – Double-dipped rubber or textured composite.
- Comfort Level – Critical for safety.
- Weight Distribution – Balanced toward the tool head.
Checkpoint 3. Prioritize Multi-Functional Tools
When starting out, choose tools that can perform multiple tasks. A high-quality multi-bit screwdriver, an adjustable wrench, and a pair of tongue-and-groove pliers can replace dozens of single-purpose tools, saving both money and storage space.
- Small apartments, townhomes, and beginner toolkits.
- Overly complex multi-tools that try to do too much and perform poorly at every task.
- Choose a multi-bit screwdriver with a locking shaft and storage for the bits inside the handle.
- Space Efficiency – Excellent.
- Cost Savings – High.
- Versatility – Maximum.
Checkpoint 4. Match the Power Source to Your Usage Frequency
For power tools, decide between cordless convenience and corded reliability. Cordless tools are highly portable but require expensive batteries that degrade over time.
- Drills, circular saws, and sanders.
- Buying into a cordless battery platform with very expensive replacement batteries.
- If you plan to use the tool less than three times a year, buy a corded version to avoid dead battery frustration.
- Cordless Benefit – High portability.
- Corded Benefit – Infinite runtime, lower cost.
- Battery Platform – Stick to one brand to share batteries.
FAQs
Is it better to buy a pre-made tool kit or individual tools?
For absolute beginners, a small, high-quality pre-made kit (around 20 to 50 pieces) can be a cost-effective way to get started. However, avoid massive 150+ piece kits, as they often contain low-quality filler items.
What is the most important power tool for a homeowner to own?
A cordless drill/driver is the most versatile and frequently used power tool for home maintenance. It is essential for hanging heavy shelves, assembling furniture, installing hardware, and drilling pilot holes for various repairs.
How can I tell if a tool brand is reliable?
Look for brands that offer a lifetime warranty on their hand tools. Reliable mid-tier brands are widely used by DIY enthusiasts and offer a great balance of durability and affordability without the premium price.
Should I buy metric or imperial (SAE) wrenches and sockets?
Most modern home appliances, furniture, and fixtures use metric fasteners, while older homes and some plumbing fixtures use imperial sizes. The best approach is to buy a combined set or start with a metric.
How should I store my tools to keep them from rusting?
Store your tools in a dry environment, preferably in a plastic or metal toolbox with a latching lid. To prevent rust, wipe your tools down with a clean, dry cloth after use, and consider.
Conclusion
Choosing tools for home maintenance is a gradual process of matching quality with your specific household needs. By focusing on durable materials like forged steel, testing for comfortable ergonomics, and prioritizing versatile multi-functional tools, you can build a reliable collection that lasts a lifetime without.
Start small by purchasing only what you need for your next immediate task. As your repair skills grow, your toolkit will naturally expand alongside your confidence, ensuring you are always prepared for whatever maintenance projects your home throws your way.
Related posts
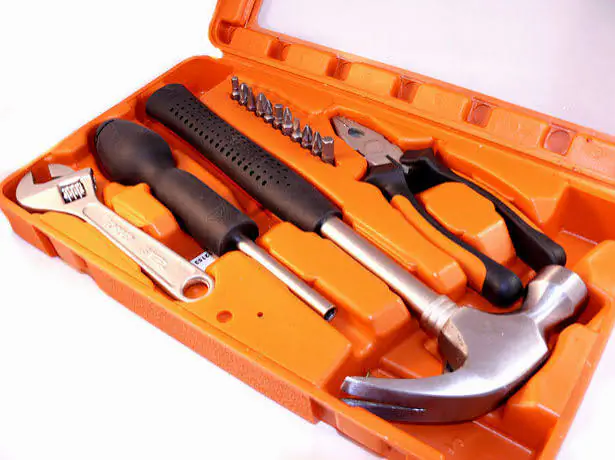 Which Tool Kit Is Worth Buying? How to Choose the Right Set for Your Home
Wondering which tool kit is worth buying? Compare basic household sets, mechanic kits, and power tool combos to find the best tools for your budget and…
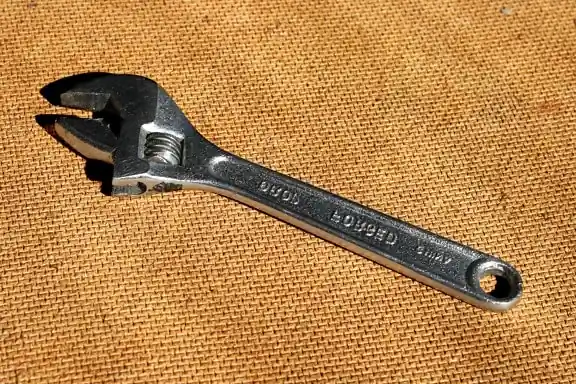 Which Hand Tools Are Made in the USA? Reliable Brands and Buying Rules
Discover which hand tools are still made in the USA. Compare top domestic brands, tool categories, and learn how to verify origin labels before buying. Several…
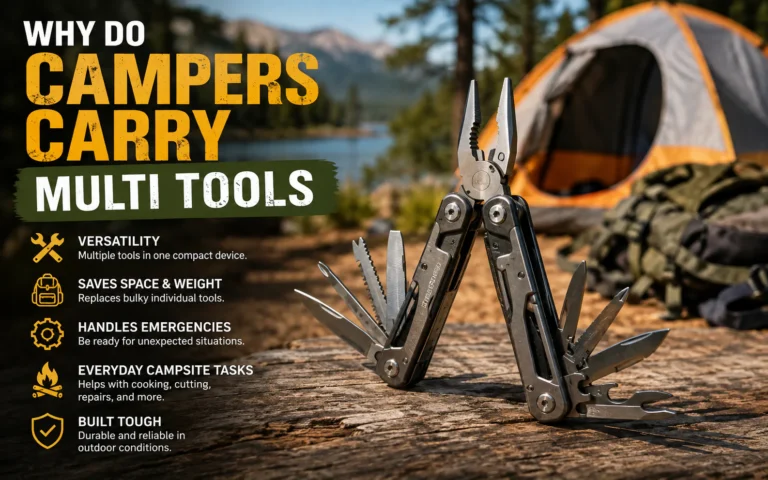 Why Do Campers Carry Multi Tools? Practical Uses in the Field
Why do Campers carry multi tools to handle gear repairs, campsite setup, food prep, and field fixes with minimal weight. Here is why one belongs in…