How To Choose An Automotive Tool Kit For Roadside Emergencies
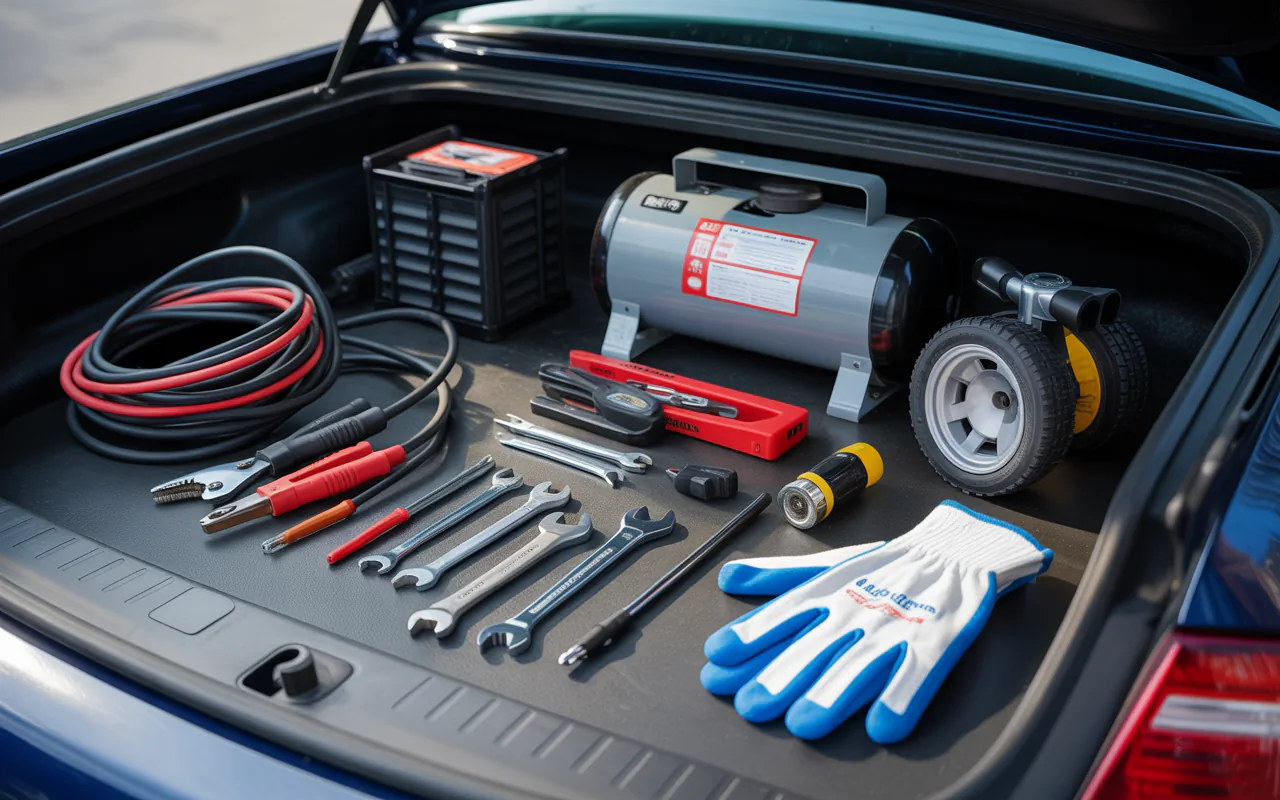
Need to choose an automotive tool kit for roadside emergencies? Pick one with jumper cables, a tire inflator, basic wrenches, and a flashlight. This guide shows you exactly what to look for, what to avoid, and how to match a kit to your car and driving habits.
You are driving down a quiet road. The weather is nice. Then you hear a strange noise. Or the steering feels weird. Maybe the dashboard lights up with a warning sign. You pull over safely. Now what?
Every driver faces a roadside problem at some point. A flat tire. A dead battery. A loose belt. Small issues can become big headaches if you do not have the right tools. That is why learning how to choose an automotive tool kit for roadside emergencies is so useful. A good kit can turn a bad moment into a quick fix.
I have been driving for over 15 years. I have fixed flat tires in the rain and given jump starts in parking lots. I learned the hard way that a cheap, poorly stocked kit is almost as bad as no kit at all. In this guide, I will share what works, what does not, and how you can pick a kit that fits your car, your budget, and your skill level.
Let us keep things simple. I will avoid fancy words. I will give you clear steps. By the end, you will feel ready to choose an automotive tool kit for roadside emergencies with confidence.
What to Look for in a Good Roadside Tool Kit
Before you buy anything, you need to know the basics. Not every kit is the same. Some look great on the shelf but fall apart when you need them. Others cost more but save you from a tow truck bill.
The Right Case and Storage
A good case keeps your tools from rattling around. It should be strong but not too heavy. Look for a case that closes tight. Zippers should feel smooth. A plastic box with a latch works well. A fabric bag with pockets is fine too, as long as the material is thick.
How To Choose An Automotive Tool Kit For Roadside Emergencies. Make sure the case fits in your trunk or under a seat. Measure your space if you drive a small car. A huge kit does you no good if you cannot carry it.
Quality of Tools
This is where many kits cut corners. Cheap tools break at the worst time. A wrench that bends or a screwdriver with a loose handle will leave you stuck.
Metal vs Plastic
Look for tools made of steel or chrome vanadium. These metals resist rust and handle force. Avoid tools with thin plastic handles on parts that need twisting. For example, a tire iron should be all metal or have a very sturdy plastic grip. Plastic ratchets are rarely a good idea.
Handle Comfort
If you have small hands or weak grip, soft rubber handles help. If you work in cold weather, rubber or textured plastic is better than bare metal. Try to hold the tools before you buy if possible. A comfortable grip makes a hard job easier.
“A cheap tool costs you more in the long run, because it breaks when you need it most. Spend a little more on quality, and it will last a decade.” – Mike Thompson, Auto Repair Shop Owner
Key Tools Your Must-Have Kit Should Include
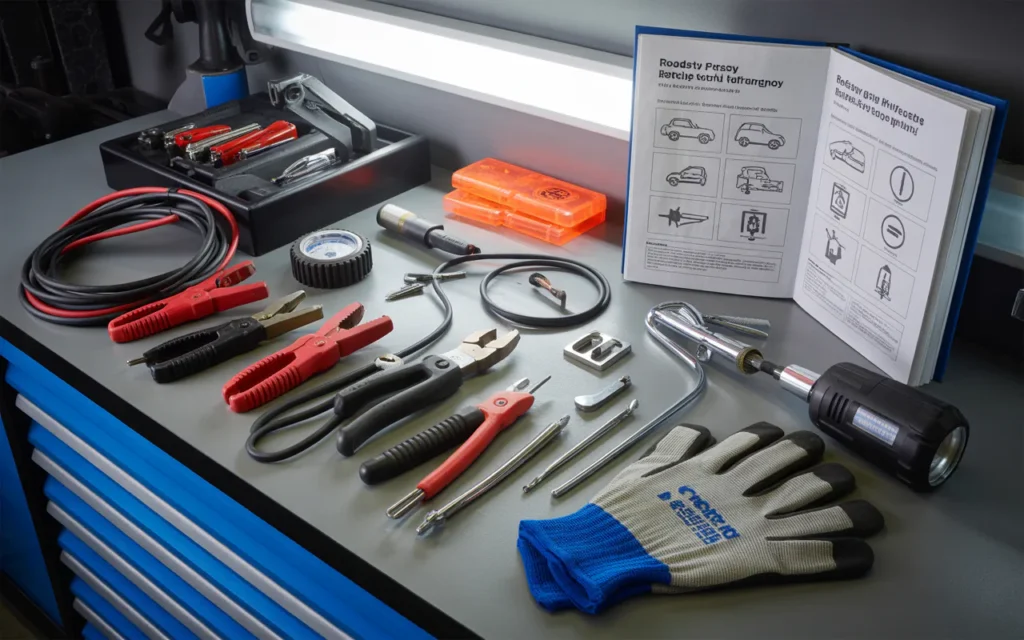
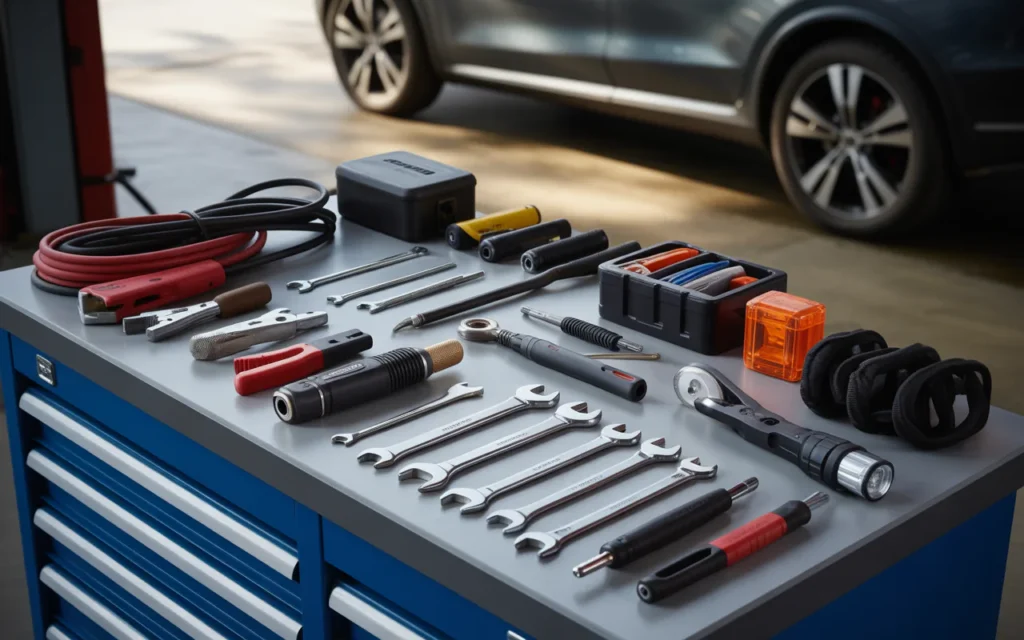
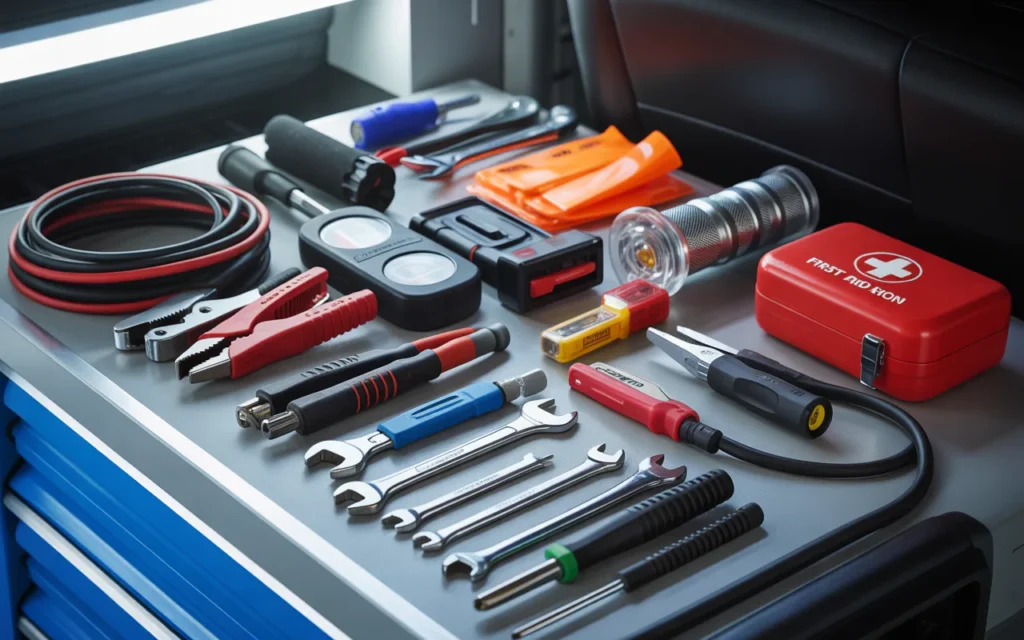
Every roadside kit needs a core set of tools. Some tools are essential. Others are nice to have. Here is a simple table to help you tell the difference.
How To Choose An Automotive Tool Kit For Roadside Emergencies. Do not skip the essential list. A tire pressure gauge costs very little but helps you know if a slow leak is safe to drive on. Jumper cables should be at least 12 gauge. Thinner cables melt or fail to start a large engine.
For the nice to have items, add them as your budget allows. A flashlight is very helpful if you break down at night. Work gloves keep your hands clean and safe.
“I have seen so many drivers with expensive cars and zero tools. A simple wrench set and a pair of jumper cables would have saved them hours of waiting.” – Lisa Hernandez, Roadside Assistance Technician
Different Kits for Different Drivers
How To Choose An Automotive Tool Kit For Roadside Emergencies. Not every driver needs the same tools. A college student driving an old compact car has different needs than a parent driving a large SUV. The table below helps you match a kit to your situation.
Large wrench for lug nuts (often 21mm or bigger), tow strap
If you drive an older car, add a small bottle of coolant and a quart of motor oil. Keep them in a sealed bag so they do not leak.
How To Choose An Automotive Tool Kit For Roadside Emergencies. If you drive an electric car, you still need basic tools. A flat tire happens to any car. You also need a way to charge your phone. Some EVs do not have a spare tire, so a tire plug kit and an inflator become even more important.
New Driver Kits
New drivers often feel nervous about car trouble. A simple kit with clear instructions helps. Include a printed guide on how to use each tool. Add a pair of cheap gloves. A small notebook and pen can help write down advice from a helper.
Long Distance Driver Kits
If you drive more than 100 miles a day, or take road trips, pack more. A portable jump starter is better than cables because you do not need another car. A tire plug kit can fix a nail hole without changing the tire. A headlamp (a light you wear on your forehead) keeps both hands free.
Family Vehicle Kits
With kids in the car, you need extra safety items. A reflective vest for each adult. A bright flag to wave. A basic first aid kit with bandages and antiseptic wipes. Keep a cheap poncho or a small umbrella so you stay dry while you work.
How to Choose an Automotive Tool Kit for Roadside Emergencies on a Budget
You do not need to spend a lot of money. Many good kits cost between 30and60. But you must choose carefully. Here is a simple three step plan to help you choose an automotive tool kit for roadside emergencies without wasting money.
Step 1: Look at your car Check your lug nut size. Most cars use 19mm or 21mm nuts. If your kit does not include that size, you cannot change a flat tire. Also check if your car has a spare tire. Some new cars do not. In that case, you need a tire inflator and a can of sealant.
Step 2: Read online reviews Skip the five star reviews that say “looks great.” Look for reviews that say “I used this to fix a flat” or “the jumper cables started my truck.” Real world use tells you the truth.
Step 3: Compare three kits Pick three kits in your price range. List what each one includes. Choose the one with the most essential tools, not the most total pieces. A 50 piece kit with 30 cheap zip ties and a tiny screwdriver is worse than a 10 piece kit with a real wrench set.
“Buy the best kit you can afford, then add one extra tool every month. After six months you will have a great setup without a big hit to your wallet.” – David Lee, Fleet Manager
If you have almost no money, buy tools one at a time. Start with jumper cables. Then a tire gauge. Then a basic wrench set. Store them in a shoe box. That is still a real roadside kit.
Building Your Own vs Buying a Pre Made Kit
Both choices have good points. Let me explain.
Buying a pre made kit saves time. Everything comes in one box. The case fits. You do not have to think. But many pre made kits include low quality tools. The screwdriver may be too small. The wrenches may skip important sizes.
Building your own kit takes more work. You buy each tool separately. This costs a little more at first. But you get better quality. You only buy what you need. You can use a simple duffel bag or a plastic storage bin as a case.
I suggest a mix. Buy a cheap pre made kit for the case and the basic tools. Then replace the weakest tools one by one. Throw away the tiny screwdriver. Add a good pair of pliers. This way you get a case and a starting point without spending too much.
If you want to build from scratch, here is a starter list with approximate prices:
Jumper cables (12 gauge, 12 feet): $20
Tire pressure gauge (pencil type): $3
Wrench set (8mm to 19mm, combination): $25
Screwdriver with 4 bits: $8
Safety triangles (3 pack): $15
Tire inflator (12V plug in): $25
Work gloves: $5
Flashlight with batteries: $10
Total: About 111.Thatismorethanacheap40 kit. But these tools will last for years. A cheap kit may need replacement after one use.
Keeping Your Kit Ready
A kit does you no good if it sits in the trunk for five years with a dead flashlight and rusty tools. You need to check it from time to time.
Check Your Kit Every Season
When the seasons change, open your kit. Do this four times a year. Here is a quick checklist:
Batteries in the flashlight? Replace if old.
Jumper cables clean and not cracked?
Tire inflator still works? Plug it into the car to test.
Any rust on metal tools? Wipe with an oily rag.
First aid kit items not expired?
Replace Used Items
If you use a tool, replace it right away. Used a zip tie? Put a new one in. Used a bandage? Add a fresh one. This seems small, but it saves you later. I once helped a friend whose kit had jumper cables but no spare batteries for the light. We worked in the dark.
Also check the air in your spare tire every six months. A flat spare tire is useless.
Common Roadside Problems and Which Tool Fixes Them
Let me match common problems with the right tool. This makes it easy to see why you need each item.
Problem
Tool to Fix It
Dead battery
Jumper cables or portable jump starter
Flat tire (slow leak)
Tire inflator and tire pressure gauge
Flat tire (hole in tread)
Tire plug kit and inflator
Flat tire (sidewall damage)
Spare tire and lug wrench
Overheating engine
Coolant (not a tool, but keep it)
Loose belt or hose
Wrench set and screwdriver
Broken light bulb
Phillips screwdriver and replacement bulb
Need to signal for help
Safety triangles or flares
If you drive a car with run flat tires, you do not need a spare. But you still need an inflator. Run flat tires can go about 50 miles at low speed. After that, you need air.
Frequently Asked Questions
What size jumper cables should I get? Get 12 gauge or lower (lower number means thicker wire). Length of 12 to 16 feet works for most cars. Thinner cables like 16 gauge may melt or fail to start a large engine.
Can I keep tools in my car all year? Yes, but extreme heat or cold can damage some items. Batteries leak in heat. Plastic gets brittle in freezing cold. Check your kit more often if you live in very hot or cold places. Keep a small bag inside your house with spare batteries and swap them every six months.
How many tools do I really need? Most drivers do fine with 10 to 15 tools. More than 20 is often too heavy or takes too much space. Focus on quality over quantity.
Do I need a first aid kit in my car tool kit? Yes, a small one. Even a few bandages and wipes help. You can cut your hand on a sharp piece of metal while changing a tire. A clean bandage stops infection.
What is the best way to learn how to use these tools? Watch a few short videos on YouTube. Search for “change a flat tire” or “jump start a car battery.” Practice at home when the weather is nice. That way, you are not learning in the dark on a busy road.
How often should I replace my tool kit? If you buy good quality metal tools, they last many years. Replace the case when it tears or breaks. Replace jumper cables when you see cracks in the rubber. Replace batteries every two years even if they still work.
Can I bring a tool kit on a plane? No. Most tools are not allowed in carry on bags. Checked bags can have tools under a certain size. Check with your airline before flying.
Conclusion
Learning how to choose an automotive tool kit for roadside emergencies is not hard. You just need a plan. Look for good quality metal tools. Pick a case that fits your car. Make sure you have the essential tools like jumper cables, a tire pressure gauge, a wrench set, and safety triangles. Add extras like gloves and a flashlight when you can.
Remember that the best kit is the one you actually keep in your car. A perfect kit at home does nothing for you on the road. Buy something simple to start. Then improve it over time. Check it every season. Replace used items right away.
Driving should be fun, not scary. A small investment in a good roadside tool kit gives you peace of mind. You help yourself. You can also help a friend or a stranger. That feels good.
So go ahead. Look at your trunk right now. Do you have any tools? If not, start with jumper cables and a tire gauge. That is a great first step. You will be glad you did the next time you hear that strange noise or see that warning light.
Explore top starter mechanic tool kits for apprentices. Compare sets for mechanics, electricians, and other trades to find your essential tools. Starting an apprenticeship is an…
Understand the key differences between automotive tool kits vs. mechanic tool sets. Learn which is best for your car maintenance needs. When looking for tools to…
Find the top automotive tool kits for garage workshop. Compare versatile sets for car maintenance, home repairs, and DIY projects to choose the best fit. Setting…

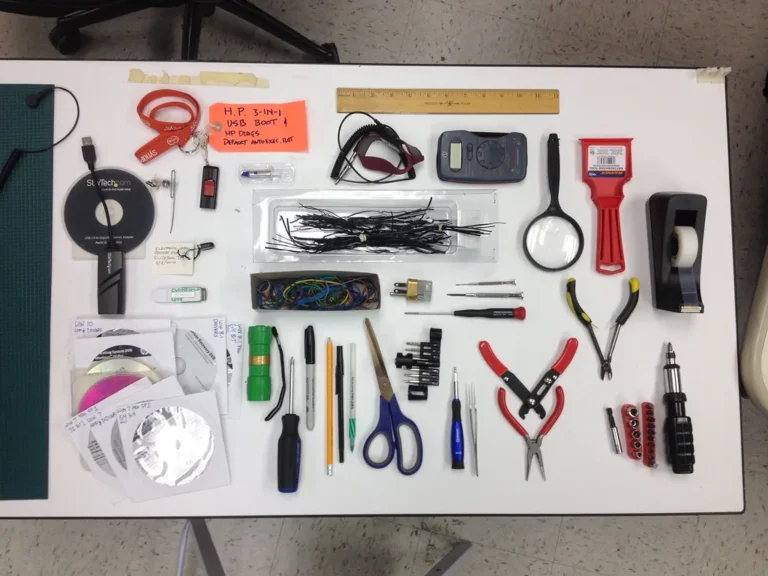 Top Starter Mechanic Tool Kits for Apprentices: Essential Sets for Your Trade
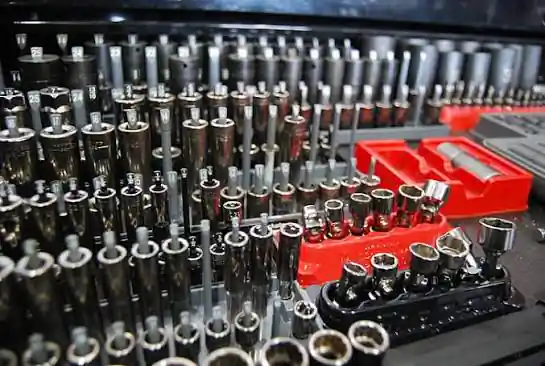 Automotive Tool Kits vs. Mechanic Tool Sets: What’s the Difference?
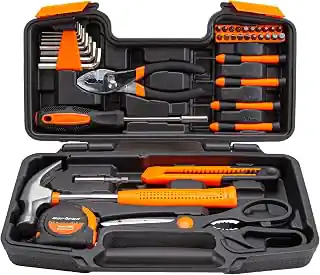 Top Automotive Tool Kits for Garage Workshops: A Buyer’s Guide