
How To Remove Rust From Tools In Your Home Tool Kit
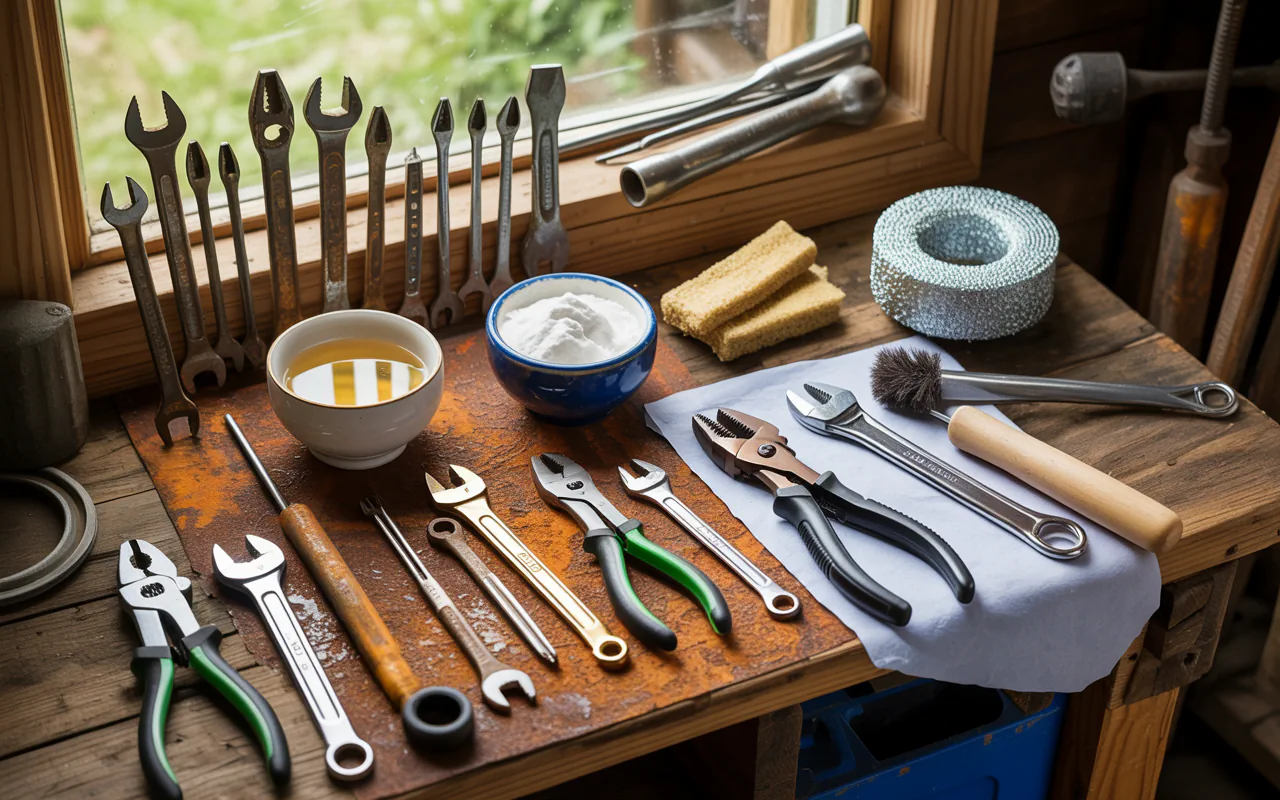
To remove rust from tools in your home tool kit effectively, use household items like white vinegar, baking soda, or salt and lemon to restore their function. These simple, natural methods break down oxidation, allowing you to clean your equipment without harsh chemicals, keeping your gear in great shape for years to come.
Tools are essential for keeping a home running well. Whether you fix a leaky sink or build a new shelf, you rely on your wrenches, pliers, and hammers to get the job done. Over time, moisture in the air causes metal to oxidize. This leads to that familiar orange or brown coating we call rust. Finding rust on your gear is annoying, but it does not mean the tool is ruined. You can easily remove rust from tools in your home tool kit with basic supplies you already have in your kitchen or pantry.
Why Rust Forms on Your Tools
Metal objects like steel or iron react with oxygen and water. This chemical reaction creates iron oxide. When you store your tools in a damp basement, a humid garage, or an unheated shed, the water in the air settles on the metal surface. Even a tiny bit of condensation can start the process. Once a small spot appears, it spreads if you do not stop it. Keeping tools dry is the best way to prevent this, but if the damage is done, you need a plan to fix it.
Rust is a form of slow fire that eats away at the soul of a tool. – Unknown
Assessing the Damage
How To Remove Rust From Tools In Your Home Tool Kit. Before you start, look at each item closely. Is the rust just on the surface, or has it eaten deep into the metal? If the tool is pitted or if the metal looks thin and flaky, it might be unsafe to use. However, most surface rust is easy to manage. Taking the time to check your gear helps you decide which cleaning method will work best.
Quick Assessment Guide
| Tool Condition | Cleaning Approach | Expected Outcome |
| Light surface spots | Vinegar soak | Shiny and smooth |
| Moderate rust buildup | Baking soda paste | Clean with minor wear |
| Deep pits or holes | Professional sanding | Safe but worn look |
Method One: The Vinegar Soak
White vinegar contains acetic acid, which is great at eating through iron oxide. This is one of the most popular ways to remove rust from tools in your home tool kit. You do not need expensive cleaners. Just grab a plastic bucket or a deep bowl.
Fill the container with enough white vinegar to fully cover the tools. Place the rusty items inside and let them sit. For light rust, a few hours might be enough. If the tools have a heavy layer of buildup, leave them in the vinegar overnight. When you take them out, the rust will be soft. Use a stiff wire brush or a piece of steel wool to scrub the remaining residue away. Rinse the items with clean water and dry them very well. This step is key because wet metal will rust again very quickly.
Method Two: Baking Soda Paste
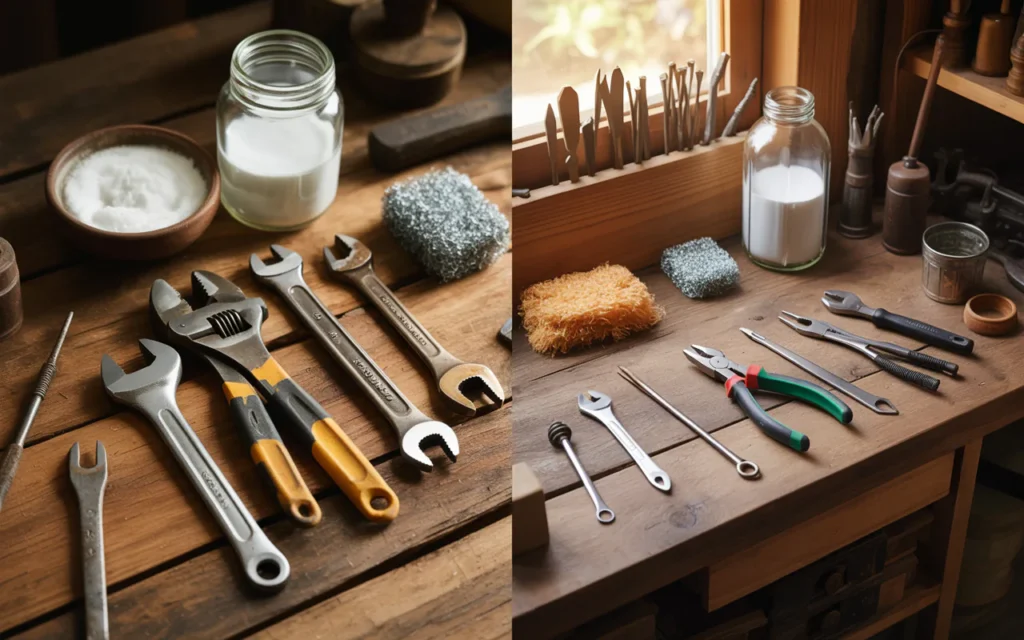
If you cannot soak your tools or if the rust is only in one spot, a paste is a better choice. Baking soda is a mild abrasive and a natural cleaner. Mix a small amount of water with enough baking soda to create a thick, spreadable paste.
How To Remove Rust From Tools In Your Home Tool Kit. Apply the paste to the rusty areas. Make sure to cover every spot that has visible oxidation. Let the mixture sit for at least an hour. During this time, the baking soda works to loosen the bond between the rust and the metal. After the wait, use a scrubbing pad to rub the paste in a circular motion. The grit in the baking soda helps lift the rust off the surface. Wash the tools with water and wipe them dry until you are sure no moisture remains.
Method Three: The Lemon and Salt Trick
How To Remove Rust From Tools In Your Home Tool Kit. You can also use the power of natural acids from a lemon combined with the abrasive nature of salt. This method works well for small tools or light patches of oxidation. Cut a lemon in half and squeeze the juice onto the affected area. Sprinkle a generous amount of table salt over the juice.
Let the salt and lemon sit on the tool for two or three hours. The acid in the lemon juice dissolves the rust, while the salt provides the texture needed to scrub it away. Use the lemon rind itself as a scrubber to work the mixture into the metal. Once you feel the metal is clean, rinse it off and dry it immediately. This method is safe, smells better than vinegar, and works surprisingly well for quick fixes.
Maintaining Your Tools After Cleaning
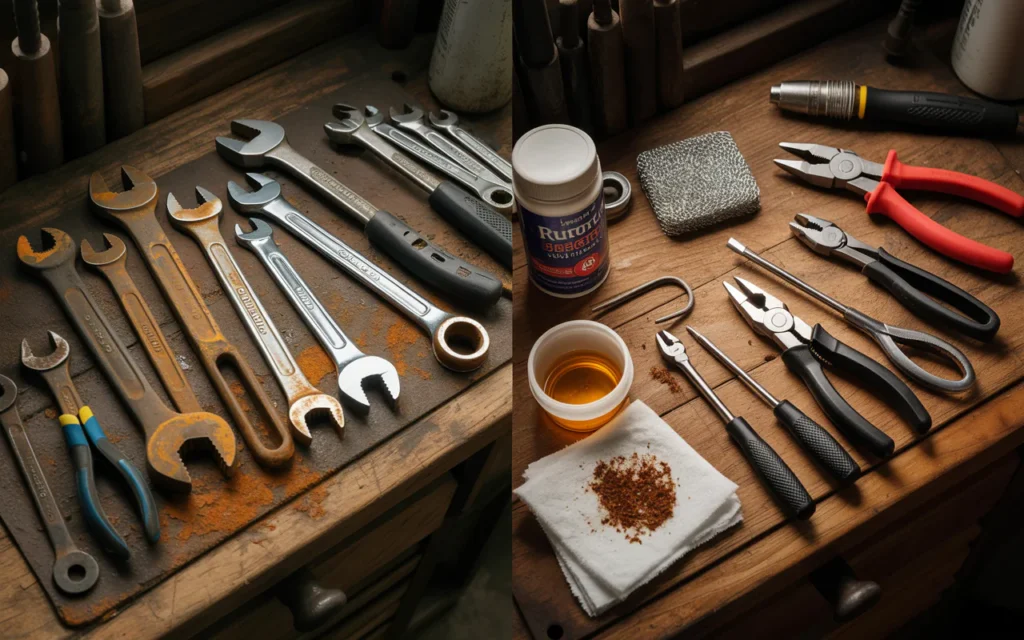
Once you successfully remove rust from tools in your home tool kit, you want to keep it from coming back. The best way to protect bare metal is to add a thin layer of oil. A light machine oil, mineral oil, or even a specialized spray meant for tool maintenance will create a barrier against moisture.
How To Remove Rust From Tools In Your Home Tool Kit. Apply a small amount of oil to a clean rag and wipe down the entire surface of the tool. This keeps the air and water away from the metal. If you store your tools in a box, you might also put a small desiccant pack inside. These packs absorb extra moisture from the air, which helps keep your workspace dry and safe.
A well-kept tool is a reflection of the pride you take in your work. – Unknown
Best Storage Practices
How you store your gear matters just as much as how you clean it. Avoid leaving tools on concrete floors, as concrete can hold moisture and transfer it to the metal. Use wall racks, wooden shelves, or plastic organizers. If you live in an area with high humidity, consider running a dehumidifier in your workshop. This simple change will save you a lot of effort in the future.
Storage Tip Table
| Storage Location | Moisture Risk | Recommended Action |
| Concrete floor | High | Move to a shelf |
| Damp garage | High | Use a dehumidifier |
| Plastic bin | Low | Keep lid sealed |
| Wooden workbench | Low | Wipe down with oil |
Specialized Tools and Moving Parts
Some tools have moving parts like hinges or springs. These are harder to clean because rust can get inside the small gaps. If you have pliers or scissors that are stiff, soak the joint area in vinegar, but make sure to oil them well after you finish. Moving the handles back and forth helps the oil penetrate the joint. This keeps the tool moving smoothly and prevents future jamming.
How To Remove Rust From Tools In Your Home Tool Kit. Do not use these cleaning methods on tools that have delicate plastic or rubber handles if you can avoid it. Strong acids might change the color or texture of those materials. Try to keep the cleaning liquid only on the metal parts. If you are worried about damage, use a damp cloth to wipe those areas clean instead of a full soak.
When to Replace Instead of Clean
Sometimes, a tool is beyond saving. If the metal is deeply rusted, bent, or cracked, it is time to say goodbye. Using a compromised tool is dangerous. If a screwdriver snaps while you are turning a screw, you could hurt your hand. If a wrench slips because the teeth are worn away by rust, you could damage the bolt or yourself. Use your best judgment. If you have tried to remove rust from tools in your home tool kit and they still look fragile, it is smarter to invest in a new one.
Safe Handling of Cleaning Materials
While household items like vinegar and lemon are safer than industrial chemicals, they are still acidic. Always work in a well-ventilated area. If you have sensitive skin, it is a good idea to wear gloves while scrubbing the tools. Keep all cleaning supplies away from children and pets. When you finish, pour the used vinegar down the drain and wash your container well. It is an easy process, but safety should always be the priority in any workshop task.
Why Regular Maintenance Matters
Cleaning your tools is not just about looks. It is about how they perform. A clean, smooth tool does its job with less force. This makes your tasks easier and safer. When you take the time to care for your equipment, you start to feel more connected to your home and your projects. You will find that you enjoy fixing things even more when your gear is reliable and ready to go. It is a rewarding habit that pays off every time you reach for a tool.
The secret to a long life for your tools is the care you show them each day. – Unknown
Natural Alternatives and Sustainability
Using natural items to clean your gear is a great way to be kind to the planet. You do not need harsh chemical sprays that contain fumes or toxins. Vinegar, baking soda, and lemons are biodegradable and easy to find. This approach to home maintenance is simple and affordable. Most people have these items in their kitchen right now, which means you can start your project without a trip to the store.
How to Handle Heavy Oxidation
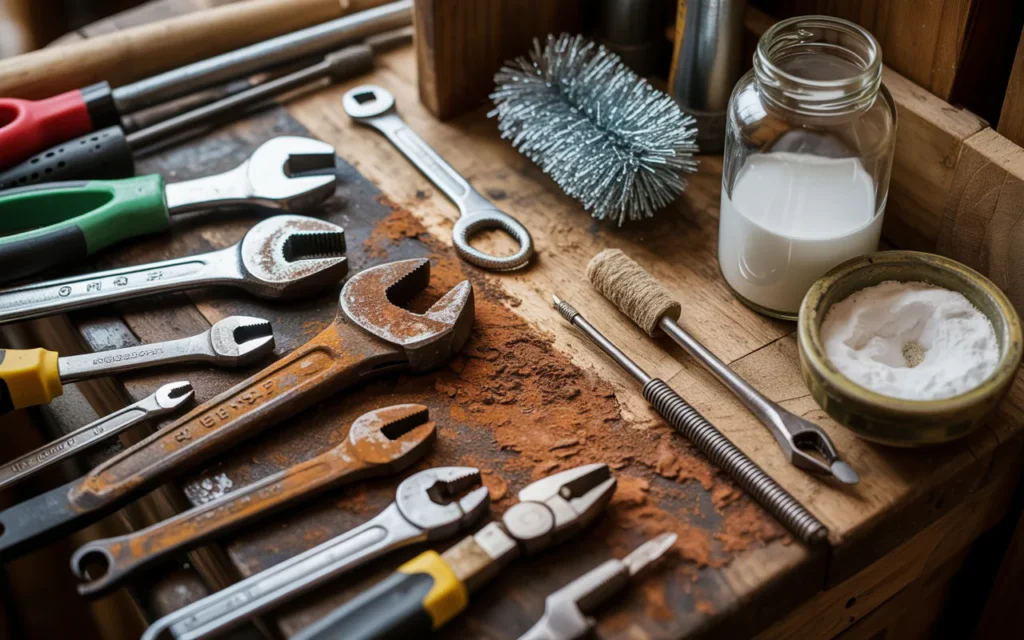
If you come across a tool that is covered in a thick layer of rust, you might need to combine methods. Start with a long vinegar soak to loosen the heavy buildup. Once you remove it from the vinegar, use a wire brush to remove the loose material. If there is still a stain, follow up with the baking soda paste to polish the surface. This multi-step process is effective for those tools that have been neglected for a long time. It shows that you do not need to give up on your gear just because it looks bad at first.
Preventing Rust Before It Starts
The best way to remove rust from tools in your home tool kit is to ensure it never gets there in the first place. When you finish a project, take a few extra minutes to wipe your tools down. Even a quick wipe with a dry cloth removes sweat from your hands and any dust that might hold moisture. Store them in a place where air can circulate. If you have a large collection, a tool chest with felt liners or a moisture-absorbing strip can make a big difference.
Common Mistakes to Avoid
A common mistake is using too much water. While you need water to rinse the tools, leaving them wet is the fastest way to get rust back on them. Always use a clean towel to dry every single part of the tool. Some people use a hairdryer to make sure the tight spots are completely dry. Another mistake is forgetting to oil the tools after cleaning. The cleaning process strips away the protective coating, so adding that layer of oil back on is a vital step.
Organizing Your Workspace
A clean workspace helps you keep track of your tools. If your workbench is covered in scrap wood, metal filings, and clutter, it is hard to keep your tools in good shape. Try to keep your space organized. When tools have a specific place to live, they stay cleaner and are easier to find. Use hooks for hanging items and bins for smaller parts. An organized shop is a dry shop, and that means your tools will stay rust-free for much longer.
Frequently Asked Questions
Is it safe to use vinegar on all types of metal?
Vinegar is safe for most iron and steel tools. However, do not leave them soaking for too long, as it can eventually affect the surface finish. Always rinse and dry thoroughly.
How often should I check my tools for rust?
It is a good habit to check your tools every time you finish a big project. If you live in a very humid area, check them once a month to ensure they are still in good condition.
Can I use steel wool to scrub off the rust?
Yes, steel wool is excellent for removing surface rust. Just make sure to use a fine grade to avoid scratching the metal too deeply.
What should I do if the rust comes back quickly?
If rust returns soon after cleaning, it means the area is likely too humid for your current storage method. Add a desiccant pack to your tool box or apply a thicker coat of protective oil.
Can I use these methods on power tools?
Do not soak power tools in any liquid. The liquid will damage the motor and electrical parts. For power tools, use a damp cloth to wipe the metal parts and be very careful near the vents.
Do I need to wear a mask while cleaning?
If you are scrubbing off a lot of rust, you might create dust. It is a good idea to wear a simple dust mask to avoid breathing in those particles, especially if you are working in a small, enclosed space.
Conclusion
Taking care of your equipment is a sign of a true craftsperson. You do not need a fancy workshop or expensive supplies to keep your gear in top condition. You can easily remove rust from tools in your home tool kit by using simple items like vinegar, baking soda, and lemon. By taking the time to clean, dry, and oil your tools, you make sure they are always ready for your next project. Remember to store them in a dry place and perform regular checks to catch any spots before they grow. With a little effort, your tools will serve you well for many years, helping you fix and build things in your home with confidence and ease. Keep your tools clean, keep them dry, and they will always have your back when you need them most.
Related posts
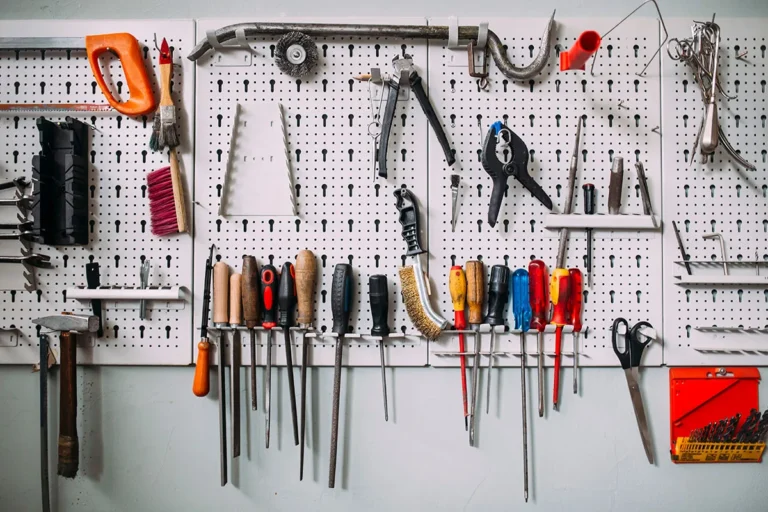 Top Home Tool Kits for Seniors: 2026 Practical Guide
Discover the top home tool kits for seniors in 2026. We compare compact, easy-to-use sets perfect for daily household repairs, furniture assembly, and DIY tasks. Finding…
 Top Home Tool Kits for Women: 2026 Buyer Guide
Discover the top home tool kits for women in 2026. Compare top-rated sets for DIY, furniture assembly, and household repairs to find your perfect match. Finding…
 Top Home Tool Kits for Basic Home Repairs 2026
Find the top home tool kits for basic home repairs in 2026. Compare top-rated sets for DIY projects, furniture assembly, and daily household maintenance. Every home…