
How Do I Organize An Automotive Tool Kit
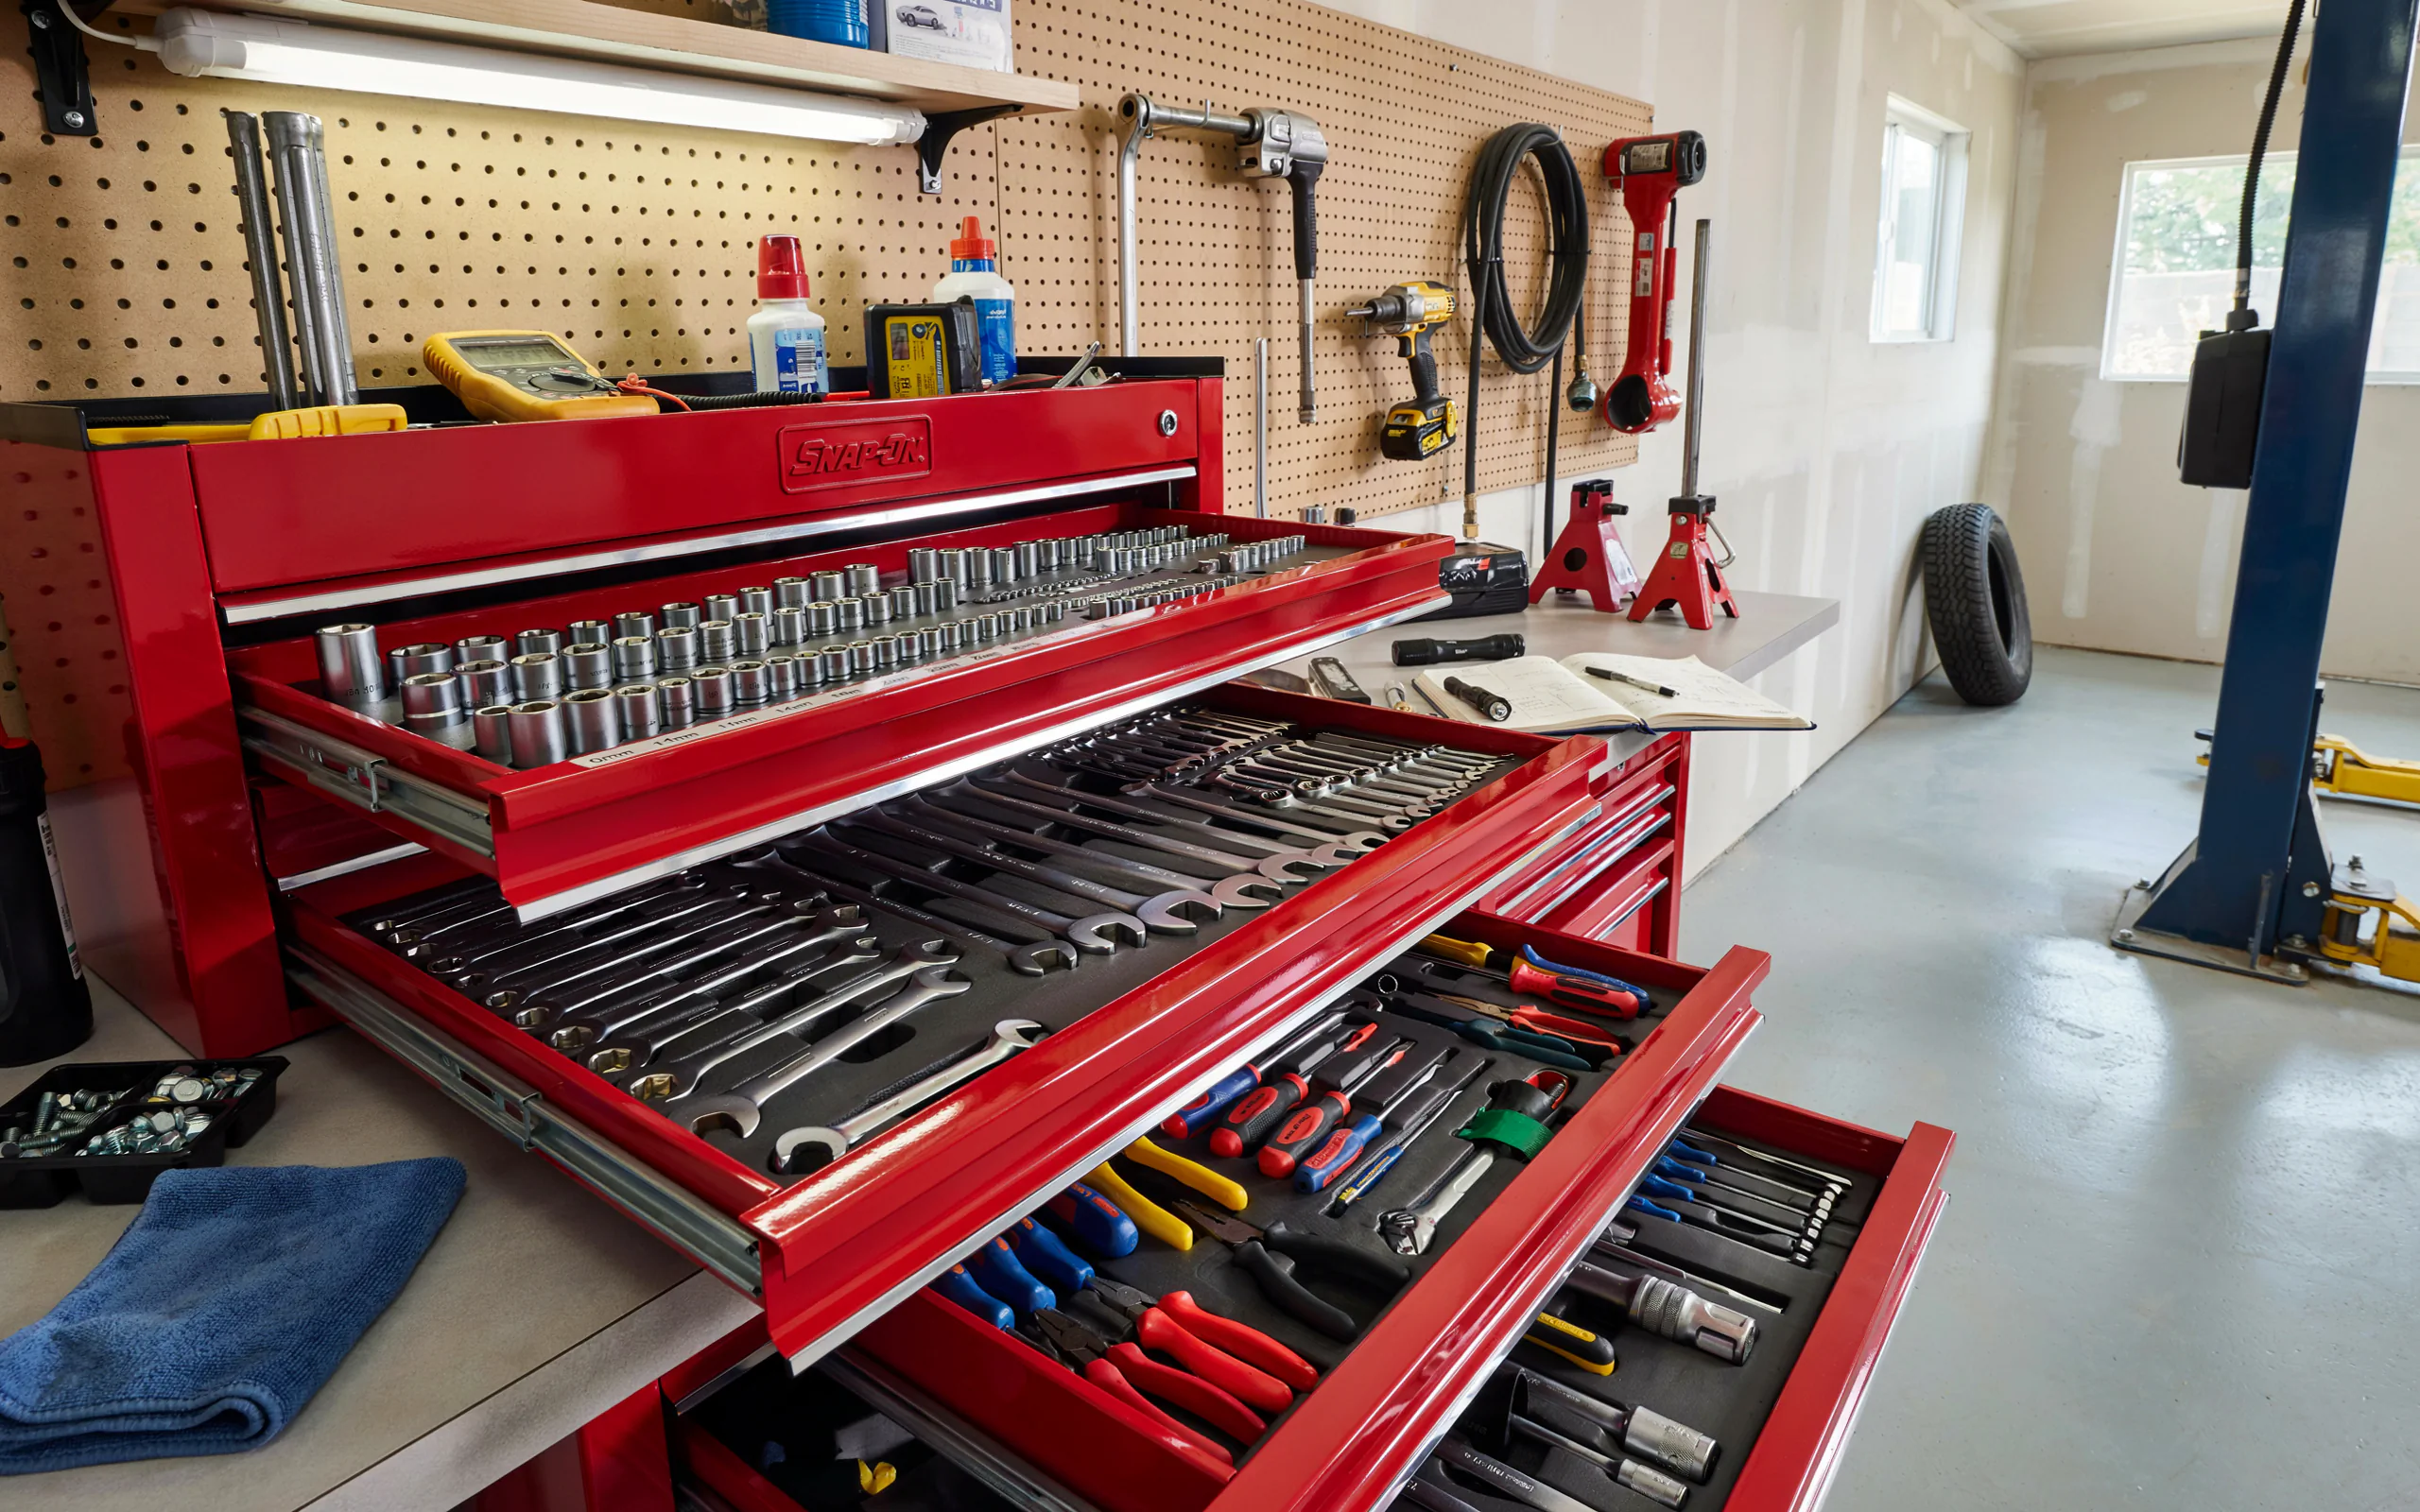
If you want to organize an automotive tool kit the right way, start by sorting your tools by type and use. This guide shows you a simple system to save time and protect your gear.
Have you ever spent twenty minutes looking for a 10mm socket, only to find it hiding under a pile of old rags? Or maybe you have opened your toolbox and watched a cascade of wrenches fall out because they were all jammed in one drawer. You are not alone. Every car owner and weekend mechanic faces this problem. A messy tool kit makes every job harder than it needs to be. It turns a simple oil change into a frustrating treasure hunt. But here is the good news. You can fix this in one afternoon. You can organize an automotive tool kit with a few simple steps, and once you do, you will wonder why you waited so long.
A well-organized tool kit is not just about looking neat. It is about saving time, protecting your tools, and making car repairs actually enjoyable. When every tool has a home, you can grab what you need without thinking. You spend less time searching and more time fixing. Plus, you protect your investment. Tools are expensive, and keeping them organized prevents damage from knocking around against each other.
This guide will walk you through a complete system to organize an automotive tool kit from start to finish. We will cover everything from sorting your gear to choosing the right storage and setting up a layout that works for you. Whether you have a small bag in your trunk or a large chest in your garage, these tips will help you get control of your tools for good.
“The first step in any repair is finding the right tool. If you cannot find it, you cannot fix it.” — Mike Allen, automotive journalist and author
Why You Need to Organize an Automotive Tool Kit
Before we get into the how, let us talk about the why. You might think a little clutter is no big deal. But a disorganized tool kit costs you more than you realize.
Time is the biggest cost. Every minute you spend hunting for a tool is a minute you are not spending on the actual repair. If you work on your car regularly, those minutes add up fast. Over a year, you could lose hours of productive time just searching for sockets and screwdrivers.
Money is another cost. When tools are jumbled together, they get damaged. Sockets get chipped. Wrenches get scratched. Pliers get bent. You might even lose small tools entirely because they fall out of an overloaded drawer. Replacing damaged or lost tools gets expensive.
Safety is also a concern. A messy toolbox can lead to injuries. Sharp tools can cut you when you reach into a cluttered drawer. Heavy tools can fall on your feet. And if you cannot find the right tool, you might try to use the wrong one, which can lead to accidents or damage to your car.
Stress is a real factor too. There is nothing more frustrating than being halfway through a brake job and realizing you cannot find the right socket. That frustration takes the fun out of working on your car. A clean, organized kit makes every repair feel easier and more enjoyable.
The Benefits of an Organized Automotive Tool Kit
| Benefit | What It Means for You |
|---|---|
| Saves Time | Grab the right tool instantly without searching. |
| Protects Tools | Prevents damage from tools banging into each other. |
| Reduces Stress | Makes repairs feel easier and more enjoyable. |
| Saves Money | Avoid buying replacements for lost or damaged tools. |
| Improves Safety | Reduces the risk of cuts, falls, and using the wrong tool. |
When you organize an automotive tool kit, you are not just tidying up. You are making a smart investment in your hobby or profession. A little effort now will pay off every time you open your toolbox.
Step 1: Take Everything Out and Take Stock
The first step to getting organized is to see exactly what you have. You cannot organize what you do not know about. So, clear a large space on your garage floor or workbench. Then, take every single tool out of your toolbox, bag, or trunk organizer. Yes, everything. Empty every drawer and every pocket.
This might feel like a big mess at first. But trust the process. Seeing all your tools spread out gives you a clear picture of your collection. You will probably find tools you forgot you owned. You might find duplicates. You will definitely find some junk that does not belong in your tool kit.
Sort Everything into Groups
As you take tools out, start sorting them into piles. Do not worry about perfect organization yet. Just group similar items together. Here are some basic categories to start with:
- Sockets and Ratchets (all sizes and drive types)
- Wrenches (combination, adjustable, torque)
- Screwdrivers (flathead, Phillips, Torx, hex)
- Pliers (needle-nose, slip-joint, locking, cutting)
- Hammers and Mallets
- Pry Bars and Breaker Bars
- Electrical Tools (wire strippers, crimpers, test lights)
- Specialty Tools (oil filter wrenches, brake tools, pullers)
- Measuring Tools (tape measures, calipers)
- Power Tools and Accessories
- Hardware and Consumables (nuts, bolts, zip ties, tape)
“A place for everything and everything in its place. That is the foundation of any good workshop.” — Tom Silva, general contractor and TV host
Clean as You Go
This is also a great time to clean your tools. Wipe off grease, dirt, and grime with a rag and some degreaser. A clean tool is easier to grip and inspect for damage. Check each tool for wear, rust, or broken parts. If something is broken beyond repair, throw it away. If it is just dirty, clean it and set it aside.
Evaluate What You Have
As you sort, ask yourself a few questions:
- Do I actually use this tool?
- Do I have duplicates that I do not need?
- Is this tool in good working condition?
- Does this tool belong in my main kit, or should it go somewhere else?
Be honest with yourself. We all hold onto tools we never use. If you have three of the same wrench, keep the best one and set the others aside for donation or a backup kit. This step is crucial when you organize an automotive tool kit because it reduces clutter before you even start putting things away.
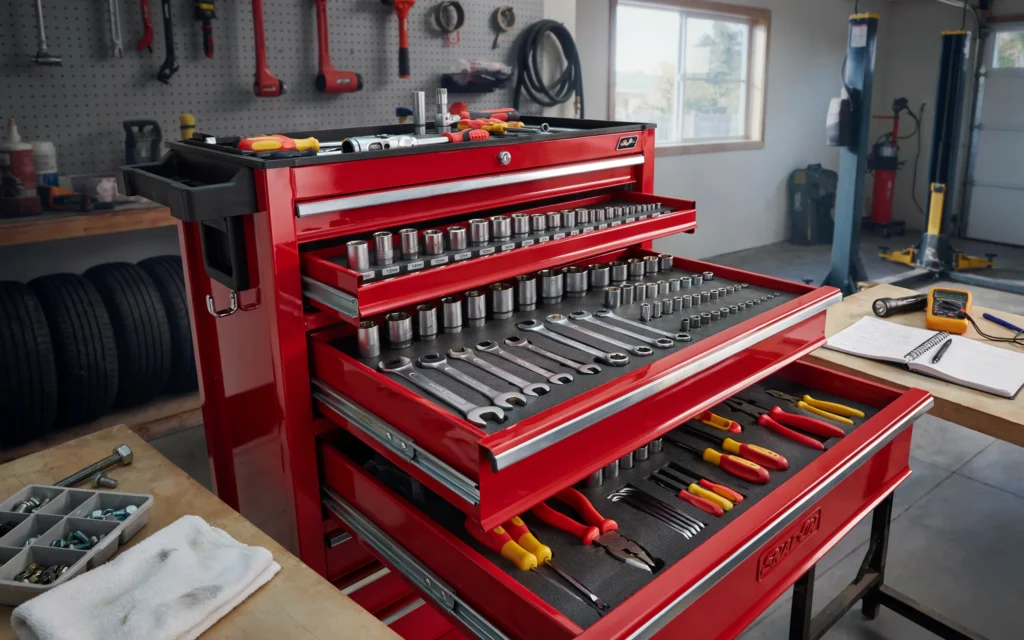
Step 2: Choose the Right Storage for Your Needs
Now that you know what you have, it is time to think about where it will live. The right storage makes all the difference. Your choice depends on how many tools you have, where you work, and how you use them.
Types of Tool Storage
Tool Bags are great for portable kits. They are lightweight and have many pockets. They work well for basic tools you keep in your car trunk for emergencies. However, they do not offer much protection for heavy tools, and they can be hard to organize for a large collection.
Portable Toolboxes are a step up. They have a handle and a hinged top. They are good for small to medium collections. You can carry them to different work areas. But they lack drawers, so tools often pile up on top of each other.
Tool Chests and Cabinets are the best choice for serious home mechanics. They have multiple drawers of different sizes. You can dedicate each drawer to a specific category of tools. They keep tools visible, protected, and easy to access. They are heavier and stay in one place, but they offer the best organization.
Tool Carts are popular with professional mechanics. They are mobile and have a top surface for working. You can roll them right next to your car. They usually have a few drawers for your most-used tools. Many mechanics use a cart for daily tools and a larger chest for everything else.
Wall Storage like pegboards or slatwalls is excellent for larger tools and frequently used items. Hanging tools on the wall keeps them visible and frees up drawer space. This is a great addition to any garage setup.
Storage Options Comparison
| Storage Type | Best For | Pros | Cons |
|---|---|---|---|
| Tool Bag | Portable kits, trunk storage | Lightweight, portable, many pockets | Limited capacity, poor protection |
| Portable Box | Small collections, DIY projects | Durable, easy to carry | No drawers, tools pile up |
| Tool Chest | Large collections, home garages | Lots of drawers, excellent organization | Heavy, not portable, expensive |
| Tool Cart | Professional use, daily tools | Mobile, easy access to common tools | Limited storage space |
| Wall Storage | Larger tools, frequently used items | Saves drawer space, keeps tools visible | Requires wall space, open to dust |
Choose a storage solution that fits your space and your tool collection. If you have a large collection, a tool chest with multiple drawers is the best way to organize an automotive tool kit. If you are just starting out, a good tool bag or portable box might be enough.
Step 3: Categorize and Group Your Tools
With your storage ready, it is time to start putting things away. But do not just toss tools into drawers randomly. The key to a great system is grouping tools logically.
Group by Type
Start by grouping all similar tools together. Put all your wrenches in one place, all your sockets in another, and so on. This is the most basic and effective way to organize an automotive tool kit.
Within each group, you can further organize by size or function. For example, arrange your wrenches from smallest to largest. Group your screwdrivers by type (flathead, Phillips, Torx). Separate your sockets by drive size (1/4-inch, 3/8-inch, 1/2-inch).
Group by Frequency of Use
This is a game-changer. Think about which tools you use most often. These are your “daily drivers.” They should go in the most accessible spots.
- Top Drawers or Front Compartments: Place your most-used tools here. This usually includes ratchets, common socket sizes (like 10mm, 13mm, 15mm), combination wrenches, screwdrivers, and pliers.
- Middle Drawers: Store tools you use less often. This might include specialty tools, larger wrenches, and less common socket sizes.
- Bottom Drawers or Back Areas: Put your heaviest and least-used tools here. This includes hammers, pry bars, pullers, and impact tools. Keeping heavy tools low also makes your toolbox more stable.
Group by Project or System
Some people like to group tools by the kind of work they do. For example, you could have a “brake job” set with all the tools you need for brake repairs. Or an “electrical” set with wire strippers, crimpers, and test lights. This approach works well if you frequently do the same types of repairs.
Use Drawer Organizers
Once you have your groups, use organizers to keep them that way. Drawer organizers, dividers, and trays are essential when you organize an automotive tool kit.
- Socket Rails or Trays: These hold sockets in order by size. They are a must-have for any socket drawer.
- Wrench Racks: These keep wrenches upright and separated. You can see every size at a glance.
- Screwdriver Holders: These keep screwdrivers from rolling around.
- Foam Inserts: These are a more advanced option. You cut foam to fit each tool exactly. This looks professional and makes it obvious if a tool is missing. However, it can take up more space than other methods.
- Small Parts Bins: Use these for nuts, bolts, clips, and other small hardware.
Step 4: Build Your Layout and Put Tools Away
Now comes the fun part: putting everything in its place. Follow your plan and start loading your storage.
A Sample Layout for a Tool Chest
If you have a standard tool chest with several drawers, here is a layout you can adapt:
- Top Drawer (Shallow): Screwdrivers, picks, and small specialty tools.
- Second Drawer (Shallow to Medium): Sockets and ratchets. Use socket rails to keep them organized.
- Third Drawer (Medium): Wrenches. Use a wrench rack or lay them flat in order.
- Fourth Drawer (Medium): Pliers, cutters, and electrical tools.
- Fifth Drawer (Medium to Deep): Hammers, pry bars, and larger hand tools.
- Bottom Drawer (Deep): Power tools, heavy items, and bulkier accessories.
This is just a starting point. Adjust it to fit your own tools and how you work. The goal is to create a system that makes sense to you.
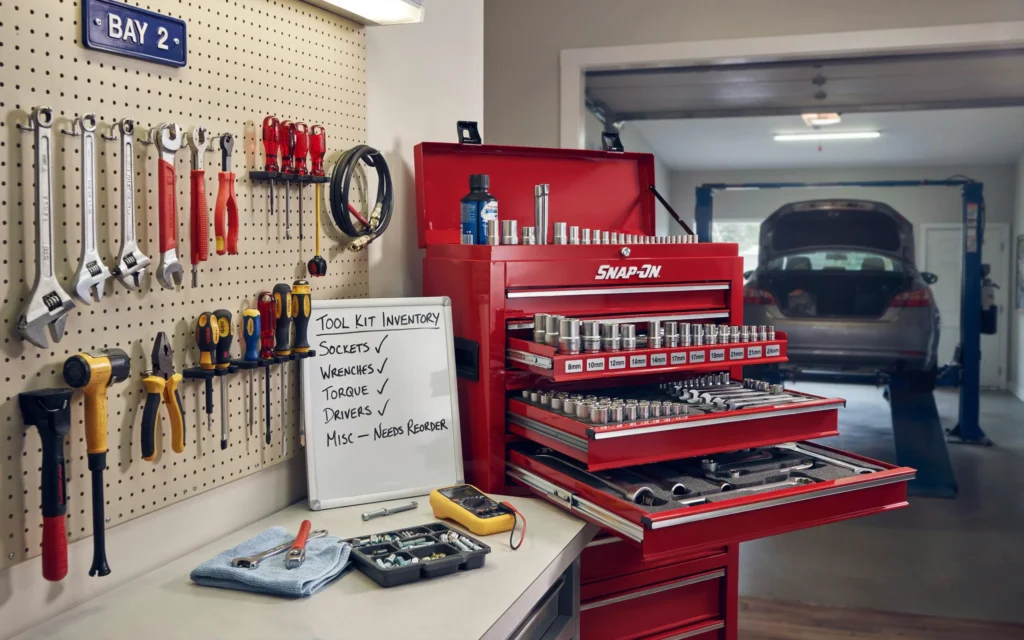
Keep Your Most-Used Tools Handy
If you use a tool cart or a workbench, keep your daily-use tools there. This saves you from walking back and forth to your main toolbox. Your cart should have the tools you reach for on almost every job: a ratchet set, a few combination wrenches, screwdrivers, and pliers.
Label Everything
Labels are your friend. Label each drawer or compartment so you know exactly what is inside. You can use a label maker, tape, or even just a marker. This is especially helpful if you have a large toolbox or if other people use your tools. When you organize an automotive tool kit, labels help everyone stay on the same page.
Consider Your Workspace
Think about where your toolbox sits. Place it close to where you work on your car. Make sure you have enough room to open the drawers fully. Good lighting is also important so you can see inside the drawers. A well-placed toolbox makes your whole workspace more efficient.
“Good organization is not about being neat. It is about being fast. The less time you spend looking for tools, the more time you spend fixing cars.” — Richard Holdener, automotive engine builder and YouTuber
Step 5: Maintain Your System
Organizing your tool kit is not a one-time task. It is a habit. Once you have a system, you need to maintain it.
Return Tools to Their Place
This is the most important rule. After you finish using a tool, put it back where it belongs. Do not set it down on the workbench or leave it in the car. Take the extra few seconds to return it to its designated spot. This keeps your kit organized for the next time you need it.
Do Regular Checkups
Every few months, take a look through your toolbox. Check for tools that are out of place. Clean up any dirt or grease. Make sure your organizers are still working. This is also a good time to see if you need to add any new tools to your collection.
Adjust as Needed
Your tool kit will change over time. You will buy new tools. You might stop using others. Your workflow might change. Do not be afraid to adjust your system. Move tools around if they are not working in their current spot. The best system is one that evolves with you.
Special Considerations for Portable Kits
Not everyone has a big garage with a massive tool chest. Many people keep a tool kit in their car trunk for emergencies. This kit needs to be organized too.
Choose the Right Bag or Case
A portable tool bag with multiple pockets is a good choice. You can also use a plastic organizer case with compartments. The key is that everything has its own spot.
Pack Essentials Only
Your portable kit should have tools for common roadside issues: a jack, lug wrench, jumper cables, a few screwdrivers, pliers, and a small socket set. Do not overload it. You do not need your entire garage collection in your trunk.
Use Roll-Up Bags for Wrenches
Roll-up tool bags are great for wrenches and screwdrivers. They keep tools separated and visible. You can roll them up and store them in your trunk easily.
Keep It Accessible
Make sure your portable kit is easy to reach. Do not bury it under other cargo. You want to be able to grab it quickly in an emergency.
Frequently Asked Questions
What is the first step to organize an automotive tool kit?
The first step is to take everything out of your toolbox or bag and sort it into groups. This gives you a clear picture of what you have and helps you identify duplicates or broken tools.
How should I organize sockets in my toolbox?
Separate sockets by drive size (1/4-inch, 3/8-inch, 1/2-inch). Then, use socket rails or trays to hold them in order by size. Keep standard and metric sockets in separate rows or sections.
What is the best way to store wrenches?
Wrench racks are the best option. They hold wrenches upright and keep them separated by size. You can also lay them flat in a drawer from smallest to largest. Avoid piling them on top of each other.
How often should I clean and reorganize my tool kit?
Aim to do a quick check every few months. Clean tools as you use them. Do a full reorganization at least once a year, or whenever you notice your system starting to break down.
What tools should I keep in a portable car kit?
Keep a jack, lug wrench, jumper cables, a small socket set, screwdrivers, pliers, a flashlight, and some basic emergency supplies. Keep it compact and focused on common roadside issues.
Can I use foam to organize my tools?
Yes, foam inserts are a popular choice. They look great and make it obvious if a tool is missing. However, they can take up more space than other organizers. They work best for tool chests where space is not a major concern.
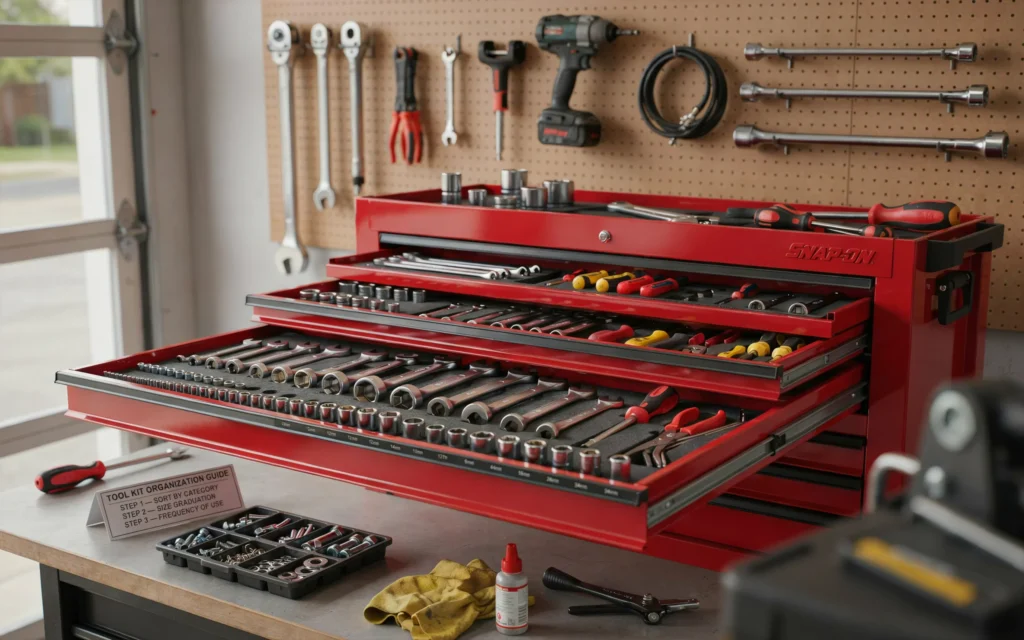
Conclusion
A messy tool kit is a constant source of frustration. It wastes your time, damages your tools, and makes every repair harder than it needs to be. But you do not have to live with the chaos. You have the power to change it.
Taking the time to organize an automotive tool kit is one of the best investments you can make in your hobby or profession. It saves you time, protects your gear, and makes working on your car genuinely more enjoyable. The process is simple: take everything out, sort it, choose the right storage, group tools logically, and put them away in a system that makes sense for you.
Remember, the best organization system is the one you will actually use. It does not have to be perfect. It just has to work for you. Start with the basics. Group your most-used tools in easy-to-reach spots. Use organizers to keep things separated. And most importantly, build the habit of putting tools back where they belong.
The next time you pop the hood, you will not waste time hunting for the right socket. You will reach in, grab it, and get to work. That is the real reward of an organized tool kit. So, clear a space, gather your tools, and get started. Your future self will thank you.
Related posts
 Which Tool Kit Is Worth Buying? How to Choose the Right Set for Your Home
Wondering which tool kit is worth buying? Compare basic household sets, mechanic kits, and power tool combos to find the best tools for your budget and…
 Which Hand Tools Are Made in the USA? Reliable Brands and Buying Rules
Discover which hand tools are still made in the USA. Compare top domestic brands, tool categories, and learn how to verify origin labels before buying. Several…
 Why Do Campers Carry Multi Tools? Practical Uses in the Field
Why do Campers carry multi tools to handle gear repairs, campsite setup, food prep, and field fixes with minimal weight. Here is why one belongs in…