
How To Clean Rusty Tools
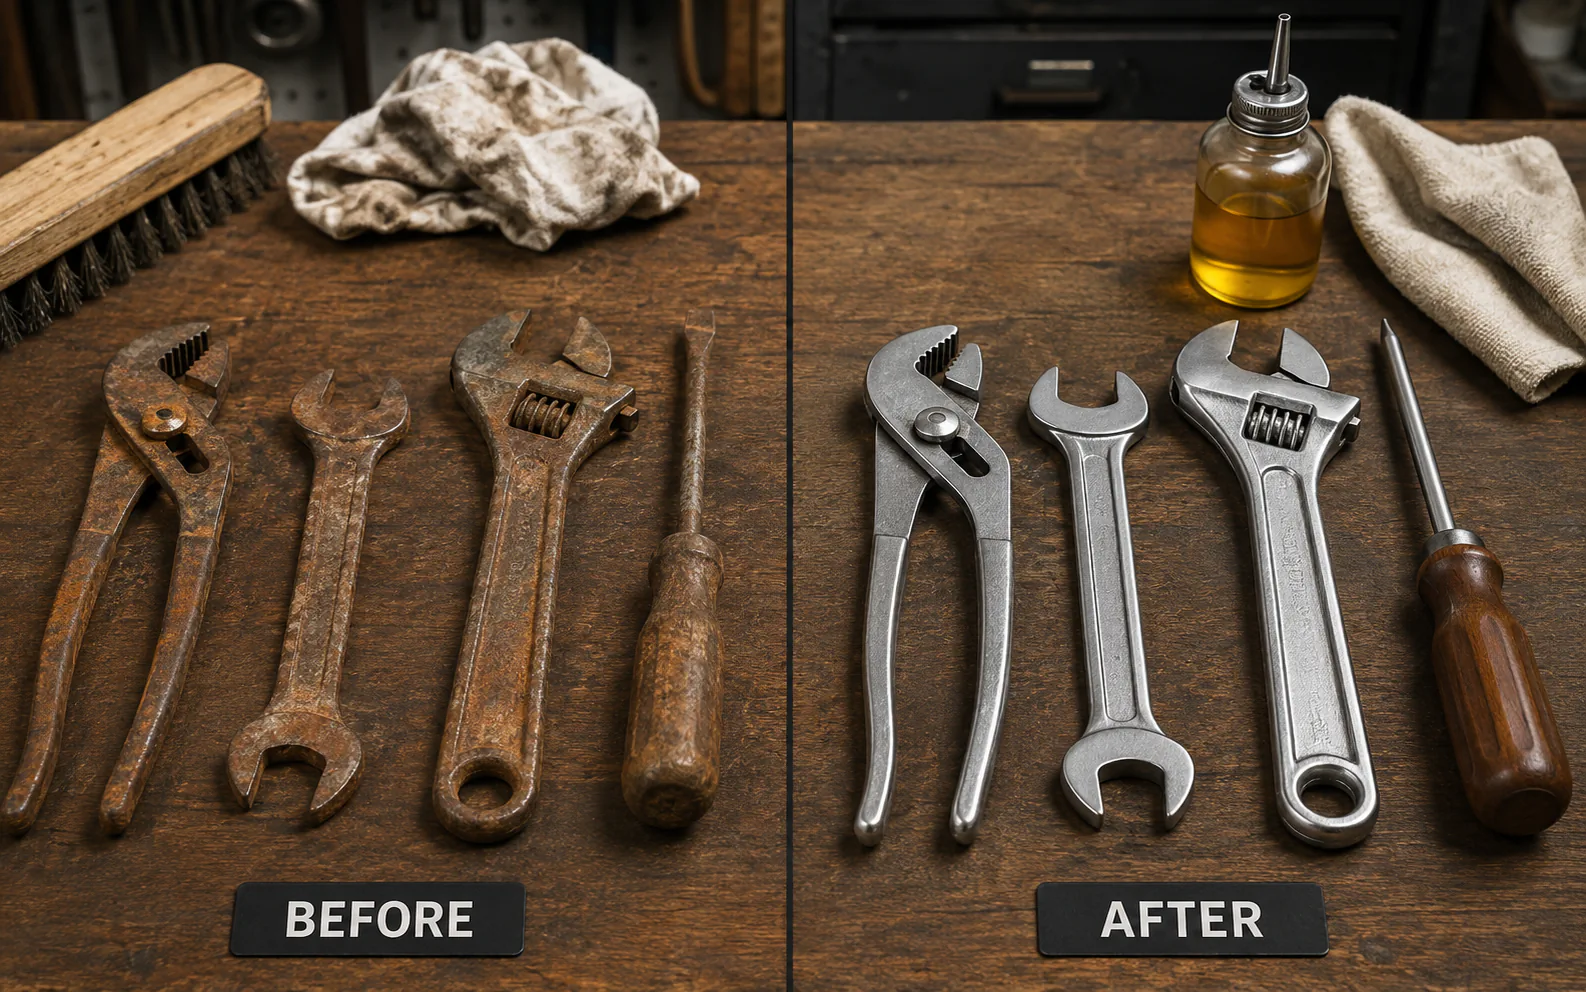
Learning how to clean rusty tools can save you money and extend their life. This guide covers vinegar, baking soda, electrolysis, and more to clean rusty tools effectively.
That old wrench you inherited from your grandfather. The garden shears that have been sitting in the damp shed all winter. Your favorite screwdriver that now looks more orange than silver. We have all been there. Rust happens. It is a fact of life for anyone who works with metal tools.
But here is the good news. You do not have to throw those tools away. Learning how to clean rusty tools is easier than you think. With a few household items and some patience, you can bring them back to life. This guide will walk you through everything you need to know about rust removal. We will cover simple methods, advanced techniques, and most importantly, how to keep rust from coming back.
Rust forms when iron or steel reacts with oxygen and moisture. It is a chemical process called oxidation. The good news is that rust is removable. The bad news is that if you ignore it, rust will eat away at your tools until they become useless. But you are here because you want to fix that. Let us get started.
Why You Should Clean Rusty Tools Right Away
Rust is not just ugly. It is destructive. When rust forms on a tool, it weakens the metal over time. A rusty wrench might slip and strip a bolt. Rusty garden shears will not cut cleanly and can damage your plants. Rusty saw blades become dull and unsafe to use.
There is also a financial reason to act fast. Replacing a full set of quality tools can cost hundreds of dollars. Taking the time to clean rusty tools can save you that expense. Many old tools are made of better steel than what you can buy today. Restoring them is often worth the effort.
“Rust is not a death sentence for your tools. It is a call to action. With the right approach, almost any rusted tool can be saved.” – Tom Silva, General Contractor and This Old House Expert
Beyond saving money, there is a sense of satisfaction in restoring an old tool. You connect with the craft. You honor the tool’s history. And you get a working tool that performs like new.
What You Will Need Before You Start
Before we dive into the methods, gather some basic supplies. Having these on hand will make the process smoother.
| Item | Purpose |
|---|---|
| White vinegar | Acidic soak for dissolving rust |
| Baking soda | Neutralizes acids and makes a scrubbing paste |
| Salt | Boosts the rust-fighting power of vinegar and lemon juice |
| Lemon juice | Natural acid for light rust removal |
| Steel wool or wire brush | Mechanical scrubbing to remove loosened rust |
| Sandpaper (various grits) | Smoothing and polishing after rust removal |
| Plastic or glass container | For soaking tools without reacting with chemicals |
| Rags or old towels | For drying and applying oil |
| Washing soda | For electrolysis method |
| Battery charger | For electrolysis method |
| Protective gloves | To protect your hands from chemicals and sharp edges |
| Safety glasses | To protect your eyes from flying rust particles |
You probably already have many of these items in your kitchen or garage. That is one of the best things about learning how to clean rusty tools. You do not need expensive equipment.
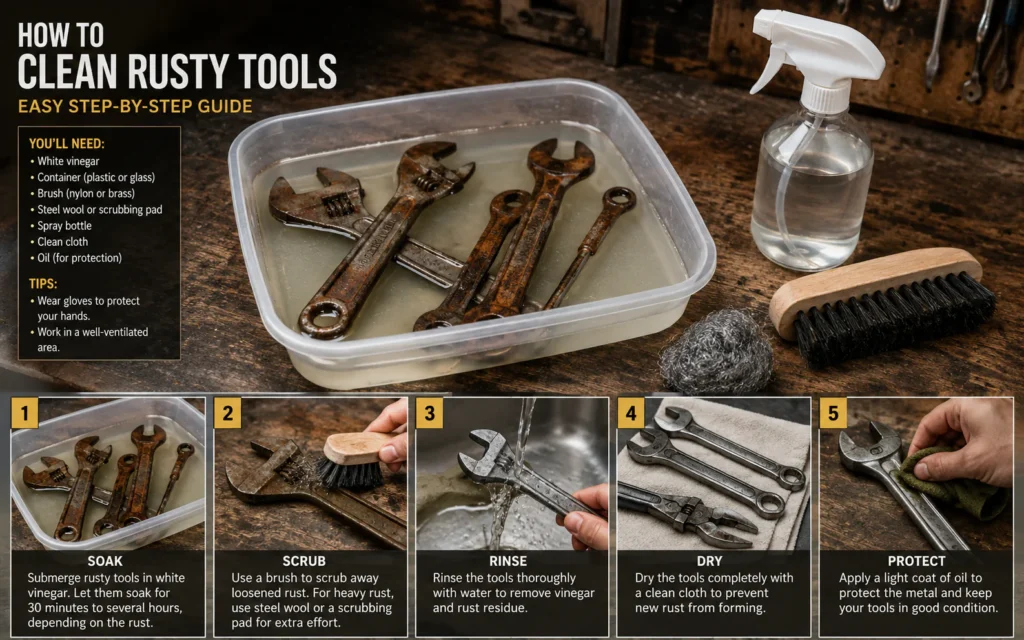
Method 1: The Vinegar Soak
Vinegar is a mild acid. White vinegar, in particular, works wonders on rust. It is cheap, safe, and readily available. This is probably the most popular way to clean rusty tools at home.
How to Do It
- Fill a container with enough white vinegar to completely cover the rusted parts of your tool.
- Submerge the tool in the vinegar. Make sure there are no air bubbles trapped against the metal.
- Let it soak for several hours or overnight. For light rust, a few hours may be enough. For heavy rust, you might need 12 to 24 hours.
- Remove the tool and scrub it with a wire brush, steel wool, or a scouring pad. The rust should come off easily.
- Rinse thoroughly with water to remove all vinegar residue.
- Dry completely with a clean rag or towel. Do not skip this step. Moisture left on the tool will cause new rust to form quickly.
- Apply a protective oil to prevent future rust.
Important Tips for Vinegar Soaking
Do not leave tools in vinegar for too long. Vinegar is acidic enough to dissolve rust, but it can also start eating into the good metal if left for days. Check your tools every few hours.
For heavily rusted tools, some people add salt to the vinegar. A mixture of ¼ cup of salt per liter of white vinegar can speed up the process. This creates a stronger acid solution.
“I have restored dozens of old hand tools using nothing but white vinegar and steel wool. It takes patience, but the results are remarkable.” – Mary Jane Butters, Organic Farmer and Author
After the vinegar soak, you need to neutralize the acid. Mix a paste of baking soda and water. Apply it to the tool and let it sit for a few minutes. Then rinse it off. This stops the acid from continuing to work on the metal.
Method 2: Baking Soda Paste
Baking soda is another kitchen staple that can help you clean rusty tools. It is less aggressive than vinegar but works well for light surface rust. It is also great for neutralizing acids after a vinegar soak.
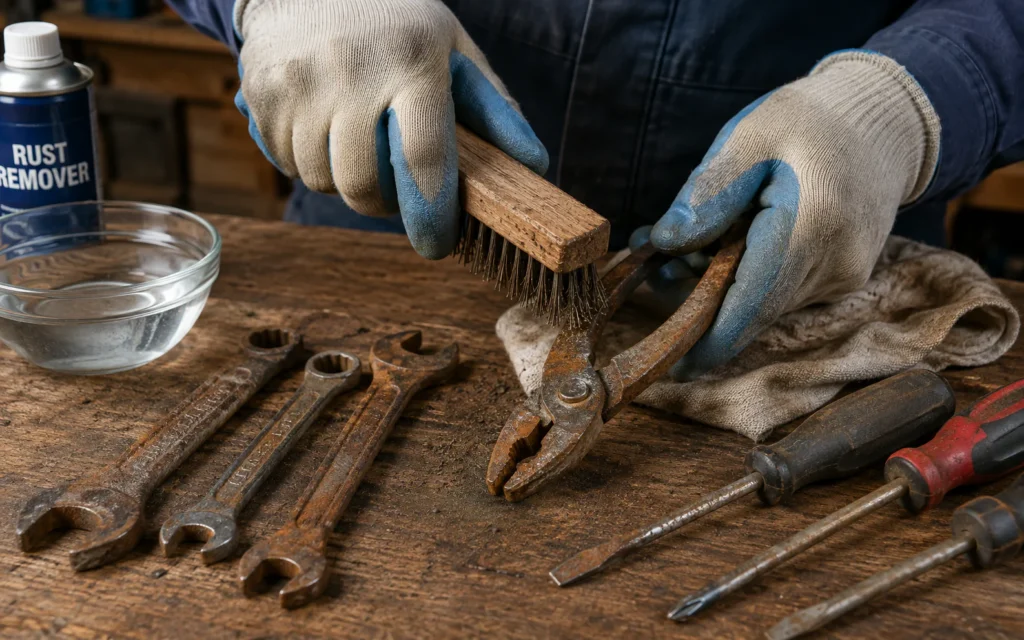
How to Make and Use Baking Soda Paste
- Mix baking soda with water in a small bowl. Add just enough water to make a thick paste. It should have the consistency of toothpaste.
- Apply the paste to the rusted areas of your tool. Cover all the rust spots completely.
- Let it sit for about an hour or two. For heavier rust, you can leave it overnight.
- Scrub the paste off using a brush, steel wool, or a scouring pad. The rust should come away with the paste.
- Rinse the tool with clean water and dry it thoroughly.
- Apply oil to protect the metal.
When to Use Baking Soda
Baking soda is excellent for tools with light surface rust. It is gentle enough that it will not damage the underlying metal. This makes it a good choice for antique tools or delicate items.
Baking soda is also a great neutralizer. After using an acid like vinegar or lemon juice, always neutralize with baking soda. This stops the acid from continuing to corrode the metal.
Method 3: Lemon Juice and Salt
Lemon juice is naturally acidic. When you combine it with salt, you get a powerful rust-fighting mixture. The acid breaks down the rust, and the salt acts as a mild abrasive.
How to Use Lemon Juice and Salt
- Sprinkle salt generously over the rusted areas of your tool.
- Squeeze lemon juice over the salt. You want enough to wet the salt and create a paste.
- Let it sit for about two to three hours. You can leave it longer for heavy rust.
- Scrub the mixture with a brush or steel wool.
- Rinse with water and dry completely.
- Oil the tool for protection.
Pros and Cons of This Method
The lemon juice and salt method is natural and smells good. It works well on light to moderate rust. However, it is not as strong as vinegar or commercial rust removers. For heavy rust, you might need to repeat the process or use a different method.
Lemon juice can also be acidic enough to affect the metal if left too long. Keep an eye on your tools and rinse them off as soon as the rust is gone.
Method 4: Electrolysis
Electrolysis sounds like a complicated science experiment. But it is actually a safe and effective way to clean rusty tools. It works by using electricity to reverse the oxidation process. This method is gentle on the metal and can remove rust from even the most badly corroded tools.
How to Set Up Electrolysis
You need a few items for this method:
- A plastic container (do not use metal)
- Washing soda (not baking soda)
- Water
- A battery charger
- A sacrificial piece of steel or iron
- Steel wire
- A piece of wood
Step-by-Step Instructions
- Fill the plastic container with water. Add one tablespoon of washing soda for every gallon of water. Stir until dissolved.
- Suspend the rusty tool in the solution. Use steel wire to hang it from a piece of wood placed across the top of the container. The tool should be fully submerged but not touching the bottom.
- Place the sacrificial steel in the solution. This can be an old piece of rebar or a steel plate. It should also be submerged.
- Connect the battery charger. Attach the negative (black) clamp to the rusty tool. Attach the positive (red) clamp to the sacrificial steel.
- Turn on the charger and let it run. You should see bubbles forming on the tool. This is the electrolysis process working.
- Leave it for several hours or overnight. The rust will gradually transfer from your tool to the sacrificial steel.
- Turn off the charger and remove the tool. Scrub off any remaining loose rust with a brush.
- Rinse and dry the tool immediately. Electrolysis leaves the metal very clean and reactive. It will rust again very quickly if you do not dry and oil it right away.
Safety Tips for Electrolysis
Electrolysis uses electricity and water. Take proper safety precautions. Work in a well-ventilated area. Do not touch the clamps or metal parts while the charger is on. Keep children and pets away from the setup.
Do not use stainless steel as the sacrificial anode. It can release toxic chromium compounds into the water.
Electrolysis is the best method for heavily rusted tools. It reaches into every crack and crevice. It removes rust without damaging the underlying metal.
Method 5: Mechanical Cleaning
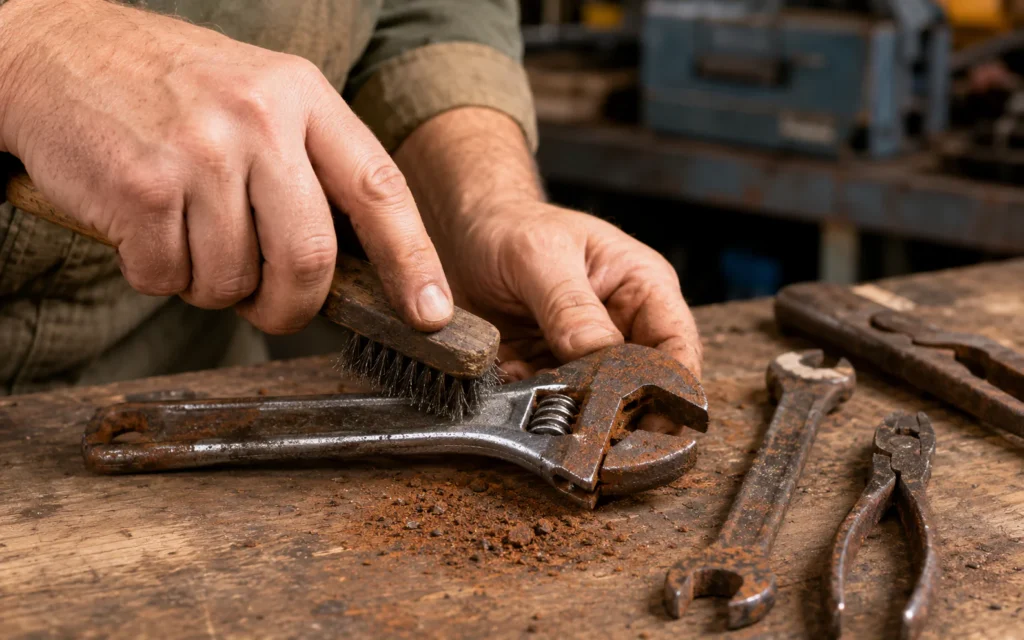
Sometimes you just need to get in there with some elbow grease. Mechanical cleaning means physically removing rust with abrasives. This includes wire brushes, steel wool, sandpaper, and even power tools.
Using Wire Brushes and Steel Wool
A wire brush is one of the simplest tools for rust removal. It works well on large, flat surfaces. Use a stiff wire brush to scrub away loose rust and dirt.
Steel wool is better for smaller areas and curved surfaces. Start with coarse steel wool and move to finer grades as the rust comes off. For delicate tools, use fine steel wool to avoid scratching the metal.
Using Sandpaper
Sandpaper allows you to control the level of abrasion. Start with coarse-grit sandpaper (around 80 to 100 grit) for heavy rust. Work your way up to medium-grit (150 to 220) and finally fine-grit (320 and above) for a smooth finish.
Sand in the direction of the metal grain. This leaves a cleaner finish and reduces visible scratches.
Using Power Tools
For large tools or heavy rust, power tools can save a lot of time. A wire wheel attached to a drill or angle grinder can remove rust quickly. A random orbital sander with sandpaper can smooth large surfaces.
Be careful with power tools. They can remove metal as well as rust if you are not careful. Start with a gentle touch and increase pressure as needed.
When to Use Mechanical Cleaning
Mechanical cleaning is great for tools that are already in good shape but have surface rust. It is also useful after a chemical soak to remove the last bits of stubborn rust.
Mechanical cleaning does not require chemicals. This makes it a good choice if you are working indoors or do not want to deal with liquids.
Comparison of Rust Removal Methods
| Method | Best For | Time Required | Materials Needed | Skill Level |
|---|---|---|---|---|
| Vinegar Soak | Light to heavy rust | 2-24 hours | Vinegar, container, brush | Beginner |
| Baking Soda Paste | Light surface rust | 1-2 hours | Baking soda, water, brush | Beginner |
| Lemon Juice and Salt | Light to moderate rust | 2-3 hours | Lemon juice, salt, brush | Beginner |
| Electrolysis | Heavy rust, intricate parts | Several hours to overnight | Washing soda, battery charger, container | Intermediate |
| Mechanical Cleaning | Surface rust, after chemical soaks | 15 minutes to 1 hour | Wire brush, sandpaper, steel wool | Beginner |
What to Do After You Clean Rusty Tools
Removing the rust is only half the battle. If you do not protect your tools after cleaning them, they will rust again. Sometimes within hours.
Drying Is Critical
Water is the enemy. After any rust removal method that uses liquids, dry your tools thoroughly. Use a clean rag or towel. For extra protection, you can dry them in a warm oven (low heat) or with a hair dryer.
Do not leave tools wet. Do not put them away damp. Take the time to dry them completely.
Apply a Protective Coating
Oil is your best friend when it comes to preventing rust. After drying, apply a thin layer of oil to all metal surfaces.
What kind of oil should you use? Many options work well:
- Mineral oil is food-safe and good for kitchen tools
- Linseed oil is great for garden tools and wooden handles
- Machine oil or 3-in-1 oil works for most workshop tools
- WD-40 displaces moisture and provides light protection
- Boeshield T-9 is a wax-based protectant that lasts longer
Apply the oil with a clean rag. Wipe it on and then wipe off the excess. You want a thin, even coating, not a dripping mess.
“Prevention is always easier than restoration. A minute of oiling after each use saves hours of rust removal later.” – Roy Underhill, Master Woodworker and Author
Store Your Tools Properly
Where you store your tools matters. Moisture is the main cause of rust. Keep your tools in a dry place.
- Hang tools on a wall rather than leaving them on the floor. This allows air to circulate and prevents moisture buildup.
- Use a dehumidifier in your workshop or garage if humidity is high.
- Avoid storing tools in unheated sheds during winter. The temperature changes can cause condensation.
- Keep tools in toolboxes with silica gel packets to absorb moisture.
How to Prevent Rust in the First Place
The best way to clean rusty tools is to never let them rust in the first place. Prevention takes very little time and effort. Here are some habits to develop.
Clean Tools After Every Use
Dirt, sap, and moisture trap water against the metal. This creates the perfect conditions for rust. Clean your tools after each use. Wipe them down with a rag. Remove any dirt or plant residue.
Oil Regularly
Make oiling part of your routine. A quick wipe with an oiled rag after cleaning can prevent rust for weeks. Keep a rag with a little oil on it in your toolbox. Use it to wipe down tools before you put them away.
Inspect Regularly
Check your tools for rust regularly. Catching rust early makes removal much easier. Light surface rust can often be removed with just steel wool.
Control the Environment
If you live in a humid area, controlling moisture is key. Use a dehumidifier. Keep your workshop ventilated. Avoid storing tools directly on concrete floors, as they can wick moisture.
Frequently Asked Questions
Can I use Coca-Cola to clean rusty tools?
Yes, you can. Coca-Cola contains phosphoric acid, which can dissolve rust. The process is similar to using vinegar. Soak the tool in Coke for several hours, then scrub and rinse. Vinegar is generally more effective and less sticky.
Is it safe to use rusty tools?
Light surface rust is usually safe. But heavy rust can weaken tools and make them dangerous. A rusty saw blade can bind or break. A rusty wrench can slip. Always clean rusty tools before using them.
How long does it take to clean rusty tools?
The time depends on the method and the amount of rust. Vinegar soaks can take 2 to 24 hours. Baking soda paste works in 1 to 2 hours. Electrolysis takes several hours or overnight. Mechanical cleaning is the fastest, often taking 15 minutes to an hour.
Can I clean rusty tools with just water?
No. Water alone will not remove rust. In fact, water causes rust. You need acid, abrasives, or electrolysis to remove rust.
What is the fastest way to clean rusty tools?
Mechanical cleaning with a wire wheel on a drill or angle grinder is the fastest. For chemicals, commercial rust removers like Evapo-Rust work quickly, often in minutes rather than hours.
Will vinegar damage my tools?
Vinegar is a mild acid. It can damage tools if left too long. Do not leave tools in vinegar for more than 24 hours. Always neutralize with baking soda and rinse thoroughly after soaking.
How do I clean rusty tools without chemicals?
You can use mechanical methods like wire brushes, steel wool, and sandpaper. These require no chemicals, just physical effort.
Why do my tools keep rusting after I clean them?
You are not drying them completely or not applying oil. Moisture causes rust. Always dry tools thoroughly and apply a protective oil coating immediately after cleaning.
Can I paint over rust?
No. Paint will not stick to rust. You need to remove the rust first. After removing rust, you can apply a primer and then paint if desired.
How do I clean rusty garden tools?
The same methods apply. Vinegar soaks work well for garden tools. After cleaning, apply linseed oil to protect both metal and wooden handles.
Conclusion
Learning how to clean rusty tools is a valuable skill. It saves you money, extends the life of your tools, and gives you the satisfaction of restoring something useful.
We have covered five effective methods. The vinegar soak is great for most rust situations. Baking soda paste works for light rust. Lemon juice and salt offer a natural option. Electrolysis handles the toughest jobs. And mechanical cleaning gives you a chemical-free alternative.
Remember the golden rules of rust removal. Always dry your tools completely after cleaning. Always apply a protective oil. Store your tools in a dry place. And clean them after each use to prevent rust from forming again.
You do not need to be an expert to clean rusty tools. You just need a little patience and the right approach. Your tools will thank you. And so will your wallet.
“Tools are an investment. Taking care of them is not just about maintenance. It is about respect for the work they help you do.” – Norm Abram, Master Carpenter and TV Host
So go ahead. Pull out those rusty tools. Pick a method from this guide. Get to work. And enjoy the feeling of holding a restored tool in your hands. It is worth every minute.
Related posts
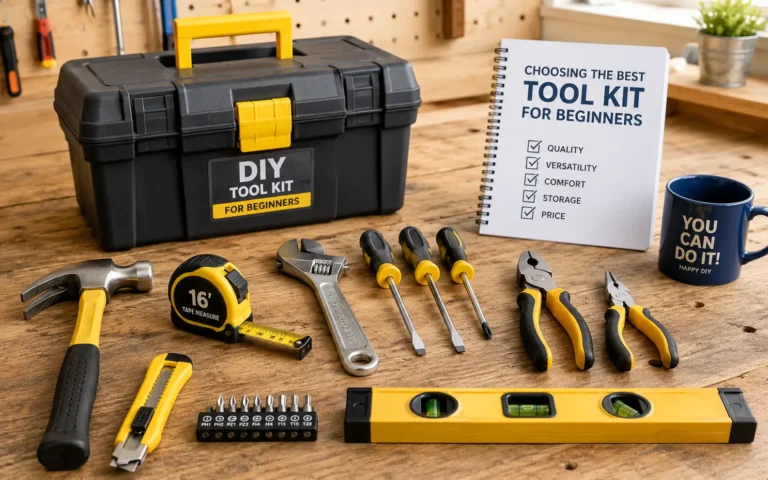 Choosing the Best Tool Kit for Beginners: Your Starter Guide
Find the best tool kit for beginners with this practical guide. Learn what essential tools you need for basic home repairs and DIY projects, and how…
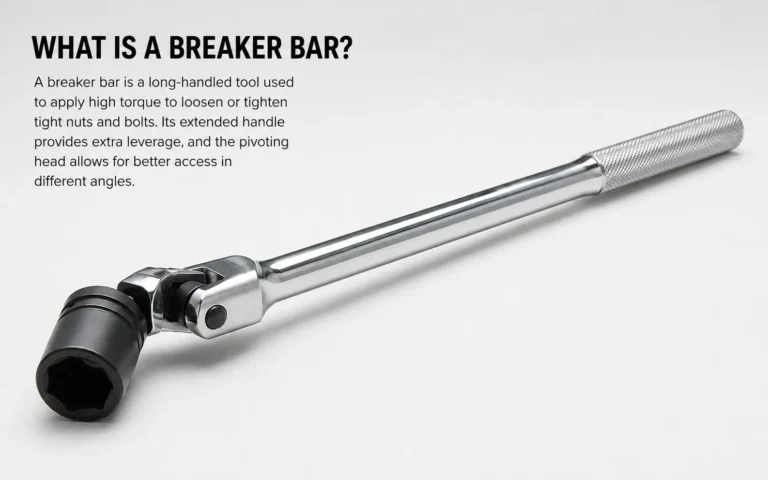 What Is A Breaker Bar
Learn exactly what a breaker bar is, how this long non-ratcheting tool helps you loosen stuck bolts with extra leverage. This guide covers types, uses, and…
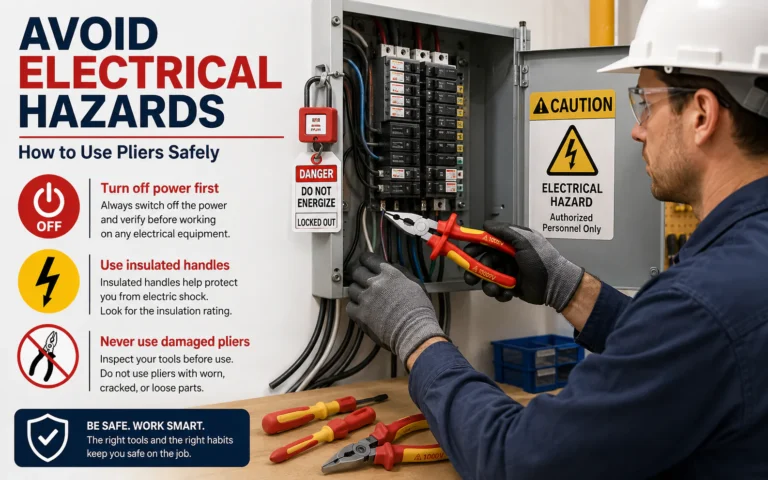 How to Use Pliers Safely: Essential Tips for Every Task
Learn how to use pliers safely with essential tips for proper tool selection, gripping, cutting, and avoiding common mistakes. Protect yourself and your tools. Using pliers…