
How To Build Your Own Custom Automotive Tool Kit
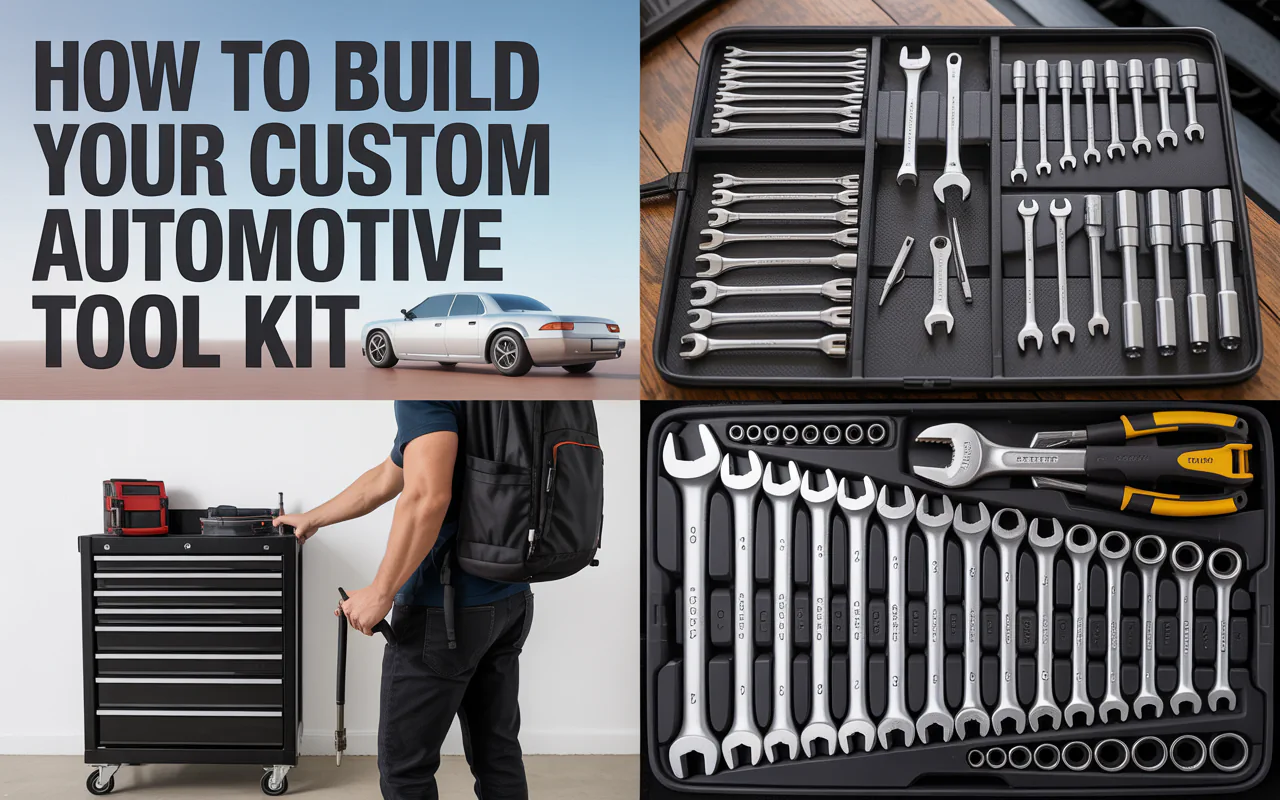
Learn how to build your own custom automotive tool kit that fits your car, budget, and skill level. Save money, avoid junk tools, and fix with confidence.
If you are tired of hunting for the right wrench or using a screwdriver as a pry bar, you are not alone. Many car owners start with a cheap prepackaged set. Those sets often include tools you never use while missing the ones you need most. The better answer is simple: build your own custom automotive tool kit. This approach saves you money, reduces frustration, and helps you fix your car faster.
I have been working on cars for over 15 years. I made every mistake possible. I bought huge tool sets with thin metal that bent on the first bolt. I also wasted cash on fancy gimmicks that still sit in a drawer. Over time, I learned exactly what works. Now I want to help you skip those errors and build your own custom automotive tool kit that actually serves your needs.
“The best tool kit is the one you build for yourself, because you know your car better than any manufacturer.” – Tom Boyd, ASE Master Technician
This guide walks you through every step. We will look at your car type, your skill level, your storage space, and your budget. By the end, you will have a clear plan to build your own custom automotive tool kit that fits you perfectly.
Why a Custom Kit Beats Store-Bought Sets
Store bought tool sets look tempting. They come in shiny cases with foam cutouts. But here is the truth. Most of those sets include filler tools. You get six different sizes of a socket you never touch. You get a tiny wrench that cannot loosen anything. And the case often wastes space.
When you build your own custom automotive tool kit, you choose every single piece. You decide what goes in and what stays out. This means no wasted money. No wasted drawer space. And no frustration when a tool breaks because you bought quality from the start.
Another big reason is your specific car. A 1998 Honda Civic needs different tools than a 2020 Ford F-150. A European car might need special Torx or E-Torx sockets. A diesel truck needs bigger wrenches. A prepackaged set cannot know your car. But you can. That is the power of building your own.
Cost Comparison: Custom vs. Prepackaged
| Feature | Prepackaged Set ($150) | Custom Built Kit ($150) |
|---|---|---|
| Number of tools | 150+ pieces | 40-50 pieces |
| Useful tools | 30-40% | 95-100% |
| Tool quality | Low to medium | Medium to high |
| Storage case | Included but bulky | You choose (bag, box, or cart) |
| Future upgrades | Hard to add | Easy to add |
As you can see, you get fewer total tools but far more useful ones when you build your own custom automotive tool kit. Quality over quantity always wins.
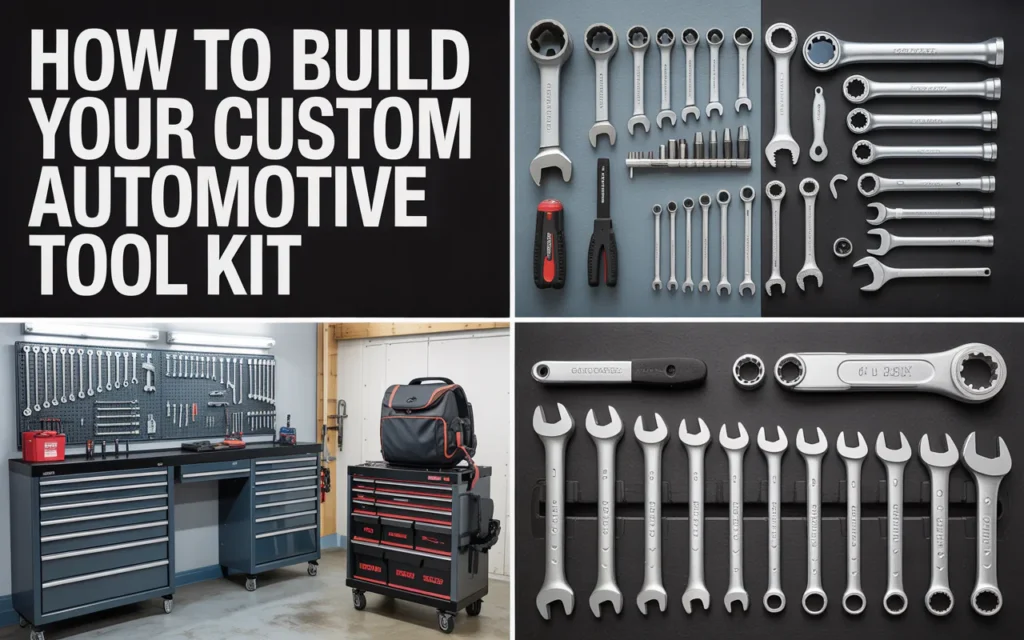
Step 1: Know Your Car and Your Work
Before you buy anything, ask yourself two simple questions. What car do I drive? And what jobs do I plan to do?
If you only change oil and swap batteries, your kit will be small. If you plan to replace brakes, alternators, or suspension parts, you need more tools. Write down the most common bolt sizes on your car. For most Japanese and American cars, that means 10mm, 12mm, 14mm, and 17mm. For German cars, you may need 13mm, 15mm, 16mm, and 18mm plus triple square bits.
Also think about how you learn. Do you watch YouTube videos and try repairs yourself? Then you need a versatile kit. Do you have a friend who helps? Then you can share some tools. But either way, starting with a clear plan helps you build your own custom automotive tool kit without buying duplicates.
Common Bolt Sizes by Car Type
| Car Type | Common Sizes (mm) | Special Tools Often Needed |
|---|---|---|
| Japanese (Toyota, Honda, Nissan) | 10, 12, 14, 17, 19 | Phillips #2, flathead |
| American (Ford, Chevy, Ram) | 8, 10, 13, 15, 18, 21 | Torx T25, T30 |
| German (VW, BMW, Mercedes) | 10, 13, 16, 18, E-torx | Triple square, E-torx sockets |
“I tell every new mechanic to buy a 10mm socket in triplicate. You will lose them. You will break them. And you will need them.” – Maria Chen, shop owner and mechanic for 22 years.
Step 2: Pick the Right Storage
Many people forget this step. They buy tools first and then realize nothing fits in their trunk or garage. So before you build your own custom automotive tool kit, decide where the kit will live.
If you keep tools in your car for roadside fixes, choose a soft bag or a roll-up pouch. These fit in spare tire wells or under seats. If your kit stays in a garage, a portable tool box with drawers works great. If you work on multiple cars or help friends, a backpack style tool bag gives you hands free carrying.
The key is to pick storage that matches your tool count. Do not buy a huge chest if you only have 30 tools. Do not buy a tiny pouch if you plan to add 50 more pieces later. Leave room to grow because you will always find one more tool to add.
Step 3: The Must-Have Tools for Any Kit
Now we get to the fun part. Here is the core list of tools you need to build your own custom automotive tool kit that handles 90% of common car repairs.
Sockets and Ratchets
Get a 3/8 inch drive ratchet and a set of shallow and deep sockets. Sizes from 8mm to 19mm cover most cars. Add a 1/4 inch drive ratchet for small work like interior trim or light brackets. A 1/2 inch drive ratchet is good for suspension and lug nuts, but you can start with a breaker bar instead.
Always buy 6-point sockets, not 12-point. Six point sockets grab the flat sides of a bolt head. They will not strip rounded bolts. Twelve point sockets slip more easily.
Wrenches
A set of combination wrenches from 8mm to 19mm is gold. Combination means one end is open and the other is a box end. Get ratcheting wrenches if your budget allows. They save huge time in tight spaces.
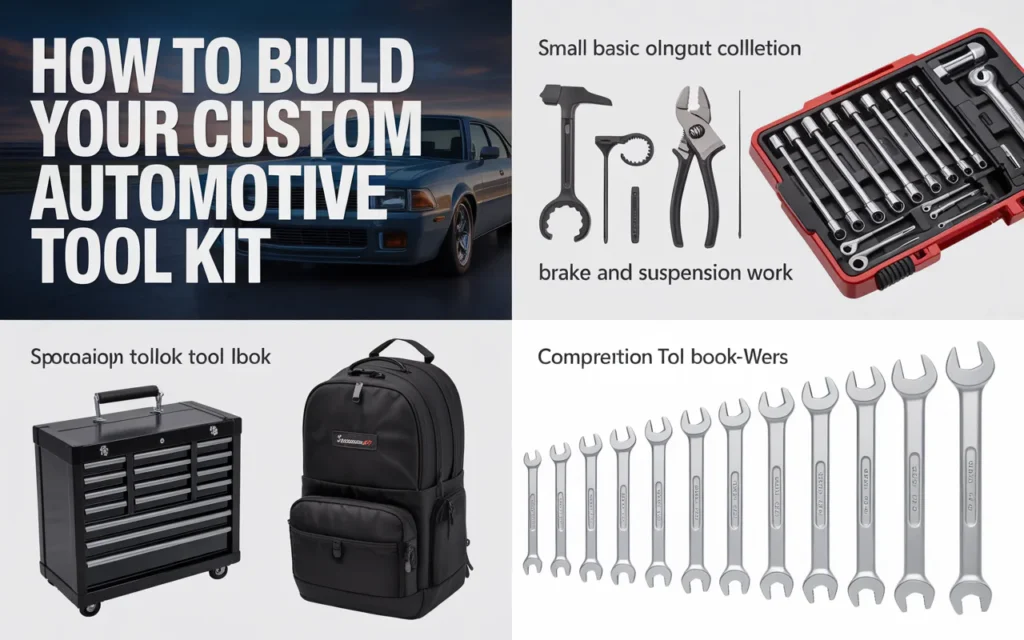
Screwdrivers and Pliers
You need a #2 Phillips, a flathead that is medium width, and a set of small precision screwdrivers for clips and sensors. For pliers, get slip joint pliers, needle nose, and a good pair of locking pliers (Vise-Grip style). Add wire cutters and strippers if you do any electrical work.
Specialty Tools for Beginners
A breaker bar gives you extra leverage for stuck bolts. A magnetic pickup tool saves you when you drop a nut into the engine bay. A trim removal tool set keeps you from breaking plastic clips. And a good flashlight or headlamp is not optional. You need to see what you are doing.
“The difference between a frustrating repair and a smooth one is often a $5 magnetic tray. Keep your bolts organized.” – James Liu, DIY mechanic and YouTube creator.
Step 4: Where to Buy Tools Without Breaking the Bank
You do not need Snap-on or Mac tools to build your own custom automotive tool kit. Good mid-range brands work perfectly for home mechanics. Look at Husky (Home Depot), Pittsburgh (Harbor Freight), Craftsman (Lowe’s), or GearWrench. These brands offer lifetime warranties on many hand tools.
Buy your sockets and ratchets as sets. It is cheaper than individual pieces. Buy your wrenches as a set too. For screwdrivers and pliers, you can buy individually or in small kits. Avoid the cheapest no-name tools on Amazon. They often break on the first use. A broken tool can strip a bolt or hurt your hand.
Check pawn shops and garage sales. Many people sell high quality tools for low prices. Look for old USA made Craftsman or SK tools. Clean them up and they work like new.
Step 5: Assemble and Organize Your Kit
Once you have your tools, lay them all out on a table. Group similar tools together. Sockets in one pile. Wrenches in another. Pliers in another. Now decide how they fit into your storage.
If you use a tool bag, buy socket rails or a socket strip. These keep sockets organized by size. For wrenches, use a wrench roll or simply stand them upright in a bag pocket. For pliers, clip them to the inside loops of a bag.
Label everything if it helps you. You want to open your kit and find the 14mm socket in three seconds. Not dig around for five minutes.
This organization step is what separates a frustrating kit from a joy to use. When you build your own custom automotive tool kit, you also build your own system. Make it yours.
Step 6: Test Your Kit on a Real Job
The best test is real work. Pick a small job. Change your air filter. Swap a battery. Replace a broken taillight bulb. Use only your new custom kit. Notice what works and what does not.
Did you need a longer ratchet? Did you miss a certain size socket? Did you wish for a flexible head ratchet? Write these notes down. Then add or change tools as needed.
Your first version of the kit will not be perfect. That is fine. Build your own custom automotive tool kit is a process. Over a few months, you will refine it until it feels like an extension of your hand.
Step 7: Maintain and Upgrade Over Time
Tools do not last forever. Wipe them down after each use. Oil the ratchet heads once a year. Replace anything that bends or breaks. And keep adding tools as your skills grow.
When you move from oil changes to brake jobs, buy a brake caliper tool. When you start doing suspension work, buy a ball joint separator. When you fix electrical issues, buy a multimeter. Each new skill brings one or two new tools.
The beauty of a custom kit is that it grows with you. You never have to throw away a whole set because you outgrew it. You simply swap one tool for another.
Frequently Asked Questions
1. How much money does it cost to build your own custom automotive tool kit?
You can start for $100 to $150. That buys a good ratchet, socket set, wrench set, screwdrivers, and pliers. Add more as your budget allows.
2. Can I build your own custom automotive tool kit for European cars?
Yes. Just focus on metric sizes from 10mm to 19mm plus specialty bits like Torx, E-Torx, and triple square. These are easy to find online or at auto parts stores.
3. What is the single most important tool in any custom kit?
A 3/8 inch drive ratchet with a set of 6 point shallow and deep sockets from 8mm to 19mm. This alone handles most bolts on modern cars.
4. How do I know if a tool brand is good quality?
Look for a lifetime warranty. Read reviews from other home mechanics. Avoid tools that feel lightweight or have rough edges. Good brands include GearWrench, Tekton, Husky, and Craftsman.
5. Should I buy power tools for my custom kit?
Only if your budget allows. A cordless impact wrench is great for lug nuts and suspension bolts. But start with hand tools. They teach you feel and control. Add power tools later.
6. How many tools do I really need to start?
About 30 to 40 pieces. That includes one ratchet, 12 sockets (shallow and deep), 8 wrenches, 3 screwdrivers, 3 pliers, a breaker bar, and a flashlight. That is a solid starter kit.
7. Can I build your own custom automotive tool kit if I have zero mechanical experience?
Absolutely. Start with basic tools and watch repair videos for your specific car. You will learn which tools you use most. Then adjust your kit from there.
8. What should I do if I lose a tool?
Buy a single replacement of the same brand and size. Many hardware stores sell individual sockets and wrenches. Keep a small list of what you need next time you shop.
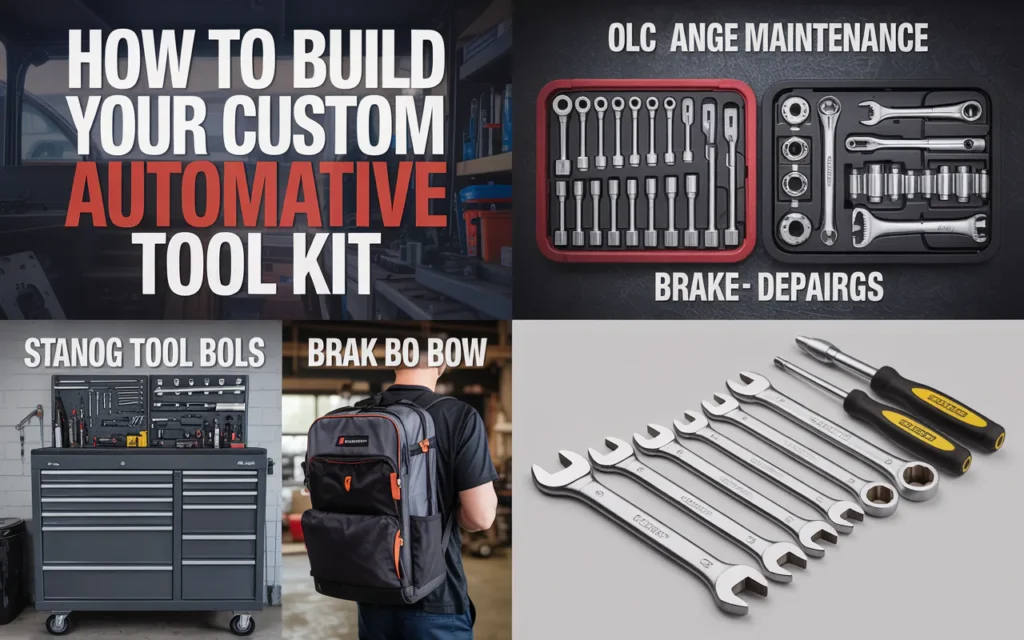
Conclusion
You do not need a garage full of expensive tools to fix your own car. You do not need to buy a huge prepackaged set full of useless pieces. The smart path is to build your own custom automotive tool kit. Start small. Focus on the tools your car actually needs. Buy the best quality you can afford. Organize everything so you can work fast. Then test, adjust, and grow your kit over time.
Every repair becomes easier when you reach for the right tool the first time. Every dollar you save on mechanic bills stays in your pocket. And every job you finish gives you confidence to try the next one. So grab a ratchet, pick a socket, and begin. Your custom kit is waiting to be built.
Related posts
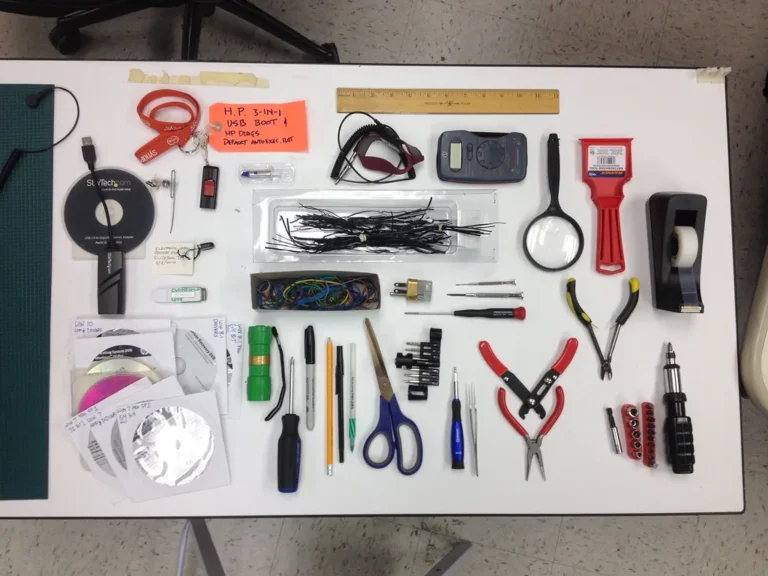 Top Starter Mechanic Tool Kits for Apprentices: Essential Sets for Your Trade
Explore top starter mechanic tool kits for apprentices. Compare sets for mechanics, electricians, and other trades to find your essential tools. Starting an apprenticeship is an…
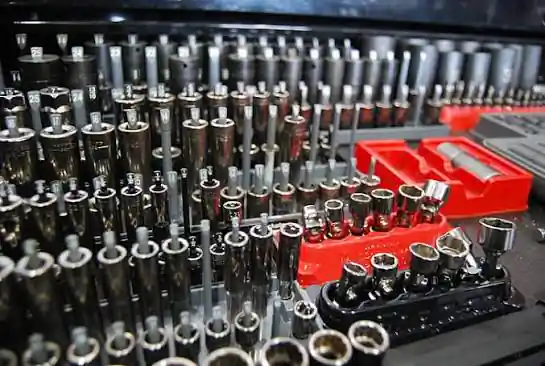 Automotive Tool Kits vs. Mechanic Tool Sets: What’s the Difference?
Understand the key differences between automotive tool kits vs. mechanic tool sets. Learn which is best for your car maintenance needs. When looking for tools to…
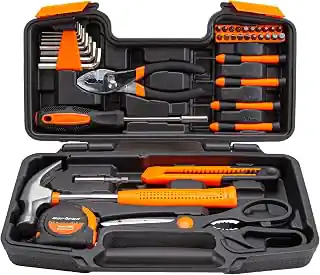 Top Automotive Tool Kits for Garage Workshops: A Buyer’s Guide
Find the top automotive tool kits for garage workshop. Compare versatile sets for car maintenance, home repairs, and DIY projects to choose the best fit. Setting…