
How Do I Build A Home Tool Kit From Scratch
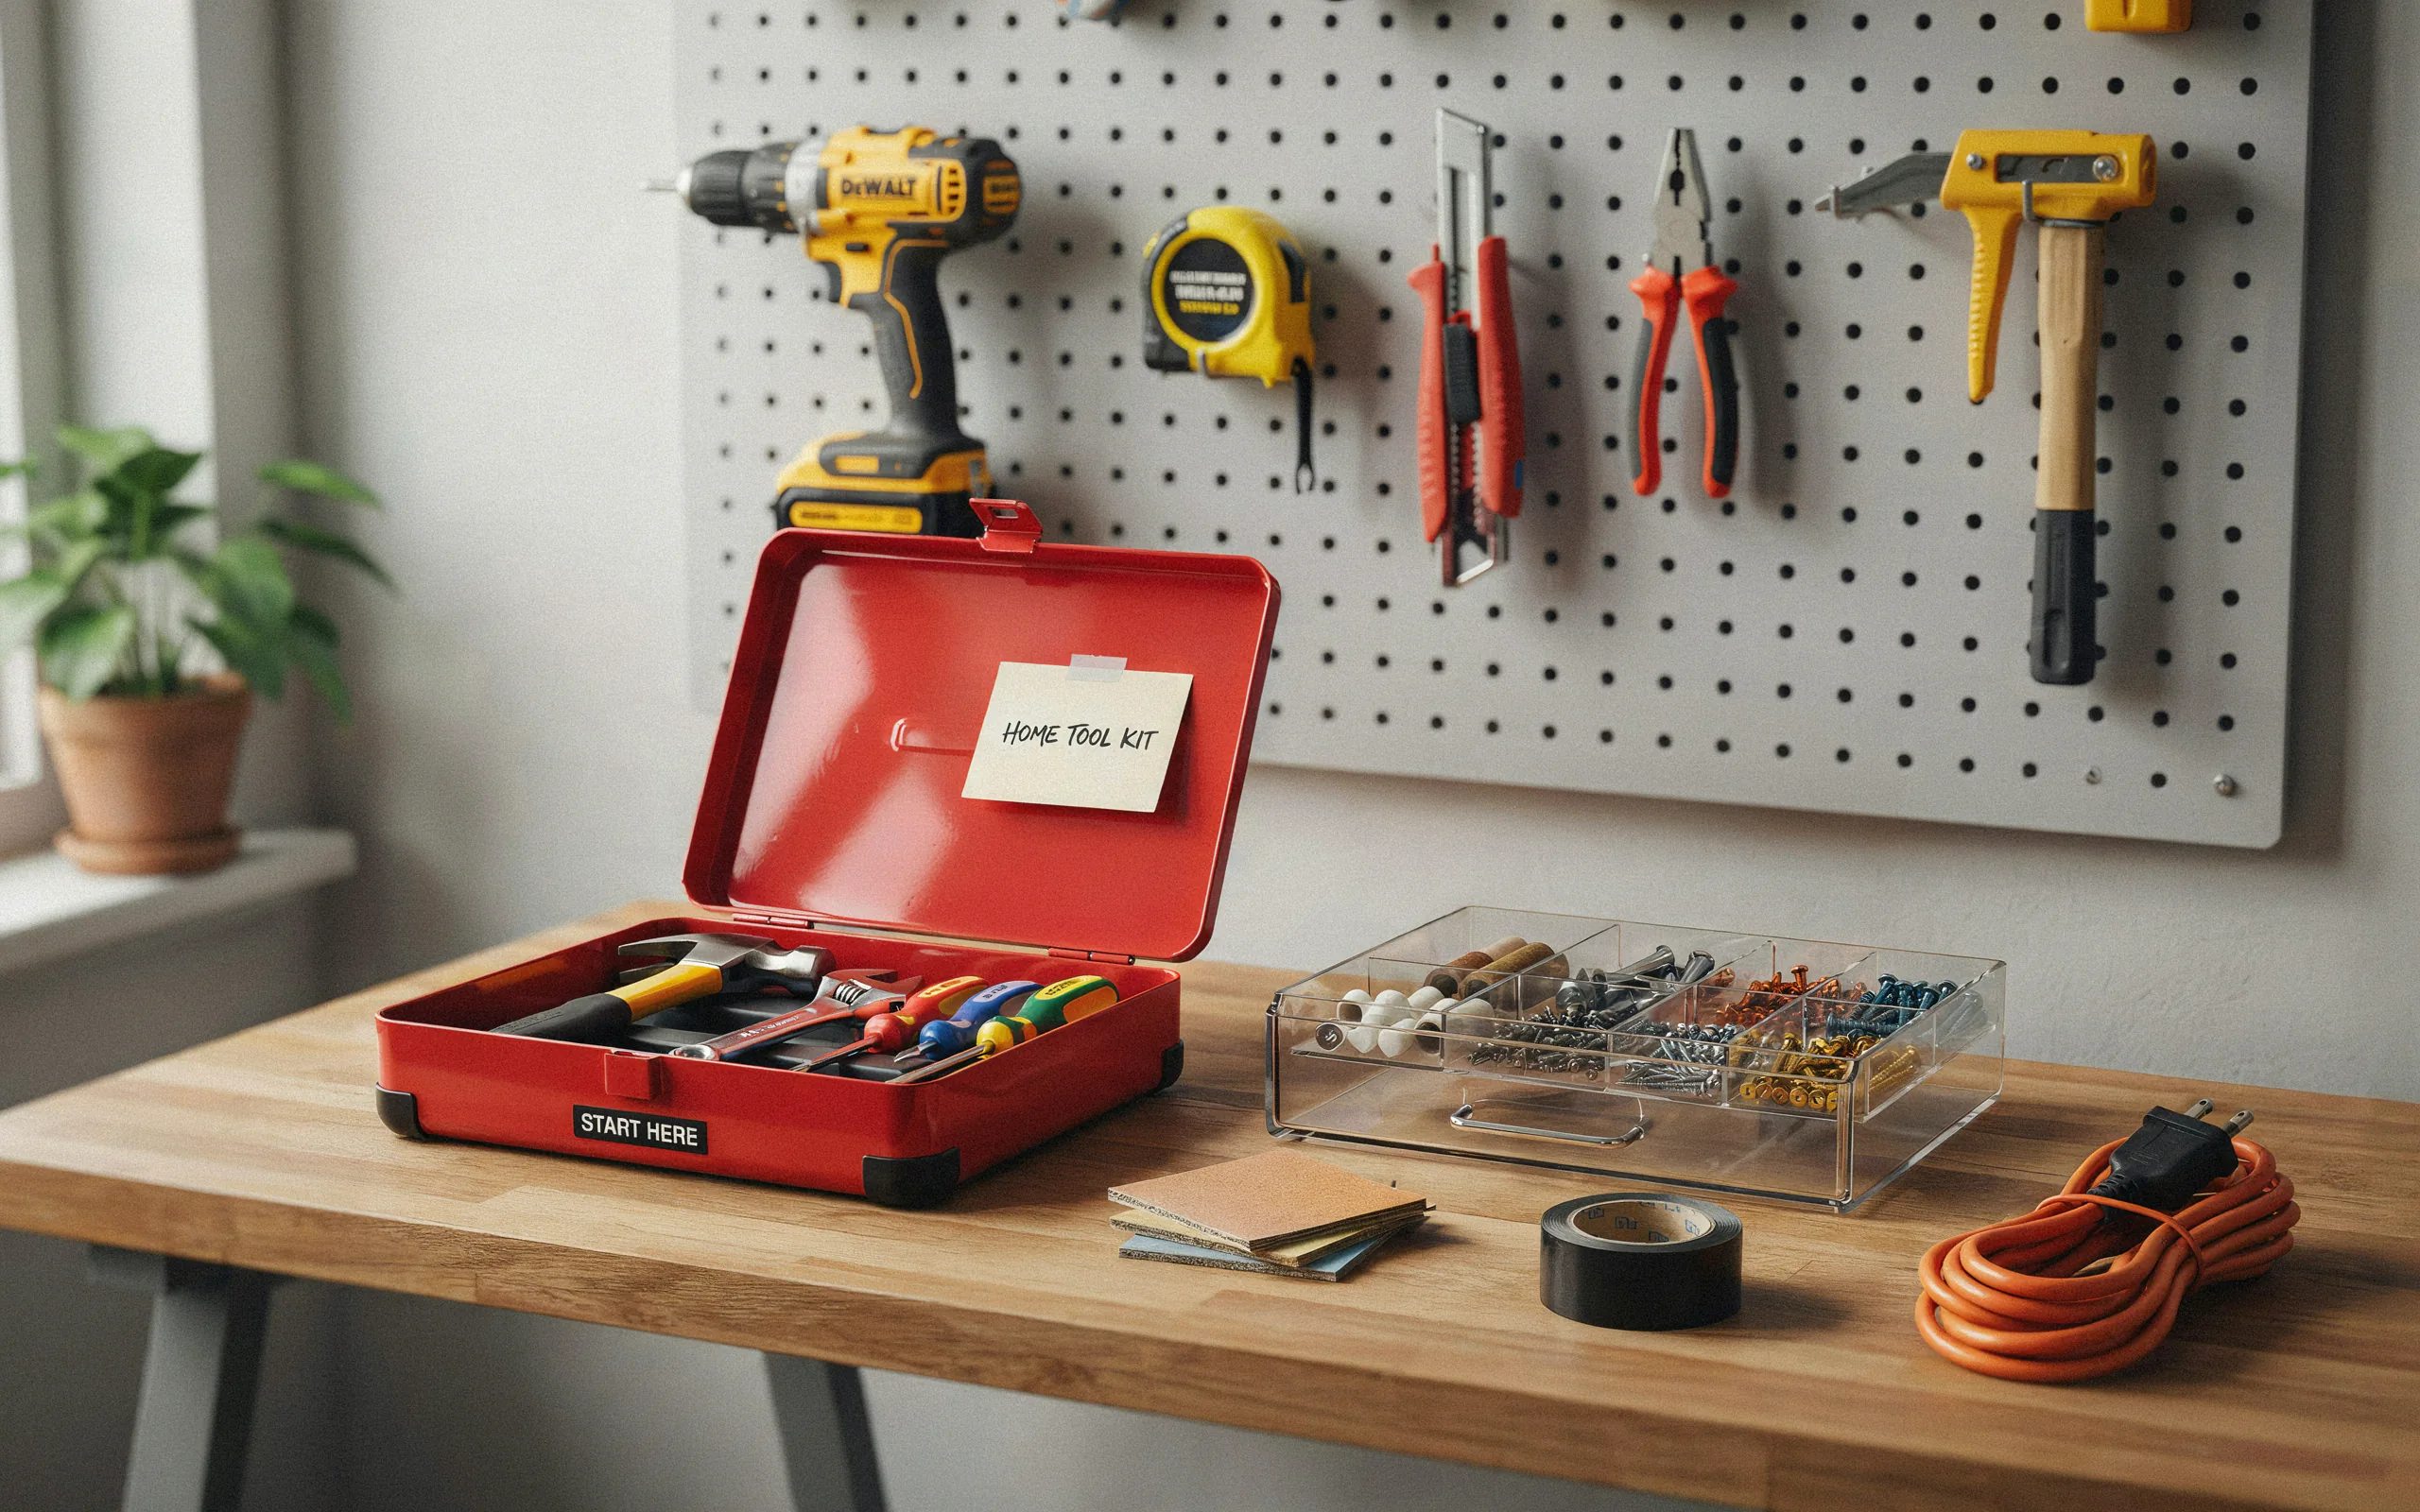
If you’re wondering how do I build a home tool kit from scratch, this guide provides the clear steps. You will learn exactly which tools you need first. This complete plan helps you start your DIY projects with confidence.
You have decided to start fixing things around your home. That is a great choice. Many people want to start DIY projects but feel lost about what tools to buy first. The question “how do I build a home tool kit from scratch” comes up often. It can feel confusing with all the choices at the hardware store. Some tools seem expensive. Others look complicated. You might wonder where to even begin.
The truth is that building a useful tool kit is simpler than you think. You do not need every tool in the store. You need a smart collection of basic tools. These tools will help you handle most simple repairs and projects. This guide will show you exactly what to pick. We will talk about quality, storage, and safety too. By the end, you will know exactly how to build a home tool kit from scratch. You will feel ready to start your first project.
Let us begin this process together. The goal here is to give you practical advice. This advice comes from real experience. I have built many tool kits over the years. I have learned what works and what does not. You will benefit from that experience. This way, you avoid wasting money on tools you do not need.
What Does a Basic Home Tool Kit Need?
Before you buy anything, think about your needs. What kind of tasks will you do? Most home projects involve hanging pictures. You might need to tighten loose cabinet handles. Perhaps you want to assemble furniture from a box. Maybe you plan to fix a leaky faucet. These common jobs require a specific set of tools.
I build a home tool kit from scratch with these tasks in mind. This approach keeps things simple. You buy tools for the jobs you actually do. You do not buy fancy tools that sit in a drawer for years. The basic kit serves about 90% of your home repair needs. That is a good return on your investment.
Think about your home too. Do you live in an apartment? A house? Do you have a garden? These factors affect your tool choices. An apartment dweller needs different tools than a homeowner with a large yard. We will cover both situations. The core kit works for everyone. Then we add specialty items as needed.
Why Start Simple?
Starting simple has many benefits. First, it saves money. You buy only what you need right now. Second, it reduces clutter. Your toolbox stays organized and manageable. Third, it builds confidence. You learn to use a few tools well. This makes you more likely to tackle new projects.
I build a home tool kit from scratch this way because it works. Many people buy large tool sets with 200 pieces. Most of those pieces never get used. Instead, you end up with a heavy box and missing the one tool you actually need. A focused kit prevents that problem. You will have exactly the right tools for your projects.
The Essential Tools You Need First
This section covers the absolute must-have tools. These are the tools that will handle most household tasks. Think of these as the foundation of your kit. Everything else you buy later will build upon this core set. Let us look at each category closely.
Hammers
A hammer is one of the first tools people buy. This tool drives nails into walls and wood. It also removes nails when you need to take things apart. You should get a claw hammer. This type has a curved claw on the back. That claw is perfect for pulling out nails.
The weight matters here. A 16-ounce hammer works well for most people. It is heavy enough to drive nails effectively. Yet it is light enough to use comfortably. Look for a hammer with a comfortable grip. The handle material can be wood, fiberglass, or steel. Fiberglass handles are very durable. They also absorb shock well.
I build a home tool kit from scratch with a quality hammer. This tool will last for many years. A good hammer costs between $15 and $25. The extra cost is worth it for better balance and durability. Cheap hammers can break or hurt your wrist from poor design.
Screwdrivers
Screwdrivers are used constantly. Every home has hundreds of screws. You need the right driver to turn them. Here is what you need:
| Screwdriver Type | Size | Common Use |
|---|---|---|
| Flathead | 3/16 inch | Electrical outlets, older hardware |
| Phillips #2 | Medium | Most furniture assembly, modern screws |
| Phillips #1 | Small | Smaller electronics, delicate items |
| Flathead | 1/4 inch | Larger slots, some hinges |
These four screwdrivers handle almost all screw types you will find. The Phillips #2 is the most used. Many projects rely on this size. The flathead drivers work well for prying tasks too. A set of these costs about $10 to $20.
Measuring Tape
Accurate measurements are key to good projects. A measuring tape solves this need. Get a 25-foot tape measure. This length works for most home projects. It is long enough to measure rooms. It is short enough to be manageable.
Look for a tape with a locking mechanism. This feature keeps the tape extended while you measure. The blade should be at least one inch wide. A wider blade stays straight over longer distances. A good tape measure costs about $10 to $15.
Level
Hanging pictures and shelves needs a level. This tool shows you when something is straight. Get a small level, about 24 inches long. This size is easy to store. It is long enough for most hanging tasks.
Some levels have multiple vials. These show horizontal and vertical alignment. This type is very useful. A good level costs around $10 to $15. It will help you hang everything straight the first time.
The Next Tier of Tools: Expanding Your Kit
Once you have the basics, add more tools. These tools expand your capabilities. They let you handle bigger projects. They also make your work easier and safer.
Pliers
Pliers grip things tightly. They turn nuts and bolts. They also hold objects steady. Here are the three types you need:
Needle-nose pliers: These have long, thin tips. They reach into tight spaces. They are great for electrical work. They also help with jewelry repair and other fine tasks.
Slip-joint pliers: These are the most common type. The joint slides to adjust the jaw size. They grip larger objects well. They work for plumbing and general gripping tasks.
Locking pliers: These clamp down and stay locked. They act like an extra hand. You can set them on a bolt and let them hold it. This frees your hands for other work. They are excellent for stuck bolts and nuts.
These pliers together cost about $20 to $30. They will serve you for many years.
Adjustable Wrench
An adjustable wrench fits many different bolt sizes. This means you need fewer individual wrenches. Get a 10-inch adjustable wrench. This size handles most home plumbing and hardware tasks.
The adjustable feature saves space in your kit. One wrench does the job of many. Make sure the mechanism slides smoothly. It should lock firmly at the size you choose. A good adjustable wrench costs about $15 to $20.
Utility Knife
A sharp knife is very useful. You will cut boxes, open packages, and trim materials. A utility knife with retractable blades is the best choice. The blades snap off to reveal new sharp edges. This keeps the knife useful for a long time.
Get a knife with a comfortable handle. Some have grip padding for safety. Extra blades are cheap and easy to store. This tool costs about $10 with a pack of blades.
Tools for Electrical Projects
Electrical work requires special tools. These tools keep you safe. They also make the work easier. You can handle small electrical jobs with these additions.
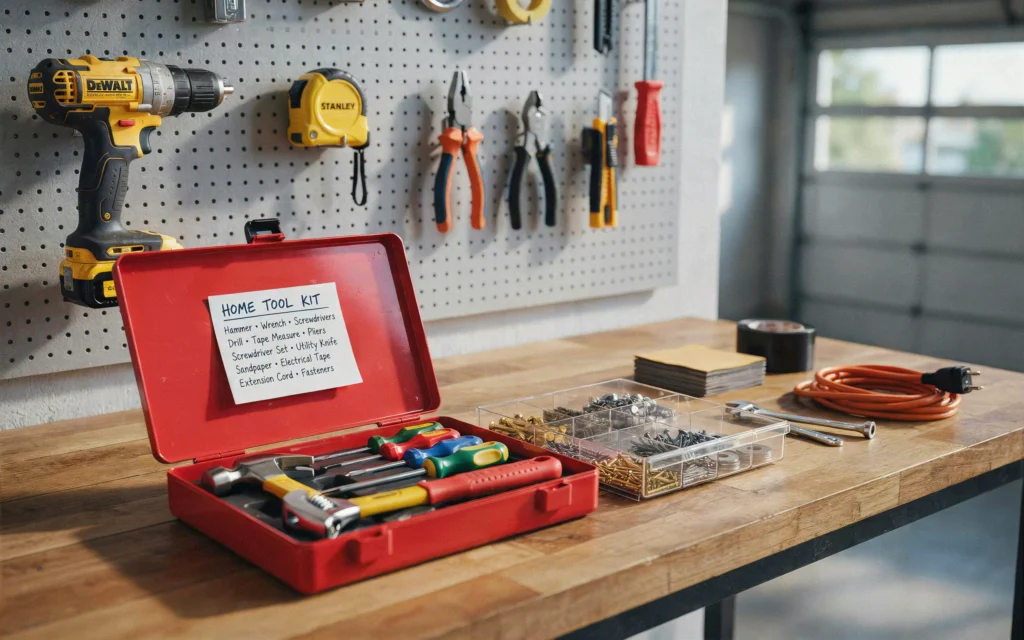
Voltage Tester
Safety comes first with electricity. A voltage tester checks if wires are live. This prevents shocks and accidents. You simply touch the tester to a wire or outlet. It lights up or beeps if electricity is present.
Get a non-contact voltage tester. This type senses electricity without touching bare wires. It is much safer for beginners. This small tool costs about $10 to $15. It could save your life.
Wire Strippers
When working with electrical wires, you need to strip the insulation. Wire strippers do this job perfectly. They cut through the outer coating without damaging the metal inside.
Look for a tool with multiple gauge settings. This lets you work with different wire sizes. A basic pair costs about $10. It will make electrical projects much easier and safer.
Tools for Plumbing
Plumbing issues happen in every home. A few tools help you fix small leaks and clogs. You can handle many problems yourself with the right equipment.
| Plumbing Tool | Purpose | Approximate Cost |
|---|---|---|
| Plunger | Clear clogged drains and toilets | $10 |
| Pipe wrench | Tighten and loosen pipes | $20 |
| Basin wrench | Work under sinks in tight spaces | $15 |
| Teflon tape | Seal pipe threads | $3 |
These four tools handle most basic plumbing needs. The plunger is essential for every home. The pipe wrench and basin wrench help with faucet repairs. Teflon tape prevents leaks at threaded connections. This simple plumbing kit costs about $50 total.
I build a home tool kit from scratch with these plumbing tools. They have saved me many service calls over the years. Small leaks are usually easy to fix yourself.
Storing Your Tool Kit
A good storage system keeps your tools organized. It makes finding things easy. It also protects your investment. Here are some storage options to consider.
Toolboxes
Toolboxes are the classic storage choice. They come in different sizes and materials. Plastic boxes are lightweight and affordable. Metal boxes are very durable. Both work well.
A basic box has a handle and a removable tray. The tray holds small tools and fasteners. The bottom holds larger tools. This simple design is very effective. A good toolbox costs about $20 to $30.
Tool Bags
Tool bags are another great option. They have many pockets and compartments. This organization makes tools easy to find. The bags are often made of heavy canvas or nylon. They are very durable.
The pockets keep tools separated. You do not have to dig through a pile to find what you need. A tool bag with good pockets costs about $25 to $40.
Organizing Small Parts
Screws, nails, and anchors need organization too. Small plastic containers work perfectly. You can see what is inside at a glance. Look for containers with dividers. These keep different items separate.
You can also use small glass jars with lids. Label each jar with its contents. This recycling approach is free and very effective. It helps you find what you need quickly.
Safety Gear: Protect Yourself
Safety should always come first. You are working with sharp tools and heavy objects. Protect yourself properly. Here is the basic safety gear you need.
Safety Glasses
Your eyes are very fragile. Small pieces of metal or wood can fly up. Safety glasses protect your vision. They are cheap and very effective. Get a pair with side shields for full protection. They cost about $5 to $10.
Work Gloves
Gloves protect your hands from cuts and splinters. They also provide better grip. Get a pair of leather or synthetic work gloves. They should fit snugly but allow movement. Good gloves cost about $10 to $15.
Hearing Protection
Some tools are very loud. Repeated noise can damage your hearing. Earplugs or earmuffs provide protection. The foam earplugs are cheap and effective. You can also get electronic earmuffs that block loud sounds but let you hear normal conversation.
Power Tools: When to Add Them
Power tools speed up work significantly. They also make difficult jobs much easier. However, you should be selective about which ones to buy. Start with a drill.
The All-Important Drill
A drill is the first power tool you should buy. You will use it constantly. A drill can make holes in wood, metal, and plastic. It can also drive screws quickly and easily.
A 12-volt or 18-volt drill works well for home use. Look for a drill with two speeds. A keyless chuck is very convenient. It lets you change bits without a tool. Consider buying a set with two batteries. This keeps you working while one charges. A good drill set costs about $60 to $100.
Drill Bits and Driver Bits
Your drill needs accessories to work. A set of drill bits is essential. Get a set with different sizes from 1/16 inch to 1/2 inch. This covers most drilling needs.
You also need driver bits for screws. These bits fit into the drill to drive screws. A set with Phillips and flathead tips is the minimum. Many sets include square and star tips too. A good bit set costs about $15 to $20.
Building Your Kit on a Budget
You do not need to buy everything at once. Building a kit slowly is smart. It spreads out the cost. It also lets you learn each tool properly. Here is a budget-friendly approach.
Start with the Basics First
Buy the absolute essentials first. Get a hammer, screwdrivers, measuring tape, and pliers. These tools handle the most common tasks. You will use them right away. Spend about $50 to $75 on these core tools.
Add Tools as You Need Them
When a specific job comes up, buy the tool for it. This is a very practical way to build your kit. You never buy tools you do not use. This approach has a name. It is called “buy as you go.” It saves money and space.
For example, if you need to hang a picture, buy a level. If a faucet leaks, buy a basin wrench. Each project adds to your collection naturally. Over a year or two, you will have a complete kit.
Consider Used Tools
Used tools can save money. Many people sell tools they never use. Check garage sales and online marketplaces. You can find quality tools for a fraction of the new price.
Look at the condition carefully. Check for rust, cracks, or damage. Test moving parts to ensure they work properly. Good used tools are a great value. You can get started for less money.
Tool Quality and Value
Tool quality affects performance and safety. You want tools that work well and last long. Here is how to choose good tools.
Recognizing Good Quality
Quality tools feel solid in your hand. They are well-balanced and comfortable. Moving parts work smoothly. The materials feel durable. Cheaper tools often feel flimsy or rough.
A good quality hammer has a tight head. The handle should not have cracks or splinters. Screwdrivers should have molded handles. The tips should be sharp and straight. Good pliers open and close smoothly with no side-to-side play.
Where to Spend More
Some tools deserve a higher budget. The tools you use most should be good quality. A drill is a good example. A better drill has more power and lasts longer. It is safer and easier to use.
Screwdrivers are another good investment. Cheap ones can strip screw heads. They can also break easily. A quality set of screwdrivers costs a bit more but works much better. They will not damage your work.
Where You Can Save
You can save money on some tools. A basic level works just as well as an expensive one. Simple pliers are effective without high cost. Measuring tapes are similar across brands. Save on these tools and spend more on frequently used items.
I build a home tool kit from scratch by balancing quality and cost. I spend more on tools I use often. I save on tools I use rarely. This approach gives me good quality where it matters most.
Maintaining Your Tools
Tools need care to last. Proper maintenance keeps them working well. It also keeps them safe. Here are some simple maintenance tips.
Clean Tools After Use
Wipe your tools off after each use. Remove dust and debris. This prevents rust and damage. A simple rag works for most cleaning. For stuck-on dirt, use a bit of soap and water.
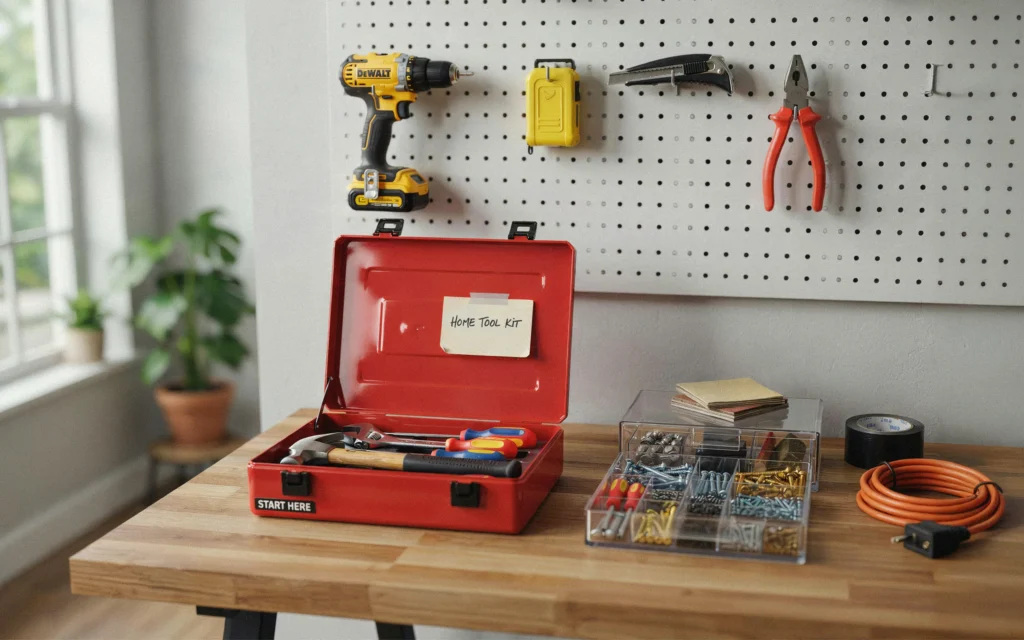
Prevent Rust
Rust is the enemy of tools. Keep tools dry to prevent it. Wipe off any moisture immediately. Store tools in a dry place. Use light machine oil on moving parts. This lubrication prevents rust and improves function.
Check for Damage
Inspect your tools regularly. Look for cracks or loosening parts. Handle damage is a safety concern. Check that electrical cords are not frayed. Throw away damaged tools or get them repaired.
First Projects with Your New Kit
Now you have your tools. What should you build first? Starting with simple projects builds skills. It also gives you confidence. Here are some beginner projects.
Hang a Picture
This project uses several basic tools. You will use a hammer, level, and measuring tape. This job lets you practice measuring and leveling. It is low risk and high reward. You get to see your work immediately.
Assemble Furniture
Building furniture from a box is common. You will use screwdrivers and perhaps a drill. This project teaches assembly skills. You learn to follow directions and use fasteners. Many people start here.
Fix a Leaky Faucet
A dripping faucet wastes water. It is also annoying. This project uses your plumbing tools. You will learn about washers, O-rings, and pipe connections. It is a very practical skill to learn.
Learning and Growing Your Skills
Your tools are only useful if you know how to use them. Learning is a process. Start simple and build your skills over time.
Watch and Learn
Online videos teach many skills. You can see exactly how to use a tool. Look for videos from reputable sources. Watch how they handle different tasks. Follow along with your own tools.
Start Small
Do not tackle huge projects at first. Start with simple tasks. Build confidence with small wins. Each success makes the next project easier. You will grow your skills steadily.
Learn from Mistakes
Everyone makes mistakes. It is part of learning. Do not get discouraged. Think about what went wrong. Learn from the experience. You will do better next time.
“A mistake is a signal that you are learning something new. Every craftsman has a drawer full of things that did not turn out right.” – Steve Maxwell, Woodworking Teacher
Shopping Guide: Where to Buy Tools
You need to know where to shop. Different stores offer different advantages. Here is a quick guide to tool shopping.
Hardware Stores
Local hardware stores offer great service. The staff usually know their products. They can offer advice and recommendations. You can see and feel tools before buying. Supporting local businesses is a bonus.
Big Box Stores
Large home improvement stores have huge selections. They often have lower prices. You can find almost any tool you need. The staff may not be as knowledgeable. Do your research before going.
Online Shopping
Online stores offer convenience. You can compare prices easily. Read reviews from other buyers. Be careful with unknown brands. Look for trusted sellers. Watch for shipping costs.
Common Mistakes to Avoid
Many people make these mistakes when building a tool kit. Learn from their experience. Avoid these common pitfalls.
Buying Too Many Tools Too Fast
This is a very common mistake. You see all the shiny tools. You want to have everything. Resist this urge. You will waste money. You will also be overwhelmed. Start with basics and grow slowly.
Buying the Cheapest Tools
Cheap tools are tempting. They save money now. But they fail quickly. They can also be dangerous. A broken tool can hurt you. Invest in reasonable quality for your safety.
Ignoring Safety
Safety gear seems unnecessary until you need it. One flying piece of metal can change everything. Wear your safety glasses. Use gloves when needed. Protect yourself properly. You are the most important part of your workshop.
“Buy nice or buy twice. A cheap tool that breaks means you spend money twice. Quality tools save money in the long run.” – Dave Heitler, Tool Industry Expert
What to Avoid in Your Tool Kit
Some tools are less useful for home use. Avoid these to save money and space. They often sound good but get little use.
Very Specialized Tools
One-use tools take up space. Unless you do a specific job often, skip them. There is almost always a general tool that can do the same task. Save your money for versatile tools.
Overly Large Tools
Think about your storage space. A giant wrench is hard to store. You probably do not need industrial-size tools. Smaller, more practical tools work fine. They are also easier to handle.
Quick Reference Table for Your Kit
Here is a summary table of the essential tools you need. Use this as a shopping list.
| Category | Tool | Cost Range |
|---|---|---|
| Striking | 16 oz Claw Hammer | $15-25 |
| Driving | Screwdrivers Set (4) | $10-20 |
| Measuring | 25 ft Tape Measure | $10-15 |
| Leveling | 24 inch Level | $10-15 |
| Gripping | Pliers Set (3 types) | $20-30 |
| Wrenching | 10 inch Adjustable Wrench | $15-20 |
| Cutting | Utility Knife | $10 |
| Safety | Safety Glasses | $5-10 |
| Electrical | Voltage Tester | $10-15 |
| Plumbing | Plunger | $10 |
| Power | 18V Drill Kit | $60-100 |
Final Thoughts on Your Tool Kit
Building your own tool kit is a great project. It will serve you for years. Each tool has its purpose. Together they give you power over your home.
I build a home tool kit from scratch with a practical mindset. I think about the projects ahead. I buy tools for those needs. I always include safety gear. It is a system that works well.
“Your hands are the most important tools you own. The others just extend their reach.” – Sammy Rogers, Carpenter and Handyman
Remember that every expert started where you are now. They learned one tool at a time. They built skills slowly. You are on the same path. Each project will add to your knowledge. Your confidence will grow. Your tool collection will grow too.
The best part is being able to handle home issues yourself. No waiting for a handyman. No paying high service fees. You can fix things on your schedule. That feels really good.
Frequently Asked Questions
What is the absolute minimum tool kit for a new home?
You need a hammer, tape measure, level, screwdriver set (Phillips #2 and flathead), adjustable wrench, and utility knife. Add a plunger for plumbing. These handle 90% of basic tasks. This kit costs under $100 total. You can start with just these tools.
How much does it cost to build a basic home tool kit?
A good basic kit costs about $100 to $150. This covers all the essential hand tools. A power drill adds about $60 to $100. A more complete kit with plumbing and electrical tools costs about $200 to $250. Buying used tools can lower costs.
Should I buy a pre-made tool set or choose individual tools?
Individual tools are usually better. Pre-made sets often include low-quality tools. They also include tools you do not need. Individual tools let you choose quality. You buy exactly what you need. This saves money and space.
What power tool should I buy first?
A drill is the first power tool to buy. It is very versatile. You can drill holes and drive screws. Look for a 12-volt or 18-volt drill. Get one with two batteries. A good drill set costs $60 to $100.
How do I know if a tool is good quality?
Quality tools feel solid and balanced. Moving parts work smoothly. Handles are comfortable and secure. The tool has no rough edges or poor fit. Good tools often have a brand name known for quality. Read reviews from other users.
Should I buy tools online or in a store?
Both have benefits. Stores let you see and feel tools. You can check balance and comfort. Online stores have better prices and more selection. Consider using both. Look in stores, then buy online for the best deals.
What safety gear is essential?
Safety glasses are the most important. They protect your eyes from flying debris. Work gloves protect your hands. Hearing protection helps if you use loud power tools. These items cost about $20 total. They are worth every penny.
How should I store my tools?
Toolboxes and tool bags work well. Keep similar tools together. Use dividers for small parts. Store tools in a dry place. Avoid damp areas like basements or garages with leaks. Good storage makes tools easy to find.
How often should I clean and maintain my tools?
Wipe tools after each use. This prevents rust and buildup. Check tools for damage regularly. Oil moving parts twice a year. Replace damaged tools immediately. This keeps them working well and safe.
Can I build a tool kit without spending a lot of money?
Yes, you can start with a very small budget. Buy the absolute basics first. Add tools as you need them. Look for used tools at garage sales. Borrow tools for jobs that come up rarely. You can start with just a hammer and screwdriver set.
Conclusion
Building your home tool kit from scratch is a valuable project. It gives you independence and confidence. You learn useful skills. You save money on home repairs. The process is simple when you know what to buy.
Start with the basic tools. Add more as you need them. Always include safety gear. Take care of your tools properly. Learn to use each tool well. Your skills will grow along with your collection.
I build a home tool kit from scratch with a long-term view. Every tool adds to your capability. Each project builds your experience. You become more self-sufficient over time. That is a great feeling.
Take the first step today. Buy a hammer and some screwdrivers. Hang a picture or assemble some furniture. You will be amazed at what you can do. Your tool kit will grow as you do. Enjoy the process and the satisfaction of doing it yourself.
The tools you need are ready and waiting. You can start your DIY journey right now. Just pick one tool and get going. Your future self will thank you.
Related posts
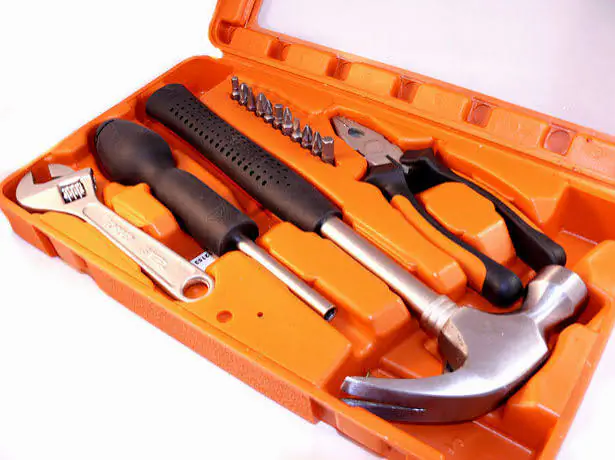 Which Tool Kit Is Worth Buying? How to Choose the Right Set for Your Home
Wondering which tool kit is worth buying? Compare basic household sets, mechanic kits, and power tool combos to find the best tools for your budget and…
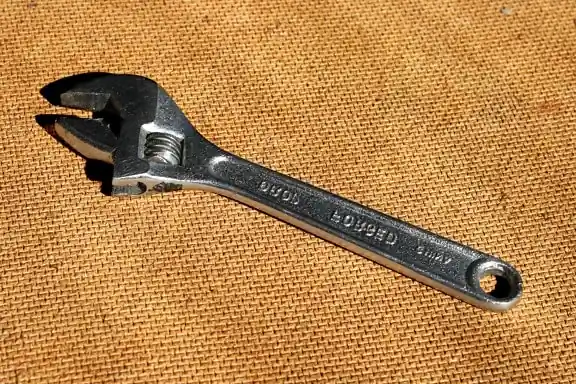 Which Hand Tools Are Made in the USA? Reliable Brands and Buying Rules
Discover which hand tools are still made in the USA. Compare top domestic brands, tool categories, and learn how to verify origin labels before buying. Several…
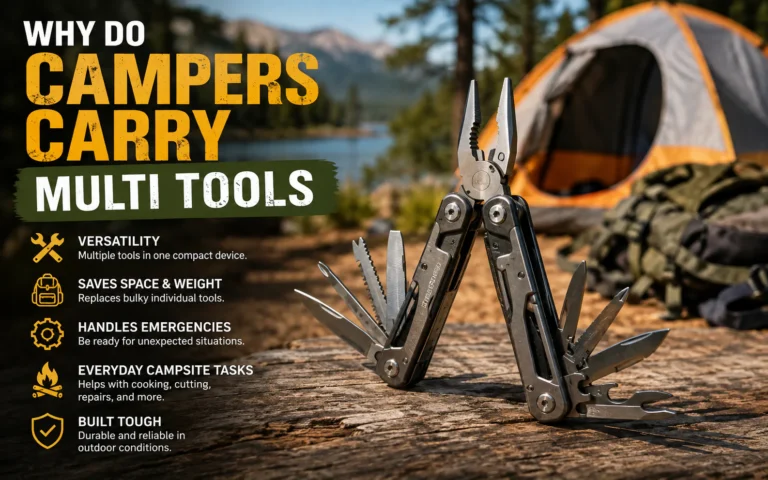 Why Do Campers Carry Multi Tools? Practical Uses in the Field
Why do Campers carry multi tools to handle gear repairs, campsite setup, food prep, and field fixes with minimal weight. Here is why one belongs in…