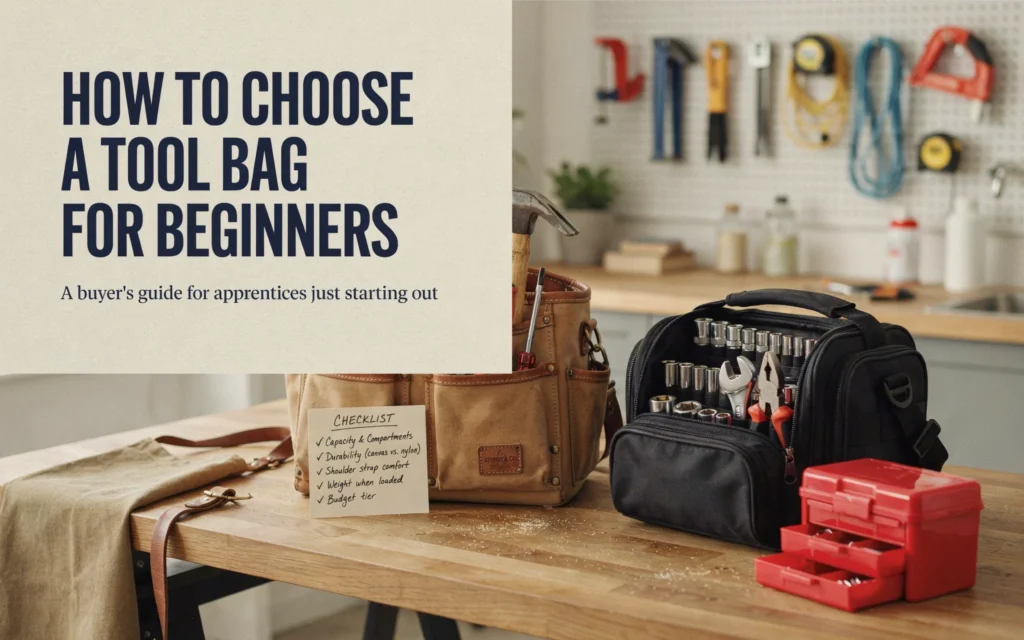
How To Choose A Tool Bag For Beginners Or Apprentices
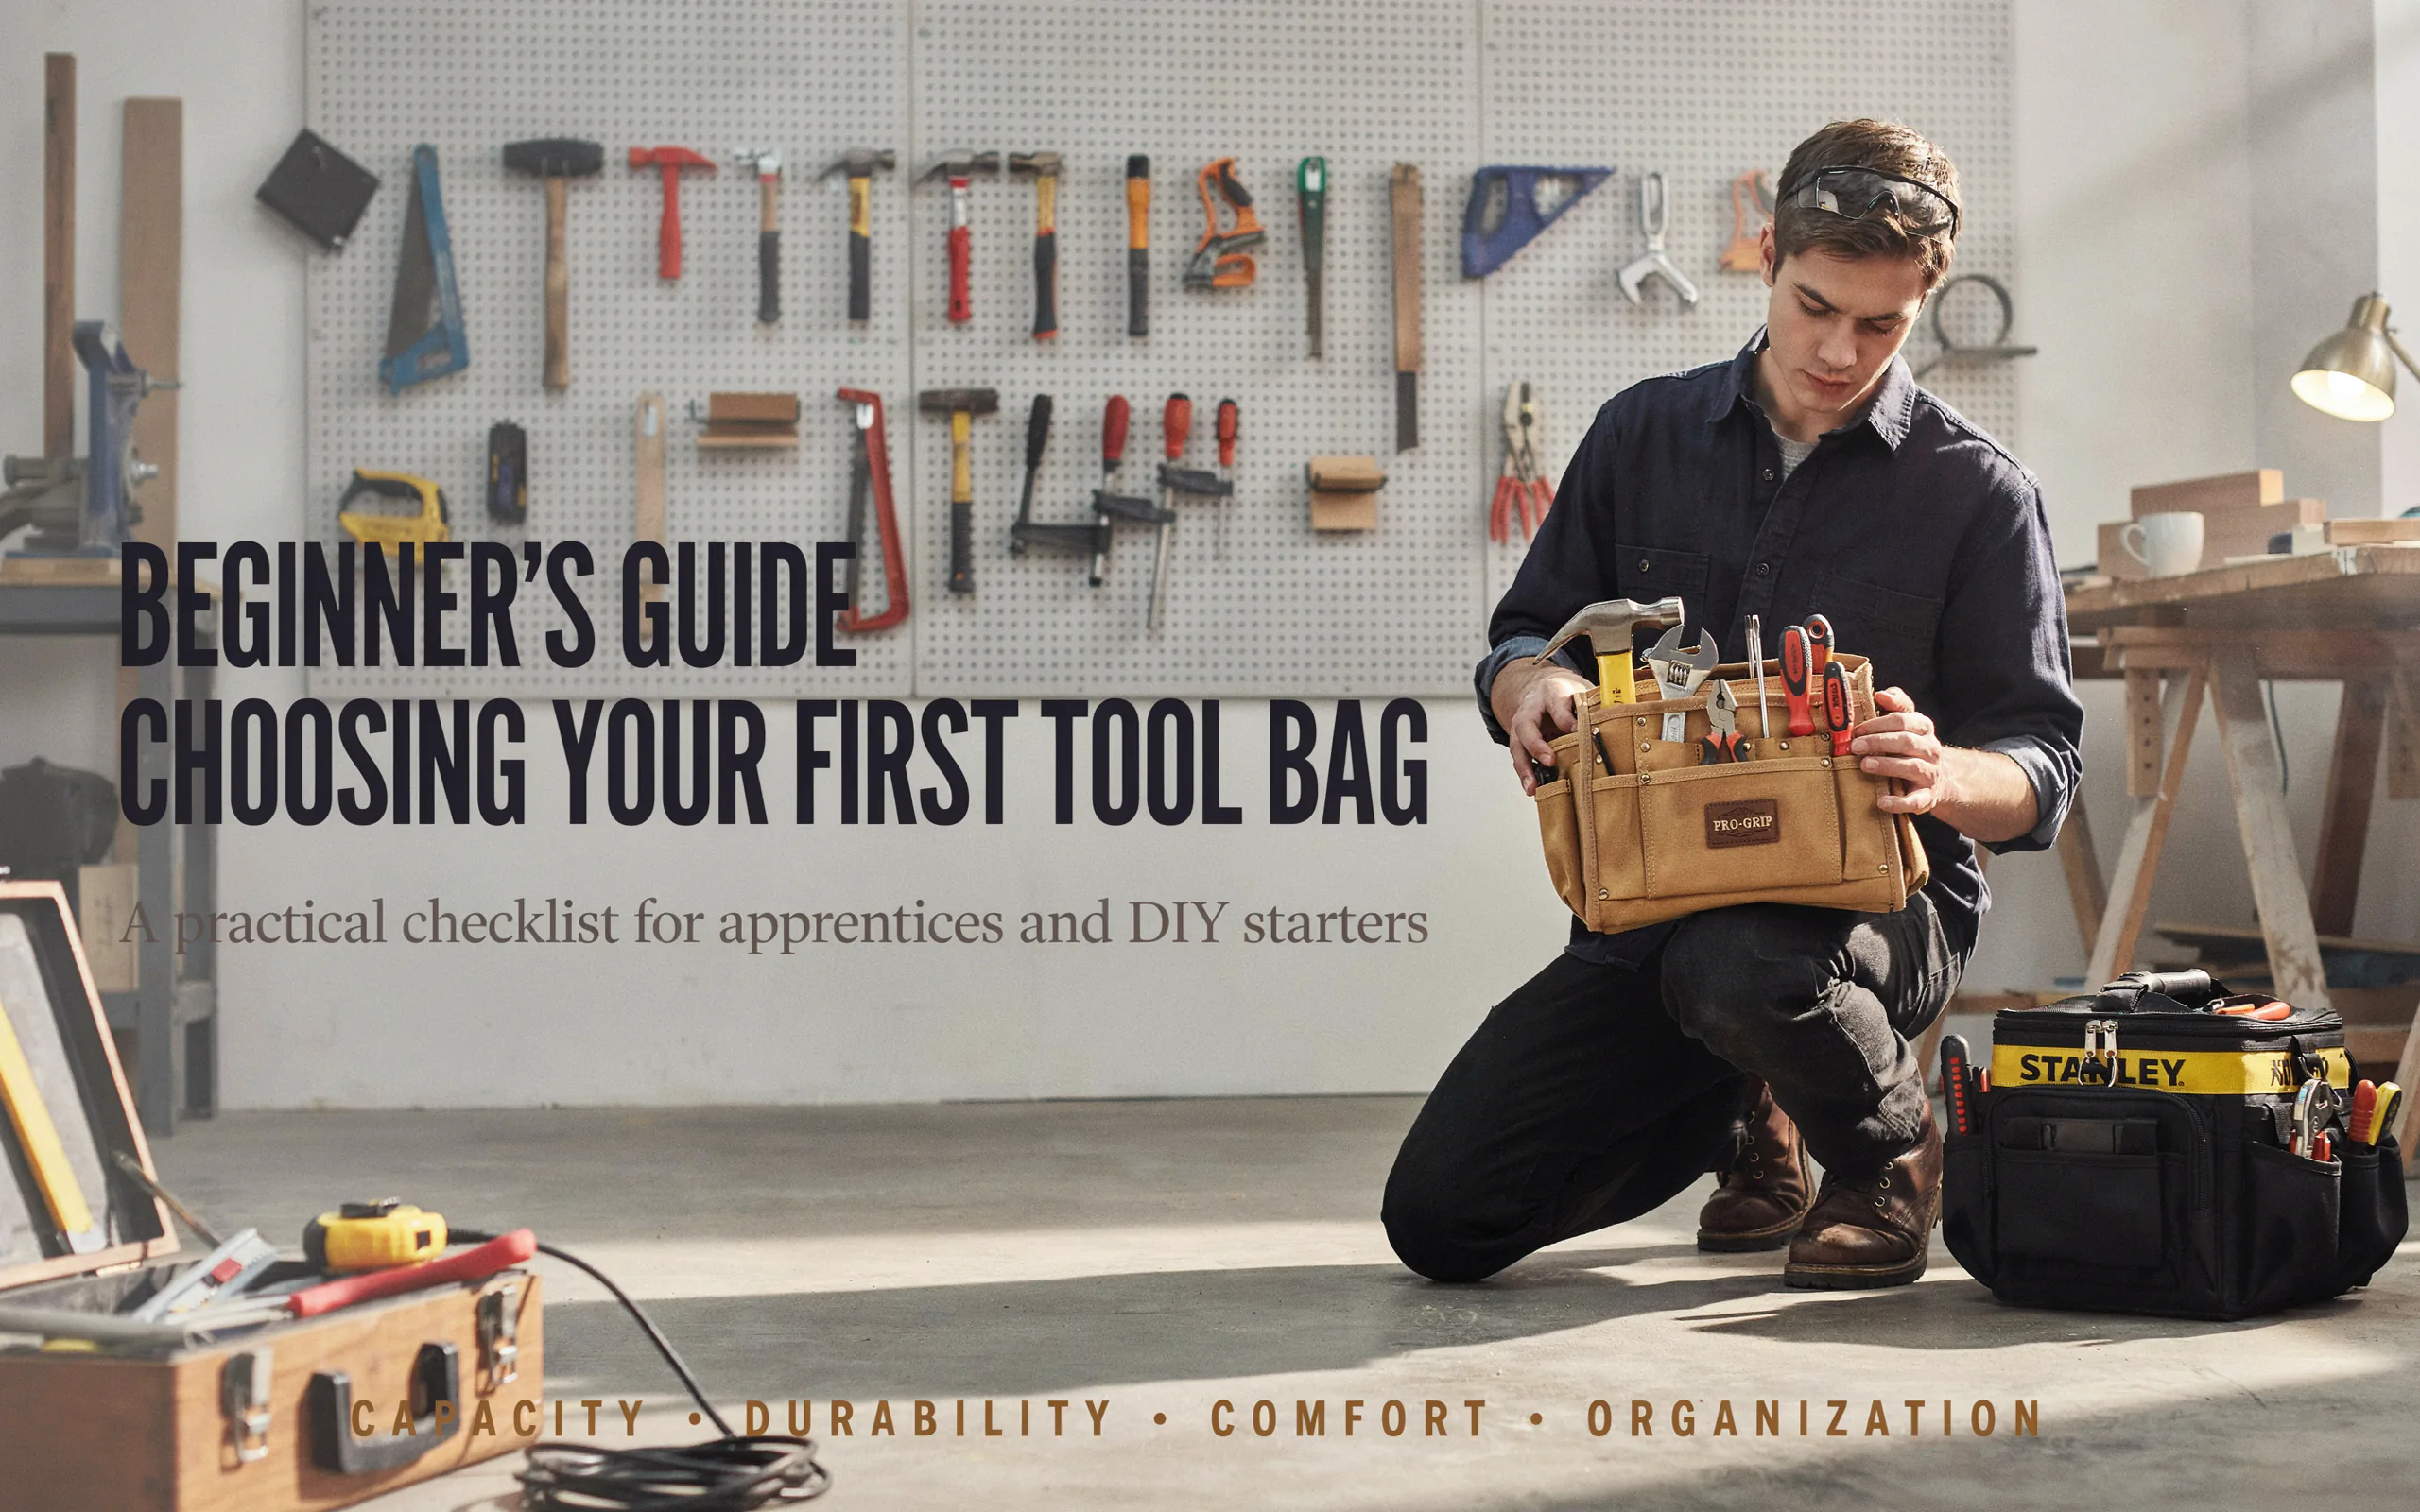
If you are just starting out, learning how to choose a tool bag for beginners or apprentices can save you money and frustration. This guide covers size, material, pockets, and budget so you pick the right one the first time.
Starting a new trade or picking up DIY projects is exciting. You get your first set of tools, watch a few tutorials, and feel ready to fix anything. But then comes the moment you realise you need somewhere to put all those tools. You grab an old backpack or a plastic shopping bag and head to the job. Big mistake.
Your tool bag is not just a container. It is your mobile workstation. It holds everything you need to do your job well. A good bag keeps your tools organised, safe, and easy to reach. A bad bag slows you down, loses your gear, and makes you look unprofessional.
So how do you choose a tool bag for beginners or apprentices without wasting money on something that falls apart in a week? Let me walk you through everything you need to know.
Why Your First Tool Bag Matters More Than You Think
Many new workers think any bag will do. They buy the cheapest option or use whatever they have at home. This is a common mistake.
Your tool bag affects your work in three big ways. First, it protects your tools. Good tools cost money. Dropping them or letting them bang against each other can damage them. Second, it saves time. When you know exactly where each tool is, you work faster. Third, it affects how people see you. Showing up with a messy or broken bag does not inspire confidence in your skills.
Think of your tool bag as part of your uniform. It tells people you take your work seriously.
Before You Buy: Know What You Actually Need
Before you start looking at bags, take a few minutes to think about your situation. This step saves you from buying something too big or too small.
List Your Current Tools
Gather all the tools you own right now. Lay them out on a table or the floor. Include everything from screwdrivers and pliers to your tape measure and utility knife. Count them and note the sizes.
This gives you a clear picture of what you need to carry. If you only have ten hand tools, you do not need a massive bag designed for power tools.
Think About Future Tools
You will buy more tools as you learn and grow. Your first tool bag should have some room for expansion. Look for bags with extra pockets or adjustable dividers so you can add tools later without buying a new bag.
Consider Your Work Environment
Where will you use this bag? Are you working indoors on renovation sites? Outdoors in all weather? In tight spaces like attics or under houses? Your answers affect what kind of bag works best.
“If you carry your tools all day, the bag becomes an extension of your body. Choose one that fits your frame and your workflow, not just your budget.” – Tom Chen, renovation contractor with 20 years of experience
Size Matters: Picking the Right Capacity
One of the biggest questions new workers ask is what size tool bag to buy. The answer depends on your tools and your work style.
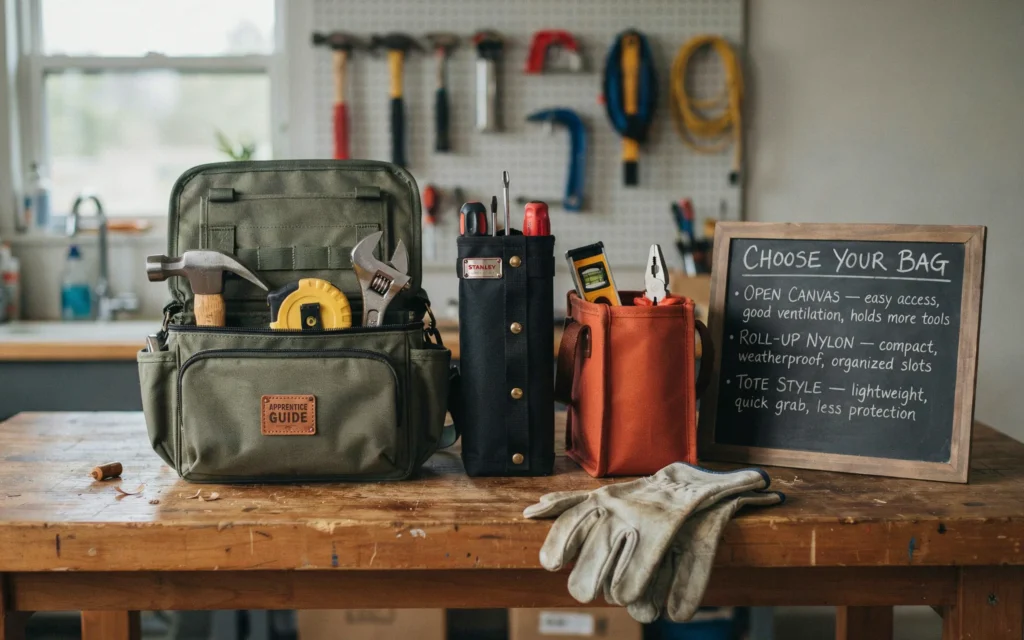
Mini Bags (A4 size or smaller)
These are great for light work. Think of basic home repairs or small jobs where you only need a few screwdrivers, a small hammer, and some pliers. They are easy to carry and fit in small spaces. But they fill up fast. If you have more than five or six tools, skip this size.
Medium Bags (about 30 x 22 x 12 cm)
This is the sweet spot for most beginners. These bags hold a full set of hand tools, a tape measure, a hammer, and still have room for small parts. They usually have multiple pockets and dividers to keep things organised. They are not too heavy when full and are easy to carry around job sites.
Large Bags (over 40 cm long)
These bags hold a lot. They can fit power tools, battery packs, and almost everything you own. But they get heavy quickly. A fully loaded large bag can weigh 15 kilograms or more. Unless you work from a single location and rarely move your tools, a large bag might be more trouble than it is worth.
The right size is the one that holds your current tools with a little extra space for growth, but not so much space that you fill it with things you do not need.
Material Choices: What Lasts and What Does Not
The material of your tool bag determines how long it lasts. Cheap materials tear, stretch, and fall apart. Good materials survive drops, scrapes, and daily use.
Here is a quick comparison of common tool bag materials:
| Material | Durability | Weight | Water Resistance | Best For |
|---|---|---|---|---|
| Standard Nylon | Low | Very Light | Poor | Light home use only |
| 600D Oxford Fabric | Good | Light | Moderate | Daily use, indoor work |
| 1680D Ballistic Nylon | Excellent | Moderate | Good | Heavy use, job sites |
| Canvas | Good | Heavy | Poor (unless treated) | Dry environments, classic look |
| Cordura Nylon | Excellent | Moderate | Good | Professional use, tough conditions |
The numbers like 600D and 1680D refer to the density of the fabric. Higher numbers mean thicker, stronger material. For a beginner, look for at least 600D Oxford fabric or something similar. If your budget allows, 1680D ballistic nylon or Cordura will last you for years.
Pay attention to the bottom of the bag too. Many good bags have a reinforced or rubberised base. This protects against moisture and wear when you set the bag on wet or rough ground.
Pocket Design: Organisation Is Everything
A tool bag with bad pocket design is useless. You might as well throw everything in a cardboard box. Good organisation saves you time and frustration.
Look for Logical Layout
The best bags group pockets by tool type. You want shallow, open pockets for tools you use often like screwdrivers and pliers. Deeper pockets or zippered sections work well for smaller items like drill bits, screws, and tape measures.
Check the Main Compartment
The main compartment should open wide so you can see everything inside. A narrow opening makes it hard to find tools and easy to cut your hands on sharp edges.
Consider Special Features
Some bags include useful extras like:
- Elastic loops for screwdrivers
- Magnetic strips for holding small metal parts
- Removable tool organisers
- External pockets for quick access items
Do not buy a bag just because it has many pockets. Buy one where the pockets make sense for your tools.
Carrying Options: How Will You Move Your Tools?
How you carry your tool bag matters more than you might think. Carrying a heavy bag the wrong way can cause back pain, shoulder strain, and fatigue.
Handles
Every tool bag should have a sturdy handle. Look for handles that are reinforced with extra stitching or metal rivets. Padded handles are more comfortable when you carry heavy loads.
Shoulder Straps
Many bags come with removable shoulder straps. A wide, padded strap distributes weight better than a thin one. Adjustable straps let you find the right length for your body.
Backpack Style
Some tool bags work like backpacks. These distribute weight evenly across both shoulders. They are great if you walk long distances or climb stairs frequently.
Tool Belts and Aprons
For some trades, a tool belt or apron works better than a bag. Electricians, carpenters, and construction workers often use belts to keep essential tools within reach while keeping their hands free.
Think about how you move during your work day. Do you stay in one area or move around constantly? Do you climb ladders or work in tight spaces? Choose a carrying style that fits your workflow.
Stitching and Construction: The Details That Matter
You can tell a lot about a tool bag by looking at the stitching. Good stitching keeps the bag together. Bad stitching causes the bag to fall apart.
Check the Seams
Turn the bag inside out if you can. Look at the seams. Are they straight and even? Are there loose threads or skipped stitches? Good bags use double stitching or reinforced seams at stress points.
Look at Stress Points
Pay special attention to areas that take the most strain. These include:
- Where the handle attaches to the bag
- Where the shoulder strap connects
- The corners and bottom of the bag
- Zipper edges
These areas should have extra stitching, rivets, or reinforcement patches.
Test the Zippers
Zippers on tool bags take a lot of abuse. They should feel smooth when you open and close them. Metal zippers generally last longer than plastic ones. Look for zippers that are wide and sturdy, not thin and flimsy.
Water Resistance and Weather Protection
If you work outdoors or in unpredictable weather, water resistance matters. Wet tools rust. Rust ruins tools.
Look for Coated Fabrics
Many good tool bags use fabrics with a PU (polyurethane) or PVC coating. This coating repels water and prevents it from soaking through the material.
Check the Zippers
Waterproof zippers or zippers with protective flaps help keep moisture out. Regular zippers let water seep through the teeth.
Consider the Environment
If you work mostly indoors, basic water resistance is enough. If you work outside, look for bags with good water protection and consider treating the fabric with a waterproofing spray.
Budget: How Much Should You Spend?
Beginners often wonder how much to spend on their first tool bag. The answer depends on your situation.
Entry Level (under $30)
You can find basic tool bags in this range. They work for light home use or occasional DIY projects. Do not expect them to last long with daily professional use.
Mid Range ($30 to $70)
This is the sweet spot for most beginners. You get good materials, solid construction, and useful features. A bag in this range should last you a year or two of regular use.
Professional Range ($70 and up)
These bags use top-quality materials and construction. They last for years and survive tough conditions. If you plan to work in the trades long-term, investing in a professional bag saves money in the long run.
“Buy the best bag you can afford. A cheap bag that breaks every six months costs more than a good bag that lasts five years.” – Sarah Lim, workshop instructor and tool reviewer
Remember that your tool bag is a tool itself. Spending a little more on quality pays off over time.
Common Mistakes Beginners Make
Learning how to choose a tool bag for beginners or apprentices also means knowing what to avoid. Here are common mistakes and how to skip them.
Buying Too Big
Many beginners buy a huge bag thinking they will grow into it. The bag ends up heavy, awkward, and full of tools they never use. Start with a medium bag and upgrade later if needed.
Ignoring Weight
A big bag empty might feel fine. But fill it with tools and it becomes heavy. Always consider the weight of the bag itself plus your tools.
Forgetting About Comfort
A bag that hurts to carry is a bag you will stop using. Pay attention to handles, straps, and padding.
Choosing Style Over Function
Fancy colours and trendy designs do not make a bag good. Focus on materials, pockets, and construction. The bag needs to work, not look pretty.
Not Testing the Bag
If possible, try the bag before buying. Put your tools in it. Carry it around. Open and close the zippers. See how it feels. This simple step prevents many regrets.
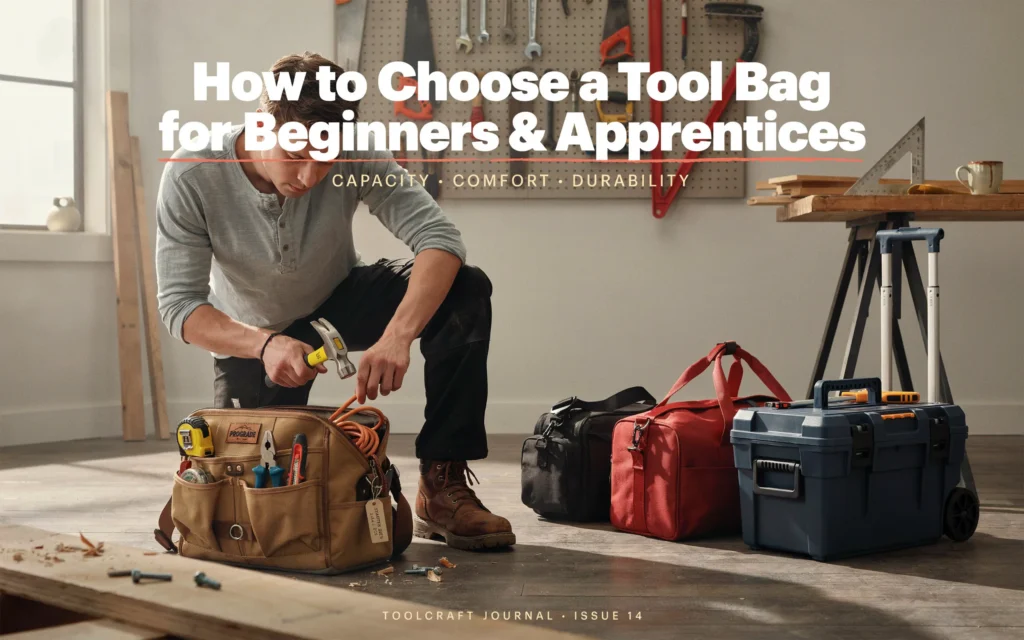
Tool Bag vs Tool Box: Which One Is Right for You?
Some beginners wonder whether to buy a tool bag or a tool box. Both have their place.
Tool Bags
Tool bags are soft-sided and flexible. They are lighter than boxes and easier to carry. They conform to your body when you carry them. They work well for hand tools and smaller power tools.
Tool bags are great if you move around a lot during your work day. They are also easier to store in small spaces.
Tool Boxes
Tool boxes are hard-sided and rigid. They protect tools better from impact and crushing. They stack easily and keep tools very organised.
Tool boxes work well if you work from a single location or if you transport tools in a vehicle.
For most beginners, a tool bag is the better choice. It is more versatile, easier to carry, and costs less than a good tool box.
Quick Checklist: What to Look For
Here is a simple checklist to use when you shop for your first tool bag:
| Feature | What to Look For |
|---|---|
| Size | Fits current tools with some room to grow |
| Material | At least 600D Oxford fabric or equivalent |
| Stitching | Double stitching, reinforced at stress points |
| Pockets | Logical layout, easy access to常用 tools |
| Handle | Sturdy, padded for comfort |
| Strap | Wide, padded, adjustable |
| Bottom | Reinforced or rubberised for protection |
| Zippers | Smooth, sturdy, metal preferred |
| Water Resistance | Coated fabric, protective zipper flaps |
| Price | Matches your budget and expected use |
Putting It All Together: Your First Tool Bag Purchase
Now you know what to look for. Let me walk you through the actual purchase process step by step.
Step One: Know Your Tools
Write down every tool you own. Note the size and weight of each one. This gives you a baseline for what your bag needs to hold.
Step Two: Set Your Budget
Decide how much you want to spend. Remember that spending a little more now saves money later.
Step Three: Research Options
Look at bags that match your size and budget requirements. Read reviews from other beginners and professionals. Pay attention to comments about durability and comfort.
Step Four: Check the Details
When you find a bag you like, check the stitching, zippers, and materials. Look at the pocket layout. Consider how you will carry it.
Step Five: Test If Possible
If you can see the bag in person, bring some of your tools and test fit them. See how the bag feels when it has weight in it.
Step Six: Buy and Organise
Once you buy your bag, take time to organise it properly. Put frequently used tools in easy-to-reach spots. Group similar tools together. This organisation saves you time every single day.
Caring for Your Tool Bag
A good tool bag lasts for years with proper care. Here is how to keep yours in good shape.
Keep It Clean
Wipe down your bag regularly. Remove dust, dirt, and debris. For fabric bags, use a damp cloth and mild soap. Do not soak the bag or put it in a washing machine unless the manufacturer says it is safe.
Check for Damage
Inspect your bag every few weeks. Look for loose stitching, worn spots, or damaged zippers. Fix small problems before they become big ones.
Store It Properly
When you are not using your bag, store it in a dry place. Avoid leaving it in direct sunlight for long periods. Sunlight weakens some fabrics over time.
Empty It Occasionally
Take everything out of your bag now and then. Clean the inside. Remove debris and small metal shavings that can damage the fabric over time.
Frequently Asked Questions
What size tool bag should a beginner buy?
Start with a medium-sized bag around 30 x 22 x 12 cm. This size holds a basic set of hand tools with room for a few extras. It is not too heavy and fits in most vehicles and storage spaces.
How much should I spend on my first tool bag?
Plan to spend between $30 and $70 for a quality beginner bag. This price range gives you good materials and solid construction without breaking your budget. Bags under $30 often fall apart quickly with regular use.
What material is best for a tool bag?
Look for at least 600D Oxford fabric or 1680D ballistic nylon. These materials are strong, resist tearing, and handle daily use well. Cordura nylon is even better but costs more.
Should I choose a tool bag or a tool box?
For most beginners, a tool bag is the better choice. Bags are lighter, easier to carry, and more versatile. Tool boxes work better if you work from one location or need maximum protection for your tools.
How do I know if a tool bag is well made?
Check the stitching. Look for double stitching and reinforced seams at stress points. Test the zippers. They should move smoothly. Check the handle and strap attachments. They should have extra reinforcement.
Can I use a regular backpack as a tool bag?
You can, but it is not ideal. Regular backpacks lack the reinforced bottoms, specialised pockets, and durable materials that tool bags have. Tools can damage a regular backpack, and the lack of organisation slows you down.
How do I organise my tool bag?
Put frequently used tools in easy-to-reach pockets. Group similar tools together. Use smaller pockets for small items like bits and screws. Keep heavy tools at the bottom for stability. Review your organisation regularly and adjust as needed.
What if my tools do not fit in my new bag?
If your tools do not fit, you bought the wrong size. Return it if possible and choose a larger bag. Remember to leave some room for future tool purchases. If you cannot return it, consider using a separate small bag for overflow items.
Final Thoughts
Learning how to choose a tool bag for beginners or apprentices does not have to be complicated. Focus on the basics: the right size, good materials, smart pocket design, and solid construction. Do not get distracted by fancy features or cheap prices.
Your tool bag is your partner on every job. It holds your means of earning a living. Treat the choice with the respect it deserves. Take your time. Do your research. Choose wisely.
“The right tool bag does not make you a better worker, but the wrong one will definitely make you a slower one.” – David Ong, master electrician and mentor to many apprentices
Remember that your first tool bag does not have to be perfect. It just has to be good enough to get you started. As you gain experience, you will learn more about what you like and what you need. Your second bag will be even better than your first.
Start with the advice in this guide. Choose a bag that fits your tools, your budget, and your work style. Take care of it, and it will take care of your tools for years to come.
Good luck with your new trade or hobby. You are making a smart choice by thinking carefully about your equipment before you buy. That attention to detail will serve you well throughout your career.
Related posts
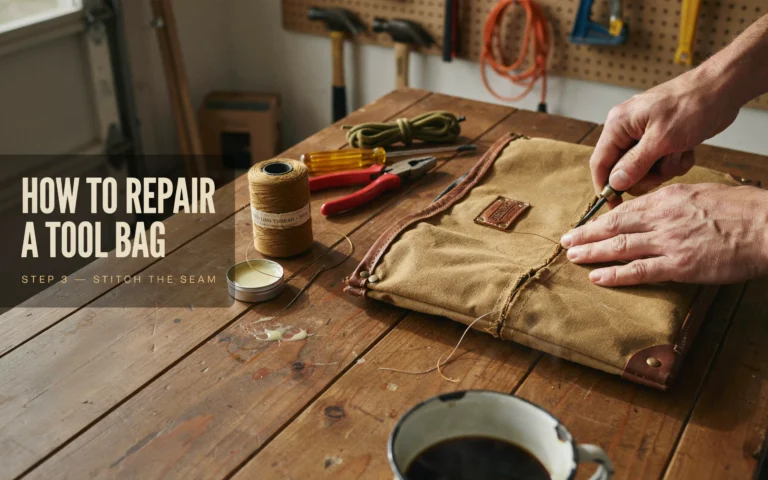 How To Repair A Tool Bag
Learn how to repair a tool bag with simple DIY methods. Fix tears, broken zippers, and worn straps using basic tools. Keep your favorite bag working for years…
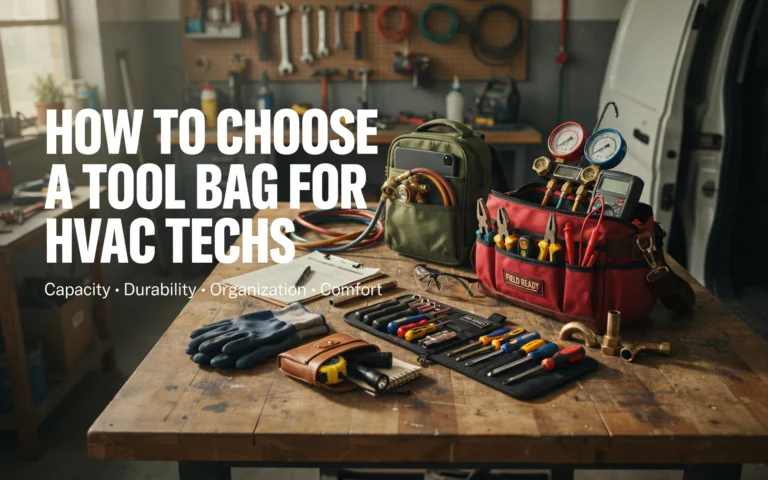 How To Choose A Tool Bag For HVAC Technicians
Looking for the best way to choose a tool bag for HVAC technicians? This guide covers durability, pockets, backpack vs. pouch, and top brands to help…
 How To Choose A Tool Bag For Home Use
Learn how to choose a tool bag for home use with this complete guide. We cover size, materials, pockets, and comfort so you pick the perfect…