
How To Keep Children Safe Around Tools At Home
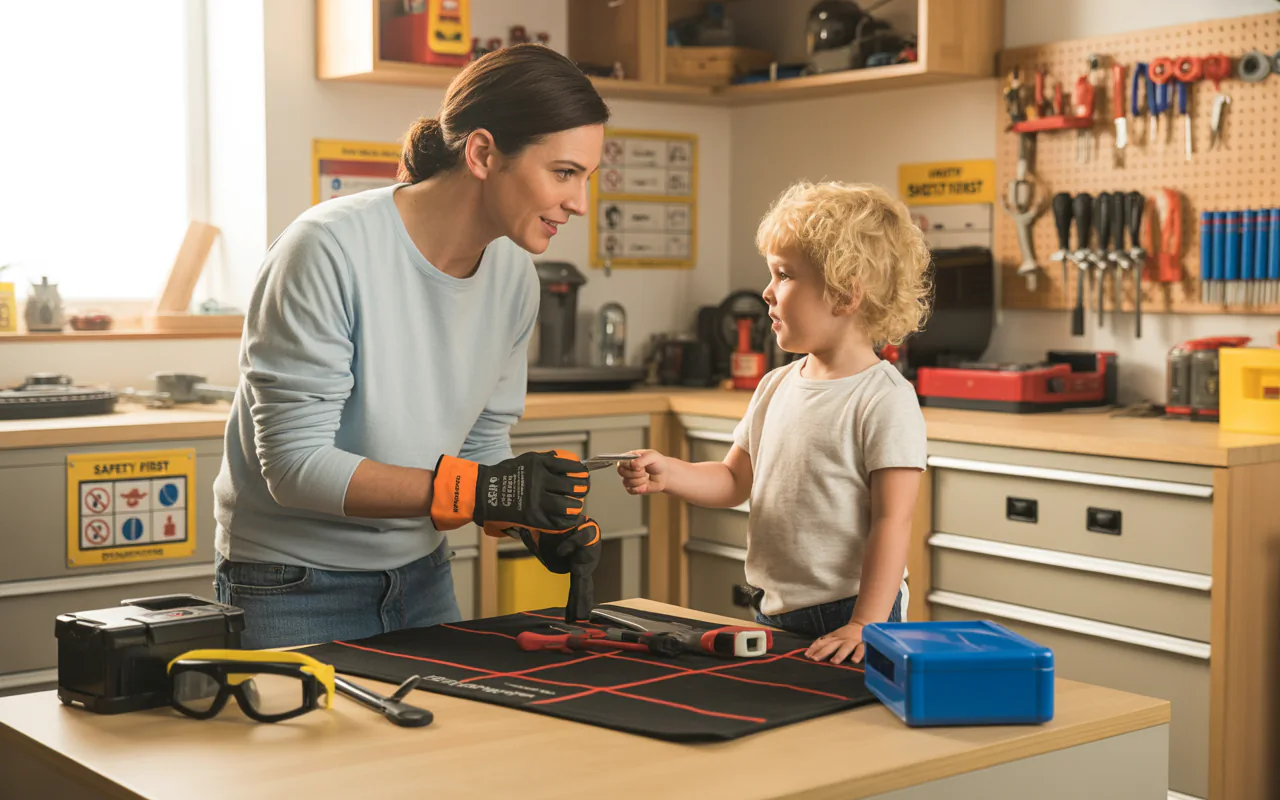
Simple steps to keep children safe around tools at home. This guide covers locked storage, clear rules, active supervision, and teaching kids to respect tools. Reduce accident risks and create a safer home workshop for your whole family.
Every parent knows the feeling. You turn your back for just a second, and your little one has found something they should not touch. Tools like hammers, screwdrivers, and saws live in most homes. They help us fix things, build things, and get work done. But for a curious child, a tool can look like a toy. That is a problem. A real one.
I have two young kids at home. My workshop is in the garage. Over the years, I learned that you cannot just hope kids stay away from tools. You need a real plan. You need clear steps to keep children safe around tools at home. This is not hard. It just takes some thought and a few changes to how you store and use your tools.
In this guide, I will share what works. I will give you simple rules, storage ideas, and tips for teaching kids of every age. By the end, you will feel ready to keep children safe around tools at home without stress or fear.
Why Home Tools Pose Risks to Children
Tools are made for adults. They are heavy, sharp, or powerful. A hammer can break a small finger. A saw can cut deep. A power drill can spin fast and catch hair or clothing. Children do not understand these dangers. They see a shiny object or something Mom or Dad uses. They want to try it too.
The other risk is how we store tools. Many of us leave tools on a workbench, on a shelf, or even on the floor. We think, “I will put it away later.” But later never comes fast enough. A child walks by, picks up a screwdriver, and falls on it. Or they put a small tool in their mouth. These accidents happen more than you think.
According to the U.S. Consumer Product Safety Commission, thousands of children visit emergency rooms each year from tool related injuries at home. Most of these injuries could be stopped with simple changes. That is why learning to keep children safe around tools at home is so important for every family.
“Children are naturally curious, but tools are not toys. A parent’s job is to create a space where curiosity does not lead to injury.” – Dr. Emily Roberts, Pediatric Safety Specialist
Essential Rules to Keep Children Safe Around Tools at Home
Let me give you the core rules first. These are the big ideas that guide everything else. If you follow these five rules, you will go a long way to keep children safe around tools at home.
Rule 1: Lock Up Dangerous Tools
Any tool that can cut, poke, crush, or shock needs to be behind a lock. This includes saws, drills, nail guns, utility knives, and heavy hammers. Use a locking tool chest, a cabinet with a childproof latch, or a locked room. Keys go up high or in a combination lock you control.
Rule 2: Never Leave Tools Out
When you finish using a tool, put it away right then. Do not wait. Do not say, “I will use it again in five minutes.” A child can find it in those five minutes. Make a habit of cleaning your work area before you leave it. This alone helps keep children safe around tools at home more than any other single action.
Rule 3: Create a No Tools Rule for Play Areas
Kids need spaces where they can play freely without any risk. Keep all tools out of living rooms, bedrooms, and playrooms. Tools belong in the garage, shed, or a locked workshop. If you must use a tool in the house, do it in a room with a door you can close. Then put the tool away before your child enters that room again.
Rule 4: Supervise, But Do Not Hover
You cannot watch your child every second. But you can set up your home so that when you are not watching, tools are not reachable. Active supervision means you check the tool storage areas often. It also means you teach older kids to tell you if they see a tool left out. You are the safety leader.
Rule 5: Teach Tool Names and Danger Words
Even a two year old can learn the word “hot” or “sharp.” Use simple words to describe why a tool is not for playing. For example, “The saw is sharp. Sharp hurts. Only Daddy uses sharp things.” Over time, this builds a safety mindset.
Common Home Tools and Their Risks for Children
| Tool Type | Specific Risk | Simple Safety Fix |
|---|---|---|
| Hammer | Crushed fingers, head injury | Store in locked box; teach “heavy” |
| Screwdriver | Puncture wound, eye injury | Keep in closed drawer with latch |
| Utility knife | Deep cuts to hands or face | Lock in cabinet; use blade guard |
| Power drill | Spinning bits catch hair or skin | Unplug after use; lock trigger safety |
| Handsaw | Severe cuts | Hang on high pegboard out of reach |
| Pliers | Pinched skin, small parts hazard | Store in zippered tool bag |
| Nail gun | Projectile injury | Remove batteries; lock in safe |
| Measuring tape | Sharp edge, strangulation from cord | Roll up and put in drawer |
How to Organize Your Workshop for Child Safety
Your workshop or tool storage area can be safe for children if you set it up right. You do not need to spend a lot of money. You just need good habits and a few basic items.
Use Lockable Storage
Buy a metal tool chest with a padlock. Or use a large plastic storage bin with a hasp and lock. A locking cabinet from a hardware store works great too. The lock keeps little hands out. Keep the key on a high hook or in a combination lock box.
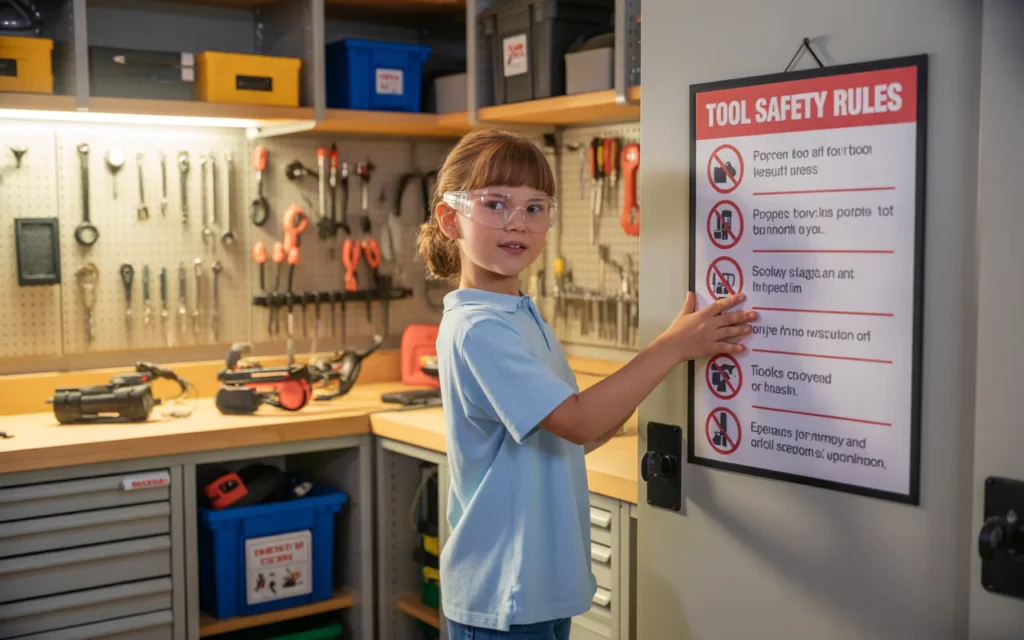
Install Wall Pegboards High Up
Pegboards are great for hanging tools where you can see them. But if you put them low, a child can pull tools down. Mount your pegboard at least five feet from the floor. Then store only lighter tools there. Heavy tools stay in locked chests.
Put Power Tools Away After Each Use
Power tools need extra care. Unplug them. Remove batteries from cordless tools. Store them in their cases with latches closed. Then put those cases inside a locked cabinet. This way, even if a child opens the cabinet, they cannot turn on a tool without a battery.
Create a Child Proof Door
If you have a separate workshop room, install a doorknob cover or a sliding bolt lock up high. A child cannot reach a lock that is six feet off the ground. Also put a door alarm on that room. The alarm beeps when the door opens. That alerts you right away.
Keep Small Parts in Sealed Containers
Nails, screws, nuts, and bolts are choking hazards for young kids. They also can swallow them. Store all small hardware in screw top jars or plastic containers with tight lids. Put those containers in a locked drawer or on a high shelf.
“The best safety device is a vigilant parent who thinks one step ahead of a child’s curiosity.” – John Harrison, Childproofing Expert
Age Appropriate Ways to Introduce Tool Safety
Children grow and change fast. What works for a toddler will not work for a ten year old. So match your safety rules to your child’s age. This helps you keep children safe around tools at home while also teaching useful skills over time.
Toddlers (Ages 1 to 3)
Toddlers put everything in their mouths. They also fall a lot. At this age, your only job is prevention. Lock everything. Keep all tools completely out of sight and out of reach. Use baby gates to block the garage or workshop door. Never leave a tool on a table or counter, even for a minute.
Teach simple words like “no touch” and “hot.” If they see a tool, say “That is for Mom. Not for baby.” Then move them to a safe toy. Do not expect them to remember. Your locks and gates do the real work.
Preschoolers (Ages 4 to 5)
At this age, kids can follow simple rules. But they still have very little impulse control. You can start teaching tool names and basic safety. Show them a hammer and say “This is heavy. It can hurt your hand. Only adults use it.”
Give them their own toy tools. Let them “fix” things with plastic hammers and screwdrivers. This satisfies their urge to copy you. Also set a clear rule: “If you see a real tool on the floor, come tell me. Do not touch it.” Practice this rule with a game. Hide a screwdriver (where they can see it but not hurt themselves) and reward them for telling you.
School Age (Ages 6 to 10)
Older kids can learn to use some simple tools safely. This is a great time to teach real skills. Start with a hand tool like a screwdriver or a wrench. Show them how to hold it. Show them the safe way to use it. Let them help you with small tasks like tightening a loose handle or hanging a picture.
But still keep dangerous tools locked up. A six year old should not use a power drill or a saw. Also teach them to put tools back right after use. Make it a family rule: “We clean up together before we leave the workshop.”
Preteens (Ages 11 and Up)
By this age, many kids can learn to use power tools under close supervision. Teach them about safety glasses, gloves, and proper stance. Let them practice on scrap wood first. Set clear consequences for unsafe behavior. If they leave a tool out, they lose workshop time for a week.
But remember, even a responsible preteen can make a mistake. Never leave them alone with dangerous tools. You stay in the room the whole time. And continue to lock up sharp and powerful tools when you are not using them together.
Teaching Kids to Respect Tools, Not Fear Them
Some parents worry that talking about tool dangers will make their kids afraid. That is not the goal. You want respect, not fear. Respect means a child knows a tool can hurt them, but they also know how to be safe around it.
Use positive language. Instead of saying “Don’t touch that or you will get hurt,” say “We use tools carefully. Let me show you the safe way.” When your child shows caution, praise them. Say “Good job keeping your hands back while I use the saw.”
Let kids see you using tools safely. Wear safety glasses. Put tools away. Do not take shortcuts. Children learn more from what you do than what you say. If you treat tools with respect, they will too.
Give older kids small responsibilities. Ask them to get the screwdriver from the locked chest (you hand them the key). Ask them to sweep the workshop floor. These small tasks build confidence and show that tools are useful, not scary.
“Teach safety early, and it becomes a habit for life. Wait too long, and you will spend years undoing bad habits.” – Sarah Lewis, Parent Educator
Quick Safety Checklist for Parents
| Action Item | How Often | Done? |
|---|---|---|
| Check that all tool cabinets are locked | Daily | ☐ |
| Walk through home to find stray tools | Every evening | ☐ |
| Test door alarms and child locks | Weekly | ☐ |
| Review tool safety rules with kids | Monthly | ☐ |
| Replace worn out tool guards or cases | As needed | ☐ |
| Remove batteries from unused power tools | After each use | ☐ |
| Teach one new tool safety lesson to older kids | Monthly | ☐ |
Emergency Preparedness: What If an Accident Happens?
Even when you do everything right, accidents can happen. A child might find a tool you missed. Or an older kid might forget a rule. Be ready. Preparation saves lives.
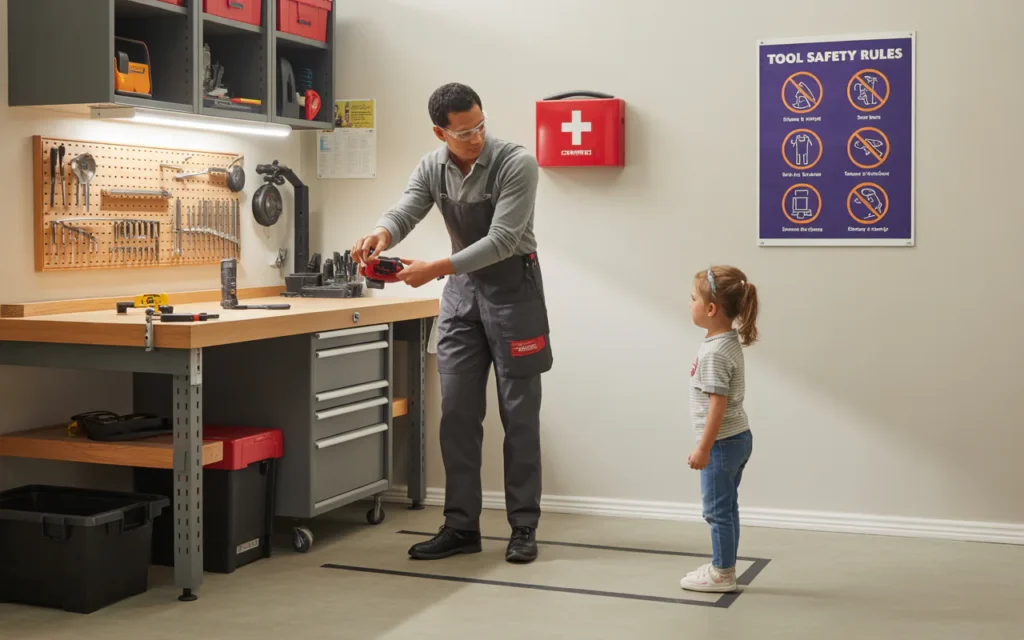
Keep a First Aid Kit Near Your Workshop
Your first aid kit should have bandages, gauze, antiseptic wipes, tweezers, and a finger splint. Also keep a trauma pad for deep cuts. Know where the kit is at all times.
Learn Basic First Aid for Cuts
For a bleeding cut, press a clean cloth firmly on the wound. Keep pressure for five to ten minutes. If blood soaks through, add more cloth on top. Do not remove the first cloth. Raise the injured part above the heart if possible. Get medical help for deep cuts or cuts on the face.
Know When to Call Emergency Services
Call 911 (or your local emergency number) if:
- Bleeding does not stop after 10 minutes of pressure.
- Your child is unconscious or very confused.
- A tool punctured the eye, chest, or neck.
- Your child swallowed a small part or screw.
- A power tool caused an electrical shock.
Have Your Poison Control Number Handy
If a child swallows a battery or a sharp metal piece, call Poison Control right away. In the U.S., that number is 1-800-222-1222. Save it in your phone and post it on your fridge.
Practice a Safety Drill
Once a year, talk through what to do in an accident. Show older kids where the first aid kit is. Teach them to call for help. This is not to scare them. It is to make sure everyone stays calm if something bad happens.
Frequently Asked Questions
At what age can a child start using real tools?
Most kids can start using a hand tool like a screwdriver or a small hammer around age 6 or 7. But you must supervise them the whole time. For power tools, wait until age 10 or 11. Even then, only let them use low risk tools like a small hand drill under close watch. Every child is different. Use your judgment.
How do I keep children safe around tools at home if I have no storage room?
You do not need a big workshop. Use a locking tool box that fits in a closet. Put that closet door lock up high. Or store tools in a suitcase with a padlock. Slide the suitcase under a bed. The key goes on a hook near the ceiling. You can also use a wall mounted lock box like the ones for guns. These work great for tools too.
What should I do if my child takes a tool without asking?
Stay calm. First, make sure the child is not hurt. Then take the tool away. Explain why taking tools is not safe. For a first time, remind them of the rule. For a repeat, give a consequence like no screen time for the day. Also check how the child got the tool. Maybe your storage method needs to be stronger.
Are toy tool sets helpful or harmful?
Toy tool sets are helpful. They let kids pretend to fix things. This reduces their urge to grab your real tools. Buy a sturdy plastic set with no small parts. Show your child that their tools are for their toys. Your tools are for real work. Just watch that your child does not hit others with toy hammers. Set rules for gentle play.
How often should I check my tool storage?
Check your tool storage every day. Make it part of your evening routine. Look around the garage, shed, and house for any tool left out. Open your locked cabinets to make sure the locks work. Replace weak locks right away. A quick daily check takes two minutes. It is one of the best ways to keep children safe around tools at home.
Can I teach tool safety to a child with special needs?
Yes, but you may need to adjust your approach. Use very clear, simple words. Repeat the same rules every time. Use pictures or social stories to explain safe versus unsafe. For some children, you may need stronger physical barriers like door locks they cannot figure out. Work with your child’s therapist or doctor for ideas that fit your child’s specific needs.
Conclusion
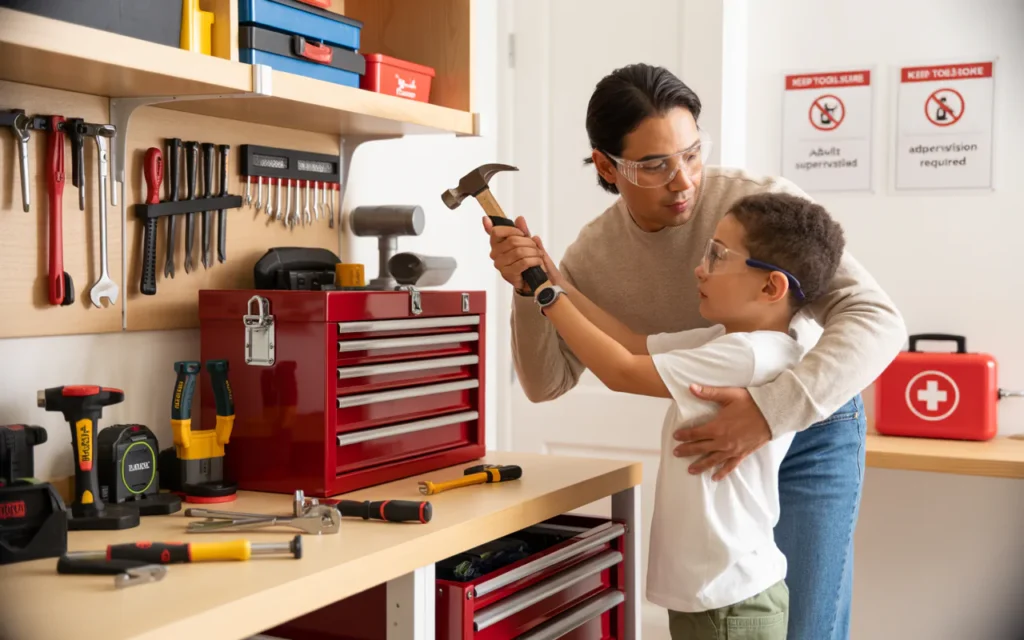
Keeping your kids safe around tools does not have to be hard. You do not need a big budget or a perfect workshop. You need good habits, basic locks, and clear family rules. Start today. Go through your home and find every tool. Put them in a locked box. Make a promise to yourself that you will never leave a tool out again.
Teach your children one safety word at a time. Show them how you use tools with care. Give them toy tools to play with. Let older kids help you with simple jobs. Over time, they will learn to respect tools, not fear them.
Remember that accidents happen fast. But they are almost always preventable. Every lock you install, every rule you teach, and every minute you supervise helps keep children safe around tools at home. You have the power to create a home where both projects and play happen without injury.
Take one small step today. Lock up one tool chest. Talk to your child about one rule. Then do another step tomorrow. Soon, safety will feel automatic. And your kids will grow up knowing how to be safe around tools for the rest of their lives.
You have got this. Your family is worth the few minutes of effort each day. Now go lock up those screwdrivers and enjoy peace of mind.
Related posts
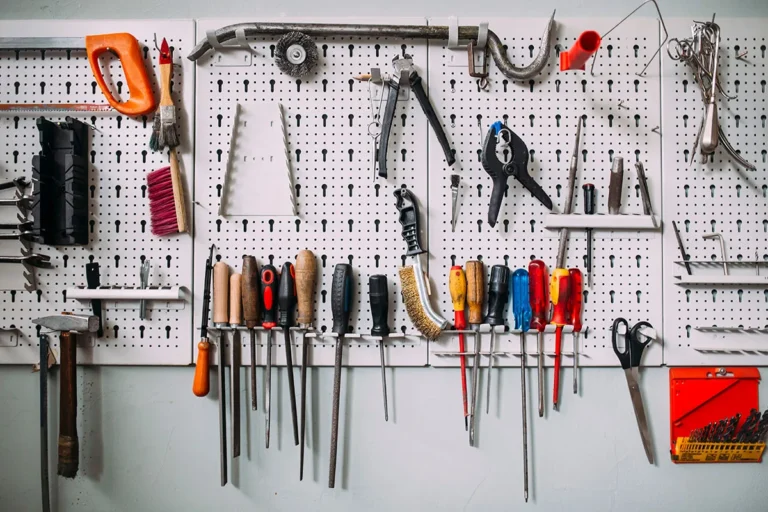 Top Home Tool Kits for Seniors: 2026 Practical Guide
Discover the top home tool kits for seniors in 2026. We compare compact, easy-to-use sets perfect for daily household repairs, furniture assembly, and DIY tasks. Finding…
 Top Home Tool Kits for Women: 2026 Buyer Guide
Discover the top home tool kits for women in 2026. Compare top-rated sets for DIY, furniture assembly, and household repairs to find your perfect match. Finding…
 Top Home Tool Kits for Basic Home Repairs 2026
Find the top home tool kits for basic home repairs in 2026. Compare top-rated sets for DIY projects, furniture assembly, and daily household maintenance. Every home…