
How To Organize Your Automotive Tool Kit In Your Vehicle
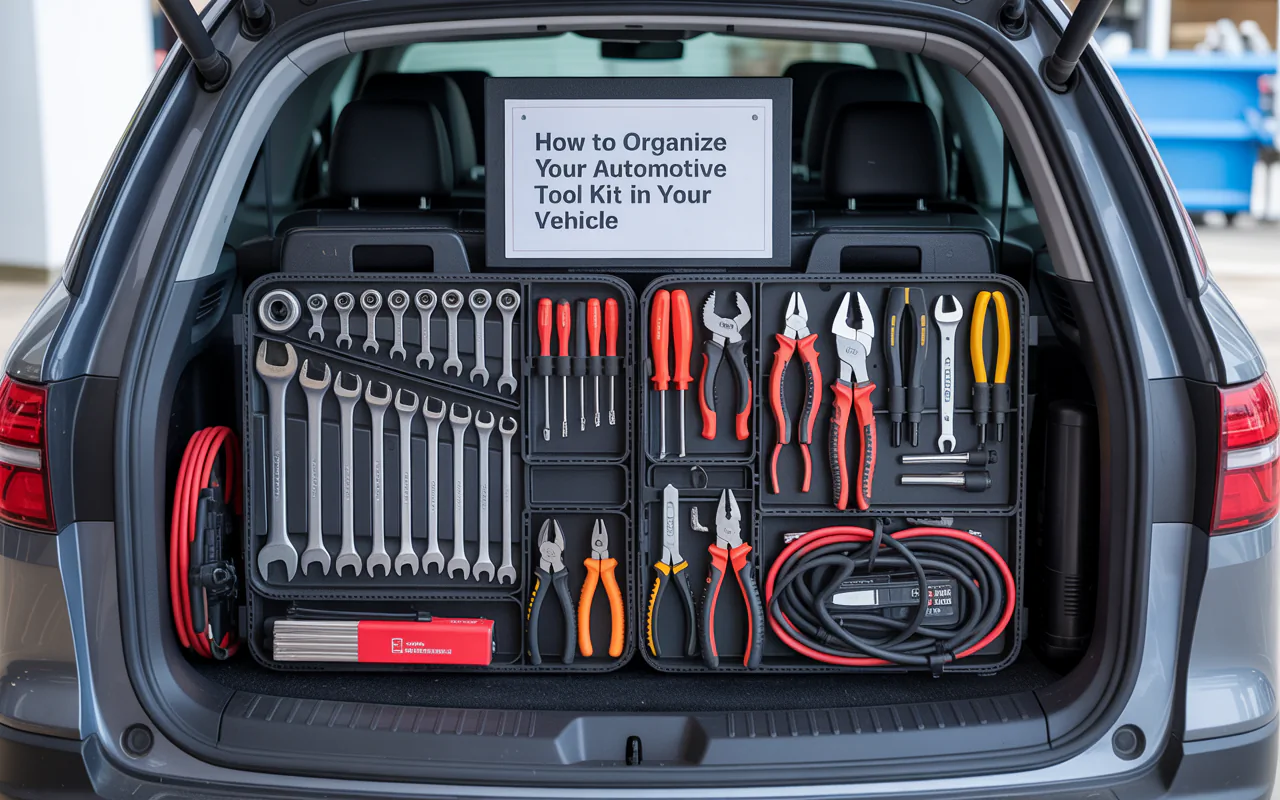
Learn the best way to organize your automotive tool kit in your vehicle for quick fixes, emergency safety, and less trunk clutter. Simple steps inside.
You are driving down a quiet road, and suddenly you hear a strange noise. Or a tire goes flat. Or a battery cable gets loose. In that moment, you remember you have tools somewhere in the back. But where? Under the shopping bags? Rolling around next to the spare tire? This is why you need to organize your automotive tool kit in your vehicle before trouble finds you.
Keeping your tools in order is not hard. It does not cost a lot of money. And it saves you time, stress, and even money on tow trucks. In this guide, I will show you simple, practical ways to organize your automotive tool kit in your vehicle using things you probably already have at home. No fancy garage required.
Let us get your car ready for the unexpected.
“A place for everything and everything in its place. This old rule saves more frustration than any fancy gadget.” – Benjamin Franklin (adapted from his writings on order)
Why You Should Organize Your Automotive Tool Kit in Your Vehicle
A messy pile of wrenches, screwdrivers, and jumper cables does you no good. When you need a 10mm socket, you want it in seconds, not after ten minutes of digging. An organized kit helps you:
- Fix small problems fast.
- Stay safe during roadside stops (less time searching, more time watching traffic).
- Protect your tools from rust and damage.
- Keep your trunk or cargo area clean and usable.
Also, a well kept kit shows that you care about your car and your own safety. It is a small habit that makes a big difference.
Step 1: Choose the Right Container for Your Vehicle
Before you put one tool inside your car, pick a container that fits your space. Not every car has a big trunk. Some SUVs have under floor storage. Some trucks have back seat space.
Here is a simple table to help you choose:
| Vehicle Type | Best Container Type | Why It Works |
|---|---|---|
| Small car (sedan, hatchback) | Soft sided zipper bag or small plastic box | Fits in tight trunks, easy to move |
| SUV or minivan | Medium hard case or modular tool roll | Uses floor space well, resists rolling |
| Pickup truck | Waterproof ammo box or bolted down tool chest | Stays secure in open bed |
| Van or large wagon | Drawer system or divided plastic tote | Keeps tools visible and accessible |
Pick a container that closes tightly. Dust, moisture, and heat will ruin cheap tools. A good box or bag keeps them safe.
Step 2: Gather the Right Tools for Roadside Needs
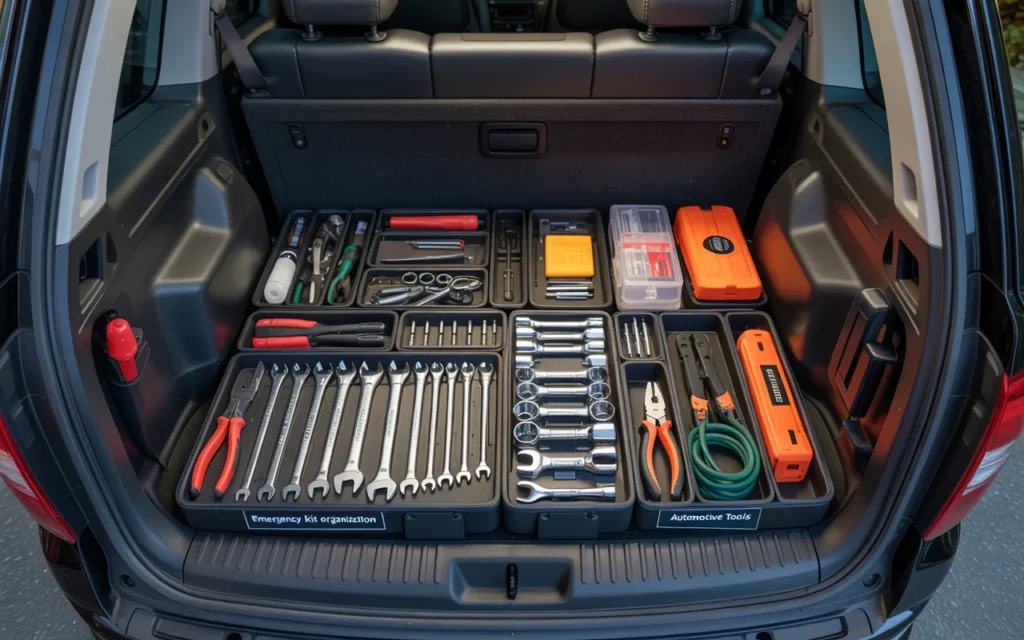
Do not pack every wrench you own. You are not rebuilding an engine on the side of the road. You are fixing basic problems. Here is a smart list:
- Socket set with metric and standard sizes (10mm to 19mm is enough).
- Combination wrench set (same sizes as sockets).
- Screwdrivers (flathead and Phillips, medium size).
- Pliers (needle nose and slip joint).
- Adjustable wrench (8 inch or 10 inch).
- Tire pressure gauge.
- Jumper cables (at least 12 feet long).
- Headlamp or small flashlight with extra batteries.
- Duct tape (wrap some around an old card).
- Zip ties (assorted sizes).
- Rags or paper towels.
- Gloves (nitrile or cloth).
Put these in your container. Then check once every three months to make sure nothing is missing or broken.
“The best tool on the road is the one you can find when your hands are cold and your patience is thin.” – John Muir, naturalist and mechanic
Step 3: Use Dividers and Pouches to Organize Your Automotive Tool Kit in Your Vehicle
This step is the heart of the whole process. To organize your automotive tool kit in your vehicle, you need small sections inside your main box or bag. Do not just throw tools in loose.
Here is what works well:
- Velcro dividers inside a hard plastic box. You can move them to change compartment sizes.
- Mesh zipper pouches for small items like fuses, valve caps, and tape.
- Tool rolls for wrenches and screwdrivers. These are fabric sleeves that roll up and tie shut.
- Magnetic strips glued inside the lid of a metal box for holding sockets.
When you open your kit, every tool should be visible without moving three other tools. That is the goal.
Here is a quick comparison of divider options:
| Divider Type | Best For | Cost |
|---|---|---|
| Velcro adjustable | Mixed tools in hard case | Medium |
| Mesh pouches | Small parts and electrical items | Low |
| Foam cutouts | Expensive tools you want to protect | High |
| Tool roll | Long tools like wrenches | Low to Medium |
Choose what fits your budget. Even a few cardboard pieces inside a shoebox can work for a short time.
Step 4: Place Your Kit Where You Can Reach It
Do not bury your tool kit under groceries, sports gear, or a stroller. Put it in a spot that is easy to reach from the driver’s seat or from the rear door.
Good places:
- Under the driver or passenger seat (if the bag is small).
- In the spare tire well (if your car has one).
- Behind the rear seat in a pickup truck.
- In a side compartment of an SUV trunk.
Bad places:
- Under heavy luggage.
- Behind a bolted down third row seat.
- In a roof box (too hard to get to fast).
Remember: if you have to unload half your car to find a screwdriver, you will not use it. You will call for help. So put your kit in a smart spot.
“Simplicity is the final achievement. After one has played a vast quantity of notes, it is simplicity that emerges.” – Frédéric Chopin (apply this to tool organization: fewer, smarter, easier to find)
Step 5: Label Everything Inside Your Kit
Labels sound like overkill, but they work great. You can use a cheap label maker or just a permanent marker on masking tape.
Label these things:
- Each pouch (“Sockets”, “Electrical”, “Safety”).
- The outside of the container (“CAR TOOLS”).
- The lid with a simple list of what is inside.
When you are stressed on a dark road, labels help your brain work faster. You do not have to guess. You just read and grab.
Also, label the tools themselves if you share the car with family. Write your name or put a small colored dot on each tool. That way, they come back to the right box.
Step 6: Secure the Kit So It Does Not Move While Driving
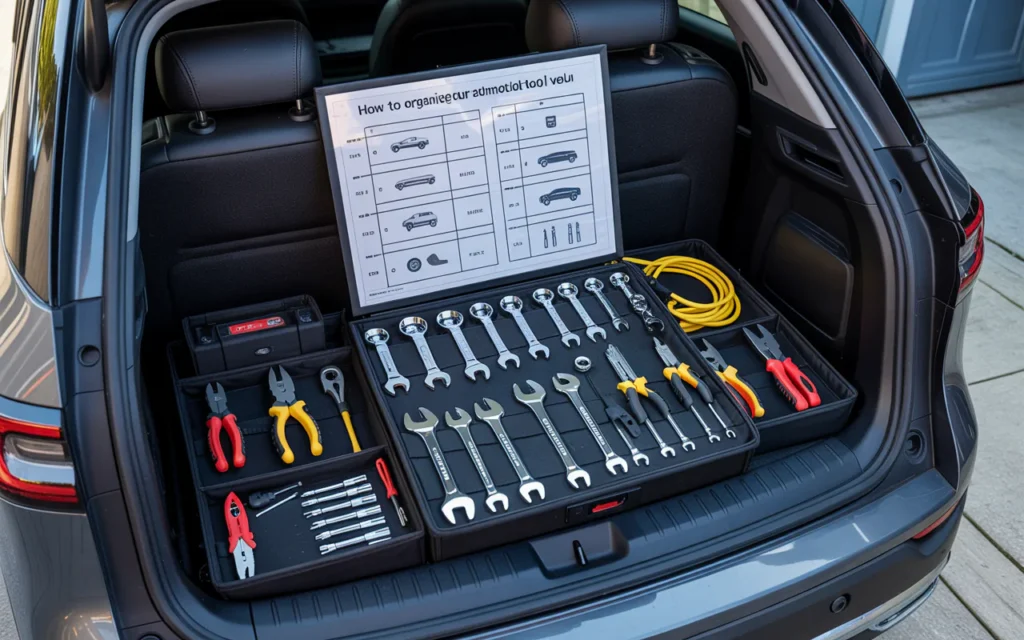
A loose tool box becomes a dangerous projectile in a crash or even a hard stop. So you must secure your kit.
Here are easy ways:
- Use a bungee cord hooked to tie down anchors in the trunk.
- Put non slip shelf liner under the box.
- Use Velcro strips (hook and loop) on the bottom of the box and on the carpet.
- Wedge the box between the spare tire and the side wall of the trunk.
For truck beds, bolt the box to the floor or use heavy duty ratchet straps. Do not let your tools fly around. That is a basic safety rule.
Step 7: Check and Update Your Kit Every Season
Your car faces different problems in winter versus summer. So update your tool kit twice a year.
Winter additions:
- Ice scraper
- Small shovel
- Gloves (heavy duty)
- Blanket
- Traction mats or cat litter
Summer additions:
- Extra water bottles
- Sun shade for windshield
- Cooling towels
- Basic first aid for heat related issues
Also, check your tools for rust. Wipe them with an oily rag if needed. Test your flashlight batteries. Replace any missing zip ties or tape.
A seasonal check takes ten minutes. It keeps you ready all year.
Step 8: Keep a Small Spare Parts Kit Too
Tools without spare parts only fix half the problems. Add a small bag of common parts to organize your automotive tool kit in your vehicle even better.
Put these in a tiny pouch:
- Spare fuses (5A, 10A, 15A, 20A, 30A)
- Valve stem caps
- Electrical tape
- Wire nuts (small size)
- Spare hose clamps (small and medium)
- A few bolts and nuts (common sizes like 8mm, 10mm, 12mm)
This parts pouch should be clearly marked. Keep it near your main tools.
Step 9: Teach Your Family How to Use the Organized Kit
You did all this work to organize your automotive tool kit in your vehicle. But if you are not the only driver, show others where the kit is and how to open it.
Give a five minute lesson:
- Where is the box or bag?
- How do you open the latches or zippers?
- Which pouch has the jumper cables?
- Where is the flashlight?
If a teenager or partner drives your car, they need to know this. Write a small card and tape it inside the glovebox. That card can say: “Tool kit is under the floor mat in the back. Jumper cables are in the red pouch.”
Simple instructions save the day.
Step 10: Remove Trash and Unrelated Items from Your Trunk
A clean trunk is easier to manage. Do not let old shoes, empty bottles, or sports bags mix with your tool kit. Keep a separate space for non emergency items.
Every month, clean out your trunk. Throw away trash. Take inside anything that does not belong. Then put your tool kit back in its spot.
This habit alone makes your car feel calmer and more organized.
Frequently Asked Questions
1. How do I organize my automotive tool kit in my vehicle if I have no trunk space?
Use a flat tool roll that fits under a seat. Or use a small zipper bag that hangs on the back of a headrest. Some people use a plastic ammo box strapped to the side of the cargo area.
2. What is the best way to stop tools from rusting in my car?
Put silica gel packs (the small drying packets) inside your tool box. Also wipe metal tools with a light machine oil twice a year. Keep the box away from direct water leaks.
3. Can I use a plastic grocery bag to store tools in my car?
No. Plastic bags tear, and tools fall out. They also do not protect against moisture. Use a proper bag, box, or roll made for tools.
4. How often should I check my car tool kit?
Check it every three months. Also check it before a long road trip and after anyone borrows your car.
5. What is the single most important tool to keep in my car?
Jumper cables or a jump starter pack. Dead batteries are the most common roadside problem. Keep cables you know how to use.
Conclusion
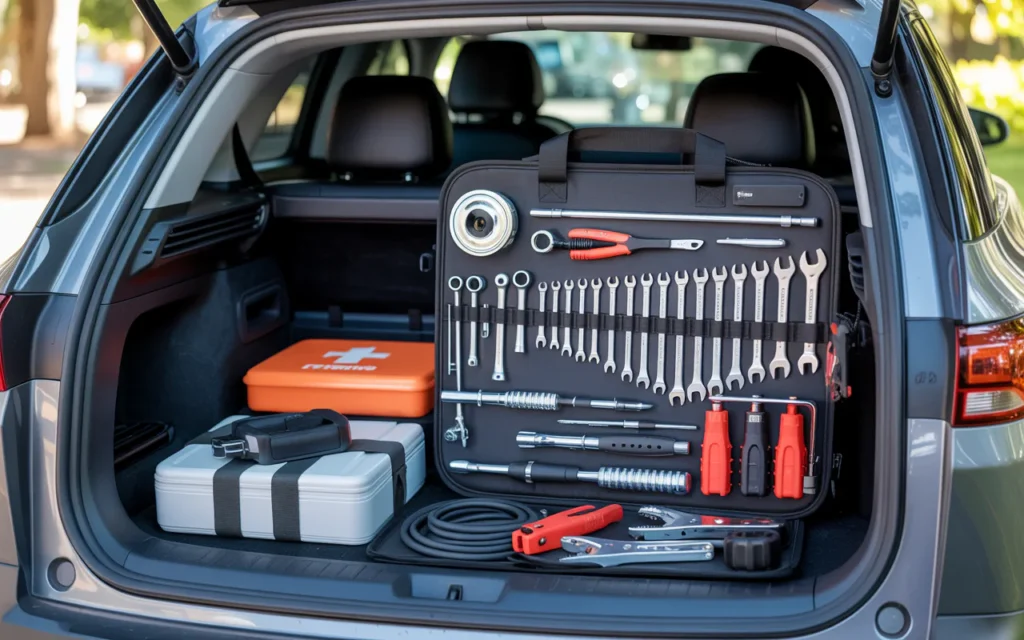
You do not need a giant garage or expensive tool chest to organize your automotive tool kit in your vehicle. You need a good container, a smart set of tools, and a simple system of pouches or dividers. Put the kit in a reachable spot. Secure it so it does not slide. Label what you have. Check it a few times a year.
This small effort pays off the first time you fix a problem in five minutes instead of waiting an hour for help. It also gives you peace of mind. Every time you drive, you know you are ready.
So open your trunk right now. Look at your current tool mess. Pick one idea from this article and try it today. Tomorrow, try another. In one week, your car will be cleaner, safer, and more useful.
And when a friend asks, “Why is your trunk so neat?” you can smile and show them exactly how to organize your automotive tool kit in your vehicle too.
Related posts
 Top Starter Mechanic Tool Kits for Apprentices: Essential Sets for Your Trade
Explore top starter mechanic tool kits for apprentices. Compare sets for mechanics, electricians, and other trades to find your essential tools. Starting an apprenticeship is an…
 Automotive Tool Kits vs. Mechanic Tool Sets: What’s the Difference?
Understand the key differences between automotive tool kits vs. mechanic tool sets. Learn which is best for your car maintenance needs. When looking for tools to…
 Top Automotive Tool Kits for Garage Workshops: A Buyer’s Guide
Find the top automotive tool kits for garage workshop. Compare versatile sets for car maintenance, home repairs, and DIY projects to choose the best fit. Setting…