How To Repair A Tool Bag
Learn how to repair a tool bag with simple DIY methods. Fix tears, broken zippers, and worn straps using basic tools. Keep your favorite bag working for years with our step-by-step guide.
Your tool bag works hard every day. It carries heavy wrenches, sharp screwdrivers, and all the gear you need to get the job done. But over time, that constant use takes a toll. You might notice a small tear in the fabric, a zipper that sticks, or a handle that is starting to fray. Before you think about buying a new one, stop right there. Learning how to repair a tool bag is easier than you think, and it can save you a good amount of money.
Many people toss their bag aside at the first sign of damage. But with a few basic supplies and a little patience, you can fix most issues yourself. This guide will walk you through the most common problems and show you exactly how to repair a tool bag so it lasts for many more years.
Why You Should Repair a Tool Bag Instead of Replacing It
A good tool bag is an investment. Whether it is a heavy canvas model or a durable nylon bag, these items are built to last. When damage occurs, it often happens in specific areas like the bottom, the straps, or the zippers. Fixing these spots is usually quick and cheap. Replacing the entire bag is not.
Repairing also helps the environment. Keeping your tools in a bag you already own means less waste in landfills. Plus, there is a certain satisfaction that comes from fixing something with your own hands. It is a skill that pays off again and again.
Quote:
“The best tool in your workshop is the one that saves you from buying a new one. Repairing your gear is a sign of true craftsmanship.”
— Mark Sullivan, Master Carpenter and Workshop Instructor
Assessing the Damage Before You Start
Before you gather any supplies, take a close look at your bag. What exactly is broken? Knowing the problem will help you choose the right repair method.
Check the Fabric
Look for holes, tears, or worn spots. Run your hand along the inside and outside of the bag. Pay extra attention to the bottom and the corners. These areas take the most abuse from heavy tools.
Examine the Zippers
Try opening and closing the zippers a few times. Do they catch on something? Is the pull tab missing? Sometimes the zipper teeth are misaligned, or the slider is damaged.
Inspect the Handles and Straps
Give the handles a good tug. Check for loose stitching, cracks in leather handles, or frayed webbing. A broken handle can make the bag unsafe to carry.
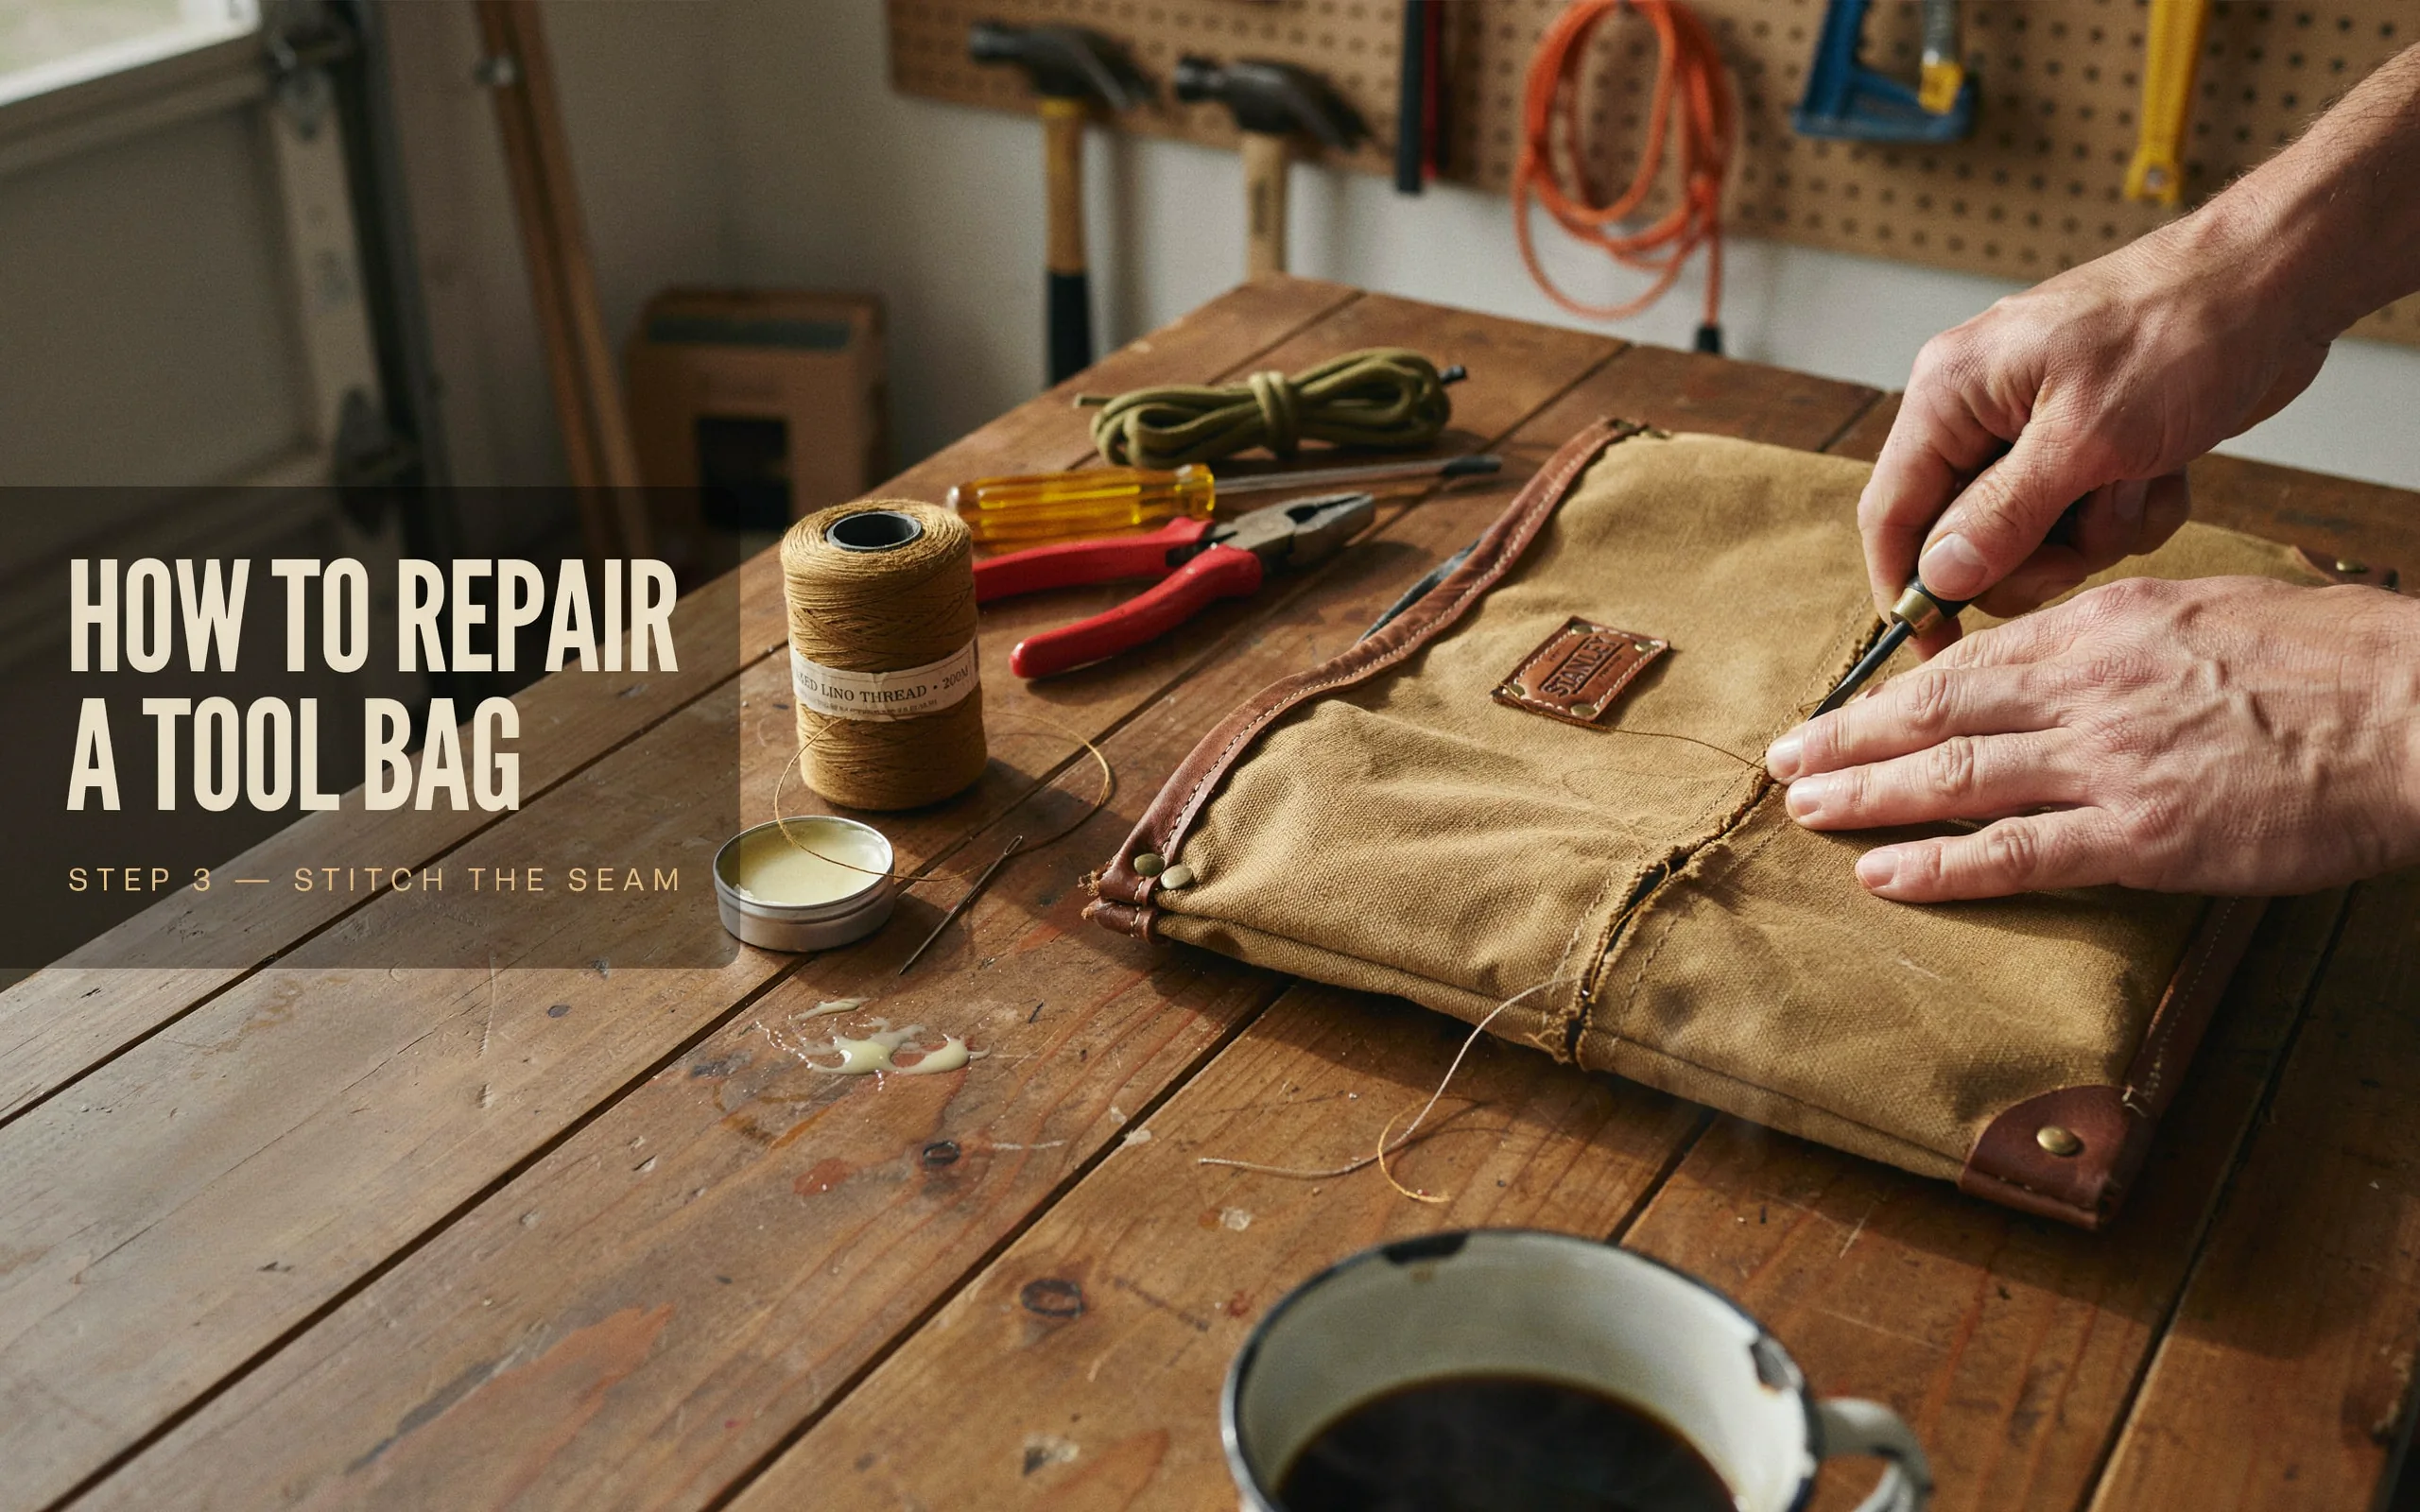
Look at the Seams
Seams are the weakest points on any bag. Look for popped stitches or areas where the thread is coming loose. If you catch these early, you can repair them before they become big holes.
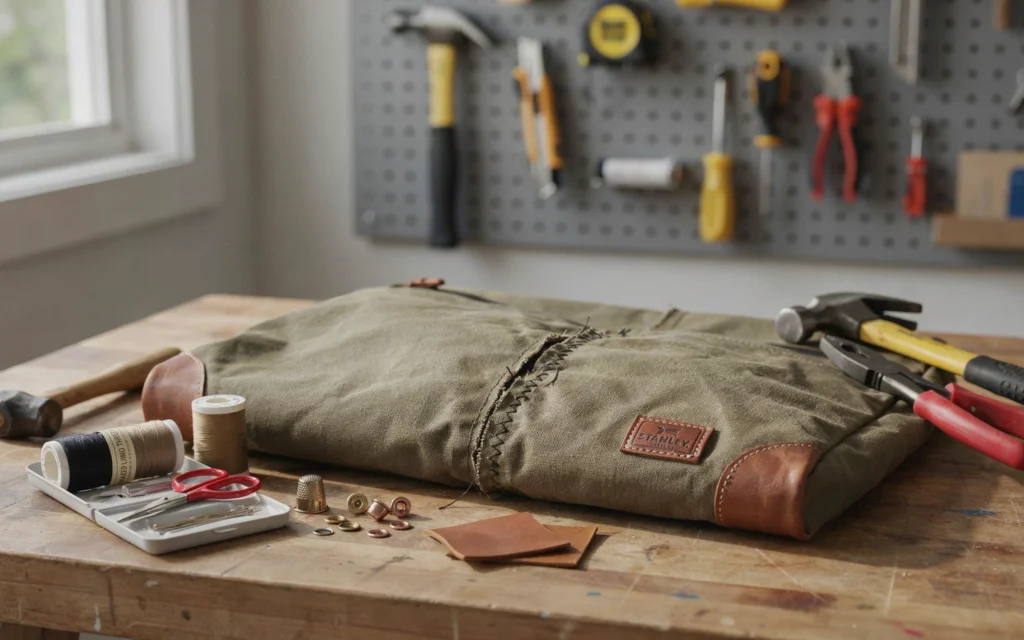
Gathering Your Tools and Materials
You do not need a workshop full of equipment to repair a tool bag. Most fixes require simple items you probably already have at home. Here is what you might need:
- Heavy-duty thread (nylon or polyester works best)
- Sewing needles (a curved needle helps with thick fabric)
- Scissors (sharp ones for cutting fabric and thread)
- Fabric patches (canvas or nylon patches are great)
- Fabric glue or adhesive-backed patches
- A sewing awl (very helpful for thick materials)
- Replacement zipper sliders (available at craft stores)
- Pliers (for squeezing zipper sliders)
- Ruler or measuring tape
Basic Repair Kit Table
| Item | Purpose |
|---|---|
| Heavy-duty Thread | Strong stitching that holds up to heavy loads |
| Sewing Awl | Makes stitching through thick canvas or leather easy |
| Fabric Patches | Cover holes and reinforce weak areas |
| Fabric Glue | Quick bonding for temporary or permanent fixes |
| Replacement Zipper Slider | Fixes broken zippers without replacing the whole zipper |
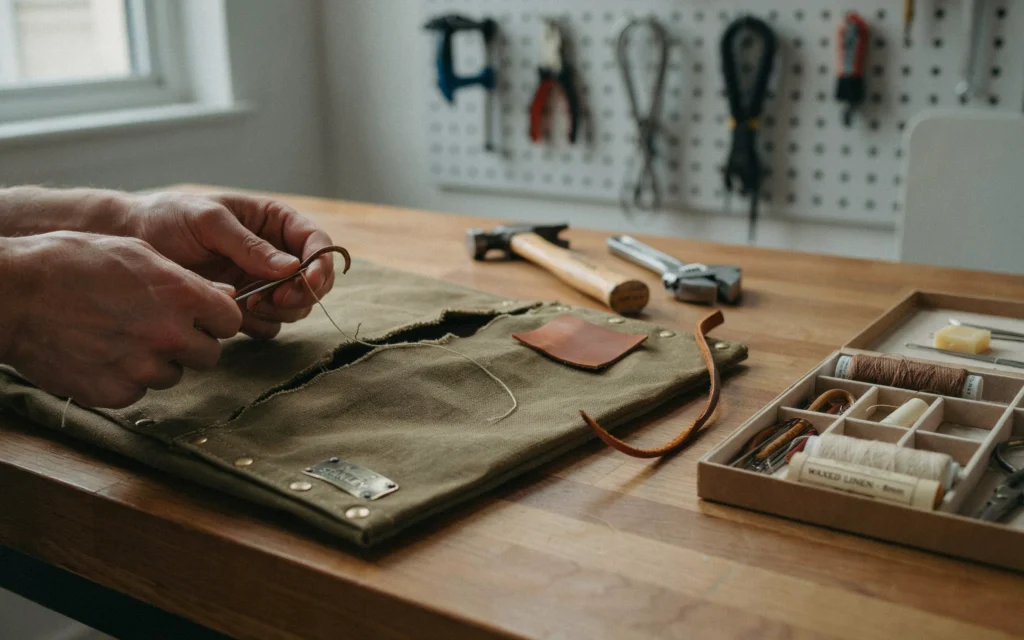
How to Repair a Tool Bag with Fabric Tears and Holes
Tears in the fabric are one of the most common issues. They usually happen when a sharp tool pokes through or when the bag drags across rough surfaces. Fixing these is straightforward.
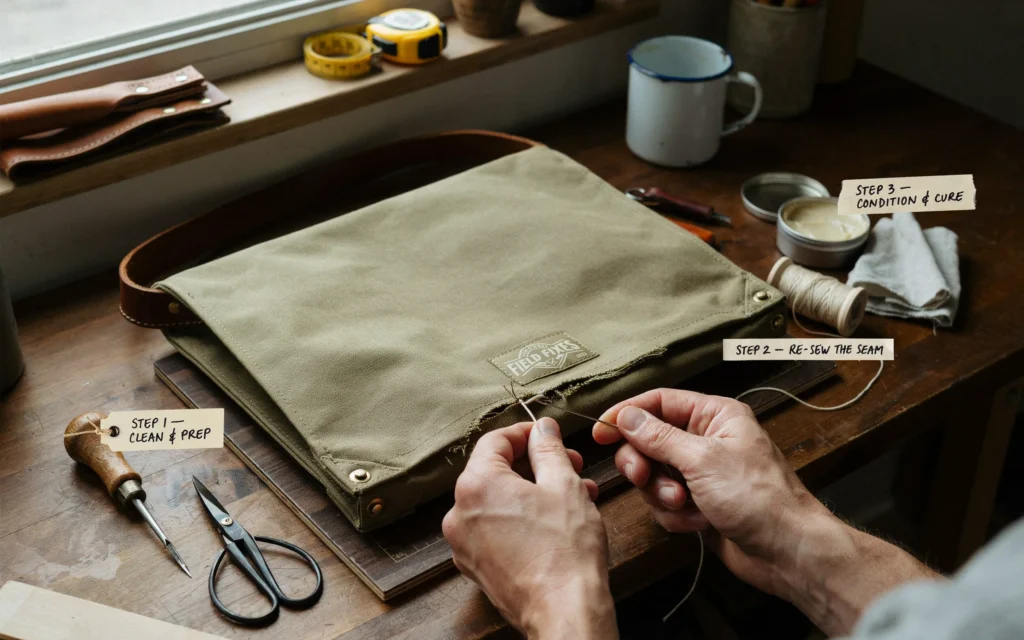
Cleaning the Area
Start by cleaning the damaged area. Use a damp cloth to wipe away dirt and dust. Let it dry completely. Clean fabric helps glue and patches stick better.
Trimming Loose Threads
Use scissors to trim any loose or frayed threads around the tear. This gives you a clean edge to work with.
Patching Small Tears
For small rips, a fabric patch works well. Cut a patch that is about half an inch larger than the tear on all sides. Place it over the damaged area. If you are using adhesive-backed patches, peel off the backing and press firmly. For extra strength, you can also sew around the edges of the patch.
Patching Larger Holes
Bigger holes need more reinforcement. Cut a patch that is at least an inch larger than the hole. Apply fabric glue to the back of the patch and press it into place. Then, use a needle and heavy-duty thread to stitch around the entire patch. This double layer of glue and stitching will hold up against heavy tools.
Using a Sewing Awl for Thick Fabric
If your bag is made of thick canvas or leather, a regular needle might not be strong enough. A sewing awl is a small hand tool that punches holes and sews at the same time. It creates a strong lockstitch that is perfect for heavy-duty repairs. Thread the awl, push the needle through the fabric, and pull it back. Each stitch locks into place, making a very durable repair.
Fixing a Broken Zipper on Your Tool Bag
Zipper problems are frustrating, but they are often easy to fix. You do not need to replace the whole zipper in most cases.
Realigning Misaligned Teeth
Sometimes the zipper teeth get out of line. This happens when the slider pulls away from the fabric. Gently wiggle the slider back and forth while pulling the zipper tab. If the teeth still do not line up, you might need to replace the slider.
Replacing a Zipper Slider
If the slider is broken or missing, you can buy a replacement at a craft store. These universal sliders come in different sizes. To install a new one, you need to remove the old slider first. Use pliers to gently open the metal stopper at the end of the zipper. Slide the old slider off and slide the new one onto the teeth. Then, close the stopper with your pliers.
Quote:
A broken zipper doesn’t mean a broken bag. Most zipper repairs take less than ten minutes once you know what you are doing.”
— Linda Hayes, Professional Seamstress and Gear Repair Specialist
Lubricating a Sticky Zipper
Sometimes the zipper is just dry or dirty. Rub a little wax, soap, or a dedicated zipper lubricant along the teeth. This often makes the zipper slide smoothly again. Avoid using oil, as it can attract dirt.
How to Repair a Tool Bag Handle or Strap
Handles and straps carry the full weight of your tools. They are under constant stress and are prone to tearing. A broken handle makes the bag hard to carry, so fixing it is a priority.
Sewing a Torn Strap
If the strap is torn but not completely detached, you can sew it back together. Align the torn edges and pin them in place. Use a heavy-duty needle and thread. Sew a straight stitch or a zigzag stitch along the tear. Overlap your stitches on both sides for extra strength.
Reinforcing Weak Straps
If you see a strap starting to fray, reinforce it before it breaks. Cut a piece of webbing or strong fabric and place it over the weak spot. Sew it on with a tight zigzag stitch. This adds a second layer of material and spreads the weight more evenly.
Replacing a Handle
Sometimes the damage is too severe to sew. In that case, you can replace the handle entirely. You can buy replacement handles at hardware stores or make your own from leather or heavy webbing. Remove the old handle by cutting the stitches. Attach the new handle using strong thread or rivets.
Repairing the Bottom of the Tool Bag
The bottom of a tool bag takes a beating. It gets dragged across floors, set down on gravel, and bumped against walls. Over time, the fabric can wear thin or develop holes.
Adding a Protective Layer
If the bottom is worn but not yet torn, add a protective layer. Cut a piece of heavy canvas or rubber matting to fit the bottom. Glue it in place or sew it around the edges. This reinforces the bottom and prevents future damage.
Patching Holes in the Bottom
For holes, use the same patching method as for fabric tears. Clean the area, trim loose threads, and apply a patch. Since the bottom carries a lot of weight, use both glue and stitching. A patch that is only glued might peel off over time.
Preventative Maintenance for Your Tool Bag
An ounce of prevention is worth a pound of cure. Taking care of your tool bag can help you avoid repairs in the first place.
Keep It Clean
Dirt and grit can wear down fabric and zippers. Wipe your bag down regularly with a damp cloth. Let it dry completely before storing it.
Avoid Overloading
Every bag has a weight limit. Overloading puts extra stress on the seams, handles, and zippers. If you find yourself carrying too much, consider getting a second bag for lighter items.
Store It Properly
When you are not using your tool bag, store it in a dry place. Moisture can weaken fabric and cause rust on your tools. Hang the bag up if possible, so the bottom does not rest on a damp floor.
Inspect Regularly
Take a few minutes every month to check your bag for signs of wear. Look for loose threads, small tears, or fraying straps. Catching these issues early makes them much easier to repair.
Common Repairs and Their Difficulty
| Repair Type | Difficulty Level | Time Required |
|---|---|---|
| Small Fabric Tear | Easy | 15 minutes |
| Large Fabric Hole | Medium | 30 minutes |
| Zipper Slider Replacement | Medium | 20 minutes |
| Handle or Strap Sewing | Medium | 25 minutes |
| Bottom Reinforcement | Easy | 20 minutes |
When to Call a Professional
Most repairs are simple enough to do at home. However, there are times when professional help is a better choice. If the bag is made of expensive leather or has complex internal structures, a professional can do a cleaner job. Some companies even offer lifetime repair services for their products. If you are not confident in your sewing skills, it is okay to ask for help.
Quote:
“Knowing when to fix something yourself and when to hand it to a professional is a skill in itself. For everyday tool bags, DIY repairs are almost always the answer.”
— Robert Chen, Founder of ToolBagRepair.com
Frequently Asked Questions
Can I repair a tool bag with a regular sewing kit?
Yes, for small tears and loose seams, a regular sewing kit works fine. Use heavy-duty thread if you have it. For thicker materials like canvas or leather, a sewing awl is much easier to use.
What is the best glue for repairing a tool bag?
Fabric glue or adhesive-backed patches work well. For heavy-duty use, a combination of glue and stitching gives the strongest repair.
How do I fix a zipper that keeps splitting open?
This usually means the slider is worn out. Replacing the slider with a universal replacement part is the best fix. You can find these at most craft stores.
Can I wash my tool bag before repairing it?
You can, but make sure it is completely dry before you start. Damp fabric does not hold glue or stitches well. Check the care label for washing instructions.
Is it worth repairing an old tool bag?
Yes, if the bag is otherwise in good shape. A repair costs very little compared to buying a new bag. Plus, you get to keep a bag that is already broken in and comfortable to use.
Conclusion
Learning how to repair a tool bag is a useful skill that saves money and reduces waste. Most common issues, from torn fabric to broken zippers, are easy to fix with basic tools and a little patience. Start by assessing the damage, gather your materials, and follow the steps in this guide. Your tool bag will be back in action in no time.
Do not let a small tear or a sticky zipper send your favorite bag to the trash. With these simple repair techniques, you can extend its life and keep your tools safe and organized. The next time your bag shows signs of wear, remember that a fix is just a few stitches away. Give it a try. You might be surprised at how satisfying it feels to repair a tool bag with your own two hands.
Related posts
 How To Choose A Tool Bag For HVAC Technicians
Looking for the best way to choose a tool bag for HVAC technicians? This guide covers durability, pockets, backpack vs. pouch, and top brands to help…
 How To Choose A Tool Bag For Home Use
Learn how to choose a tool bag for home use with this complete guide. We cover size, materials, pockets, and comfort so you pick the perfect…
 How To Choose A Tool Bag For Beginners Or Apprentices
If you are just starting out, learning how to choose a tool bag for beginners or apprentices can save you money and frustration. This guide covers…