How Do You Sharpen The Blades On A Multi Tool Kit
To keep your pocket tools working fast, learn how to sharpen the blades on a multi tool kit with simple home items. This guide makes your old blades cut like new again in just a few minutes.
Multi tools are some of the most useful items you can own. You can use them to open boxes, cut wire, tighten screws, and fix things around the camp. But like any tool with a sharp edge, the knife parts will get dull after a lot of work. A dull blade forces you to press down with too much force. This makes the tool unsafe to use because it can slip and cut your hand. You might ask yourself how you can sharpen the blades on a multi tool kit when they stop cutting well. The good news is that you do not need expensive shop gear to get a clean edge. You can use a few simple blocks and files to restore the edge right at your kitchen table.
When your pocket tool loses its edge, the metal along the very tip becomes round. To make it sharp again, you have to rub away some of the steel until the two sides meet at a fine point. This process takes a bit of time and steady movement, but anyone can learn it. Keeping your tools sharp will make your daily chores much easier and safer.
Why Pocket Multi Tools Get Dull Fast
The steel used in pocket multi tools is often a bit softer than the steel found in high-cost hunting knives. Makers use this kind of steel because it does not crack easily when you use the pliers or screwdrivers. The softer metal can bend just a little bit under heavy pressure instead of breaking into pieces. However, this choice means the knife edge will roll over or wear down faster when you cut tough wood, thick plastic, or dirty rope. Dirt and grit can small chips out of the edge if you use the blade outside a lot.
Another reason these tools get dull is how they are stored. When you fold the tool shut, the blades sit close to other metal parts. If the tool gets dirty or if you drop it, the edge can bump against the inside walls of the frame. This regular contact can dull the edge even if you do not use the knife to cut things. Knowing how your tool wears down helps you see why it needs regular care.
“A sharp pocket knife is a safe tool because it cuts where you want it to cut without slipping.”
— Tom Nelson
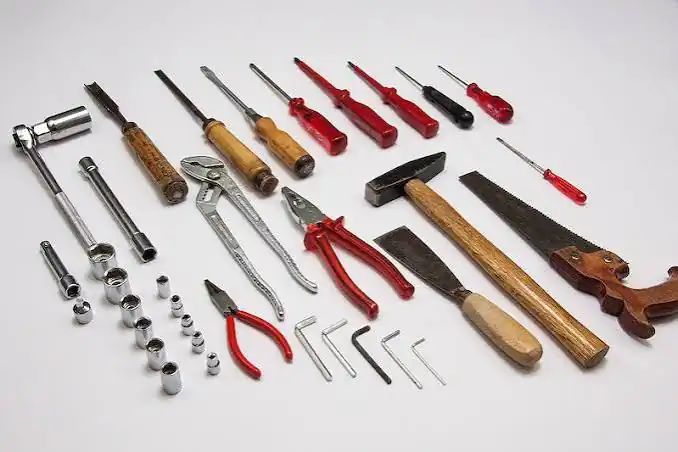
Tools You Need for the Job
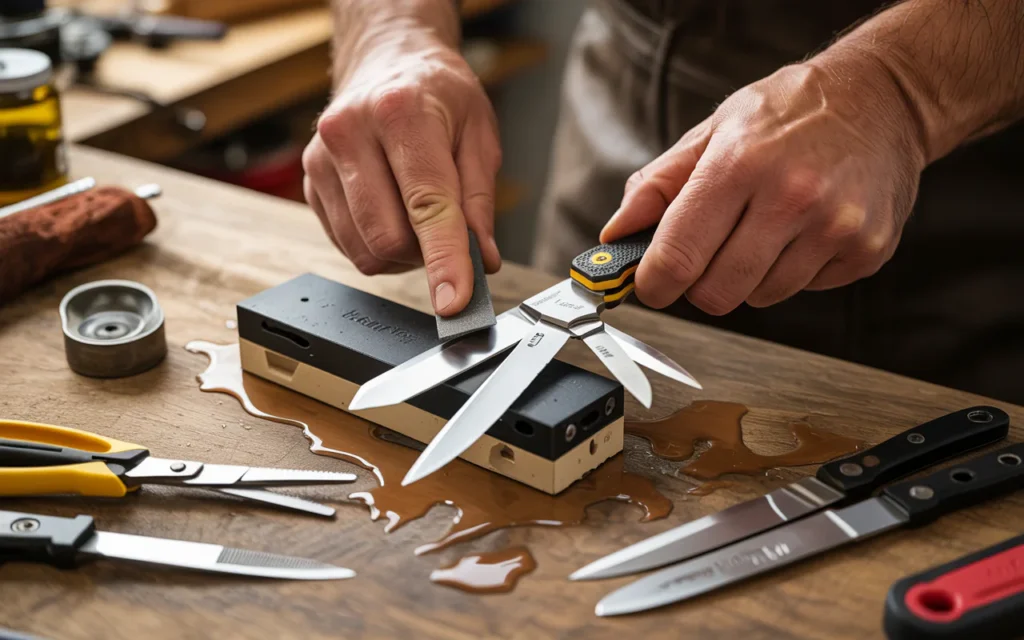
Before you learn how to sharpen the blades on a multi tool kit, you must gather your gear. You do not need a lot of tools, but having the correct items makes the task go much faster. The most popular choice is a simple oil stone or a water whetstone. These stones come with two sides, which includes a rough side to fix bad chips and a smooth side to polish the metal. You can also use a small diamond plate because it stays flat for years and cuts through hard metal very fast.
You will also need some type of fluid to wet your stone. Water or light oil works best to float the tiny metal flakes away from the surface of the stone. If you do not use oil or water, the stone will clog up with metal dust and stop cutting. A soft cloth is good to wipe the blade clean as you work. Finally, a leather strap or a piece of thick cardboard can help you finish the edge at the very end of your work.
Sharpening Tools Comparison
| Tool Type | Best Use | Speed | Skill Needed |
| Diamond Plate | Fixing chips and fast cutting | Very Fast | Medium |
| Whetstone | General sharpening and polishing | Medium | Medium |
| Ceramic Rod | Touching up slightly dull edges | Fast | Low |
| Pocket File | Quick fixes out in the woods | Fast | Low |
Step-by-Step Guide: How to Sharpen the Blades on a Multi Tool Kit
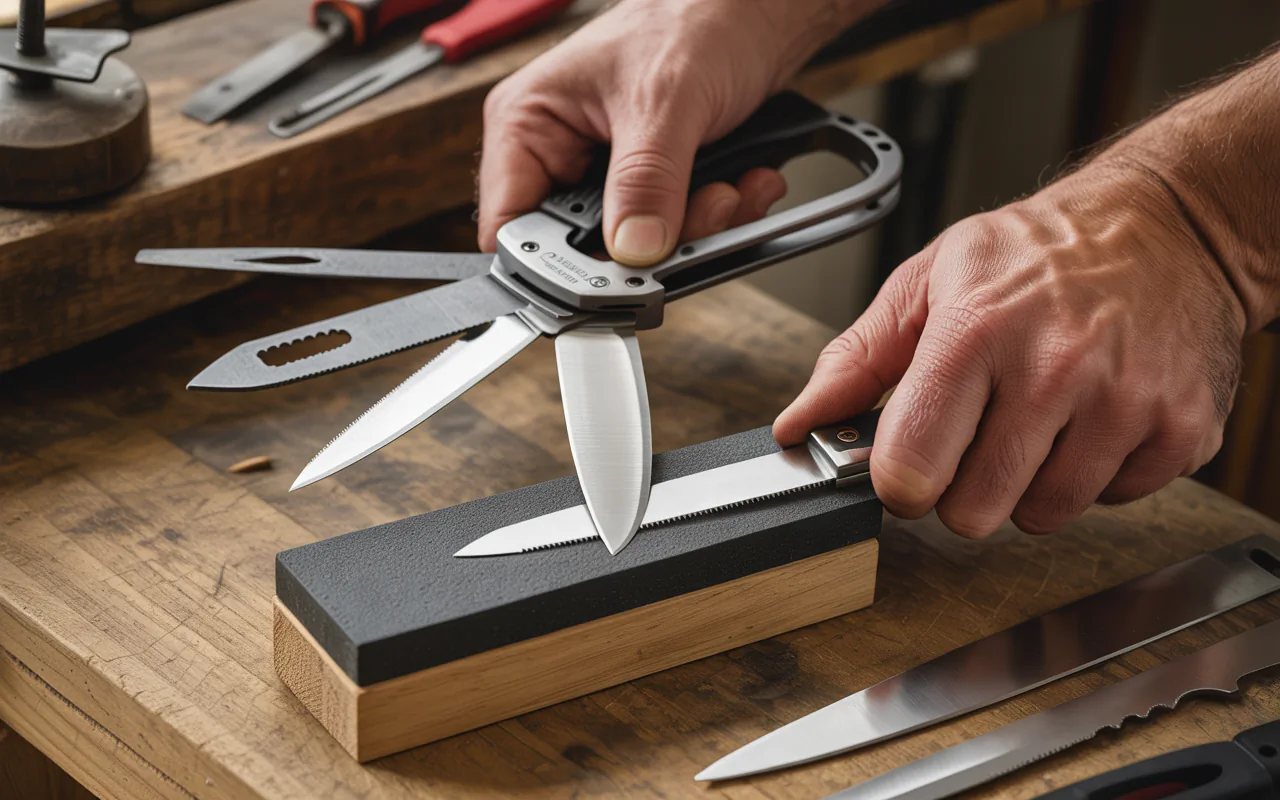
Here is the clear way to sharpen the blades on a multi tool kit using basic steps. First, you must open the knife blade fully so it locks into place. Make sure all the other tools like the pliers, files, and saws are folded inside the handle. This keeps your fingers safe from getting pinched while you hold the tool frame. Hold the handle of the multi tool firmly in your non-dominant hand, or clamp the handle in a small bench vice if you have one.
Next, wet your sharpening stone with a few drops of water or honing oil. Place the stone on a flat counter or table so it does not slide around while you work. A damp towel placed under the stone can help keep it steady on slick surfaces. Now you are ready to place the blade against the stone and start the sharpening process.
Inspecting the Blade and Safety Steps
Look closely at the edge of the knife under a bright light before you touch it to the stone. Check for large chips, deep dents, or areas where the metal has rolled sideways. If the blade has deep chips, you will need to spend more time on the rough side of your stone. If the edge is just dull but still smooth, you can start directly on the fine side of the stone to save time.
Safety is the most important part of this task. Always move the sharp edge away from your body and away from your fingers. Do not rush your strokes. Slow and steady movements will keep your hands safe and give you a much straighter edge. Keep your fingers tucked behind the cutting path so that a sudden slip will not cause an injury.
Setting the Right Angle for Your Tool
It is vital to know the right angle when you want to sharpen the blades on a multi tool kit properly. Most pocket multi tools use a bevel angle of about twenty degrees on each side of the blade. If you lay the blade flat on the stone, that is zero degrees. If you stand the blade straight up, that is ninety degrees. Tilt the blade half way to forty-five degrees, then tilt it half way again to get close to twenty degrees.
   /  (approx. 20 degrees)
  /
 /____________ (Stonw Surface)
You can also use a stack of two pennies placed on the stone as a guide. Rest the back spine of the knife blade on top of the pennies while the sharp edge touches the stone. This trick sets a great angle for most small pocket tools. Try your best to hold this exact angle through every single stroke you make across the stone.
“Good tools last a long time if you clean them and give them a sharp edge every season.”
— Sarah Miller
Using a Whetstone or Sharpener
Place the heel of the blade against the wet stone at your twenty-degree angle. Push the blade forward across the stone as if you are trying to slice a very thin layer off the top of the block. Move the knife from the heel all the way to the curved tip in one smooth sweep. Repeat this motion ten to fifteen times on the first side of the blade.
You must use light pressure as you sharpen the blades on a multi tool kit on a whetstone. Heavy pressure will not speed up the process, but it can ruin your angle and gouge your stone. After a few strokes, look at the opposite side of the edge to see if a burr has formed. A burr is a tiny lip of metal that bends over the edge when you have ground down enough steel. Once you feel this tiny ridge along the whole length of the blade, flip the tool over and repeat the same number of strokes on the other side.
Sharpening Different Blade Types
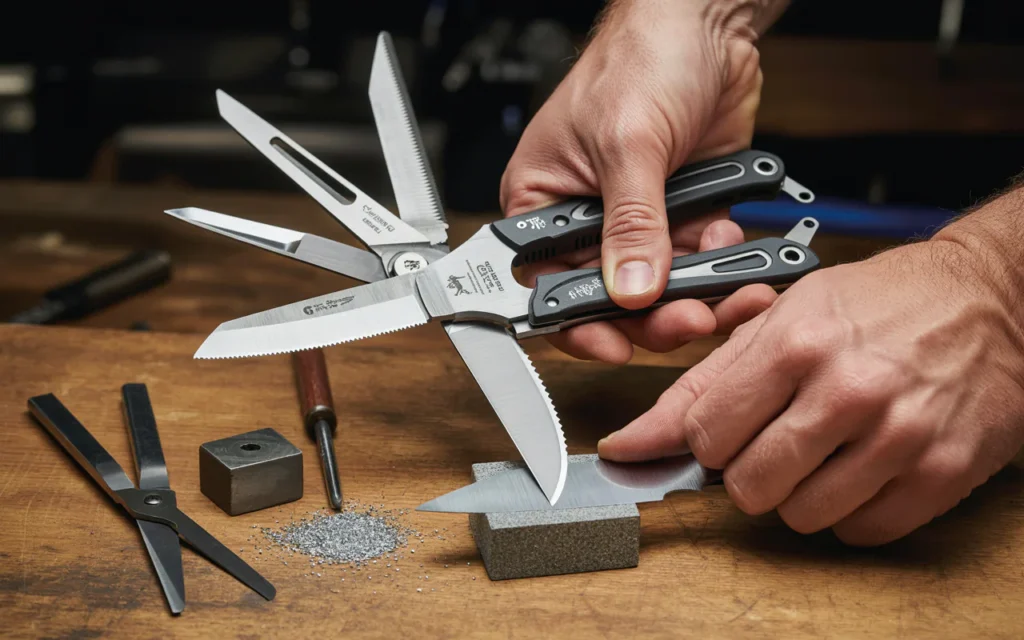
Many modern multi tools come with more than one blade shape inside the frame. You might find a standard straight edge knife, a fully serrated blade, and a small pair of scissors. You cannot use a flat stone to fix all of these different shapes. Each type of edge requires a specific tool to ensure you do not ruin the original shape of the metal.
Straight blades are the easiest to maintain because they work well with any flat stone or diamond plate. You just rub them along the flat surface as we talked about before. But when you look at the other items in your kit, you will need to change your plan. Let us look at how to handle these special shapes without causing damage.
How to Deal with Serrated Edges
It takes a special method to sharpen the blades on a multi tool kit if they have serrations. Serrated blades look like small saws with teeth and grooves. If you rub a serrated knife flat against a regular sharpening stone, you will flatten the teeth and ruin the knife completely. To fix these blades, you must use a round sharpening rod made of ceramic or diamond-coated steel. These rods are thin and tapered so they can fit inside the small grooves of the teeth.
Find the side of the serrated blade that has the ground bevel. Most serrated tools are only ground on one side, while the back side stays perfectly flat. Place your round rod into each individual groove or serration. Rub the rod back and forth a few times at the matching angle until the metal looks bright and clean. Once you finish every groove, turn the blade over to the flat side. Rub the flat side lightly against a fine stone once to remove any metal burrs that pushed through.
Sharpening Scissors and Awls
Multi-tool scissors are small, but they follow the same rules as large shears. They only have a bevel on the outside edge of each blade. Open the scissors as wide as they can go. Rub the outer beveled edge against a fine stone while keeping the flat inner face away from the stone. Never grind the flat inside face of the scissors, or they will stop cutting thread and paper.
An awl is the sharp metal spike used to punch holes in leather or canvas. To sharpen an awl, look at its shape. Most awls have one flat side and one sloped side that forms a cutting edge. Rub the sloped edge against your stone while maintaining the original factory angle. Keep the flat side smooth by rubbing it flat against a fine stone just enough to clear away the burrs.
Common Mistakes to Avoid
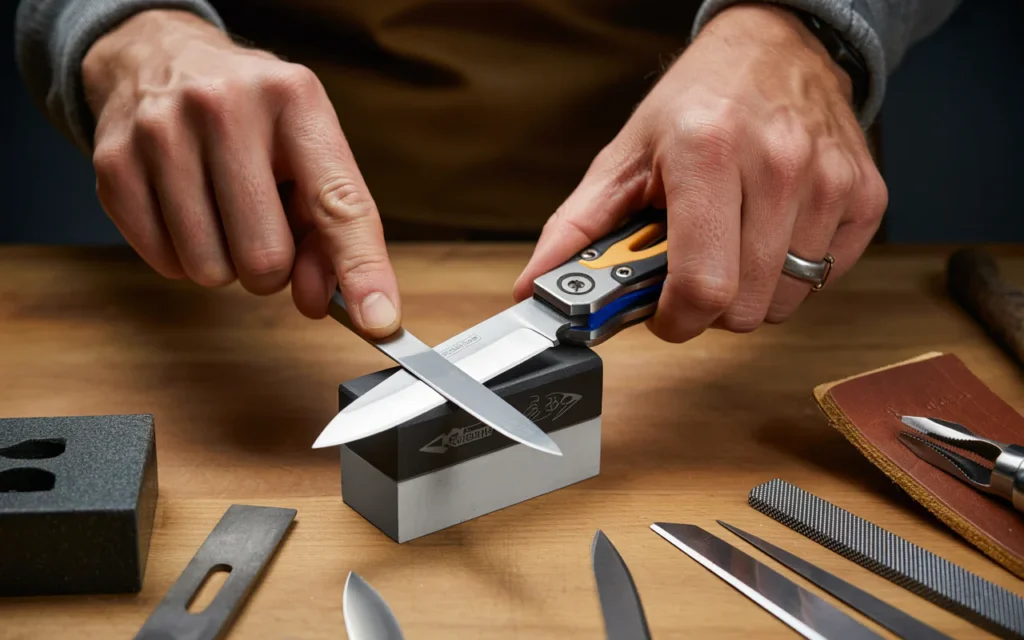
Many people make simple errors when they try to sharpen the blades on a multi tool kit at home. The biggest mistake is changing the angle of the blade during the stroke. If your hand wobbles up and down, you will create a round edge instead of a sharp point. A round edge can feel smooth to the touch, but it will not slice through items easily. Take your time and keep your wrist stiff as you move the tool across the block.
Another error is using too much force while pushing the knife down. Pressing hard can bend the thin metal edge sideways or cause the blade to chip. It can also create a massive burr that is very difficult to remove later. Let the grit of the stone do the cutting work for you. If the stone feels like it is not removing metal, you need to switch to a rougher grit rather than pressing harder.
Sharpening Errors and Solutions
| Common Mistake | Result on the Blade | How to Fix It |
| Changing the angle | Round, dull edge | Keep wrist stiff, use a guide |
| Pressing too hard | Large burrs or chipped steel | Use light pressure, let stone work |
| Sharpening dry | Clogged stone, scratched metal | Add water or oil before you start |
| Ignoring the burr | Edge rolls over immediately | Polish the back side to remove burr |
Cleaning and Lubrication After Sharpening
You must clean up the metal dust after you sharpen the blades on a multi tool kit to prevent rust. The sharpening process leaves behind a mix of tiny steel flakes and stone grit. If this mixture stays inside the pivot joints of your multi tool, it will act like sand and grind down the moving parts. Wash the entire tool with warm water and mild dish soap to remove all the residue. You can use an old toothbrush to scrub out the deep crevices inside the handle channels.
“Do not rush when you work with sharpening stones because slow movements make the straightest edge.”
— John Davis
Once the tool is clean, dry it immediately with a soft towel. You can use a hair dryer or compressed air to blow out any hidden water drops from the inside of the hinges. After the tool is bone dry, apply a single drop of light machine oil or mineral oil to each pivot point. Open and close the blades a few times to spread the oil evenly through the joints. Wipe away any extra oil from the outside of the tool so it does not attract new dirt when you put it in your pocket.
Keeping Your Multi-Tool Sharp for Longer
You will not need to sharpen the blades on a multi tool kit as often if you use a leather strop regularly. A strop is a simple piece of leather glued to a flat board. You can rub a little bit of polishing compound onto the leather side. To use a strop, pull the blade backward away from the sharp edge. This motion is the opposite of sharpening on a stone where you push the edge forward. Stropping removes the invisible micro-burrs and polishes the tip to a mirror shine.
You can also extend the life of your edge by using the tool correctly. Do not use your knife blade to pry open metal lids or twist screws. These tasks can twist the edge and cause massive chips that require heavy grinding to fix. Use the flat screwdriver or pry tool that is already built into your multi tool kit for those tasks. Also, try to avoid cutting directly onto hard surfaces like stone, metal counters, or glass plates. Use a wood or plastic cutting board when you need to slice food or materials camp.
Frequently Asked Questions
How often should I sharpen my multi tool blades?
People often ask how often they should sharpen the blades on a multi tool kit during regular use. The answer depends on how much you use the knife and what you cut. If you use it every day to open boxes and cut rope, you should touch up the edge once every two weeks. If you only use it for light tasks on the weekend, sharpening it two or three times a year will keep it in great shape. You can test the sharpness by trying to cut a piece of paper. If the blade tears the paper instead of slicing it cleanly, it is time to bring out your stones.
Can I use a pull-through kitchen sharpener on my multi tool?
It is best to avoid pull-through kitchen sharpeners for your pocket multi tools. These devices often use hard carbide V-shaped notches that shave off large strips of metal from your blade. They can ruin the correct bevel angle and reduce the lifespan of your tool very quickly. They also cannot reach the heel of the blade because the thick multi-tool handle gets in the way. Stick to flat stones, diamond plates, or ceramic rods for the best results.
What should I do if my multi tool blade gets rusty?
If you see rust spots on your blade, do not sharpen over them. Clean the rust off first by rubbing the spots with a bit of steel wool or a rust eraser pad soaked in oil. Once the surface of the metal is clean and smooth, you can proceed with your regular sharpening routine. Keeping the blade oiled after every use will stop rust from coming back.
Is water or oil better for a sharpening stone?
You should check what your specific stone requires. Natural oil stones need light mineral oil to function without clogging. Synthetic water stones need to be soaked in water for ten minutes before use. Never mix oil and water on the same stone. If you start using oil on a stone, you must keep using oil for the life of that stone.
Can I sharpen the wood saw on my multi tool?
The wood saw on a multi tool has complex teeth that are bent at specific angles from the factory. It is very difficult to sharpen these teeth at home without special triangular files and advanced skills. If your saw gets dull or gummed up with tree sap, clean it thoroughly with rubbing alcohol. This cleaning often restores its cutting power without any need for grinding.
Conclusion
Taking care of your multi tool ensures that it will always work when you need it most. Learning to maintain the blades is a valuable skill that saves you money and keeps your workspace safe. By using a basic whetstone or diamond plate and holding a steady twenty-degree angle, you can transform a dull piece of steel into a sharp, useful instrument. Remember to always work slowly, use light pressure, and clean the tool well when you finish. With a small amount of regular care, your multi tool kit will remain a dependable partner for all your building, fixing, and outdoor activities for many years to come.
Related posts
 Top Multi-Tool Kits for Electricians: Essential Picks
Explore top multi-tool kits for electricians. Compare features, benefits, and trade-offs to find the right equipment for your electrical work needs. Electricians rely on a diverse…
 Top Multi Tool Kits for Firefighters: Essential Gear Reviewed
Explore top multi tool kits for firefighters. Compare essential features like axes, hammers, and saws to find the right emergency tool for demanding situations. Firefighting is…
 Top Cordless Oscillating Multi Tool Kits for Every Project
Compare the top cordless oscillating multi tool kits to find the perfect fit for your projects. Discover powerful options and essential accessories. Cordless oscillating multi-tools are…