How Do I Organize My Tools In A Tool Bag Efficiently
To organize my tools in a tool bag efficiently, I group them by use and place the heavy items at the bottom. This easy guide shows you how to sort, pack, and find your hand tools quickly so you can complete your work without wasting any time looking for missing items.
A messy tool bag is a big problem for any person who works with their hands. When you have to spend ten minutes looking for one small screwdriver, your work slows down. You get mad, your hands get dirty, and you lose your focus on the job. Many people ask me how I manage my gear on the job site. To get things done fast, I had to learn how to organize my tools in a tool bag efficiently so that I never lose my favorite items. This process takes a little bit of time at first, but it saves you hours of work later. You will find that your daily tasks become much smoother when you know exactly where every single item lives.
When your gear stays in its proper place, you can work with total comfort. You do not have to stop what you are doing to clear out old trash or search for a missing socket. This simple habit changes how people look at your work too. When a client sees you pull the exact tool you need right away, they know you are a professional who knows what you are doing. It builds trust and shows that you respect your craft. A neat bag is the sign of a worker who cares about quality and takes pride in their trade.
Saving Time on the Job Site
Time is money when you are working on a clock or running a small repair business. Every minute you spend digging through a dark bag is a minute you are not making progress. If you can save just two minutes on every task, you will gain a lot of extra time by the end of the week. You can use this extra time to take on more jobs or to go home early to be with your family. Clean bags mean fast work, and fast work means more success for you and your crew.
Protecting Your Expensive Gear
Tools cost a lot of money these days. When you drop high quality metal tools into a loose pile, they hit each other hard. This scratching can wear down the sharp edges of your wood chisels, bend the teeth of your pliers, and break the plastic screens on your digital testers. By keeping each item in its own pocket, you prevent them from rubbing together during transport. Your gear will last for many years instead of wearing out in a few months.
Reducing Strain on Your Body
Carrying a heavy bag can hurt your back, neck, and shoulders if the weight is not spread out evenly. When all the heavy items shift to one side, you have to lean over to balance the load. This bad posture causes muscle pain and fatigue over time. A balanced bag feels lighter and is much easier to move from your truck to the workspace. You will feel less tired at the end of a long work day if you pack your bag with weight distribution in mind.
Choosing the Best Bag for Your Needs
Before you start packing, you must look at the bag you are using. Not every bag fits every type of job. Some people like large canvas bags with wide openings, while others prefer bags with dozens of small slots. You need to pick a style that matches the specific gear you carry every single day.
Classic Totes Versus Modern Backpacks
A classic tote bag is great if you work in one spot and need to see all your tools at once. These totes have open tops and strong handles, making it simple to drop items inside. On the other hand, tool backpacks have become very popular for workers who have to climb ladders or walk long distances. A backpack keeps your hands free and distributes weight across both shoulders, which is a great option for commercial sites.
Looking at Material and Pocket Layouts
Always check the quality of the fabric and the zippers before you buy a new bag. Heavy canvas and thick nylon are the best choices because they resist rips from sharp blades. Look for bags that have a solid plastic base at the bottom. A plastic base keeps the bag upright and prevents water from soaking through when you set it down on a wet floor. Pockets should be tight and strong so tools do not slip out when the bag moves.
Step 1: Empty and Clean Your Entire Tool Bag
You cannot build a neat setup if you build on top of old clutter. The very first step requires you to start fresh with a completely blank slate. Find a large table or a clean tarp on the ground where you can lay everything out in the open.
Dumping Your Tools on a Safe Surface
Turn your bag upside down and let everything fall out onto your work surface. You might be surprised by what you find at the bottom of your bag. Old screws, bent nails, bits of wire, torn paper tape, and sawdust always collect down there. Separate the actual tools from the trash right away. Throw the garbage in the bin so it does not end up back inside your clean bag.
Wiping Away Dirt and Rust
When I want to organize my tools in a tool bag efficiently, I always start with a completely empty space. Once the bag is empty, take a dry cloth or a small brush to clean the dust out of the inner pockets. If your tools have grease or mud on them, wipe them down with a damp rag and dry them completely. You can add a very light layer of oil to metal surfaces to stop rust from forming. Clean tools stay in good shape and are much nicer to hold when you are working on a clean project.
Step 2: Group Your Tools by Frequency of Use
Now that your tools are clean, it is time to think about how you use them. Do not just put them back in the bag without a plan. You must separate them based on how often you reach for them during a normal work day.
Finding Your Top Five Essential Items
Every person has a few core tools that they use for almost every single task. For an electrician, it might be linesman pliers and a multi-bit screwdriver. For a carpenter, it is usually a tape measure, a pencil, and a utility knife. Identify these core items right now. They need to live in the most open, easy to reach pockets on the outside or top of your bag.
Storing Secondary Tools Separately
It becomes much easier to organize my tools in a tool bag efficiently if I separate the items I use every hour from the items I use once a week. Secondary tools include things like large pry bars, specialty wrenches, or deep sockets. These items do not need to be right at your fingertips. You can store them in the deep inner pockets or inside small accessory rolls. This keeps them out of the way until the specific moment you need them.
Tool Placement Plan
Tool Type
How Often Used
Where to Place Inside Bag
Screwdrivers
Every hour
Outer vertical pockets
Heavy Hammer
A few times a day
Bottom central main space
Small Bits
Every hour
Zippered side pouches
Special Wrenches
Once a week
Inner deep sleeves
“A well-placed tool saves your back and your time every single day.” — John Doe, Master Carpenter
Step 3: Arrange Tools From Bottom to Top
The physical placement of your gear is critical for keeping the bag stable and easy to carry. You must follow a simple rule of gravity when loading your bag up again.
Packing the Heavy Items First
I can organize my tools in a tool bag efficiently by making sure the heavy items do not crush the fragile pieces at the bottom. Put your heaviest gear down at the very base of the bag. This includes heavy power drills, extra battery packs, large pipe wrenches, or heavy mallets. When the heavy gear stays at the bottom, the bag stays stable and will not tip over when you place it on a work table or the floor.
Utilizing Side Pockets for Hand Tools
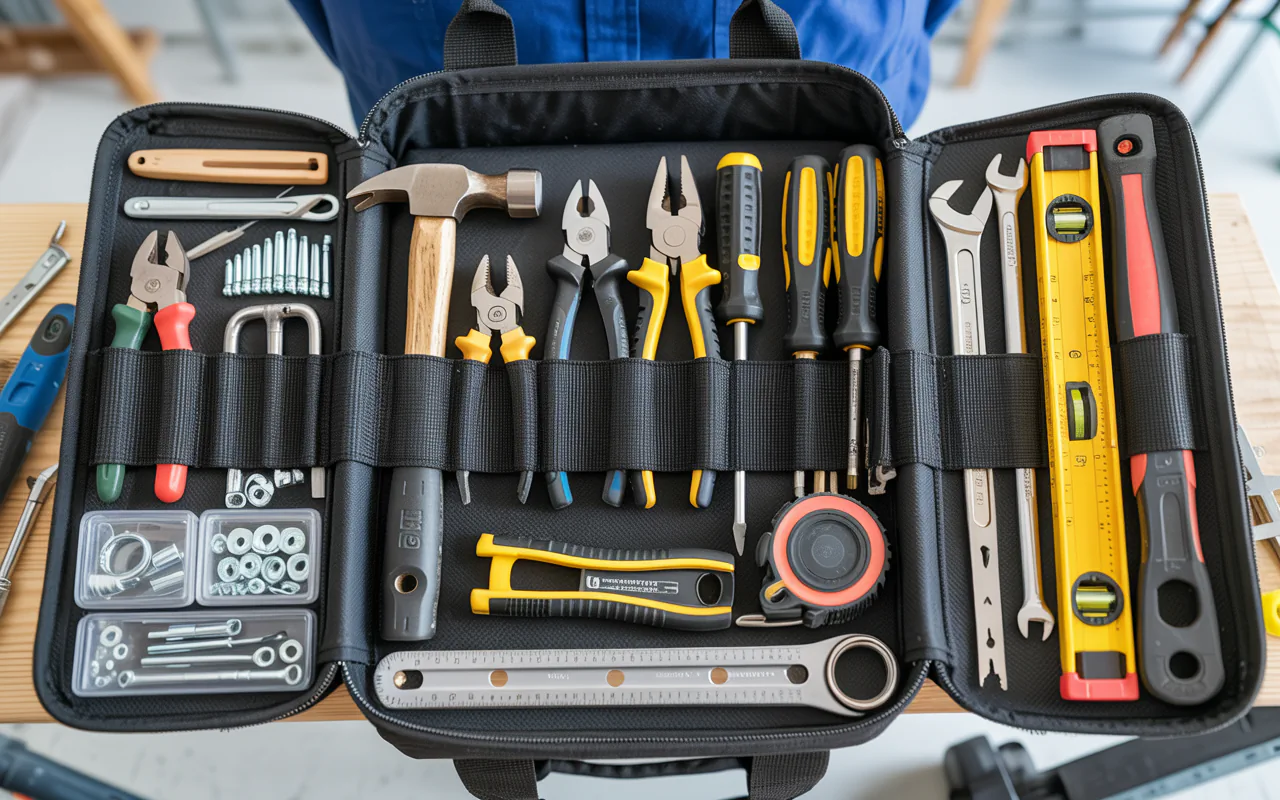
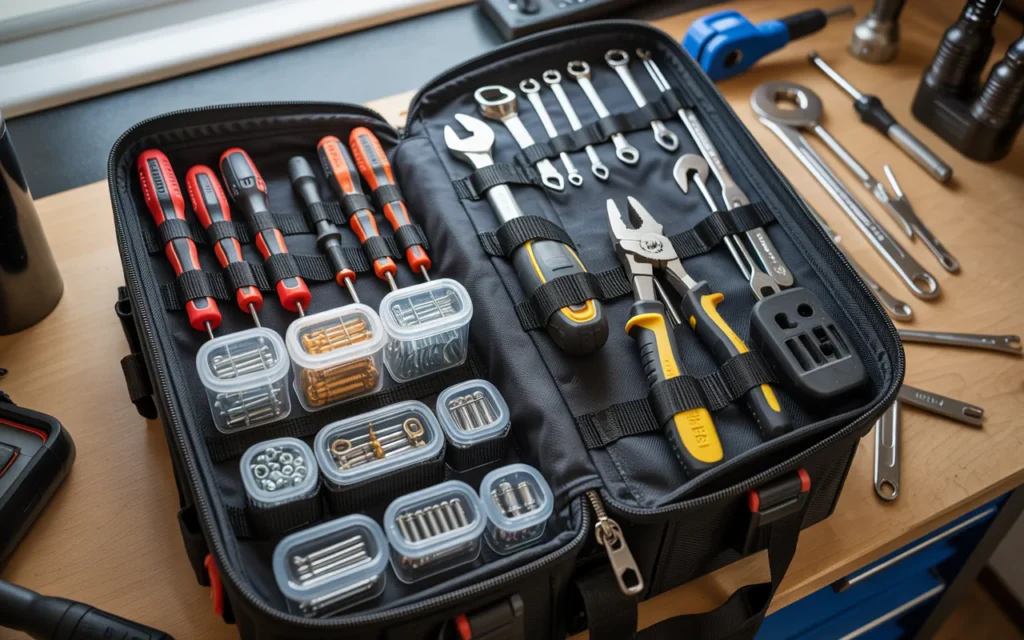
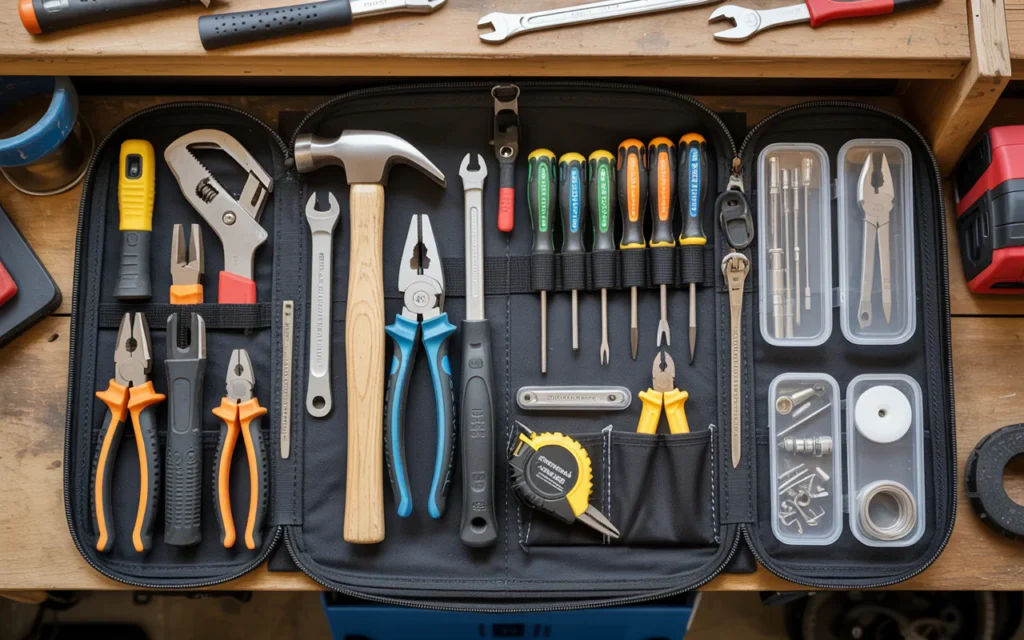
Once the heavy items form a solid base, you can start filling the vertical side pockets. Slide your screwdrivers, pliers, and markers into these individual loops. Keeping them vertical means you can see the handles clearly. You can grab the exact tool you need with one quick motion without disturbing the rest of the bag.
Best Layouts for Specific Hand Tools
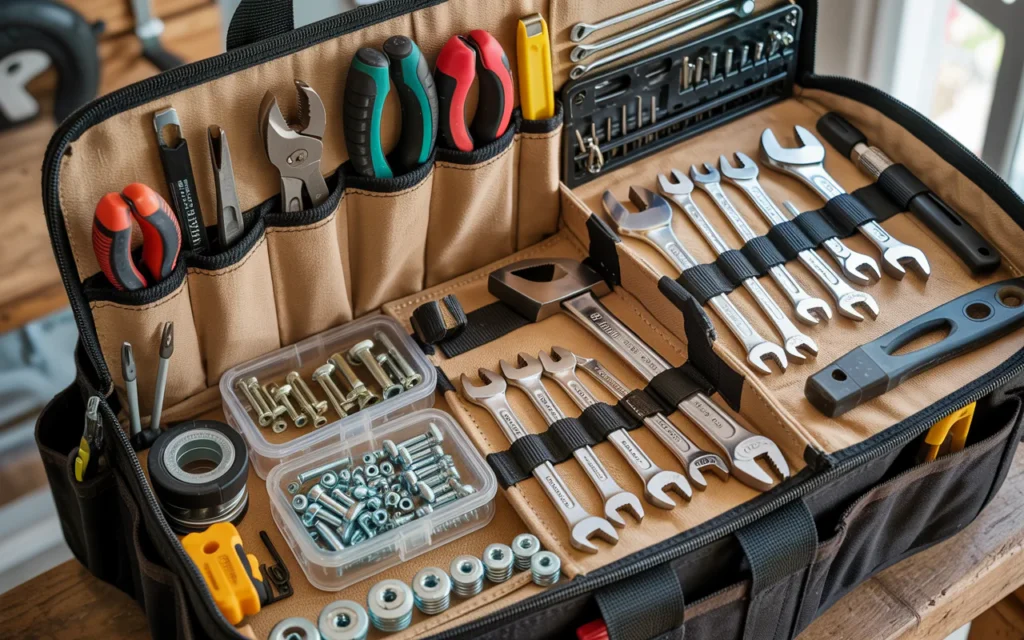
Let us look at how to place specific types of hand tools so they stay safe and easy to find. Screwdrivers should always face handle up if they are in pockets. This protects the tips from damage and stops them from puncturing the bottom fabric of your bag pockets. If you have a set of wrenches, keep them in a dedicated wrench roll that rolls up tight, or line them up from smallest to largest in a row of sleeves.
Organizing Screwdrivers and Pliers
Pliers have wide handles, so they need slightly bigger pockets. Group your pliers together by type, such as needle nose pliers, cutting pliers, and adjustable pliers. Put them in a side by side layout so you can see the different jaw shapes at a glance. Every trade has its own specific needs when I try to organize my tools in a tool bag efficiently for daily site visits. Keeping your pliers organized stops them from getting jammed together and saves your fingers from pinches.
Keeping Wrenches and Hammers in Order
Hammers can be tricky to store because of their long handles and heavy heads. If your bag has an external steel loop, hang your hammer there so it stays outside the main compartment. If it must go inside, slide the handle down vertically along the inner wall of the bag. This keeps the long handle out of the way and leaves the middle of the bag open for other large items like meters or parts boxes.
“Tools are an extension of your own hands, so treat them with respect.” — Robert Green, Mechanic
Managing Small Hardware and Fasteners
Small items like screws, wire nuts, washers, and drill bits can quickly cause total chaos if they roll around loose in your bag. They fall into the deep corners and can scratch your hands when you reach inside.
Using Pouches and Small Boxes
Never put loose fasteners directly into your main bag compartments. Use small plastic organizer boxes with clear lids so you can see what is inside without opening them. Small zippered canvas pouches are also great for holding loose parts. You can buy these pouches in different colors to color code your gear, like red for wood screws and blue for electrical parts.
This table shows how I choose small parts containers to organize my tools in a tool bag efficiently without cluttering the main space.
Small Hardware Storage Options
Storage Type
Best For
Main Benefit
Plastic Box
Screws and nails
Keeps items dry and separated
Zip Pouch
Loose wire nuts
Easy to grab fast from side pockets
Magnetic Tray
Metal washers
Holds pieces tight on the job site
Small Tube
Drill bits
Prevents sharp tips from ripping bags
How to Maintain Your Organized Bag for Long-Term Success
Keeping your bag neat is not a one-time event. It requires a small amount of effort every single day to make sure the system stays working perfectly. If you get lazy for a few days, your bag will quickly return to a messy pile of metal and trash.
The Five Minute Daily Clean Up Habit
At the end of your work day, take exactly five minutes to look at your bag. Put back any tools that you left loose in the main compartment. Check your pockets for any trash, wire insulation, or loose screws that you dropped in during the rush of your work. If I do not build a habit of cleaning up, it will be hard to organize my tools in a tool bag efficiently over the coming months. This tiny habit keeps your bag ready for the next morning so you can start your next job fast.
Weekly Inspections to Remove Extra Clutter
Once a week, usually on Friday afternoon, do a quick inspection of your gear. Take out any specialty tools that you brought along for a one-time job but do not need for your regular work. Removing these extra items keeps your bag light and prevents unnecessary clutter from building up over time. It also gives you a chance to see if any tools went missing during the week so you can find them before it is too late.
Frequently Asked Questions About Tool Bag Layouts
Many people ask how can I organize my tools in a tool bag efficiently when I have too many items for a small bag. The answer is simple: you must reduce your gear to the essentials or upgrade to a larger bag with more pockets. Do not force too many tools into a small space because it ruins the bag fabric and makes it impossible to find anything when you are in a hurry.
How do I stop my tools from rusting inside my bag?
To stop rust, never put wet tools away into a closed bag. Wipe them dry with a towel first. You can also drop a few small silica gel packs into the bottom of your bag pockets. These packs absorb moisture from the air and keep your metal tools dry and shiny.
Should I use a tool backpack or a classic open tote?
If you walk long distances, climb stairs, or work on roofs, a tool backpack is the best option because it keeps your hands free. If you work at a stationary bench or do quick indoor repairs, an open tote allows you to see and grab your gear much faster.
What is the best way to carry sharp chisels and knives?
Sharp tools should always have protective caps or guards over their blades. If you do not have guards, wrap the tips in thick canvas or keep them in a dedicated leather pouch inside your bag. This keeps the blades sharp and protects your hands from deep cuts.
Final Thoughts on Keeping Your Gear in Order
Taking care of your tools is a big part of being a great craftsperson. A neat tool bag saves you time, protects your budget, and makes your daily work much more enjoyable. When you do not have to fight your bag to find a simple wrench, you can focus all your energy on doing an amazing job for your clients.
“An organized workspace leads to an organized mind and a job well done.” — Sarah Jenkins, DIY Builder
In the end, taking the time to organize my tools in a tool bag efficiently pays off with every single task I finish. Start your sorting today and enjoy the benefits of a smooth, professional workflow on every single job site you visit.
Discover the top tool bags for mobile contractors in 2026. Compare durable totes, backpacks, and multi-pocket organizers to find the best fit for your gear. For…
Discover the top tool bags for plumbers in 2026. We compare durable, multi-pocket storage solutions to help you organize your gear effectively on the job. Plumbing…
Find the right tool bag for HVAC technicians with our 2026 guide. Compare top-rated bags, backpacks, and pouches to keep your gear organized and protected. As…

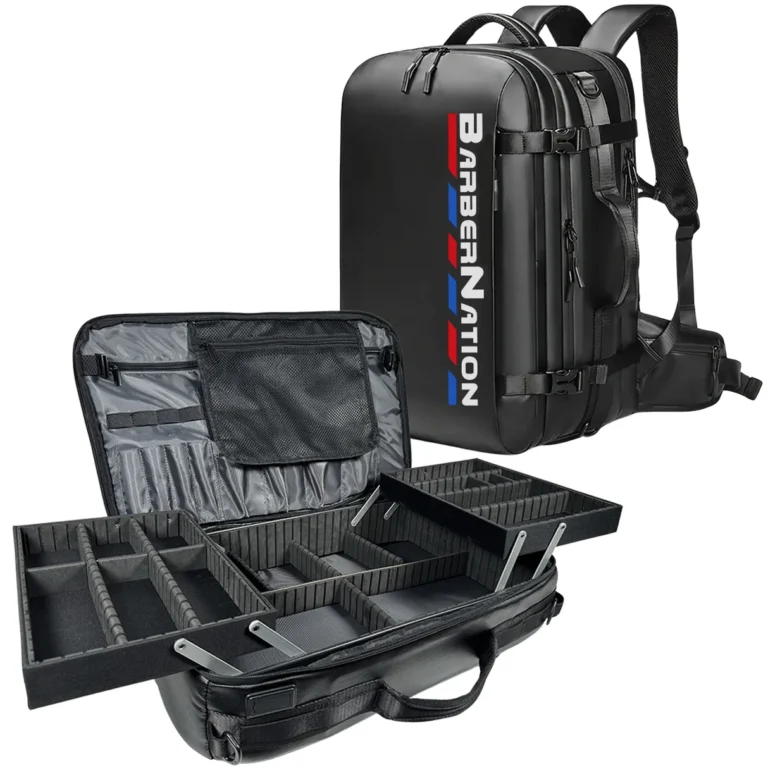 Top Tool Bags for Mobile Contractors: 2026 Buyer Guide
 Top Tool Bags for Plumbers: 2026 Selection Guide
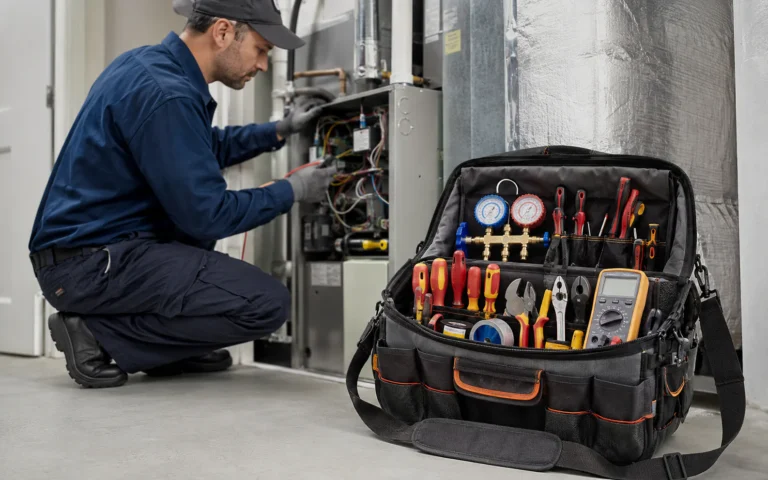 Best Tool Bag for HVAC Technicians in 2026