
How to Inspect Hand Tools for Safety and Performance
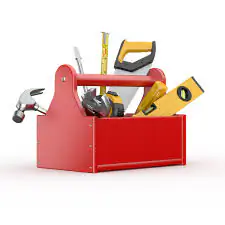
Regularly inspecting your hand tools is a crucial step for both safety and performance. Before you pick up a hammer, screwdriver, or wrench for a task, a quick visual check can prevent accidents and ensure the tool works as intended.
The goal of inspecting hand tools is straightforward: identify potential hazards before they cause injury or damage your workpiece. This means paying attention to handles, striking surfaces, cutting edges, and any moving parts.
Safety checks
- Always inspect hand tools before each use, no matter how familiar you are with them.
- Focus on handles, striking surfaces, cutting edges, and moving parts for signs of damage.
- Cracked, chipped, or loose handles are immediate red flags.
- Worn or damaged blades, teeth, or jaws compromise effectiveness and safety.
- When in doubt, it’s safer to repair or replace a questionable tool.
| Topic | When it helps | What to keep in mind |
|---|---|---|
| 1 | All hand tools with handles (hammers, screwdrivers, wrenches, axes, pliers, etc.). | Tape wrapped around a handle often indicates an underlying crack or break that needs proper repair or replacement. |
| 2 | Hammers, mallets, chisels, punches. | Mushroomed heads on striking tools are a serious hazard. |
| 3 | Screwdrivers, knives, saws, chisels, pliers, wrenches, cutters. | A screwdriver tip that is chipped or rounded can strip screw heads and make the tool slip out of the screw slot. |
| 4 | All metal hand tools. | Heavy rust can mask underlying structural damage or weaken the tool’s material. |
This article will cover the
1. Inspect Handles and Grips
Check handles for cracks, chips, splinters, looseness, or excessive wear. Ensure a secure grip.
- All hand tools with handles (hammers, screwdrivers, wrenches, axes, pliers, etc.).
- Tape wrapped around a handle often indicates an underlying crack or break that needs proper repair or replacement.
- If a handle is loose, cracked, or significantly worn, replace it or the entire tool.
2. Examine Striking and Impact Surfaces
How to Inspect Hand Tools for Safety. For tools like hammers, mallets, and punches, inspect the striking face for mushrooming (where the metal flares out from repeated impact), chips, or excessive wear. These defects can cause fragments to break off.
- Hammers, mallets, chisels, punches.
- Mushroomed heads on striking tools are a serious hazard.
- Grind down mushroomed edges carefully or replace the tool if the damage is severe or compromises the tool’s integrity.
3. Check Cutting Edges and Jaws
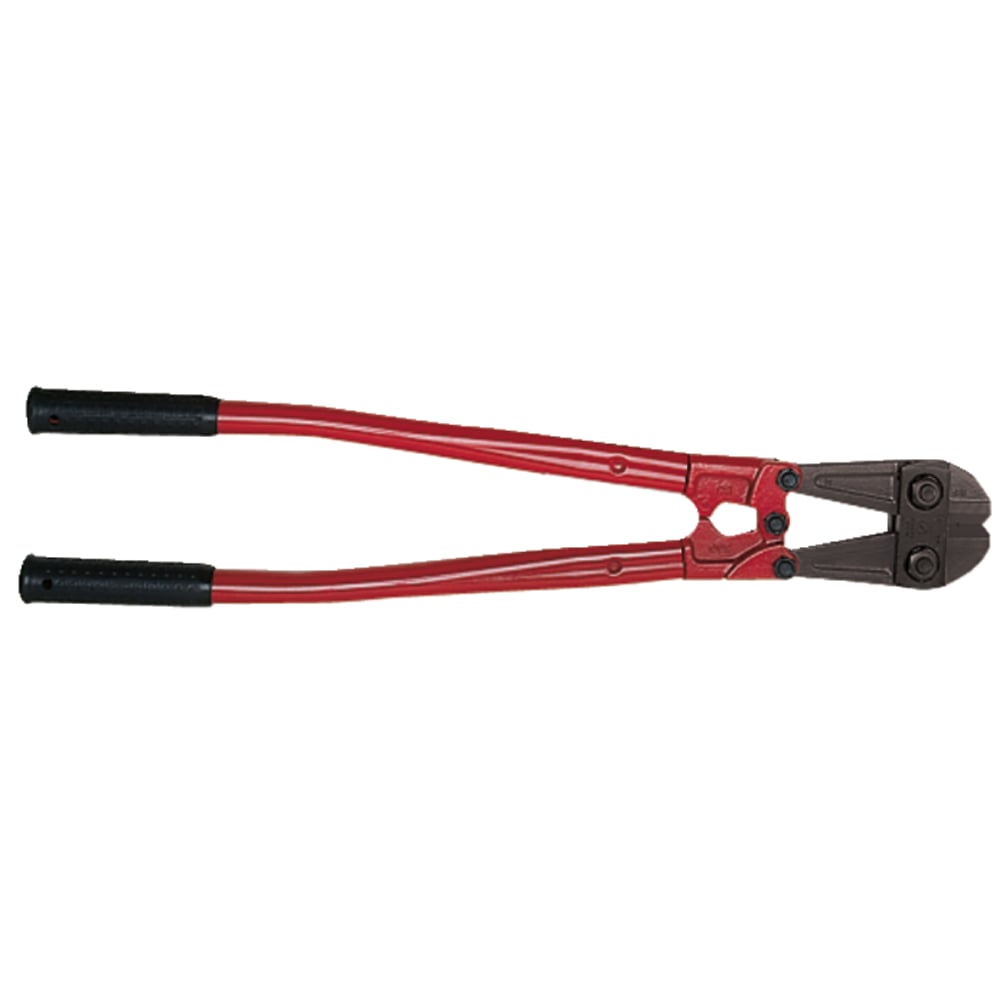
Inspect blades, teeth, and jaws for dullness, nicks, bends, or missing sections. Dull blades require more force, increasing the risk of slipping.
- Screwdrivers, knives, saws, chisels, pliers, wrenches, cutters.
- A screwdriver tip that is chipped or rounded can strip screw heads and make the tool slip out of the screw slot.
- Sharpen dull blades and teeth if possible.
4. Look for Rust and Corrosion
While some surface rust can be cleaned, deep pitting or corrosion can weaken metal components. Excessive rust can also interfere with the smooth operation of moving parts.
- All metal hand tools.
- Heavy rust can mask underlying structural damage or weaken the tool’s material.
- Clean light surface rust with steel wool or a wire brush.
Why Inspect Hand Tools Before Each Use?
Hand tools are essential for countless tasks, but their effectiveness and safety depend on their condition. Inspecting them before each use is not just a good practice; it’s a vital safety measure.
Regular inspection helps you catch problems early. This might be a cracked handle on a hammer, a worn-down tip on a screwdriver, or a loose screw on a pair of pliers.
Imagine using a hammer with a loose head.
Assuming a tool is always safe just because it looks familiar or hasn’t been used recently.
Key Areas to Inspect on Any Hand Tool
How to Inspect Hand Tools for Safety. While specific tools have unique inspection points, several areas are common to most hand tools. Prioritizing these will give you a solid foundation for a thorough check.
Handles and grips are primary contact points. They need to be secure, free of cracks, chips, or excessive wear that could lead to slippage or breakage.
Striking surfaces, cutting edges, and gripping jaws are where the tool does its work. Inspect these for dullness, nicks, bends, or any signs of excessive wear that could compromise their function or create a safety hazard.
When checking a screwdriver, you’re not just looking at the handle.

Only checking the most obvious part of a tool.Handles and Grips
A solid grip is essential for control. Look for any signs of damage that could compromise your hold.
Striking, Cutting, and Gripping Surfaces
These are the business ends of your tools. A hammer’s face should be smooth and free of chips.
Specific Checks for Common Hand Tools
Different hand tools have specific vulnerabilities. Knowing what to look for on common tools will make your inspections more efficient and thorough.
For screwdrivers, check the tip for wear, chipping, or rounding. A damaged tip can strip screw heads and cause the driver to slip.
Hammers require a close look at the head’s attachment to the handle. Ensure it’s secure and that the striking face isn’t excessively chipped or mushroomed.
When inspecting a wrench, check that the jaws are not spread open or deformed.
Treating all tools the same during inspection.
| Tool Type | Key Inspection Points | Potential Issues |
|---|---|---|
| Screwdriver. | Tip shape, shaft for bends, handle for cracks/looseness. | Rounded/chipped tip, stripped screw heads, handle failure. |
| Hammer. | Head attachment, striking face for chips/mushrooming, handle for cracks/splinters. | Loose head, flying fragments, handle breakage. |
| Wrench. | Jaw shape, teeth (adjustable), handle for damage. | Spread jaws, slipping, handle damage. |
| Pliers. | Jaw alignment, teeth, pivot point, handle for damage. | Poor grip, slipping, pivot seizure. |
How Often to Inspect and Best Practices
The frequency of hand tool inspection depends on how often and how intensely you use them. A general rule of thumb is to inspect tools before each use, especially if they are used frequently or for demanding tasks.
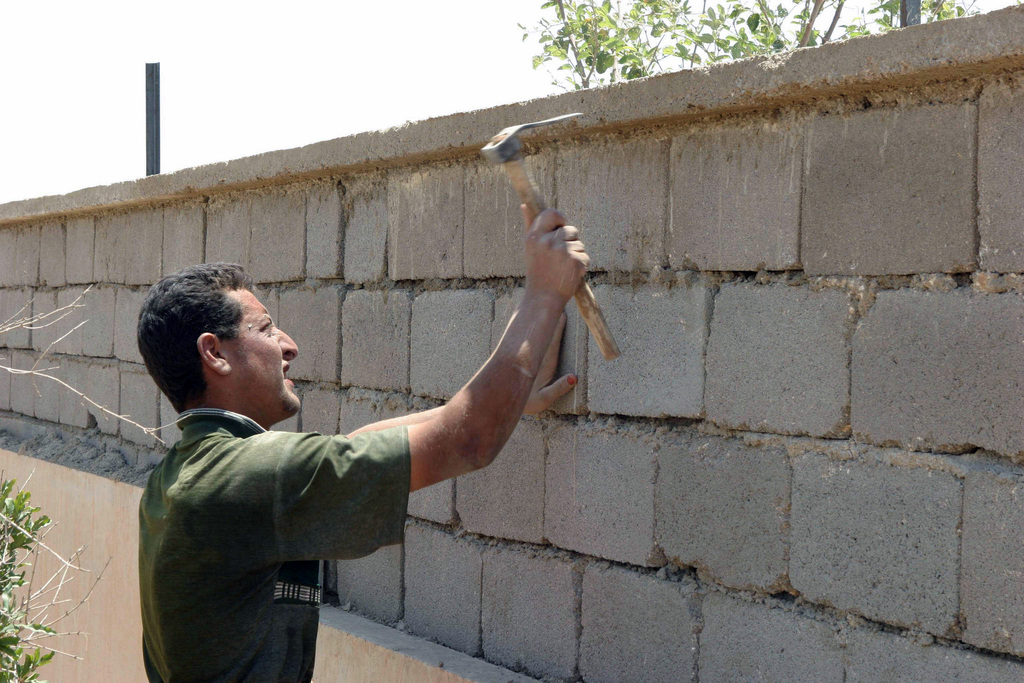
For tools used daily in professional settings, a quick visual check at the start of each shift is essential. For tools used occasionally at home, inspect them before starting a project.Beyond visual checks, consider the tool’s performance. If a tool feels awkward, makes unusual noises, or doesn’t perform its task efficiently, it’s a sign that it might need closer inspection or maintenance.After using a shovel in muddy conditions, it’s a good practice to clean off the dirt and check the handle and blade for any new dents or scratches before storing it.Only inspecting tools when you suspect a problem.Inspect before each use.Perform a more thorough inspection periodically (e.g., monthly for frequently used tools).Clean tools after use to remove debris that can hide damage.Store tools properly to prevent damage and corrosion.
Common Mistakes to Avoid During Inspection
How to Inspect Hand Tools for Safety. Even with the best intentions, it’s easy to make mistakes when inspecting hand tools. Being aware of these common pitfalls can help you perform more effective checks.
One common mistake is relying on makeshift repairs. Using tape to secure a loose handle or trying to bend a damaged jaw back into shape rarely provides a lasting or safe solution.
Another error is not considering the tool’s intended use. A tool might look fine, but if it’s being used for a task it wasn’t designed for (like using a screwdriver as a pry bar), it’s more likely to fail.
Thinking that a bit of tape can fix a cracked hammer handle.
Overlooking subtle signs of wear, such as slight rounding on a screwdriver tip or minor play in a hammer head.
FAQs
How often should I inspect my hand tools?
It’s best to inspect your hand tools before each use, especially if they are used frequently or for demanding tasks. A more thorough inspection can be done periodically, such as monthly, for tools used regularly.
What should I do if I find a crack in a tool handle?
If you find a crack in a tool handle, it should be repaired or replaced immediately. Never use a tool with a cracked handle, as it can break under pressure, leading to injury.
Is it okay to use a tool with a little surface rust?
Light surface rust can often be cleaned off with steel wool or a wire brush. However, if the rust is deep, pitted, or seems to have weakened the metal, the tool should be replaced.
When should I replace a tool instead of repairing it?
Replace a tool if it has significant damage like a cracked handle, mushroomed striking surface, bent jaws, or a broken blade that cannot be safely repaired. If the cost or complexity of repair outweighs the tool’s value or safety, replacement is the.
Do I need to inspect brand new hand tools?
Yes, it’s still a good idea to inspect new hand tools. While they should be in good condition, manufacturing defects can occur.
Conclusion
How to Inspect Hand Tools for Safety. Inspecting your hand tools before each use is a simple yet powerful habit that safeguards your well-being and ensures your work is done efficiently. By paying attention to handles, blades, and other critical components, you can identify potential problems before they escalate.
Remember that a tool’s condition directly impacts its safety and performance. When in doubt about a tool’s integrity, it’s always best to err on the side of caution.
Related posts
 Which Tool Kit Is Worth Buying? How to Choose the Right Set for Your Home
Wondering which tool kit is worth buying? Compare basic household sets, mechanic kits, and power tool combos to find the best tools for your budget and…
 Which Hand Tools Are Made in the USA? Reliable Brands and Buying Rules
Discover which hand tools are still made in the USA. Compare top domestic brands, tool categories, and learn how to verify origin labels before buying. Several…
 Why Do Campers Carry Multi Tools? Practical Uses in the Field
Why do Campers carry multi tools to handle gear repairs, campsite setup, food prep, and field fixes with minimal weight. Here is why one belongs in…