
Can Rusty Tools Be Restored
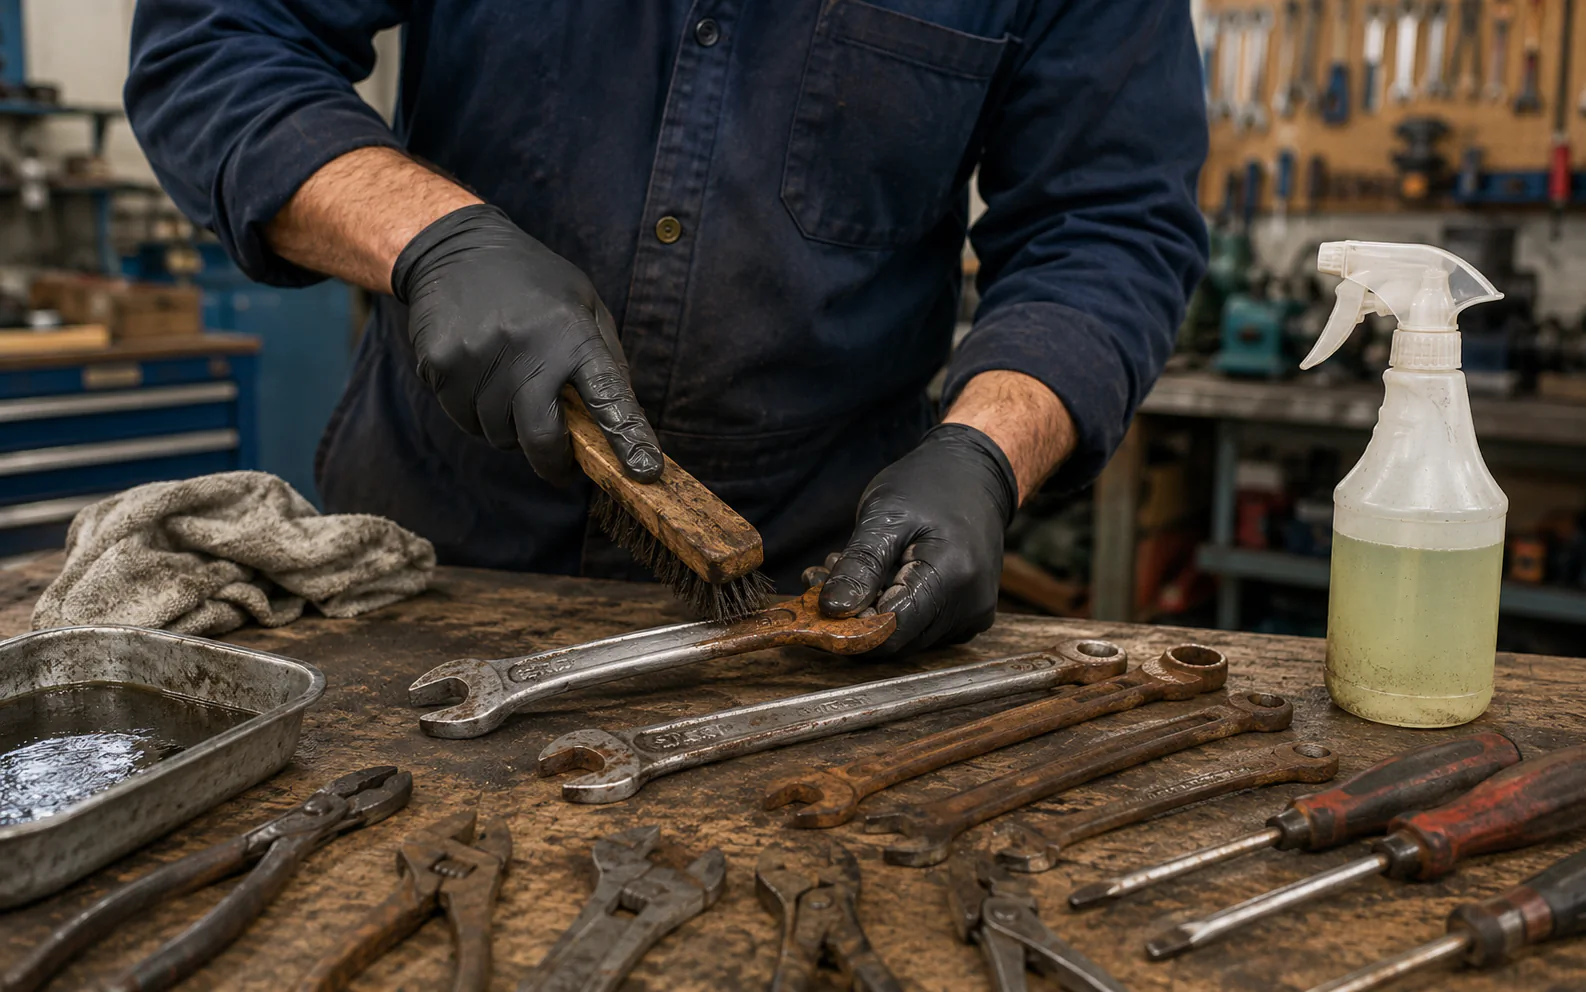
If you have old equipment sitting in the shed, you might wonder can rusty tools be restored to working order. The answer is yes for most items, and this guide shows you exactly how to do it using simple methods at home.
Have you ever opened your garage or garden shed and found your favorite wrench or pruning shears covered in that ugly orange-brown crust? It happens to all of us. Maybe you left them out in the rain. Perhaps the humidity in your workshop got the better of them. Whatever the reason, you now face a choice. Do you throw them away and buy new ones? Or do you try to fix them?
The good news is that you do not have to spend money on replacements. The question “can rusty tools be restored” has a positive answer in most cases. In fact, with a little patience and some common household items, you can bring those old friends back to life. Let me show you how.
What Exactly Is Rust and Why Does It Form?
Before we get into the fixing part, let us talk about what rust actually is. Rust is the common name for iron oxide. It forms when iron or steel comes into contact with oxygen and moisture over time. This chemical reaction is called oxidation. The metal atoms lose electrons and bond with oxygen to create that flaky, reddish-brown substance we all dislike.
Your tools are at risk in places like garages, sheds, and basements. These spaces often have temperature changes and high moisture levels. Dirt, sawdust, and even sweat from your hands can make the problem worse by trapping moisture against the metal. So if you store your tools in a damp corner, rust is almost guaranteed.
But here is the important point. Surface rust is mostly cosmetic. Deep rust that causes pitting or holes is a different story. The question “can rusty tools be restored” depends largely on how far the rust has gone.
Assessing the Damage: Is Your Tool Worth Saving?
Before you start any restoration work, take a good look at your tool. Grab a flashlight and inspect the surface closely. You need to figure out what kind of rust you are dealing with.
Surface rust looks like a light, flaky orange or brown dust. It sits on top of the metal and has not eaten into it yet. This type is easy to fix. You can remove it with simple methods and your tool will look and work like new.
Deep corrosion is more serious. It creates small craters or pits in the metal. If the rust has gone deep, the tool will still work, but the surface will remain textured and slightly weakened. For example, pliers or clamps with seized joints can usually be freed with penetrating oils or a vinegar bath.
However, if the metal is paper-thin, crumbling, or has visible holes, the structural integrity is gone. At that point, the question “can rusty tools be restored” gets a sad answer. For safety reasons, it is better to discard such items. A tool that breaks while you are using it can cause injury.
Peter Nietlispach, owner of Peacock Woodcraft, offers this practical view: “If it’s going to take professional help to rehab the saw, it might be simpler and cheaper to retire it and replace it.” Sometimes, the best decision is to let go.
Can Rusty Tools Be Restored with Vinegar? Absolutely
One of the most popular and effective methods for rust removal is using white vinegar. Vinegar contains acetic acid, which dissolves rust without harming the underlying metal. This method is cheap, safe, and uses something you probably already have in your kitchen.
The Vinegar Soak Method
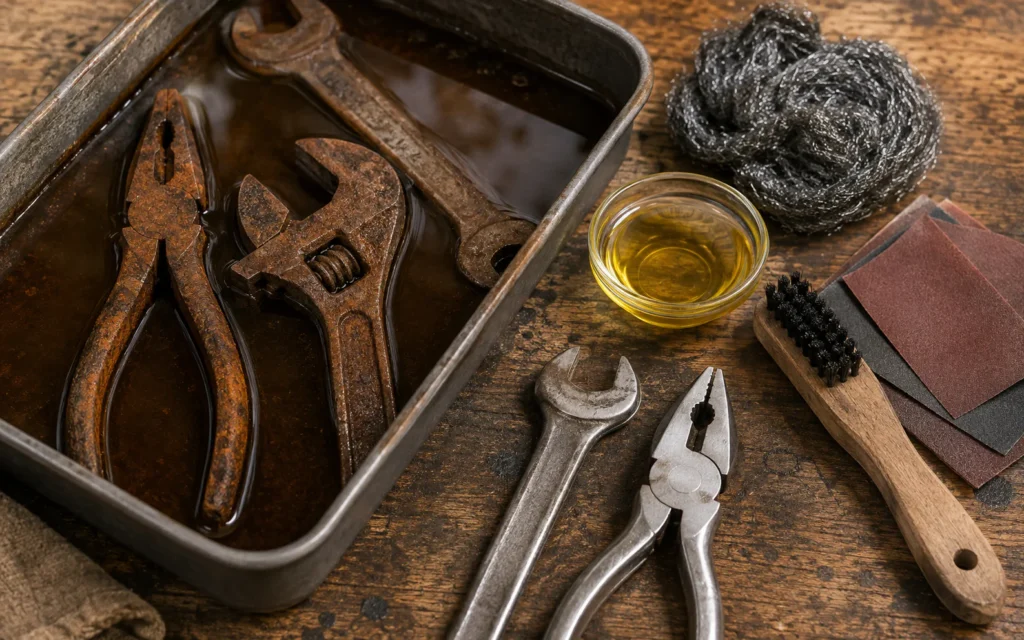
Here is how you do it. First, find a container that is large enough to hold your tool. A plastic bucket or an old baking dish works well. Pour enough white vinegar to cover the rusty areas completely. You can add some salt to the vinegar to make it work faster. A mix of quarter cup of salt per liter of vinegar is a good starting point.
Place your tool in the vinegar and let it soak. For light rust, a few hours might be enough. For heavier rust, leave it overnight or even up to two days. You will see bubbles forming on the metal. That is the acid working to break down the rust.
After soaking, take the tool out and scrub it with a wire brush or steel wool. The rust should come off easily. Rinse the tool with water and dry it completely. You must dry it well because any leftover moisture will cause new rust to form quickly.
The Vinegar Wrap Technique
For larger tools that will not fit in a bucket, try the wrap method. Soak some old cloths or towels in white vinegar. Wrap them around the rusty parts of your tool. Then put the whole thing inside a plastic garbage bag and leave it for at least 18 hours. After that, unwrap the tool, pour some baking soda onto it while it is still wet, and scrub with a wire brush. Rinse and dry as usual.
Using Baking Soda for Lighter Rust
If your tool has only light rust spots, baking soda is a great option. It is less acidic than vinegar but still effective. Mix baking soda with a little water to make a thick paste. Spread this paste over the rusty areas and let it sit for about an hour. Then scrub with a brush or a cloth and rinse clean.
Baking soda is perfect when soaking is not an option. For example, if you have a flat surface like a tray or a hinge that you cannot submerge, the paste method works well.
Commercial Rust Removers: A Faster Option
Sometimes you want a solution that works quickly without the smell of vinegar. Commercial rust removers come in liquid and gel forms. Products like Evapo-Rust are popular because they are non-toxic and environmentally safe. They use a process called chelation to grab the rust particles and lift them off the metal.
These products are great for tools with intricate parts or precision surfaces. They do not damage the base metal, so you can leave your tool soaking for longer periods without worrying about harm. Just follow the instructions on the bottle. Most of them require you to submerge the tool for several hours and then rinse it off.
The Electrolysis Method for Stubborn Rust
For severely rusted tools, electrolysis is a powerful option. It uses a small electrical current to remove rust without any abrasion. This method is gentle on the metal and can clean even heavily corroded items.
How to Set Up Electrolysis
| Supply | Purpose |
|---|---|
| 12-volt car battery charger | Provides the electrical current |
| Washing soda (sodium carbonate) | Creates the electrolyte solution |
| Plastic bucket or container | Holds the solution and tool |
| Piece of steel rebar or scrap iron | Acts as the anode (sacrificial metal) |
| Copper wire or clamps | Connects everything together |
Important: Use washing soda, not baking soda. They are different products. Washing soda is sold as a laundry booster.
Mix one tablespoon of washing soda per gallon of water in your plastic container. Stir until it dissolves. Suspend your rusty tool in the solution using twine or plastic clamps. Make sure the tool does not touch the sides or bottom of the container.
Place your scrap piece of steel (the anode) in the solution as well. Connect the negative (black) clamp from the battery charger to your tool. Connect the positive (red) clamp to the scrap steel. Turn on the charger and let it run overnight.
The electrical current will pull the rust off your tool and deposit it onto the scrap steel. When you take the tool out the next day, rinse it under running water and scrub gently with a plastic pot scrubber. The rust will be gone.
Warning: Do not use stainless steel as the anode. It can release toxic fumes. Also, perform electrolysis in a well-ventilated area because it releases small amounts of hydrogen and oxygen gas.
Mechanical Methods: Wire Brushes and Sandpaper
Sometimes you just want to get your hands dirty and scrub the rust off. Mechanical methods are straightforward and effective. You can use a wire brush, steel wool, or sandpaper to remove rust manually.
A wire brush is great for removing loose surface rust. You can buy hand-held wire brushes or attach a wire wheel to an electric drill for faster work. The drill attachment makes quick work of large, flat surfaces.
For finer work, use steel wool. Start with a coarser grade and move to finer grades for a smooth finish. You can also use sandpaper, starting with a rough grit and working your way to a fine grit.
Wayne Lennox, a Cottage Life project builder, shares his simple approach: “Lennox has had success reviving a rusty saw with 3-in-One Multi-Purpose Oil and scrubbing away the rust using steel wool.” Sometimes, oil and elbow grease are all you need.
A Quick Comparison of Rust Removal Methods
| Method | Best For | Time Required | Supplies Needed |
|---|---|---|---|
| Vinegar Soak | Light to moderate rust | Several hours to 2 days | White vinegar, container, brush |
| Baking Soda Paste | Light surface spots | 1-2 hours | Baking soda, water, cloth |
| Commercial Remover | All types of rust | 2-12 hours | Evapo-Rust or similar product |
| Electrolysis | Heavy, stubborn rust | Overnight | Battery charger, washing soda, container, scrap metal |
| Wire Brush/Sandpaper | Loose surface rust | 15-60 minutes | Wire brush, steel wool, or sandpaper |
What About Natural Methods Like Lemon and Salt?
If you prefer natural solutions, lemon juice and salt work well for light rust. Sprinkle salt over the rusty area and squeeze lemon juice on top. The acid in the lemon juice breaks down the rust, and the salt acts as a mild abrasive. Let it sit for about two hours, then scrub and rinse.
Some people even use potatoes or tomato sauce for rust removal. These methods are fun to try, but they are not as reliable as vinegar or commercial products. For serious rust, stick with the proven techniques.
Aftercare: Stopping Rust from Coming Back
Once you have successfully removed the rust, you need to protect your tool. If you skip this step, rust will return quickly. Clean metal is vulnerable to moisture and will oxidize again in no time.
Drying Is Critical
Dry your tool thoroughly after rinsing. Use a clean rag or towel to remove all water. You can also use a hair dryer or leave the tool in a warm place for a while. Any trapped moisture will start the rusting process all over again.
Applying a Protective Coating
After drying, apply a protective coating. You have several options:
- Oil: Wipe the tool with a light coat of machine oil, WD-40, or 3-in-One oil. This creates a barrier against moisture.
- Silicone spray: Peter Nietlispach recommends silicone spray because “it acts like an outer seal”.
- Wax: Some people use paste wax on their tools. It provides a durable, long-lasting protective layer.
- Coconut oil: For garden tools, coconut oil works well and is food-safe.
Proper Storage
Where you store your tools matters as much as how you clean them. Keep them in a dry place. Avoid sheds or garages with high humidity. A sealed toolbox or cabinet is ideal. You can also add silica gel packets to your tool storage to absorb moisture.
Rich Lauer, a contractor and owner of Premier Building Solutions, explains: “Rusted tools can be saved if the corrosion isn’t too deep. Surface rust can be managed with cleaning and conditioning.” Regular maintenance is the key to keeping your tools rust-free.
Can Rusty Tools Be Restored to Their Original Shine?
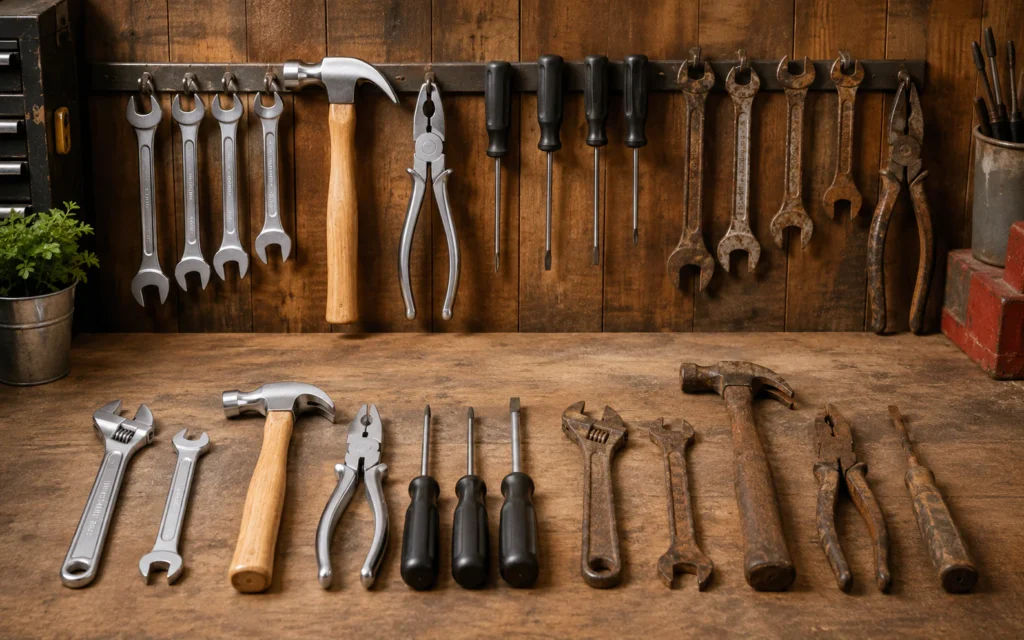
This is a common question. The answer depends on what you mean by “original.” You can remove all the rust and make the metal smooth and shiny again. However, if the rust has caused pitting, the surface will have tiny craters that you cannot fill in.
For most practical purposes, a restored tool works just as well as a new one. The pitting does not affect the tool’s function in most cases. If you are restoring a tool for display or sentimental reasons, you can polish it to a high shine using progressively finer abrasives. But for everyday use, a clean, rust-free surface with a protective coating is more than enough.
Tools That Are Not Worth Restoring
Let us be honest. Not every rusty tool deserves your time and effort. Here are some signs that the question “can rusty tools be restored” has a negative answer:
- Visible holes in the metal. This means the rust has eaten all the way through.
- Paper-thin sections. The metal has lost too much thickness to be safe.
- Crumbling edges. The tool is falling apart.
- Severe pitting on moving parts. Gears, hinges, and joints need smooth surfaces to work properly.
- Cheap tools. If the tool was inexpensive to begin with, buying a new one may cost less than your time and supplies.
Use your judgment. If a tool has sentimental value, you might want to restore it even if it is not practical. But for everyday items, consider the cost-benefit.
Frequently Asked Questions
Can rusty tools be restored if they have been sitting outside for years?
Yes, in most cases. Even tools left outside for years can be restored if the rust has not destroyed the metal. Start with a vinegar soak or try electrolysis for heavy rust. Assess the tool after cleaning to see if the metal is still sound.
Can rusty tools be restored without using chemicals?
Absolutely. You can use mechanical methods like wire brushes, sandpaper, and steel wool. These methods require more physical effort but do not involve any chemicals. You can also use natural options like lemon juice and salt.
Can rusty tools be restored and used for food preparation?
If you are restoring kitchen knives or other food-contact tools, be careful. Vinegar and commercial rust removers are safe if rinsed thoroughly. However, avoid using harsh chemicals. Stick to vinegar, lemon juice, or mechanical methods. After cleaning, wash the tool with soap and water and dry it well before using it with food.
How long does it take to restore a rusty tool?
The time varies. Light rust can be removed in under an hour with a wire brush. A vinegar soak takes several hours to overnight. Electrolysis takes overnight. The total time also includes drying and applying a protective coating.
What should I do if my tool has wooden handles?
Remove wooden handles before soaking the metal parts in liquids. Wood can absorb moisture, swell, and crack. If you cannot remove the handle, protect it by wrapping it in plastic or applying a coat of wax before soaking the metal part.
Can rusty tools be restored more than once?
Yes. You can restore a tool multiple times over its life. Each time you remove rust, you may lose a tiny amount of metal. But with proper aftercare and storage, you should not need to restore the same tool very often.
Conclusion
So, can rusty tools be restored? The answer is a clear yes for the vast majority of cases. Whether you use vinegar from your kitchen, a commercial rust remover, or a DIY electrolysis setup, you have many effective options. The key is to act before the rust eats too deep into the metal.
I have restored countless tools over the years. Each time I see that shiny metal emerge from under the rust, I feel a sense of accomplishment. It is satisfying to save money, reduce waste, and keep a good tool in service.
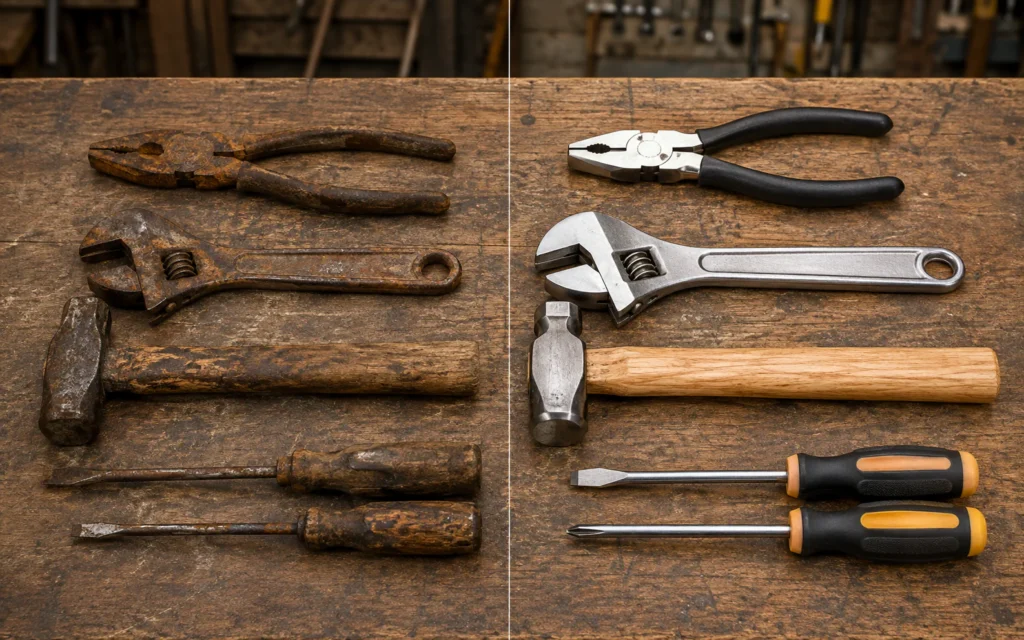
Remember these simple steps:
- Assess the damage. Surface rust is easy. Deep pitting might mean the tool is beyond saving.
- Choose your method. Vinegar for soaking, baking soda for spots, electrolysis for heavy rust, or a wire brush for quick work.
- Remove the rust. Be patient. Let the method do its work.
- Rinse and dry completely. This step is crucial.
- Apply a protective coating. Oil, wax, or spray.
- Store your tools properly. Keep them dry.
As Rich Lauer wisely notes: “Rust forms when iron or steel is exposed to moisture. Outdoor tools rust often due to humidity, condensation, dirt, and sweat.” Knowing this helps you prevent rust in the first place.
Les Boulton, who answered a corrosion Q&A for the Australasian Corrosion Association, confirms: “Yes! Vintage items made of various grades of rusty steel such as workshop tools, gardening tools, vehicle parts and old military items can be restored to almost new condition.” That is good news for all of us who hate throwing things away.
Next time you find a rusty tool, do not toss it. Give restoration a try. You might be surprised at how well it works. And if you ever ask yourself “can rusty tools be restored,” remember what you learned here. The answer is almost always yes.
Related posts
 Which Tool Kit Is Worth Buying? How to Choose the Right Set for Your Home
Wondering which tool kit is worth buying? Compare basic household sets, mechanic kits, and power tool combos to find the best tools for your budget and…
 Which Hand Tools Are Made in the USA? Reliable Brands and Buying Rules
Discover which hand tools are still made in the USA. Compare top domestic brands, tool categories, and learn how to verify origin labels before buying. Several…
 Why Do Campers Carry Multi Tools? Practical Uses in the Field
Why do Campers carry multi tools to handle gear repairs, campsite setup, food prep, and field fixes with minimal weight. Here is why one belongs in…