How To Perform Basic Car Troubleshooting With A Tool Kit
Learn how to perform basic car troubleshooting with a tool kit to fix common issues like flat tires, dead batteries, and engine hiccups. Save time and money with simple steps.
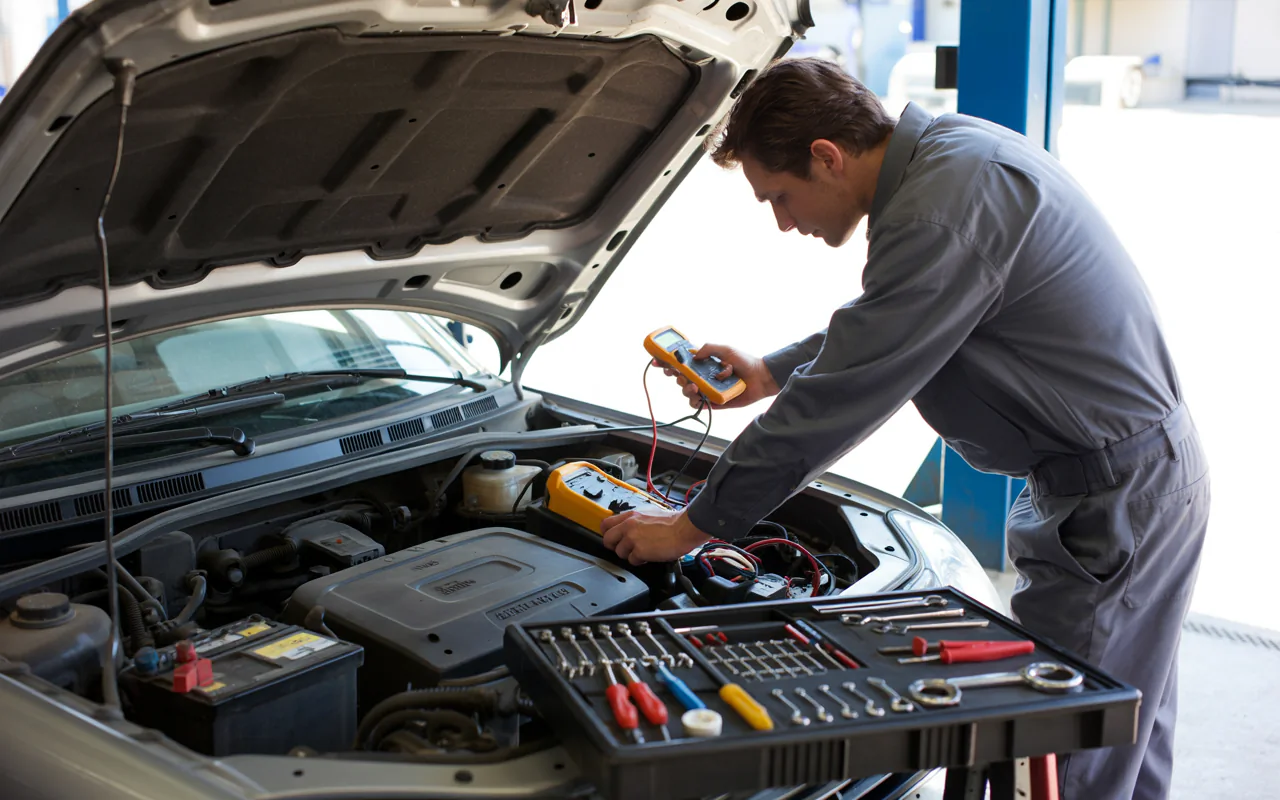
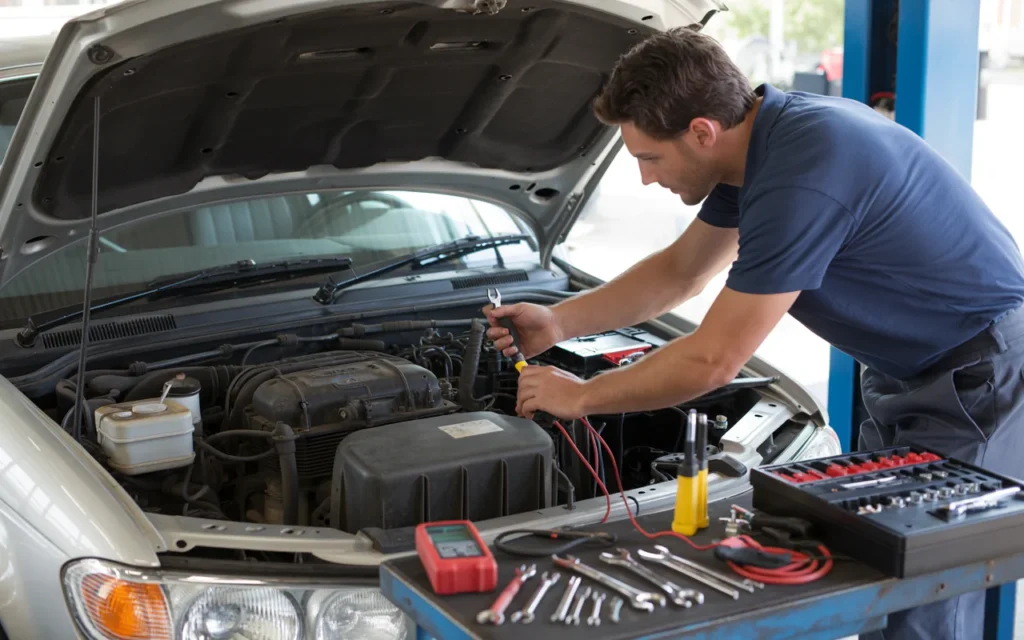
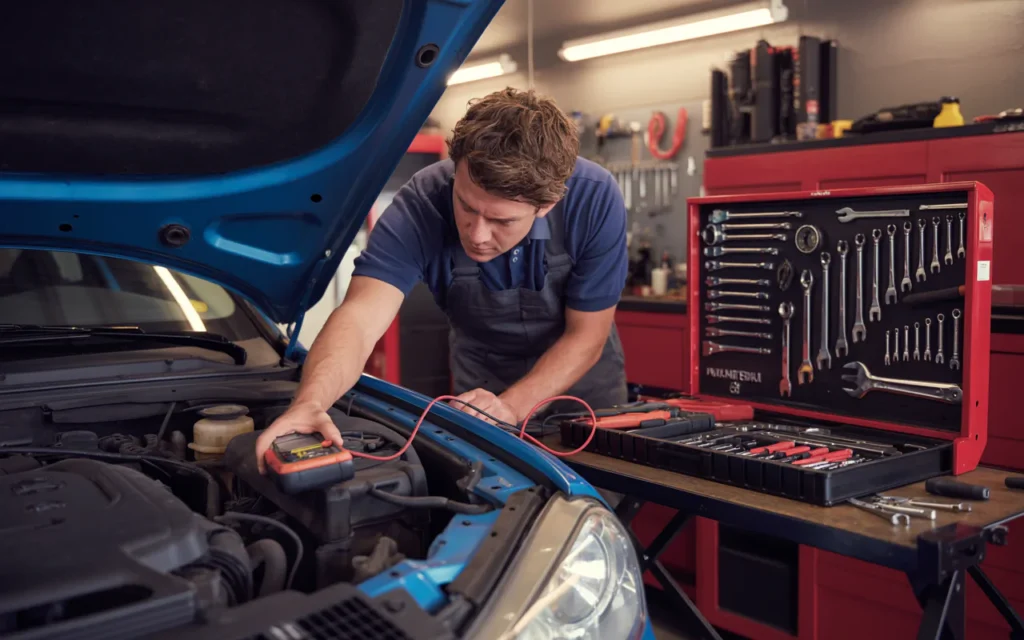
Every driver has felt that moment. You turn the key, and nothing happens. Or a strange noise starts under the hood. Panic sets in. But it does not have to be that way. With a simple tool kit and some basic knowledge, you can handle many small car problems by yourself. This guide will show you exactly how to perform basic car troubleshooting with a tool kit in a safe, step-by-step way.
You do not need to be a mechanic. You just need patience, a few basic tools, and the right steps to follow. Let us get started.
What You Need in Your Basic Car Tool Kit
Before you fix anything, you need the right tools. You do not need expensive equipment. A simple kit will work for most common issues. Keep these items in your trunk or garage.
| Tool | Purpose |
|---|---|
| Screwdrivers (flathead and Phillips) | Tightening clamps, removing covers |
| Adjustable wrench | Loosening or tightening nuts and bolts |
| Pliers | Gripping hoses or pulling small parts |
| Tire pressure gauge | Checking tire air pressure |
| Jumper cables | Jump starting a dead battery |
| Flashlight | Seeing dark areas under the hood |
| Duct tape | Temporary fixes for hoses or wires |
| Gloves | Keeping hands clean and safe |
With these tools ready, you can start how to perform basic car troubleshooting with a tool kit with confidence. Let us look at the most common problems you will face.
“The average driver can solve 70% of roadside issues with just five basic tools and a calm mind.”
Tom Boyd, Automotive Instructor
Step 1: Stay Safe First
How To Perform Basic Car Troubleshooting With A Tool Kit. Before you touch anything, think about safety. Park your car on flat ground away from traffic. Turn on your hazard lights. Put the parking brake on. If the engine is hot, wait 15 minutes before opening the hood. Hot parts can burn your skin. Also, never work on a car that is running unless you know exactly what you are doing.
If you are on a busy road, call for help instead. Your safety is more important than any repair. Once you are in a safe spot, you can begin.
Step 2: The Car Will Not Start
This is the most common problem. You turn the key, and you hear nothing. Or you hear a clicking sound. Let us fix this step by step.
Check the Battery First
Most starting problems come from a dead battery. Open the hood. Find the battery. Look for corrosion. That is the white or green fuzzy stuff on the metal posts. Clean it off with a wire brush if you have one. If not, use a dry cloth. Then try starting again.
Try Jump Starting
If cleaning does not work, use jumper cables. Here is how:
- Put both cars close but not touching.
- Turn off both cars.
- Connect red clamp to dead battery positive (+) post.
- Connect other red clamp to good battery positive (+) post.
- Connect black clamp to good battery negative (-) post.
- Connect last black clamp to an unpainted metal part on the dead car. Not the battery.
- Start the good car. Wait 2 minutes.
- Start the dead car.
If the car starts, let it run for 15 minutes. This charges the battery. Then drive to a shop to check the battery health.
When to Stop Trying
How To Perform Basic Car Troubleshooting With A Tool Kit. If the car clicks but does not start, the battery may be too dead to jump. If you see smoke or smell burning, stop right away. Call a tow truck.
How to perform basic car troubleshooting with a tool kit means knowing your limits. Some problems need a professional.

Step 3: The Engine Turns Over But Will Not Start
Sometimes the battery is fine. The engine cranks and cranks. But it does not fire up. Here is what to check.
Listen for the Fuel Pump
Turn the key to the “On” position without starting. Listen carefully. Do you hear a small humming noise from the back of the car? That is the fuel pump. If you hear nothing, the fuel pump may be dead.
Check for Spark
This is a bit more advanced but still doable. Remove one spark plug wire. Hold the end near a metal part of the engine. Have a friend try to start the car. You should see a small blue spark jump. No spark means a problem with the ignition system.
“Ninety percent of no-start conditions come from either the battery, the starter, or the alternator. A $20 multimeter tells you which one.”
Carole Nash, Auto Repair Expert
Look at the Fuses
How To Perform Basic Car Troubleshooting With A Tool Kit. Find your fuse box. Usually under the dashboard or under the hood. Look for a blown fuse. That is a fuse with a broken metal strip inside. Replace it with the same amp rating. Never use a higher amp fuse. That can cause a fire.
Step 4: The Car Starts But Runs Rough
Maybe the car starts fine but shakes, stalls, or sounds strange. This is common and often easy to fix.
Check Air Filter
A dirty air filter makes the engine struggle. Open the air box. It is a plastic container near the engine. Pull out the filter. Hold it up to the light. If you cannot see light through it, tap it clean or replace it. This is one of the simplest fixes you can do.
Look at Spark Plugs
Spark plugs wear out over time. Remove one using a spark plug socket if you have it. Look at the tip. It should be light brown or gray. Black soot means the engine is running too rich. White or blistered means it is too hot. Replace all spark plugs if they look bad.
Check for Vacuum Leaks
How To Perform Basic Car Troubleshooting With A Tool Kit. Listen for a hissing sound under the hood. That is a vacuum leak. Spray a little water from a spray bottle on rubber hoses. If the engine sound changes when you spray a spot, you found a leak. Use duct tape as a temporary fix until you get a new hose.
| Symptom | Likely Cause | Quick Fix |
|---|---|---|
| Rough idle | Dirty air filter | Clean or replace |
| Stalling | Vacuum leak | Tape hose temporarily |
| Poor acceleration | Bad spark plugs | Replace plugs |
| Engine shaking | Loose mount or misfire | Check plug wires |
Step 5: The Battery Light Comes On
That red battery icon on your dash means trouble. It does not always mean the battery is bad. Often it means the alternator is failing. The alternator charges your battery while you drive.
How to Test This
Start the car. Turn on the headlights. If the lights are dim, the alternator may not be charging. Turn off the car. Check the battery voltage if you have a multimeter. A good battery shows 12.6 volts when off. With the car running, it should show 13.7 to 14.7 volts. Lower than that means the alternator is failing.
What to Do
If the alternator is failing, drive straight to a shop. Your car will run on battery power alone until the battery dies. You might have 20 to 30 minutes of driving time. Turn off the radio, AC, and lights to save power.
How to perform basic car troubleshooting with a tool kit includes knowing when to drive and when to stop. This is a “drive to a shop carefully” situation.
Step 6: Flat Tire or Low Tire Pressure
Flat tires happen to everyone. They are easy to fix if you are prepared.
Check Pressure First
How To Perform Basic Car Troubleshooting With A Tool Kit. Use your tire pressure gauge. Remove the small cap on the tire valve. Press the gauge firmly onto the valve. Read the number. Compare it to the number on the sticker inside your driver’s door frame. Most cars need 32 to 35 PSI.
Add Air
If the pressure is low, drive to a gas station with an air pump. Add air in short bursts. Check pressure between bursts. Do not overfill. Overfilled tires can burst on hot days.
Change a Flat Tire
If the tire is completely flat, you need the spare. Here is the simple way:
- Find the flat tire.
- Put the jack under the car near that tire. Check your manual for the exact spot.
- Loosen the lug nuts slightly before lifting the car.
- Jack up the car until the flat tire is off the ground.
- Remove the lug nuts and the flat tire.
- Put on the spare tire.
- Hand tighten the lug nuts.
- Lower the car.
- Tighten the lug nuts fully in a star pattern.
“Learning to change a tire is like learning to boil water. Once you do it once, you never forget. And it saves you a two hour wait on the roadside.”
Mike Hall, Roadside Assistance Technician
Step 7: Strange Noises and What They Mean
Your car talks to you through sounds. Learning to listen helps you find problems early.
Squealing When You Start
This is usually a loose belt. Open the hood and look at the belt that runs around the engine front. If it looks shiny or cracked, it needs replacement soon. A temporary fix is to spray a little water on the belt. If the noise stops for a minute, you found the problem.
Grinding When You Brake
That grinding sound means your brake pads are gone. You are now grinding metal on metal. This damages your brake rotors. Go to a shop immediately. Do not keep driving for days.
Clicking When You Turn
A clicking noise while turning left or right points to a bad CV joint. This is not a roadside fix. But knowing the sound helps you explain the problem to your mechanic. Drive carefully to a shop.
Thumping from a Tire
A thumping sound that gets faster as you speed up means a flat spot on a tire or a loose wheel weight. Check your tire pressure first. Then look for a bulge on the tire sidewall. A bulge means the tire is failing inside. Replace it as soon as possible.
Step 8: Overheating Engine
Steam coming from under the hood is scary. But you can handle this.
First Step: Pull Over
Do not keep driving. An overheated engine can destroy itself in minutes. Turn off the engine immediately. Wait at least 30 minutes before opening the hood. The cooling system is under pressure. Opening the cap early can spray boiling coolant on your face.
Check Coolant Level
Once the engine is cool, open the radiator cap slowly. Use a thick cloth over the cap. Turn it a quarter turn to let pressure out. Then remove it. Look inside. You should see green, pink, or yellow liquid covering the metal parts inside. If it is low, add coolant or plain water in an emergency.
Look for Leaks
Check the ground under your car. Do you see a puddle of sweet smelling liquid? That is coolant. Check hoses for cracks or bulges. A small leak can be temporarily wrapped with duct tape and a cloth. But drive slowly to a shop right away.
How to perform basic car troubleshooting with a tool kit means carrying extra coolant or water in your trunk. One gallon of water can save your engine on a hot day.
Step 9: When to Call a Professional
Knowing your limits is part of being smart. Call a tow truck or a mechanic if:
- You see smoke from under the hood
- You smell burning rubber or gas
- The steering wheel shakes violently
- The brakes do not work properly
- You find large puddles of oil or gas under the car
- Any repair feels unsafe to you
There is no shame in calling for help. A tow costs less than an engine replacement.
Frequently Asked Questions
Can I learn how to perform basic car troubleshooting with a tool kit if I have zero mechanical experience?
Yes. Start with the simplest tasks like checking tire pressure and changing a flat tire. Watch free videos online for each step. Practice in your driveway when nothing is broken. That way you are ready when something does break.
What is the most important tool for basic car troubleshooting?
A good flashlight and a tire pressure gauge are the two most used tools. Jumper cables come third. You can fix most simple problems with just these three items.
How do I know if a problem is too hard for me?
If opening the hood makes you feel unsafe or confused, stop. If the repair requires removing large parts or draining fluids, call a professional. Stick to checking fluids, changing tires, jump starting, and replacing fuses or air filters.
How often should I check my car to avoid problems?
Check tire pressure once a month. Look under the hood every time you get gas. Check the oil every two weeks. Most problems show warning signs early if you look regularly.
Can I use any tool kit for car troubleshooting?
No. A household tool kit may not have the right sizes for car bolts. Buy a basic car tool kit from an auto parts store. It costs around $30 to $50. That small investment saves you hundreds in towing fees.
Conclusion
You now know how to perform basic car troubleshooting with a tool kit for the most common problems. Dead battery. Flat tire. Strange noises. Overheating. Each of these has a simple first step you can do yourself. The key is staying calm, staying safe, and knowing when to stop.
Start small. Check your tire pressure this week. Look at your air filter. Practice jump starting with a friend. Each small skill builds your confidence. Over time, you will save money and time. You will also feel proud knowing you can help yourself and your family on the road.
Keep that tool kit in your car. Keep this guide saved on your phone. And remember: every expert driver started as a beginner. You have everything you need to begin right now.
Related posts
 How to Build a Home Tool Kit: Essential Tools for Every DIYer
Learn how to build a home tool kit with essential hand tools and basic power tools. Get tips on selecting, organizing, and expanding your DIY arsenal.…
 How to Spot Fake Mechanic Tools: A Practical Guide
Learn how to spot fake mechanic tools by checking for common signs like poor quality, incorrect branding, and missing details. Protect yourself from scams. Identifying fake…
 Why Chrome Vanadium Tools Are a Popular Choice
Discover why chrome vanadium tools are a popular choice for durability, strength, and corrosion resistance. Learn the key benefits of this common tool material. Chrome vanadium…