
How to Sharpen Multi Tool Scissors: A Practical Maintenance Guide

Sharpening multi-tool scissors requires a delicate touch because the blades are small and often rely on a precise pivot tension to cut effectively. If your scissors are struggling to snip paper or thread, the issue is often a dull edge or a loose pivot rather than a need for heavy grinding.
To restore your scissors, you should focus on light honing using a fine-grit ceramic rod or a small diamond file. Avoid aggressive methods like heavy sandpaper or power tools, as these can easily remove too much metal and permanently misalign the blades.
Safety precautions
- Use light pressure to avoid bending the blades.
- Always sharpen on the beveled side only.
- Test the edge frequently to prevent over-grinding.
- Keep the pivot clean to improve cutting performance before sharpening.
| Topic | When it helps | What to keep in mind |
|---|---|---|
| Step 1 | Initial troubleshooting | Do not use harsh solvents that might damage plastic handle inserts. |
| Step 2 | Precision work | Sharpening the flat side will create a gap between the blades, making them useless. |
| Step 3 | Routine maintenance | Avoid excessive pressure; you only want to realign the edge, not reprofile it. |
| Step 4 | Final finish | Do not tilt the blade while removing the burr, or you will dull the edge again. |
Focus strictly on the sharpening
Step 1. Clean the Pivot and Blades
Before sharpening, remove debris and sticky residue from the blades and the pivot point using a damp cloth or a drop of light machine oil.
- Initial troubleshooting
- Do not use harsh solvents that might damage plastic handle inserts.
- If the scissors cut well after cleaning, you do not need to sharpen them.
- Tool – Cloth
- Additive – Machine oil

Step 2. Identify the Bevel
Examine the scissors under a light to find the beveled edge. Only this side should be touched by your sharpening tool.
- Precision work
- Sharpening the flat side will create a gap between the blades, making them useless.
- Use a magnifying glass if the blades are too small to see the bevel clearly.
- Focus – Beveled side
- Action – Light strokes
Step 3. Hone with a Ceramic Rod
Hold the ceramic rod at the same angle as the factory bevel and apply light pressure, pulling the rod across the edge from base to tip.
- Routine maintenance
- Avoid excessive pressure; you only want to realign the edge, not reprofile it.
- Perform 3-5 strokes per blade and test the cut.
- Tool – Ceramic rod
- Pressure – Light
Step 4. Remove the Burr
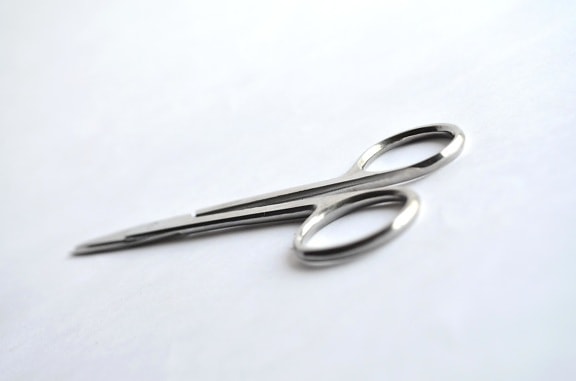
After sharpening, a tiny metal burr may form on the flat side. Gently swipe the flat side of the blade against a flat stone or ceramic surface to remove it.
ul>
Why Less Is More When Sharpening
Multi-tool scissors are designed with a specific factory tension. When you sharpen them, you are not just working on the edge; you are working on the geometry of the entire tool. Excessive grinding changes the shape of the blades, which can cause them to overlap incorrectly or fail to close entirely.
Always prioritize light honing over heavy sharpening. If the scissors are severely damaged or the blades are chipped, it is often better to contact the manufacturer for a replacement or professional service rather than attempting a DIY repair that could void your warranty.
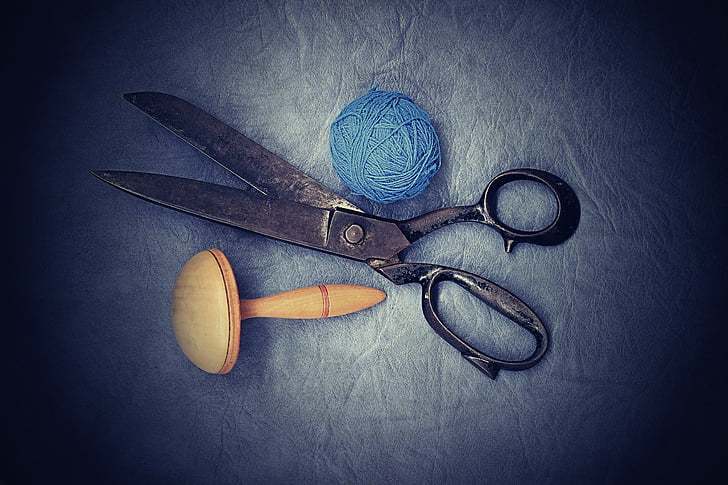
If you grind away too much metal, the scissor blades will no longer meet at the pivot point, creating a gap that prevents them from cutting anything.
Using coarse sandpaper or metal files that remove too much material in a single pass.
ul>
| Method | Best Use Case | Risk Level |
|---|---|---|
| Ceramic Rod | Routine maintenance | Low |
| Diamond File | Restoring dull edges | Medium |
| Sandpaper | Emergency quick fix | High |
Testing Your Results
Once you have honed the edges, perform a test cut. Start with a thin material like tissue paper or a single sheet of printer paper. The blades should glide through the material without catching or pulling.
If the scissors still snag, check the pivot tension. Sometimes a small adjustment to the screw holding the blades together can solve the problem without needing further sharpening. If the blades are tight but still won’t cut, perform one more light pass with your honing tool.
Use a single layer of thin tissue paper. If the scissors can cut the paper cleanly without folding or tearing it, the edge is sufficiently sharp.
Testing with thick cardboard, which can stress the pivot if the blades aren’t perfectly aligned.
FAQs
Does cutting aluminum foil actually sharpen scissors?
Cutting aluminum foil is a temporary fix that can help realign a slightly rolled edge, but it does not sharpen the metal. It is useful for a quick touch-up but should not replace proper honing.
Can I use a standard kitchen knife sharpener?
No. Most kitchen knife sharpeners are designed for larger blades and will be too aggressive for the small, delicate scissors on a multi-tool.
What if my multi-tool scissors are serrated?
Serrated scissors are very difficult to sharpen at home. You would need a specialized tapered diamond file to reach each individual serration, which carries a high risk of ruining the blade profile.
How often should I sharpen my multi-tool scissors?
Only sharpen them when they stop cutting effectively. Frequent sharpening wears down the metal and reduces the lifespan of the tool.
Conclusion
Restoring your multi-tool scissors is a rewarding maintenance task that keeps your gear functional for years. By focusing on light honing and respecting the factory bevel, you can achieve a clean cut without risking the integrity of the tool.
Always remember that precision is more important than speed. If you are unsure about your progress, stop and test the scissors on a piece of paper. A sharp, well-maintained multi-tool is a reliable companion for any task.
Related posts
 Which Tool Kit Is Worth Buying? How to Choose the Right Set for Your Home
Wondering which tool kit is worth buying? Compare basic household sets, mechanic kits, and power tool combos to find the best tools for your budget and…
 Which Hand Tools Are Made in the USA? Reliable Brands and Buying Rules
Discover which hand tools are still made in the USA. Compare top domestic brands, tool categories, and learn how to verify origin labels before buying. Several…
 Why Do Campers Carry Multi Tools? Practical Uses in the Field
Why do Campers carry multi tools to handle gear repairs, campsite setup, food prep, and field fixes with minimal weight. Here is why one belongs in…