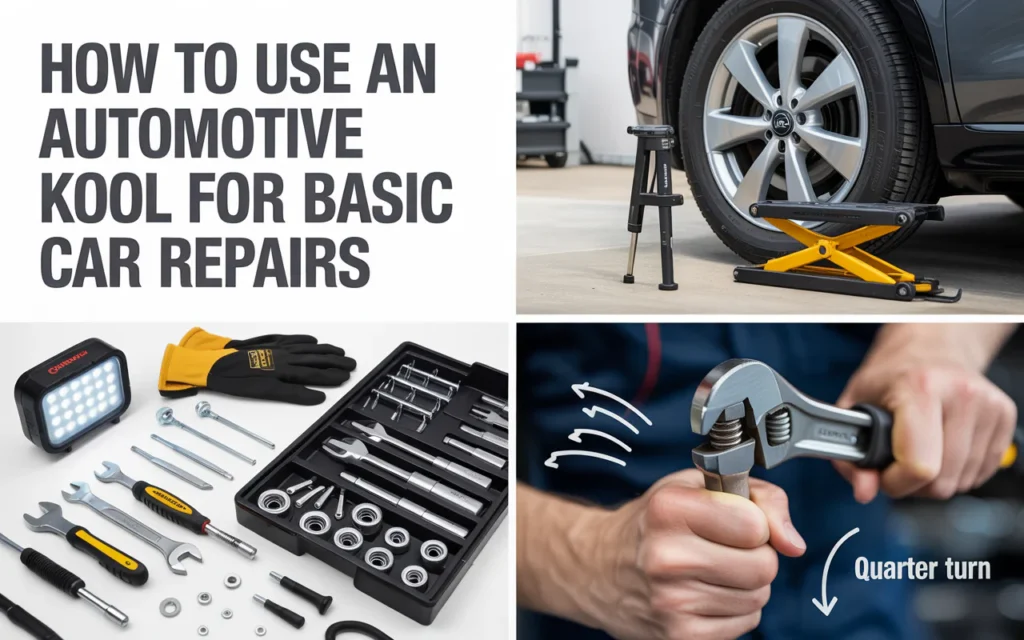
Learn how to use an automotive tool kit for basic car repairs like changing oil, swapping batteries, or replacing bulbs. Step by step guide for beginners.
Having a basic automotive tool kit at home can save you time and money. You do not need to be a professional mechanic to fix small car problems. Many simple repairs are easy to learn. The key is knowing how to use an automotive tool kit for basic car repairs safely and correctly.
This guide will show you exactly what tools you need, how to handle them, and which small fixes you can do yourself. We will keep everything simple, clear, and friendly. No fancy words. No hard steps. Just real help from someone who has been there.
“The average driver can handle 30% of routine car maintenance with just a few basic tools and a little confidence.” – John L. Miller, automotive instructor.
What Is Inside a Standard Automotive Tool Kit?
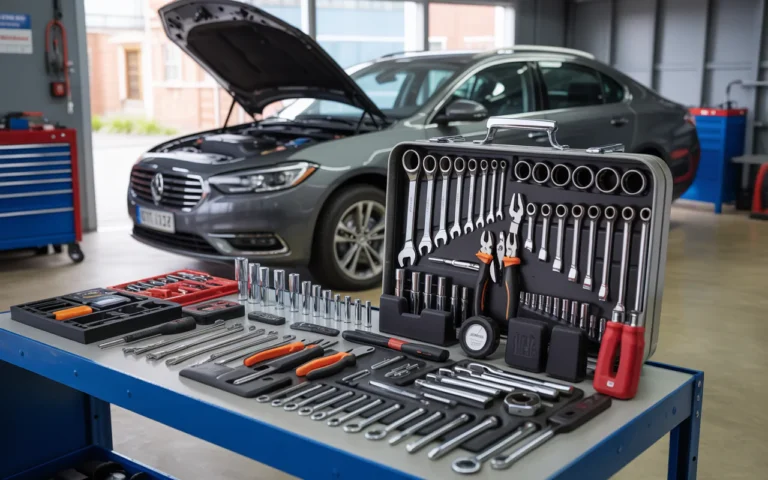
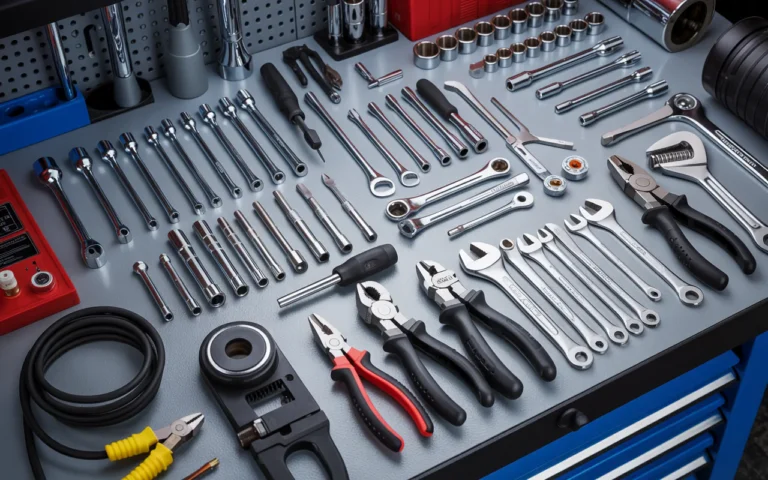
Before you learn how to use an automotive tool kit for basic car repairs, you need to know what comes in one. A standard kit usually includes:
| Tool | Common Use |
|---|---|
| Ratchet and socket set | Loosening or tightening bolts and nuts |
| Combination wrenches | Turning nuts in tight spaces |
| Screwdrivers (flat and Phillips) | Removing clips, covers, and small screws |
| Pliers (needle-nose and slip-joint) | Gripping wires or holding small parts |
| Hex keys (Allen wrenches) | Working on brakes or interior trim |
| Tire pressure gauge | Checking air in tires |
| Fuse puller | Replacing blown fuses |
Some kits also include a small flashlight, gloves, and a magnetic tray for screws. Keep your kit in a dry place inside your car or garage.
How to Use an Automotive Tool Kit for Basic Car Repairs Safely
Safety comes first. Even small repairs can hurt you if you are not careful. Here is how to stay safe every time you use an automotive tool kit for basic car repairs.
Prepare Your Workspace
Park on flat ground. Turn off the engine. Remove the key from the ignition. Put on safety glasses and gloves. Let the engine cool down if you just drove. Hot parts can burn your skin.
Use the Right Tool for the Right Job
Do not use a screwdriver as a pry bar. Do not use pliers on a bolt if you have a wrench. Using the wrong tool can strip bolts or break parts. That will turn a small fix into a big problem.
“A tool is only as good as the hand that uses it. Match the tool to the task, and you will never struggle.” – Maria Chen, DIY mechanic and blogger.
Keep Your Tools Clean
Wipe off grease and dirt after each use. A clean tool works better and lasts longer. Check for rust or damage before you start any repair.
5 Basic Car Repairs You Can Do with Your Kit
Now let us get to the fun part. Here are five common problems you can solve when you learn how to use an automotive tool kit for basic car repairs.
Replacing a Dead Car Battery
You need a ratchet and socket. Most batteries use 10mm or 13mm bolts.
Steps:
- Remove the negative (black) cable first. Use the ratchet to loosen the bolt.
- Remove the positive (red) cable second.
- Take out the old battery.
- Place the new battery in the tray.
- Connect positive cable first, then negative.
Tighten bolts firmly but do not over tighten.
Changing a Flat Tire
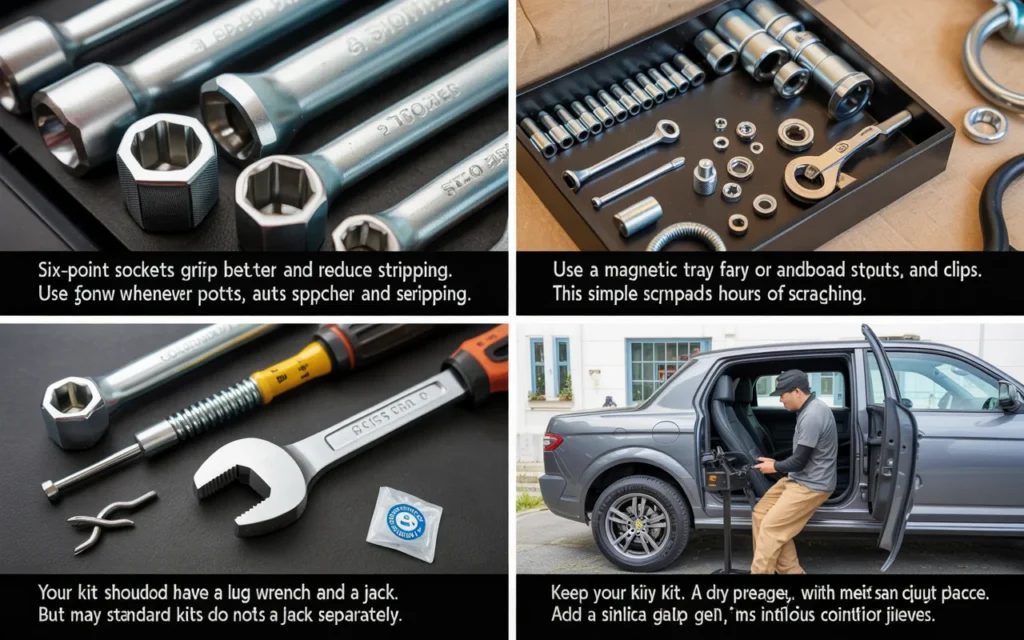
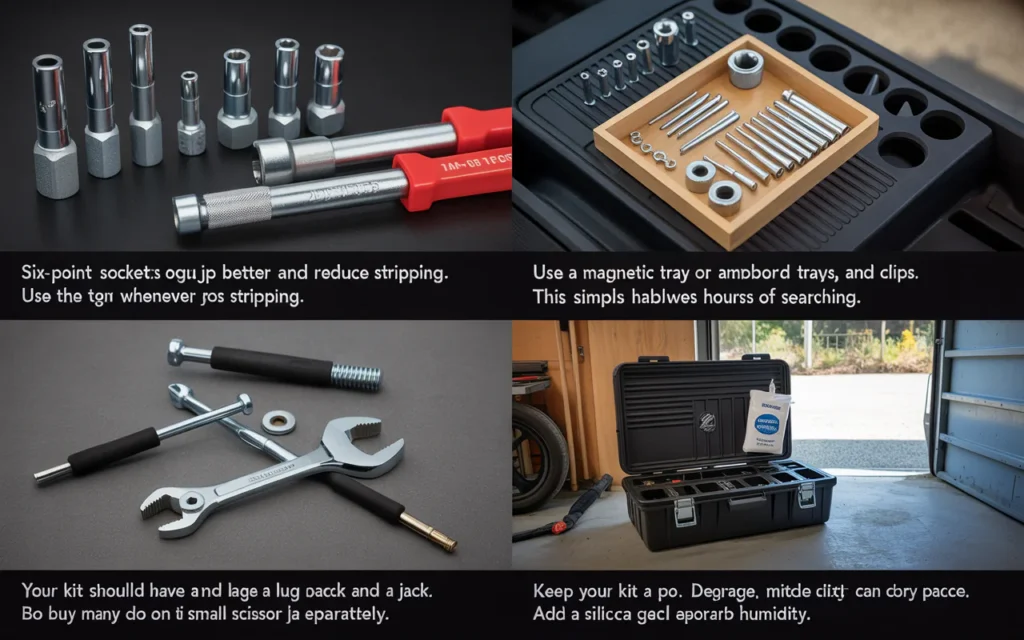
Your kit should have a lug wrench and a jack. But many standard kits do not include a jack. So buy a small scissor jack separately.
Steps:
- Loosen lug nuts slightly before lifting the car.
- Jack up the car.
- Remove lug nuts fully.
- Take off the flat tire.
- Put on the spare tire.
- Hand tighten lug nuts, lower the car, then tighten fully.
Replacing Headlight or Taillight Bulbs
You usually need a screwdriver or a small socket.
Steps:
- Open the hood or trunk access panel.
- Remove the bulb holder cover.
- Pull out the old bulb.
- Insert the new bulb without touching the glass.
- Reattach the cover.
| Bulb Type | Common Tool Needed |
|---|---|
| Headlight (halogen) | Flathead screwdriver |
| Taillight (LED) | Small socket (8mm or 10mm) |
| Turn signal | Phillips screwdriver |
Fixing a Loose Hose Clamp
A loose coolant or air hose can cause leaks. Use a flathead screwdriver or a nut driver.
Steps:
- Find the loose clamp.
- Turn the screw on the clamp clockwise to tighten.
- Do not over tighten. Stop when the hose feels snug.
- Check for leaks after starting the engine.
Replacing a Blown Fuse
Fuses protect your lights, radio, and windows. A fuse puller tool is best, but small pliers work too.
Steps:
- Find the fuse box (usually under the dash or hood).
- Pull out the blown fuse. The metal strip inside will be broken.
- Push in a new fuse of the same amp rating.
- Test the part (like the radio or lighter) to see if it works again.
“Most electrical issues in older cars are just a $2 fuse away from being fixed.” – David Ortiz, ASE certified mechanic.
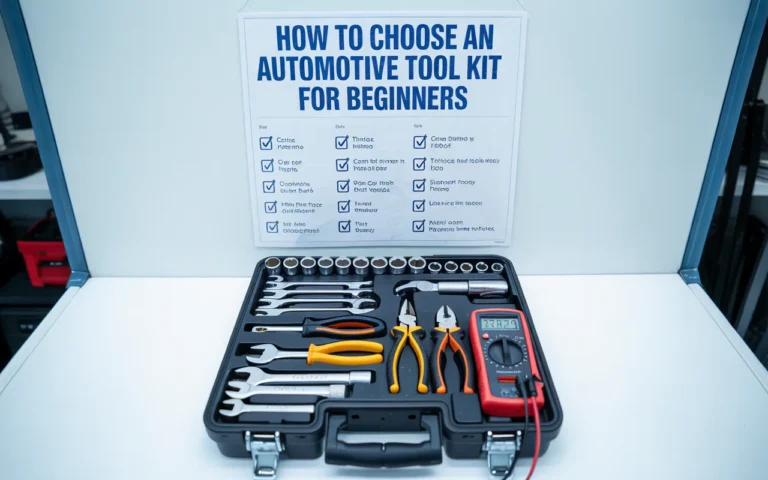
How to Choose the Right Automotive Tool Kit for Beginners
Not all kits are the same. Some have 50 pieces. Some have 200 pieces. For basic home use, look for these features.
What to Look For
- Sockets in both metric (mm) and standard (inches). Metric sizes like 10mm, 12mm, 14mm are very common in modern cars.
- A ratchet with a comfortable grip and a reverse switch.
- At least two sizes of pliers.
- A hard plastic or metal case to keep tools organized.
- A lifetime warranty on the ratchet and sockets.
What to Avoid
- Very cheap kits with soft metal. They bend or break.
- Kits without a carrying case. You will lose tools fast.
- Kits that include only standard sizes. Most cars today use metric.
A good beginner kit costs between $30 and $70. Brands like Stanley, Craftsman, and Husky are reliable.
Step-by-Step Guide to Use an Automotive Tool Kit for Basic Car Repairs Like an Oil Change
An oil change is one of the most useful skills to learn. It takes 20 minutes and costs half of what a shop charges. Here is how to use an automotive tool kit for basic car repairs for an oil change.
Tools Needed
- Socket wrench with correct size for drain plug (often 14mm or 15mm)
- Oil filter wrench (sometimes sold separately)
- Flathead screwdriver
- Funnel
- Gloves and rags
Steps
- Warm up the engine for 2 minutes. Warm oil flows out faster.
- Jack up the front of the car and place jack stands. Never work under a car held only by a jack.
- Slide under the car and locate the oil drain plug.
- Place an oil pan under the plug.
- Loosen the plug with your socket wrench. Remove it by hand.
- Let all oil drain out. This takes 5 to 10 minutes.
- Clean the plug and put it back. Tighten with the wrench.
- Move the pan under the oil filter.
- Use the oil filter wrench to loosen the old filter. Unscrew by hand.
- Put a thin layer of new oil on the rubber seal of the new filter.
- Screw the new filter on by hand. Do not use the wrench to tighten.
- Add new oil through the top of the engine using a funnel.
- Check the dipstick. Add more if needed.
- Start the engine for 30 seconds. Check for leaks under the car.
That is it. You just saved $40 to $60.
Common Mistakes When You Use an Automotive Tool Kit for Basic Car Repairs
Even good mechanics make mistakes. Here are the most common errors and how to avoid them.
Over Tightening Bolts
This is very common. Bolts have torque limits. Too tight and you can strip the threads or snap the bolt. Turn until snug, then a quarter turn more. That is usually enough.
Using a 12-Point Socket on a 6-Point Bolt
Six-point sockets grip better and reduce stripping. Use them whenever possible. 12-point sockets are for special bolts.
Mixing Up Metric and Standard Sockets
A 10mm socket is close to 3/8 inch, but they are not the same. Using the wrong one will round off the bolt. Always check the size before you pull hard.
Losing Small Parts
Use a magnetic tray or a small cardboard box to hold screws, nuts, and clips. This simple habit saves hours of searching.
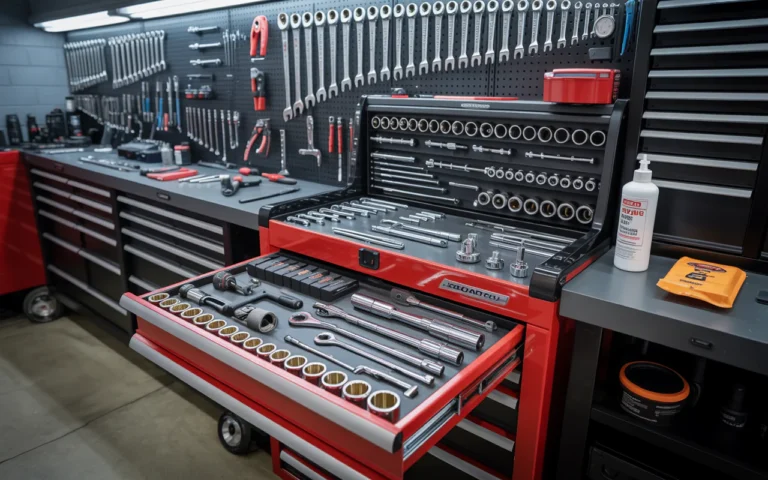
How to Maintain Your Automotive Tool Kit
Your tools will last for decades if you care for them. Here is a simple routine.
| Maintenance Task | Frequency |
|---|---|
| Wipe tools after use | Every time |
| Check for rust | Once a month |
| Tighten loose ratchet screws | Every 3 months |
| Replace missing or broken tools | As needed |
Keep your kit in a dry place. A garage with moisture can cause rust. Add a small silica gel pack inside the case to absorb humidity.
Frequently Asked Questions
Q1: Can I use an automotive tool kit for basic car repairs if I have never fixed a car before?
Yes. Start with simple tasks like changing a bulb or a fuse. Watch a video for your specific car model. Go slow. You will learn fast.
Q2: What size socket is most common on modern cars?
10mm. It is used for battery terminals, many bolts, and interior parts. Keep extra 10mm sockets because they get lost easily.
Q3: Do I need a torque wrench in my basic kit?
Not for most basic repairs. A torque wrench is good for spark plugs and wheel lug nuts. But you can do many repairs without one.
Q4: How do I know if a tool is good quality?
Look for chrome vanadium steel. Avoid tools that feel too light or have rough edges. Good brands usually offer a lifetime warranty.
Q5: Can I use these tools on any car?
Yes, for most basic repairs. European cars may need special torx or hex bits. You can buy those separately and add them to your kit.
Q6: How often should I replace my automotive tool kit?
You rarely need to replace the whole kit. Just replace individual tools when they break or wear out. A good ratchet can last 20 years.
Q7: Is it safe to use an automotive tool kit for basic car repairs on a hybrid or electric car?
For low voltage parts like bulbs or wipers, yes. But do not touch orange high voltage cables. Leave those to professionals.
Conclusion
Learning how to use an automotive tool kit for basic car repairs is a valuable life skill. It saves money, builds confidence, and helps you understand your car better. You do not need a garage full of expensive tools. A simple kit with sockets, wrenches, screwdrivers, and pliers is enough for most small fixes.
Start with one repair. Maybe change a fuse or tighten a loose hose. Then try a headlight bulb. Then an oil change. Each small win will make you more comfortable. Keep your tools clean, work safely, and never force a tool if it does not fit. With practice, you will handle many basic repairs on your own.
So open your kit, pick a small job, and give it a try. Your car and your wallet will thank you.