Learn exactly how to use a torque wrench with this easy guide. We cover settings, click rules, common mistakes, and storage tips for accurate results.
So you bought a torque wrench or are thinking about getting one. Good call. It is the tool that takes the guesswork out of tightening bolts. Whether you are working on your car, putting together a bicycle, or assembling furniture that absolutely cannot fall apart, this tool is your best friend.
But here is the thing. You cannot just pick it up and start cranking. There is a right way and a wrong way to use a torque wrench. If you use it wrong, you might as well be using a regular ratchet. You could strip threads, warp parts, or create a dangerous situation where things come loose later.
I have been there. I remember borrowing my dad’s torque wrench back in high school and immediately using it to loosen a rusted bolt. He was not happy. More importantly, I probably knocked that tool out of calibration. Lesson learned.
This guide is going to walk you through everything. We will talk about the different types, how to set them, how to actually pull on them, and how to keep them working for years. Let us get started.
What You Need to Know Before You Start
Before we talk about the steps, we need to cover some basics. A torque wrench is a precision tool. It is not just a strong ratchet. It measures force. Specifically, it measures how much twisting force you put on a fastener .
That force is usually measured in foot-pounds (ft-lb) or Newton-meters (Nm). Your car or bike manual will tell you exactly what number to use. For example, your lug nuts might need 100 ft-lb. That number is not a suggestion. It is the exact force needed to keep the wheel safe without warping the brake rotor .
There are a few main types you will see in the store.
Types of Torque Wrenches
- Click Wrench: This is the most common one. You set the number on the handle. You pull. When you hit the number, it makes a clicking sound and the handle gives a little. It is popular because it is easy to use a torque wrench this way even in noisy garages .
- Beam Wrench: This one has a long beam with a scale. As you pull, a bar bends and a needle shows you the force. It never needs calibration, but you have to watch it closely while you work .
- Digital Wrench: This is the high-tech option. It shows the number on a screen. Some beep or light up when you hit the target. They are very accurate and often let you switch between measurement units .
For most people at home, a click-style wrench is the best choice. It is affordable and reliable. We will focus mostly on this type because it is what most DIYers own.
Step 1: Find Your Torque Spec
This happens before you even touch the wrench. You need the number.
Check your service manual. If you are working on a car, the spec might be in the glovebox manual or you can look it up online. For a bike, it is often printed right on the part, like on a stem or seatpost clamp .
Write it down. Keep it in front of you. Trust me, you do not want to rely on memory halfway through a job.
Quote #1:
“Getting torque right is not just about doing a good job. It is about safety, code compliance, and protecting expensive equipment.”
— ToolUp Professional Guide
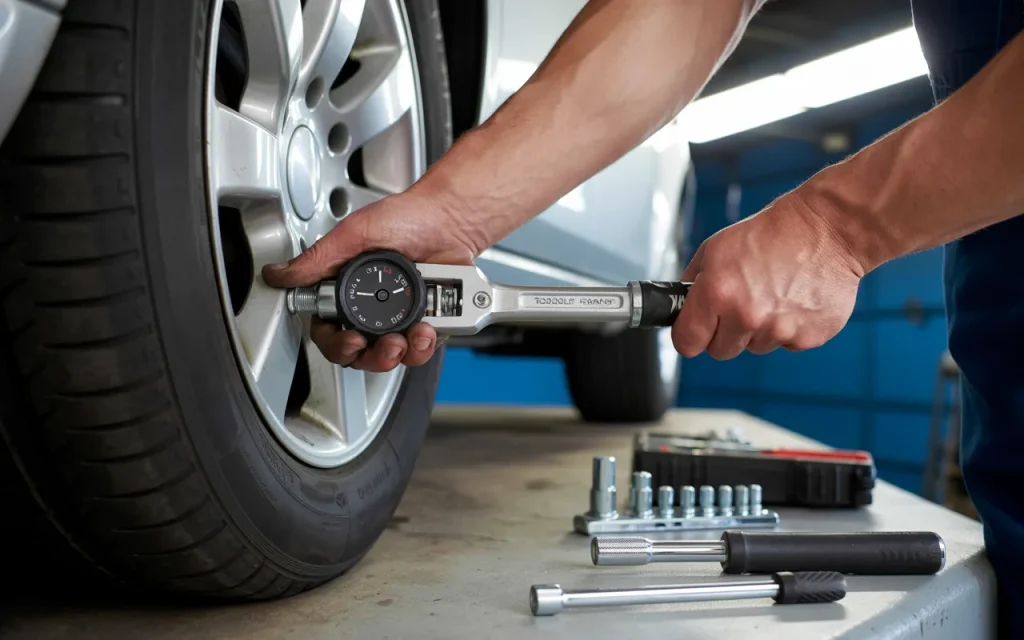
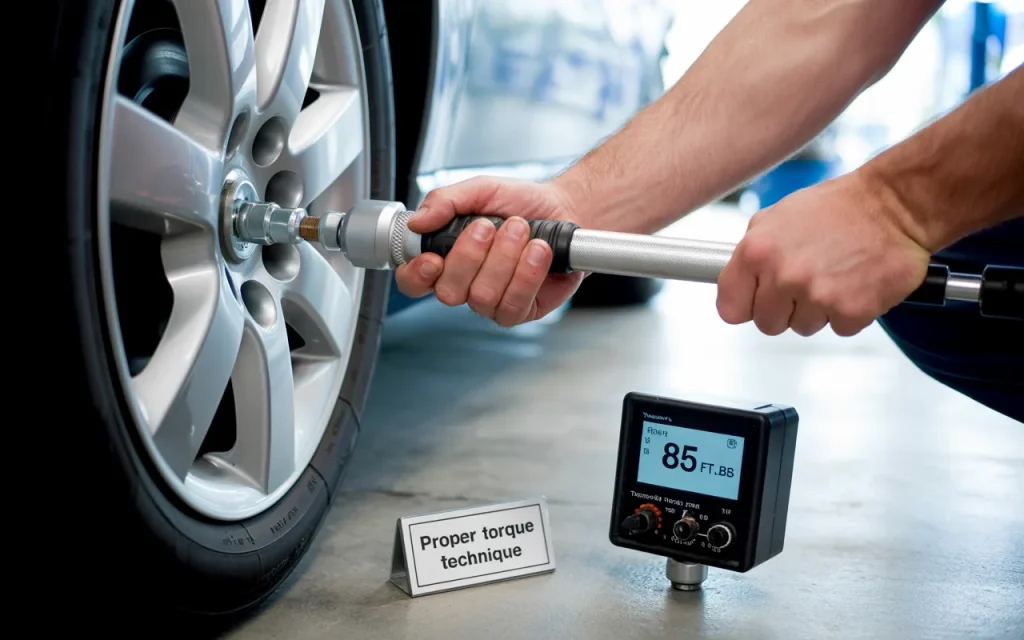
Step 2: Set the Wrench to the Correct Number
Now we get to the main event. Learning how to set the tool is the first practical step in how to use a torque wrench.
Look at your click-style wrench. You will see a handle that twists and a horizontal line running down the barrel of the tool. There are numbers on the barrel and numbers on the handle itself.
First, if your wrench has a lock ring at the bottom of the handle, unlock it. You usually twist it or pull it down .
Next, start turning the handle. When you turn it, you will see the top part of the handle move up and down the scale on the barrel. The barrel usually shows big number increments, like 10, 20, 30 foot-pounds. The handle itself has smaller marks, like 0, 1, 2, 3, and 4.
Let us say you need 25 foot-pounds.
- Turn the handle until the top lines up with the “20” mark on the barrel.
- Look at the zero line on the handle. It should match the horizontal line on the barrel.
- Keep turning the handle carefully. The numbers on the handle will start to pass by that horizontal line.
- Stop when the “5” on the handle lines up perfectly with the center line on the barrel .
Lock it back up if you have a lock ring. That is it. You are set.
Quick Reference for Setting a Click Wrench
| Step | Action | Tip |
|---|---|---|
| 1 | Unlock the handle lock (if present). | Refer to your manual for lock type. |
| 2 | Turn the handle to align the major number (e.g., 20) on the barrel. | Turn clockwise to increase, counter to decrease. |
| 3 | Fine-tune by aligning the handle’s scale (e.g., 5) with the barrel line. | Work slowly to land exactly on the number. |
| 4 | Lock the setting back into place. | This prevents accidental changes. |
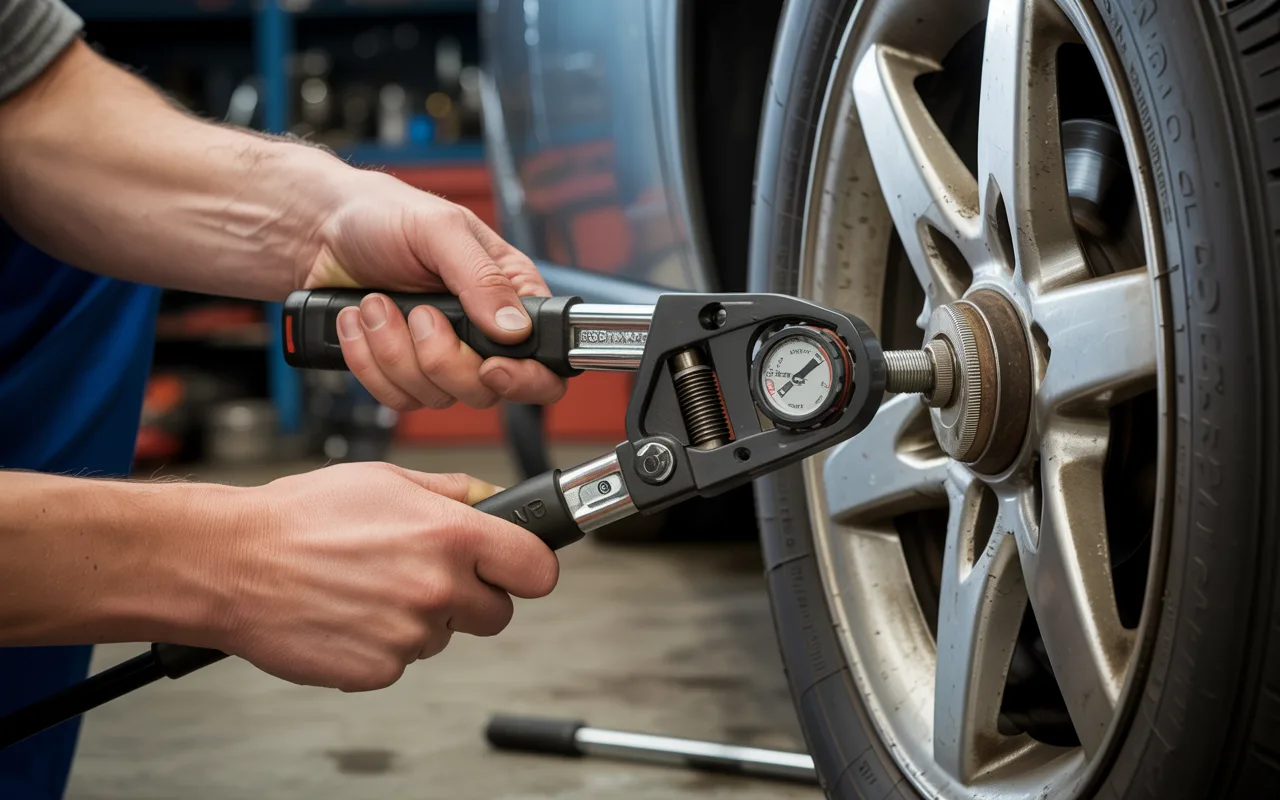
Step 3: Attach the Socket and Get Into Position
Pick the right socket. It must fit the bolt or nut perfectly. A loose or sloppy socket can strip the fastener.
Put the socket on the wrench. Make sure it clicks onto the drive tang securely.
Place the socket onto the fastener. Here is a big tip. Try to keep the wrench level and square to the bolt. You want the force to be straight, not at an angle .
Also, look at the handle. Many wrenches have a smooth part or a specific grip zone. You need to hold it there. If you choke up on the metal shaft near the head, you change the length of the lever. This will throw off your reading and you will overtighten the bolt .
Quote #2:
“Torque equals force multiplied by lever length. The wrench is calibrated for a specific hand position.”
— Dan Chabanov, Test Editor at Bicycling
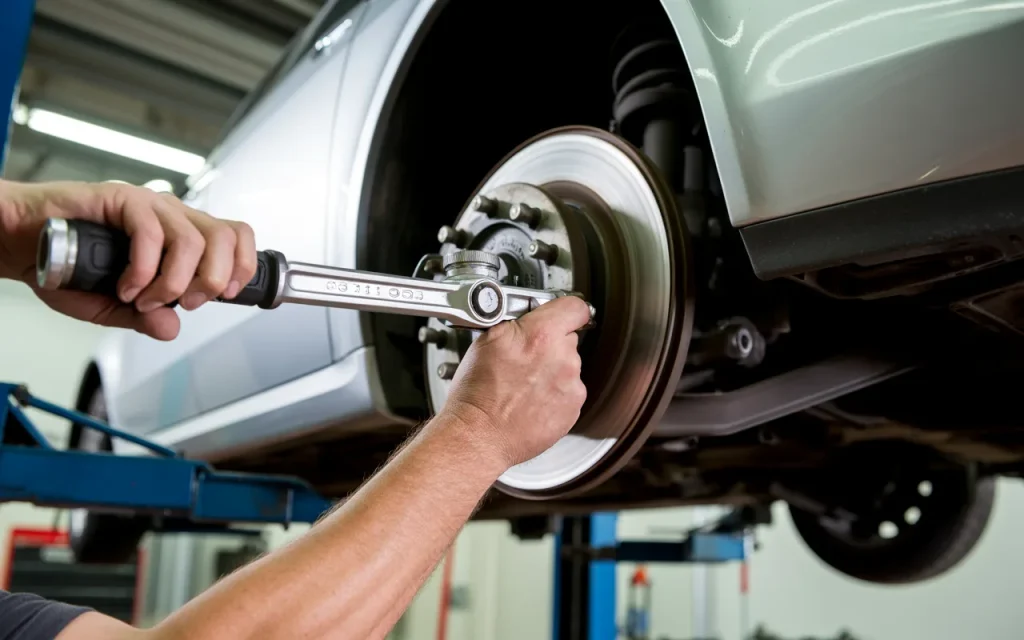
Step 4: Pull Smoothly Until You Hear the Click
This is the moment of truth.
Put one hand on the pivot point at the very end of the wrench (or just hold the head steady if it is stable) and your other hand on the grip. Start pulling smoothly. Do not jerk it. Do not go too fast. A steady, slow pull gives the most accurate result .
As you pull, you will feel resistance build. Keep going.
When you hit the set torque value, the wrench will make a loud click and the handle will bend or break away slightly. Stop immediately. As soon as you hear that click, stop pulling .
This is the most important rule of how to use a torque wrench. One click means you are done. If you keep pulling after the click, you are now over-tightening the bolt. You have defeated the entire purpose of using the tool.
The “One Click” Rule
| Do | Don’t |
|---|---|
| Pull smoothly until you hear one click. | Keep pulling to “double-check” the click. |
| Stop applying force the instant it clicks. | Jerk or yank the handle quickly. |
| Reset the wrench to zero after use. | Use it to loosen bolts. |
Step 5: Repeat for All Fasteners
If you have multiple bolts holding something on, like a car wheel or a bike stem, do not tighten one all the way and move to the next.
Instead, tighten them in stages. Go in a star or criss-cross pattern.
Here is how that works.
- Tighten all bolts to about half the final torque. If the spec is 100 ft-lb, take them all to 50 ft-lb in a star pattern.
- Go around again in the same pattern and take them to 75 ft-lb.
- Finally, go around one last time and take them all to the final 100 ft-lb .
This method ensures the part, like a wheel or a cylinder head, sits flat and the clamping force is even.
Common Mistakes You Must Avoid
Even experienced mechanics slip up sometimes. Here are the big ones to watch out for.
Never Use It to Loosen Bolts
This is rule number one. A torque wrench is for tightening only. If you try to break loose a rusted bolt with it, you can damage the internal mechanism. The tool will lose its accuracy. Always use a regular ratchet or a breaker bar to loosen things .
Do Not Store It Under Tension
After you finish your project, take a second to reset the wrench. Turn the handle all the way down to its lowest torque setting .
Inside the wrench is a spring. If you leave it cranked up to a high number, that spring stays compressed. Over time, it will get tired and weak. This causes the wrench to become inaccurate. You might not click until after you have already over-tightened the bolt.
Watch Out for Lubrication
This one trips people up. Torque specs assume the bolt is either dry or lubricated. Your manual will tell you which one it is.
If the spec says “dry,” that means the threads should be clean and oil-free. If you put oil on a dry bolt, it will tighten much easier. You will reach the torque number faster, but you will actually be stretching the bolt too much because there is less friction .
If the spec says to use thread locker or oil, you must use it. The number is calculated based on that lubrication. When in doubt, follow the manual exactly.
Avoid Extensions and Adapters If Possible
Sometimes you have to use an extension to reach a deep bolt. That is usually okay if you are pulling straight.
But try to avoid using universal joints (swivels) or crowfoot wrenches at odd angles. They change the leverage. If you must use a crowfoot, try to keep it at a 90-degree angle to the wrench handle. This minimizes the error .
How to Take Care of Your Tool
Your torque wrench is an investment. Take care of it, and it will take care of you for decades.
- Clean it after use: Just wipe it down with a clean rag. Dirt and grease can work their way into the mechanism .
- Store it in its case: Most come with a plastic case. Use it. It protects the tool from getting banged around in a toolbox drawer with heavy hammers and sockets .
- Set it to the lowest number: We said it before, but it is worth repeating. Lowest setting. Every time.
- Get it calibrated: If you use it a lot, get it professionally calibrated every year or so. If you drop it on concrete, get it checked immediately. Beam wrenches are the exception here. They generally do not need calibration .
Quote #3:
“If you leave the wrench at its previously-used high-torque setting, this can allow the internal spring inside the tool to ‘set,’ which will result in potential calibration issues.”
— Fleet Maintenance Professional Guide
Frequently Asked Questions
Q: How many times should a torque wrench click?
A: Just once. When you hear the click, you have reached the correct torque. Stop pulling. You do not need to hear it click again on the same bolt .
Q: Can I use a torque wrench to loosen bolts?
A: No. You should never use a torque wrench to loosen fasteners. It is a precision tool for tightening only. Use a standard ratchet or breaker bar to loosen bolts .
Q: Do I need to grease the threads before using a torque wrench?
A: Only if the manufacturer tells you to. Some bolts need to be dry, and some need oil or thread locker. Check the service manual for your specific job. Using the wrong lubrication changes the torque reading .
Q: What happens if I over-tighten a bolt with a torque wrench?
A: Over-tightening can stretch the bolt, weaken it, or break it completely. It can also strip the threads in the part you are working on, which leads to expensive repairs .
Q: How do I store my torque wrench when I am done?
A: Always turn the adjustment handle down to the lowest torque setting before you put it away. This releases the tension on the internal spring and keeps the calibration accurate. Store it in its protective case in a dry place .
Q: What is the difference between a torque wrench and a regular ratchet?
A: A regular ratchet just turns the bolt. A torque wrench measures how hard you are turning it. It tells you exactly when you have reached the correct tightness .
Q: Why do I need to tighten bolts in a pattern?
A: Tightening in a star or criss-cross pattern pulls the part down evenly. If you tighten one side all the way first, the part can tilt, and you might warp it or create gaps. This is very important for wheels and engine parts .
Conclusion
Learning how to use a torque wrench is a simple skill that makes a huge difference in your projects. It takes the guesswork out of tightening and replaces it with precision.
Remember the key points. Always check your torque spec first. Set the tool carefully. Pull smoothly and stop at the first click. Never use it to loosen bolts. And always store it at the lowest setting.
It might feel slow and careful at first, especially if you are used to just zipping things tight with an impact gun. But that careful process is what saves you from stripped threads, broken bolts, and parts that fall off. It is the mark of someone who takes their work seriously.
Now go grab your wrench and give it a try. You have got this.