Want to know how to sharpen a multi tool blade? Use a fine diamond file or a ceramic rod. This guide shows you safe, fast steps to sharpen a multi tool blade at home without special gear.
A multi tool is your best friend during a repair job, a camping trip, or a quick fix around the house. But that tiny blade gets dull fast. You try to cut a rope, open a box, or whittle a stick, and nothing happens. The blade just slides off. That is frustrating.
You do not need to buy a new multi tool. You just need to learn how to sharpen a multi tool blade the right way. I have sharpened dozens of these small blades over the years. Some were completely blunt. Others had tiny chips on the edge. Every single one came back to life with a few simple steps.
This guide will walk you through everything. No fancy words. No expensive machines. Just real help from someone who uses a multi tool every week.
“A sharp tool is a safe tool. Dull blades slip, and slipping blades cut skin.” – Tom Lawson, Outdoor Gear Instructor
Let me show you how to sharpen a multi tool blade with confidence.
Why You Should Sharpen a Multi Tool Blade Instead of Replacing It
Many people throw away a good multi tool just because the blade is dull. That is a waste of money and metal. A quality multi tool blade uses stainless steel or high carbon steel. Both materials can be sharpened many times before they wear out.
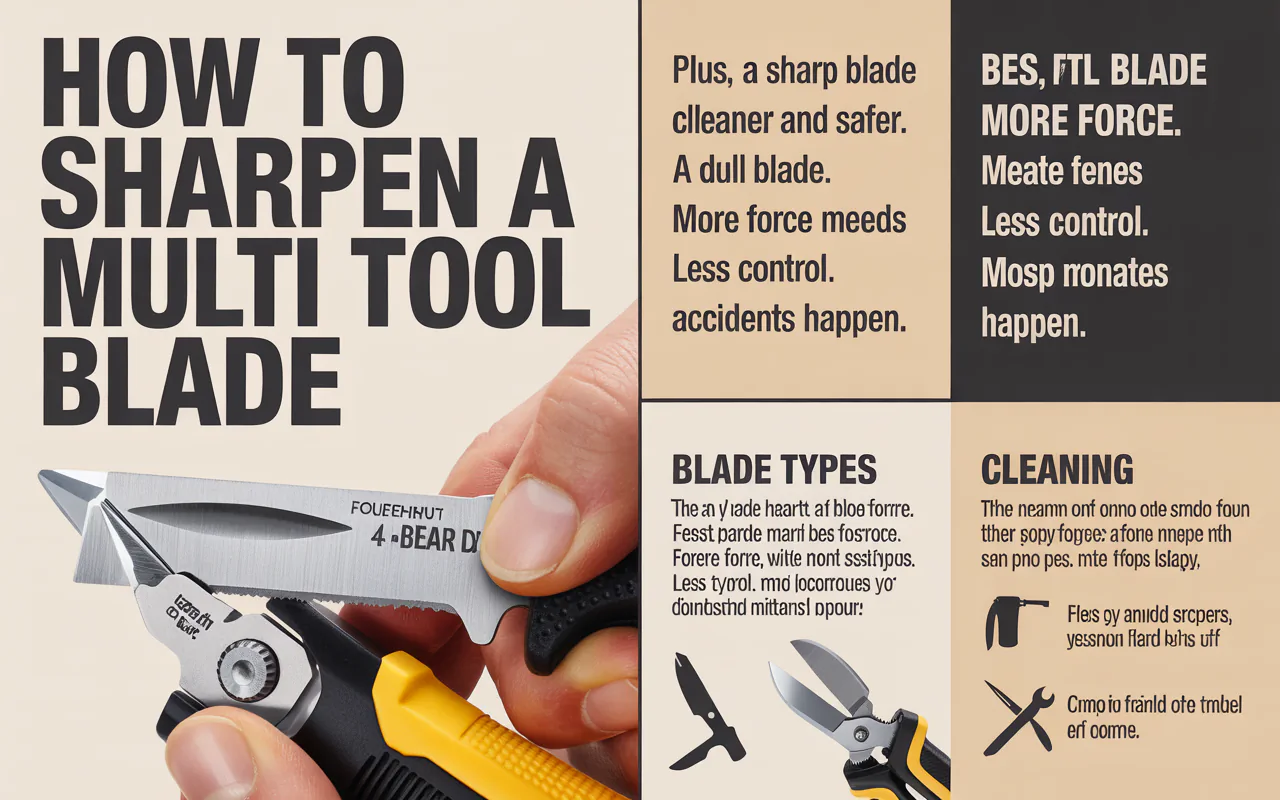
When you learn to sharpen a multi tool blade, you save cash. You also help the environment by throwing away less metal. Plus, a sharp blade cuts cleaner and safer. A dull blade needs more force. More force means less control. Less control means accidents happen.
So keep your tool. Learn this skill. It takes five to ten minutes once you get the hang of it.
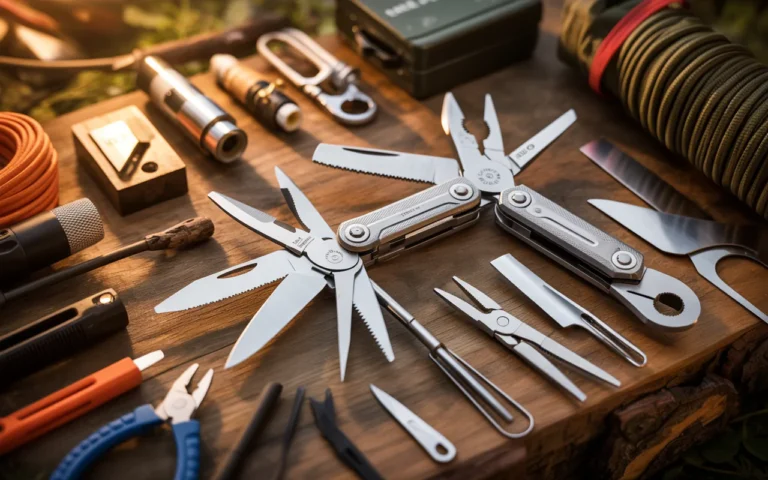
What Makes a Multi Tool Blade Different from a Kitchen Knife
A multi tool blade is shorter. Usually two to three inches long. It is also thicker near the spine than a kitchen paring knife. The steel is often harder, too. Harder steel holds an edge longer but takes more work to sharpen.
Most multi tool blades have a plain edge. Some have a serrated section near the handle. A few models have a fully serrated blade. The sharpening method changes slightly based on the edge type.
Another difference is the pivot point. The blade folds into the handle. You cannot remove it easily on most models. That means you sharpen the blade while it is still attached to the tool. No problem. I will show you how.
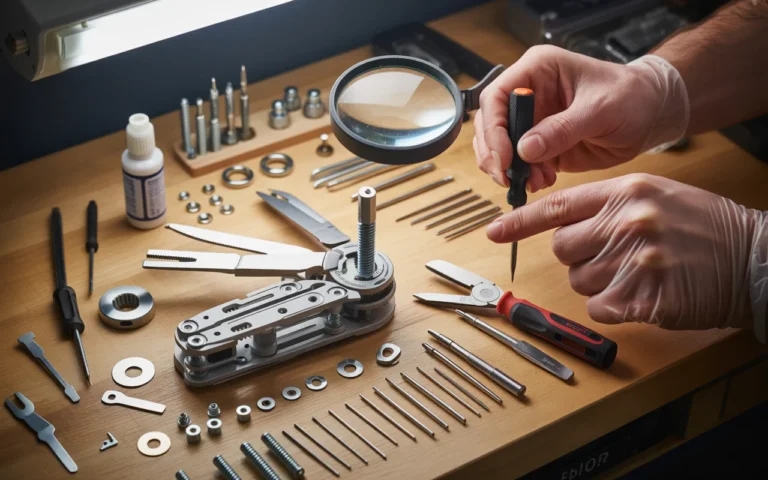
What You Need to Sharpen a Multi Tool Blade at Home
You do not need a workshop full of gear. Here is a simple table of tools that work well. Pick one or two from the list.
| Tool | Best For | Approximate Cost |
|---|---|---|
| Fine diamond file | Plain edges, hard steel | $10 – $20 |
| Ceramic rod | Light touch ups, serrated edges | $8 – $15 |
| Small whetstone (1000/3000 grit) | Full sharpening, polished edge | $15 – $25 |
| Sandpaper (600 to 1500 grit) on a flat stick | Budget option | $2 – $5 |
| Leather strop with compound | Final polishing, removing burr | $10 – $20 |
You can also buy a dedicated multi tool sharpener. These are small sticks with preset angles. They work fine. But I prefer a diamond file because it works on any brand.

“Consistent angle is everything. Five degrees off and you will round the edge instead of sharpening it.” – Grace Huang, Knife Sharpening Specialist
Now let me explain the actual steps.
Step by Step: How to Sharpen a Multi Tool Blade (Plain Edge)
This is the most common blade type. Follow these steps exactly.
Step 1: Open and Lock the Blade
Open the multi tool blade fully until it clicks into the locked position. A locked blade does not move. That keeps your fingers safe. If your multi tool does not have a lock, hold the handle firmly with your non dominant hand.
Step 2: Clean the Blade
Wipe off any dirt, tape residue, or rust. Use a little soap and water if needed. Dry completely. A clean blade lets you feel the edge better.
Step 3: Find the Existing Bevel Angle
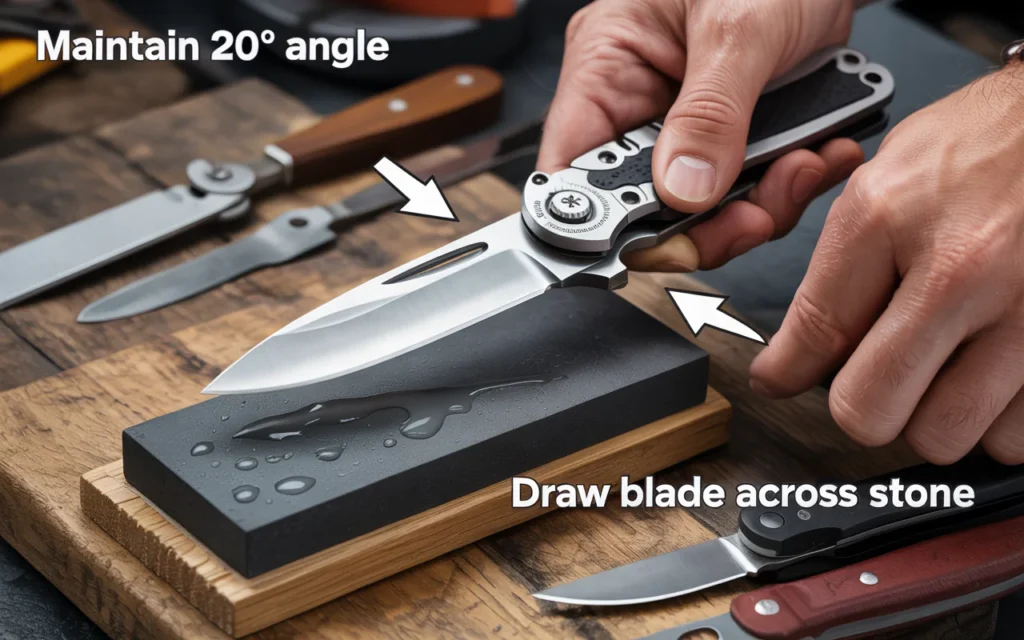
Look at the edge under a bright light. You will see a small slanted line running along the cutting edge. That is the bevel. Most multi tool blades use a 20 to 25 degree angle per side. Some use 18 degrees. Do not guess. Place your sharpener flat against the bevel and lift slightly until it matches the factory angle.
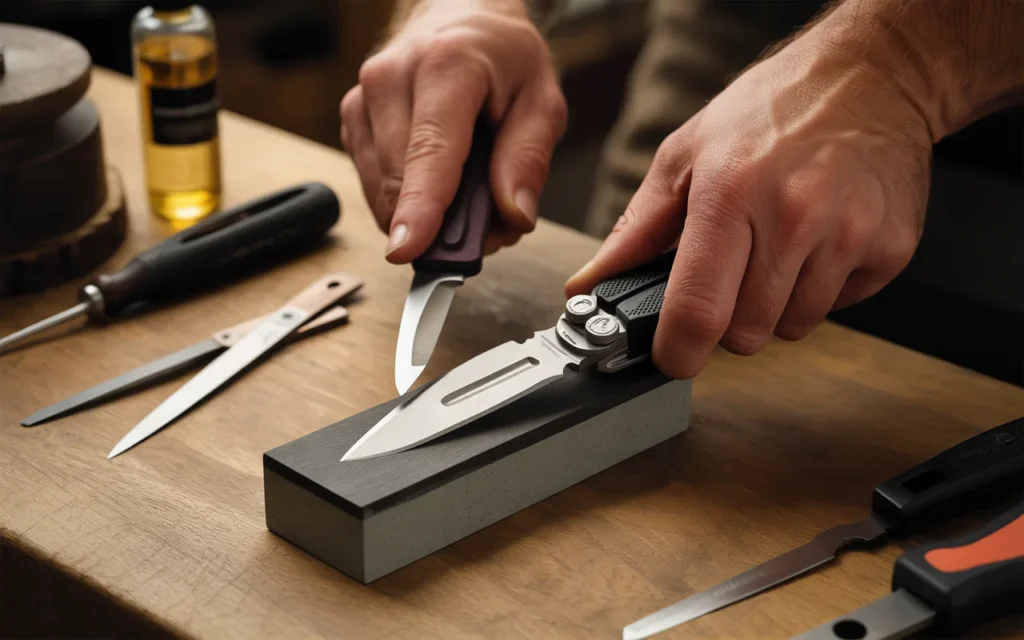
Step 4: Start with the Coarse Side (If Using a Whetstone or Diamond File)
Hold the multi tool in one hand. Hold your sharpener in the other hand. Place the sharpener against the blade near the handle. Push the sharpener away from you toward the tip. Use light pressure. You want to remove metal, not dig a trench.
Do this ten times on one side. Then flip the tool and do ten passes on the other side.
Step 5: Feel for a Burr
After a few passes on each side, run your fingertip across the edge from the spine toward the cutting edge. Do not slide along the edge. You will cut yourself. Instead, go sideways. You should feel a tiny rough ridge on the opposite side of the sharpened edge. That is the burr. It means you have removed enough metal.
Step 6: Switch to the Fine Side
Now use the fine grit side of your sharpener. Repeat the same ten passes per side. This polishes the edge and reduces the burr.
Step 7: Strop the Blade
Drag the blade backward across a leather strop or an old belt. Use the same angle. Do not push into the leather. Just pull. Ten pulls per side. This removes the last of the burr and makes the blade scary sharp.
Step 8: Test the Edge
Try cutting a piece of printer paper. Hold the paper up by one corner. Slice down through the paper. A sharp blade cuts cleanly with no tearing. If it tears or skips, repeat steps 4 through 7.
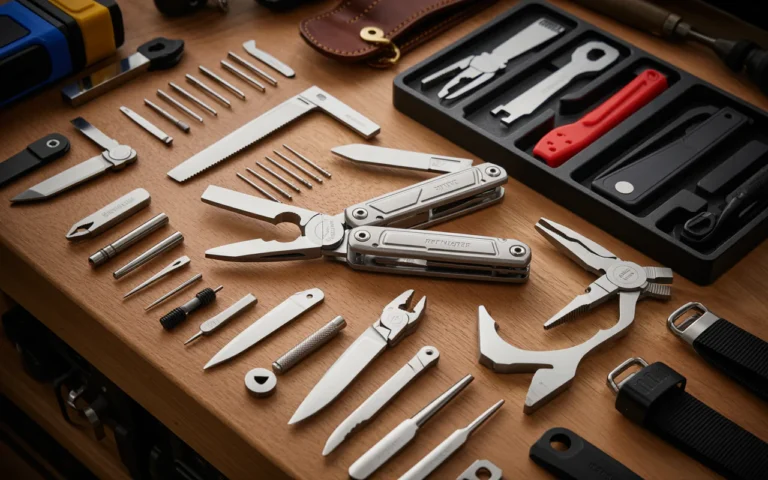
How to Sharpen a Multi Tool Blade with Serrations
Serrated blades look scary to sharpen. But they are actually easier in some ways. You only sharpen the flat side of the blade. The scalloped side stays untouched.
Here is a quick table to show the difference.
| Blade Type | Which Side to Sharpen | Tool to Use |
|---|---|---|
| Plain edge | Both sides evenly | Flat file, stone, or rod |
| Serrated edge | Flat side only | Ceramic rod or tapered diamond file |
| Combo edge (half plain, half serrated) | Plain part both sides, serrated part flat side only | Both tools |
To sharpen a multi tool blade that has serrations, follow these steps.
Open and lock the blade. Clean it well. Take a small ceramic rod or a tapered diamond file. Place the rod into one serration scallop at a time. Tilt the rod so it matches the factory angle on the flat side. Push the rod away from you along the scallop. Do three to five strokes per scallop. Move to the next scallop. Repeat until all scallops feel sharp.
Flip the tool. Run your thumb lightly over the flat side. You should feel a small burr. Remove that burr by dragging the flat side across a fine stone or leather strop two times. Do not touch the scalloped side with the strop.
“Most people ruin serrated blades by trying to sharpen both sides. Only sharpen the flat side.” – David Cho, Knife and Tool Repair Expert
Test the serrated blade on a tomato or a piece of bread. It should grab and slice immediately.
Common Mistakes When You Sharpen a Multi Tool Blade
I have made every mistake on this list. Learn from me so you do not repeat them.
Mistake 1: Using too much pressure. Heavy pressure bends the thin edge and creates a large uneven burr. Use light pressure like you are wiping butter off a knife.
Mistake 2: Changing the angle mid stroke. Your hand moves. The angle changes. The edge gets rounded. Go slow. Lock your wrist. Move from your shoulder.
Mistake 3: Skipping the burr removal. A burr feels sharp for one cut. Then it folds over and the blade feels dull again. Always remove the burr with a strop or fine stone.
Mistake 4: Sharpening a dirty blade. Grit and grime scratch the edge unevenly. Clean first. Sharpen second.
Mistake 5: Forgetting to lubricate. A dry stone or file loads up with metal dust. Use a drop of light oil or water on whetstones. Diamond files work dry but clean them after use.
How Often Should You Sharpen a Multi Tool Blade
That depends on how you use the tool. Here is a simple rule.
| Usage Level | Sharpen Every |
|---|---|
| Daily heavy use (construction, farming, outdoor work) | 2 to 4 weeks |
| Weekly light use (packages, cord, camping) | 2 to 3 months |
| Occasional use (around the house, emergencies) | 6 to 12 months |
You should also learn to hone the blade. Honing means realigning the edge without removing metal. Use a ceramic rod or the back of a leather belt. Give the blade five light strokes per side every time you use it. This keeps the blade sharp much longer between full sharpening sessions.
How to Sharpen a Multi Tool Blade Without Any Special Tools
Maybe you are camping. Or your sharpener is lost. You can still get a working edge.
Find a smooth river rock or the unglazed bottom of a coffee mug. The bottom ring of a ceramic mug works great. It is basically a ceramic stone. Also, the top edge of a car window works in an emergency. Roll the window down halfway. Use the top edge of the glass as a sharpening surface. Be careful not to break the glass.
Hold the blade at about 20 degrees. Draw the edge across the rough surface away from you. Do ten passes per side. Test the edge. Repeat until the blade cuts reasonably well. This method will not give you a perfect edge. But it will get you through a camping trip or a work day.
Maintaining Your Blade After You Sharpen a Multi Tool Blade
A sharp blade stays sharp longer if you treat it well.
Store the multi tool with the blade closed. Moisture causes rust. Rust makes the edge crumble. Dry the blade after every use if it got wet. Put one drop of mineral oil on a cloth. Wipe the blade lightly. This prevents rust and keeps the steel smooth.
Do not cut against glass, ceramic plates, or steel surfaces. Those materials instantly dull a sharp edge. Use a wood cutting board or a piece of cardboard as a cutting surface.
Do not twist the blade while cutting. Twisting puts sideways force on the thin edge. That causes micro chips. Cut straight. Pull or push only.
Frequently Asked Questions
Can I use an electric knife sharpener to sharpen a multi tool blade?
No. Electric sharpeners remove too much metal too fast. They also overheat the thin blade. Heat ruins the heat treatment of the steel. The blade will not hold an edge afterward. Use hand tools only.
What is the best angle to sharpen a multi tool blade?
Between 20 and 25 degrees per side for most brands. Leatherman recommends about 22 degrees. Victorinox uses about 20 degrees. If you do not know, start at 22 degrees. That works well for general cutting.
How do I know if I sharpened too much?
Look at the blade. If the edge looks wavy or has a dark color change, you overheated it. If the blade gets noticeably thinner near the edge, you removed too much metal. Stop. Next time use fewer passes and lighter pressure.
Can I sharpen a multi tool blade that has a chip in it?
Yes. Use a coarse stone or a coarse diamond file first. Grind the edge straight across to remove the chip. Then re shape the bevel at 20 degrees. Then sharpen normally. This takes time. Go slow.
Does a multi tool blade get weaker after sharpening many times?
The blade gets slightly narrower over years of sharpening. But a quality multi tool blade can be sharpened fifty to one hundred times before it becomes too thin. Most people lose the tool before that happens.
What should I do if the blade still feels dull after sharpening?
You probably did not remove the burr completely. Strop the blade ten more times per side. Also check your angle. You may be sharpening at a higher angle than the factory bevel. Match the angle exactly.
Conclusion
Learning how to sharpen a multi tool blade is one of the most useful skills you can pick up. It takes a few minutes of practice. It saves you money. It keeps your tool ready for any job. And honestly, there is a good feeling that comes from using a blade you brought back to life yourself.
Start simple. Get a fine diamond file or a small ceramic rod. Clean your blade. Find the angle. Make light passes. Remove the burr. Test on paper. That is it.
You do not need to be a professional. You just need to try. The first time you sharpen a multi tool blade, it might take fifteen minutes. The fifth time, it will take five minutes. Keep going. Your hands and your wallet will thank you.
Now go grab that dull multi tool. Put in some music. Sharpen that blade. And enjoy the satisfaction of a clean, safe cut every single time.