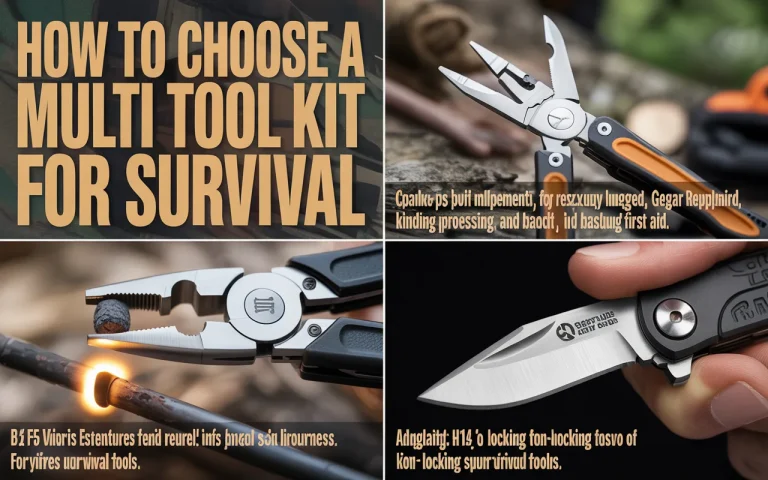
Learn exactly how to sharpen a multi tool blade with simple steps and common tools. We show you the angles, methods, and tricks to get your blade razor-sharp again.
Your multi-tool is probably one of your favorite gadgets. It sits in your pocket, your glove box, or your backpack, ready to help with any little job. But after cutting some rope, opening a few packages, or whittling a stick, you might notice the blade just doesn’t cut like it used to. It pulls, it tears, or it simply won’t bite into the material. This is the moment you need to know how to sharpen a multi-tool blade.
How To Sharpen A Multi Tool Blade. A dull blade is not just annoying. It is actually more dangerous than a sharp one. You have to push harder, and when you push harder, you lose control. If the blade slips, you get hurt. Keeping your tools sharp is about safety first. It is also about respecting your gear. A well-maintained multi-tool will last for decades.
Many people think sharpening a small blade is hard. They think they need expensive machines or special skills. That is not true. You can get a scary-sharp edge with just a few simple items. In this guide, we will walk through the entire process. We will talk about the tools you need, the right angle to use, and the step-by-step method to bring that edge back to life.
We will keep things simple. No fancy words. Just real advice from someone who has sharpened a lot of knives and multi-tools over the years.
Why Your Multi-Tool Blade Gets Dull
How To Sharpen A Multi Tool Blade. Before we start grinding metal away, it helps to understand what “dull” really means. When you look at a sharp blade under a microscope, the edge is actually very thin. It comes to a fine point. When you use the blade, that thin edge bends, rolls over, or chips off.
Every time you cut something, you are wearing down that edge. Cardboard is especially hard on blades because it contains small minerals. Rope and plastic are also tough. Over time, the sharp V-shape becomes rounded. That is why the blade slides across the surface instead of biting in.
Knowing this helps you understand sharpening. Sharpening is simply the act of grinding away a tiny bit of metal to create a new, thin edge. You are removing the rounded, damaged part to reveal the sharp metal underneath.
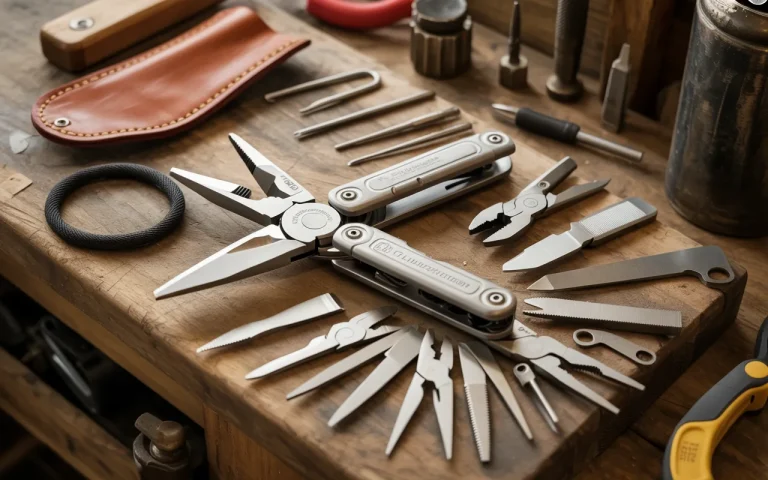
Tools You Can Use to Sharpen a Multi-Tool Blade
How To Sharpen A Multi Tool Blade. You do not need a workshop full of gear. Most people already have something in the house that will work. Here are the most common tools for the job.
Whetstones
These are the classic sharpening stones. They come in different grits. Coarse grit (low number like 400) removes metal fast. Fine grit (high number like 1000 or 3000) polishes the edge. You can use oil or water on these stones, depending on the type. They are cheap and they work great.
Diamond Rods
Many multi-tools actually come with a small diamond rod built into the handle. Look at your tool. You might have a tiny file or rod that pulls out. This is specifically for sharpening the blade. Diamond is very hard and cuts fast. It is perfect for tough steels.
Ceramic Stones
Ceramic is another excellent material. It is harder than steel and gives a very fine finish. You often see ceramic rods in kitchen knife sharpeners. They are great for putting a final polish on the edge.
Sandpaper
If you have nothing else, get some sandpaper. Use wet/dry sandpaper from the hardware store. Lay it flat on a hard surface like a piece of glass or a granite countertop. Then, run the blade across it. Start with 400 grit and move up to 1000 or 1500 grit.
Guided Systems
For beginners, a guided sharpening system can be a big help. These systems hold the blade at a fixed angle. You just run the stone along a rod. This takes the guesswork out of holding the angle.
Here is a quick look at your options.
| Sharpening Tool | Best For | Difficulty Level |
|---|---|---|
| Whetstone | General sharpening, all blade types | Medium |
| Diamond Rod | Quick touch-ups, very hard steels | Easy |
| Ceramic Stone | Fine polishing and honing | Easy |
| Sandpaper | Budget option, works well | Medium |
| Guided System | Perfect angles, beginners | Easy |
The Critical Factor: Finding the Right Angle
This is the part where most people mess up. The angle of the blade against the stone determines how the knife cuts. If the angle is too steep (high number), the edge is thick and strong, but it won’t slice well. If the angle is too shallow (low number), the edge is thin and sharp, but it might chip easily.
Most multi-tool blades are made of stainless steel. They are tough, but they are not super-hard like some kitchen knives. For a multi-tool blade, you generally want an angle between 20 and 25 degrees.
What does that mean in real life? Imagine a piece of paper folded in half. The angle of that fold is about 20 degrees. You want the blade to meet the stone at that same sort of angle.
How do you keep that angle?
Practice. Put the blade flat on the stone. Slowly raise the spine (the top, dull edge of the blade) until you feel the bevel (the angled part) lay flat against the stone. That is your starting point. You want to maintain that angle as you move the blade across the stone.
“Sharpening is 90% angle control and 10% elbow grease. If you can hold a steady angle, you can sharpen anything.” – Liam Carter, Tool Maker and Instructor
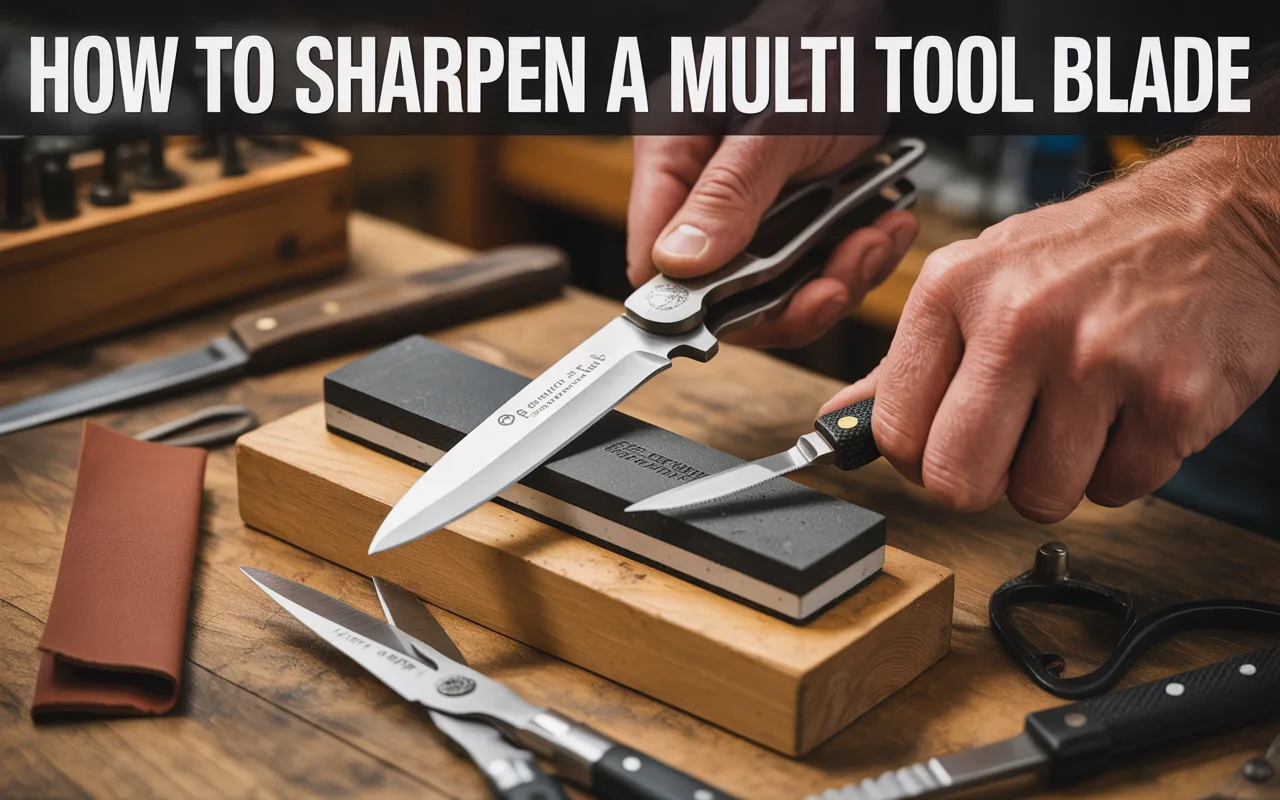
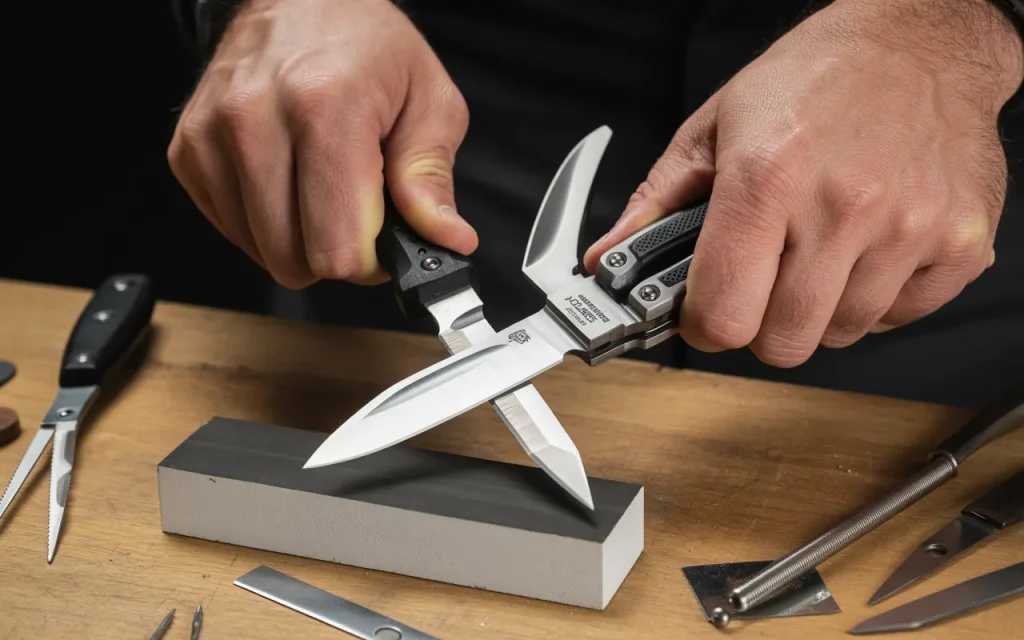
Step-by-Step: How to Sharpen a Multi-Tool Blade
How To Sharpen A Multi Tool Blade. Let us get into the actual process. We will assume you are using a whetstone or a diamond stone, as these are the most common. The steps are similar for all methods.
Step 1: Clean the Blade
Your blade has dirt, oil, and sticky residue on it. Wash it with soap and water. Dry it completely. If you sharpen a dirty blade, you just grind dirt into the stone.
Step 2: Secure the Stone
Your stone must not move. Place it on a damp cloth or a rubber mat. This stops it from sliding around while you work. Safety first.
Step 3: Lubricate (If Needed)
Check your stone’s instructions. Some stones use water. Some use oil. Some are diamond stones and work dry. If your stone needs it, apply a small amount of water or oil to the surface.
Step 4: Find Your Angle
Hold the multi-tool firmly. Place the blade against the stone at the angle we talked about. Start with the heel of the blade (the part closest to the handle) touching the stone.
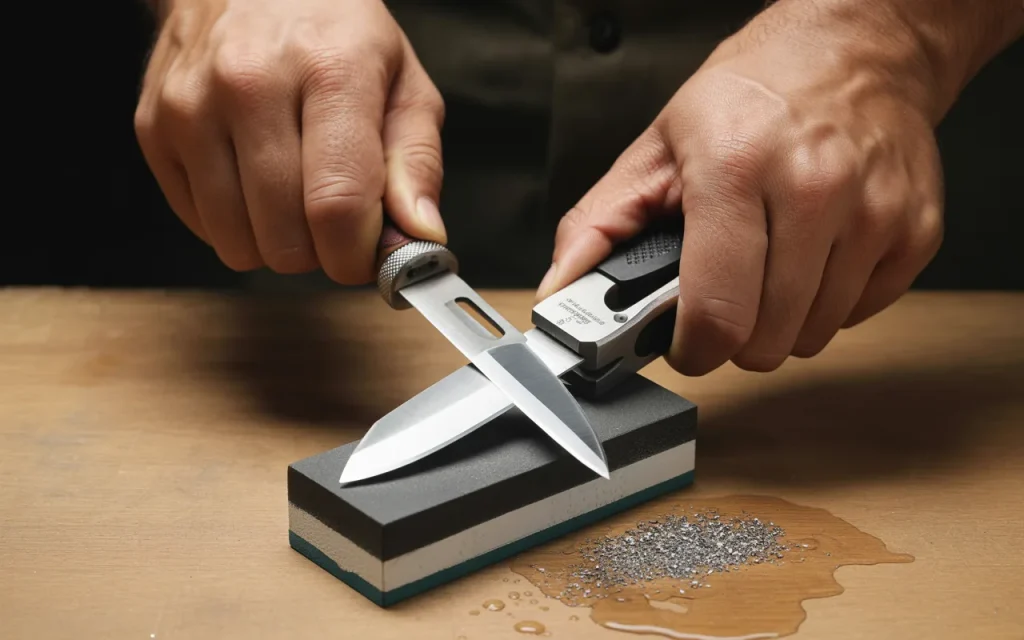
Step 5: The Sharpening Motion
Push the blade away from you, moving from the heel to the tip. Imagine you are trying to slice a thin layer off the top of the stone. As you push, move the blade so that the tip also runs across the stone. This ensures the whole edge gets worked.
Lift the blade, bring it back to the starting position, and repeat. Do this 5 to 10 times.
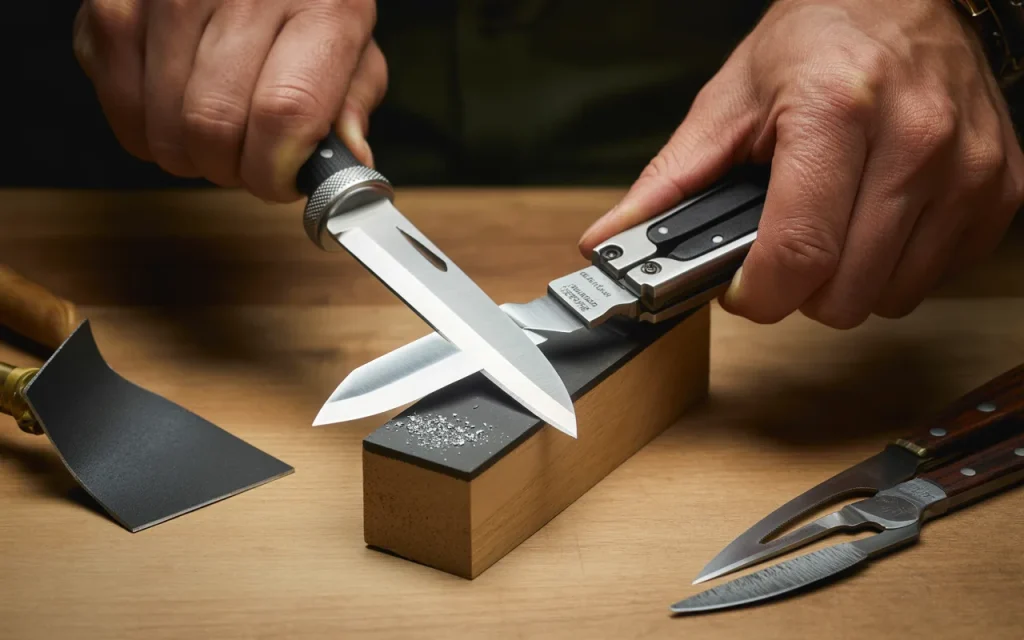
Step 6: Switch Sides
Now, do the same thing on the other side of the blade. Put the blade flat, raise the spine, and find the angle. This time, you will pull the blade toward you, again moving from heel to tip. Do this 5 to 10 times.
Step 7: Check for a Burr
After a few passes on each side, run your thumb lightly away from the edge (perpendicular to it, not along it). Do you feel a tiny rough lip on the side opposite the one you just sharpened? That is a burr. It is a thin wire of metal that forms when you have sharpened enough to push the edge to the other side. Feeling a burr tells you that you have removed enough metal.
Step 8: Repeat with a Finer Grit
If you have a finer stone, switch to it now. Repeat the process. This polishes the edge and removes the scratches from the coarse stone.
Step 9: Remove the Burr
That little burr needs to go. You can do this by making one or two very light, alternating passes on the fine stone. Some people strop the blade on an old leather belt or even a piece of cardboard to knock the burr off cleanly.
Step 10: Clean Up
Wash the blade again to remove any metal dust. Dry it and apply a tiny drop of oil to the pivot point of the multi-tool.
Table: Common Sharpening Mistakes
It helps to know what not to do. Here are the most common errors people make.
| Mistake | Why It’s Bad | How to Fix It |
|---|---|---|
| Using the Wrong Angle | You change the geometry of the blade. It won’t cut right. | Practice holding the angle steady. Use a marker on the edge to see where you are removing metal. |
| Not Creating a Burr | You haven’t sharpened enough. The old edge is still there. | Keep going until you feel a burr on the opposite side. |
| Pushing Too Hard | You dig deep scratches and can damage the thin edge. | Use light pressure. Let the stone do the work. |
| Ignoring the Tip | The tip stays dull because you stop the motion short. | Make sure your stroke carries through to the very end of the blade. |
| Sharpening the Wrong Part | You only sharpen the flat of the blade, not the bevel. | Pay attention to where the metal meets the stone. You want the angled bevel to be flat on the stone. |
Quick Touch-Up Methods
Sometimes you do not need a full sharpening. The blade is still pretty sharp, but it just lost its bite. For these times, you can use a quick touch-up method.
The Ceramic Rod
If your multi-tool has a built-in ceramic rod, use it. Open the blade fully. Hold the rod at the same 20-degree angle against the blade. Run the blade down the rod, from heel to tip, as if you are trying to slice the rod. Do this 5 or 6 times on each side. This realigns the edge and restores sharpness quickly.
The Coffee Mug Trick
This sounds crazy, but it works in a pinch. Flip a ceramic coffee mug over. Look at the bottom rim. It has a rough, unglazed ring of ceramic. You can use this like a sharpening stone. Hold the blade at the correct angle and run it across the rough ceramic. It acts as a very fine abrasive. This is a great survival trick.
“The unglazed ring on the bottom of a mug is a perfect emergency sharpener. I’ve used it on camping trips more times than I can count.” – Sarah Jenkins, Outdoor Guide
Testing Your Work
How do you know if you did a good job? You need to test the edge safely.
The Paper Test
Take a single sheet of printer paper. Hold it up in the air. Try to slice it with the blade. A sharp blade will bite into the paper and cut cleanly without tearing. If the blade just pushes the paper or makes a ragged tear, it is still dull.
The Arm Hair Test
This is the standard test for razor sharpness. Hold the blade just above your forearm. Gently push it forward. A truly sharp blade will shave the hair off cleanly without pulling. Be very careful with this test. You do not want to cut yourself.
The Tomato Test
If you have a tomato, try to slice it. A sharp knife will cut the skin with almost no pressure. A dull knife will squish the tomato.
Maintaining Your Multi-Tool Blade
Sharpening removes metal. You can only do it so many times before the blade becomes thin and weak. The best way to keep your blade sharp is to maintain it so you don’t have to sharpen it as often.
Clean after use. Wipe the blade clean. Acids from fruit or sticky sap from tape can corrode the steel and dull the edge over time.
Oil the pivot. A drop of oil keeps the action smooth so you don’t bang the blade around when opening and closing it.
Store it properly. Don’t throw your multi-tool loose in a drawer with other metal tools. They will bang against each other and chip the edge. Keep it in a pocket or a dedicated pouch.
Use the right tool for the job. Your multi-tool blade is great for cutting rope, opening boxes, and whittling. It is not a pry bar. It is not a screwdriver. Using it for the wrong job will ruin the edge instantly.
Frequently Asked Questions
Can I use an electric knife sharpener on my multi-tool?
It is not a good idea. Electric sharpeners remove a lot of metal very fast. They are designed for thicker kitchen knives. A multi-tool blade is small and thin. You could easily ruin it or grind it down too much.
My multi-tool has a serrated blade. How do I sharpen that?
Serrated blades are different. You need a tapered diamond or ceramic rod that is small enough to fit into the serrations. You sharpen each little scallop individually. You only sharpen the beveled side of the serration. You do not sharpen the flat side.
How often should I sharpen my multi-tool blade?
It depends on how much you use it. If you use it daily, you might need a touch-up every few weeks. If you use it once a month, it might stay sharp for a year. Sharpen it when it no longer passes the paper test.
Is it worth it to send it to a professional?
For a very expensive multi-tool, or one with a lot of sentimental value, yes. A professional can do a beautiful job. But for most people, learning to do it yourself is faster, cheaper, and very satisfying.
Can I use a file from the hardware store?
A standard metal file is too coarse. It will leave deep scratches and remove way too much metal. You need a sharpening stone or a fine diamond file made for knives.
“Learning to sharpen your own tools is a small act of self-reliance. It connects you to the gear you use every day.” – Mark Rivera, Author of ‘The Practical Outdoorsman’
Conclusion
Knowing how to sharpen a multi-tool blade is a basic skill that pays off every time you use your tool. It keeps you safe, it makes your work easier, and it extends the life of your gear. You do not need to be an expert. You just need a simple stone, a steady hand, and a little bit of patience.
Start with a blade that is not too dull. Practice holding that 20-degree angle. Focus on feeling for the burr. That little rough edge is your proof that you are actually moving metal and creating a new sharp edge.
Your multi-tool is a partner in your daily tasks. It helps you fix things, build things, and solve problems. Taking the time to care for it is a way of saying thank you. So grab your stone, open up that blade, and give it the edge it deserves. You will be amazed at the difference it makes.