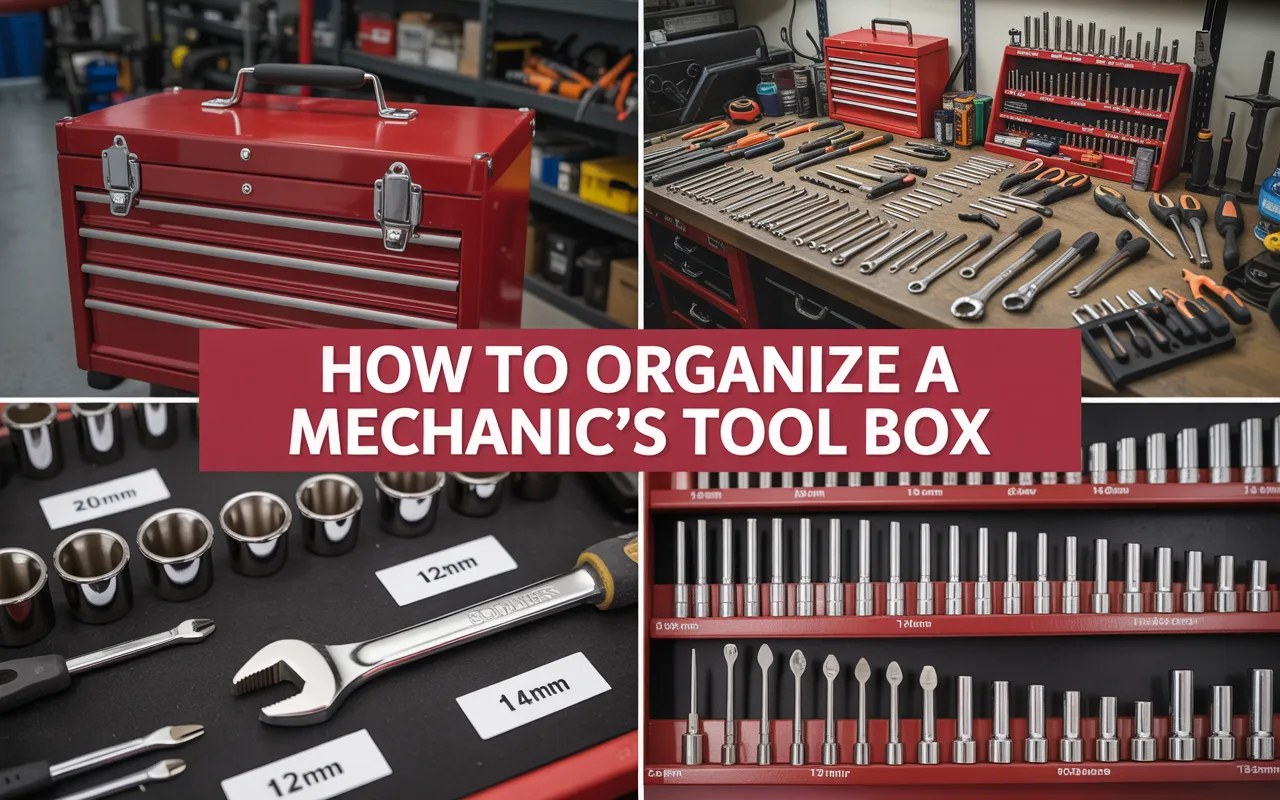
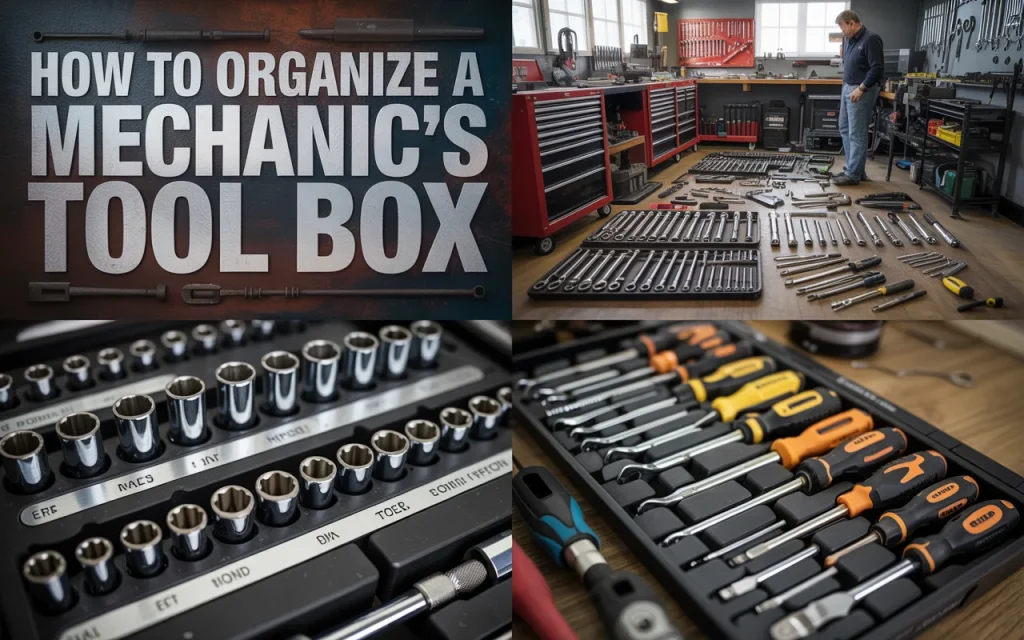
Learn the best way to organize a mechanic’s tool box so you can find any tool in seconds. We share simple storage tips, drawer layouts, and maintenance tricks for a tidy garage.
A cluttered toolbox is more than just an eyesore. It costs you time and money. When tools pile on top of each other, they get scratched, chipped, or broken. You might even buy a duplicate tool because you cannot find the original.
Having a system helps you stay focused on the job. You grab what you need and put it back without thinking. This habit keeps your workspace safe, too. Loose tools left in a drawer can shift when you open and close it, causing jams or injuries.
When you take the time to organize a mechanic’s tool box, you also get a better sense of what you own. You see the gaps in your collection and the duplicates you can remove. It makes your hobby or job more enjoyable.
Step 1: Empty Everything and Sort Into Groups
Start with a clean slate. Take every single tool out of your box. Spread them on a workbench or a clean floor. This step might feel like a lot of work, but it is the only way to see everything you have.
While you empty the drawers, wipe them down with a rag. Get rid of dust, grease, and metal shavings. A clean foundation makes the whole process feel fresh.
Now, sort your tools into groups. Put all the screwdrivers in one pile, wrenches in another, and sockets in a third. Make piles for pliers, hammers, ratchets, and specialty tools like pry bars or picks. This sorting helps you decide how much space each category needs.
“Cleaning your toolbox is like cleaning your mind. Once you remove the mess, you can think clearly about the next job.” – Mike Thompson, Master Mechanic
Step 2: Choose a Layout That Fits Your Flow
Think about how you work. Do you use sockets more than wrenches? Do you always grab the same hammer? The tools you use most should be the easiest to reach.
Most mechanics put their most-used tools in the top drawers. These are waist level and do not require bending. Less common tools go in the middle or bottom drawers. Heavy items like hammers and large wrenches belong in lower drawers to keep the box stable.
Table: Suggested Drawer Layout by Tool Type
| Drawer Level | Best Tools for This Spot | Why It Works |
|---|---|---|
| Top Drawer | Sockets, ratchets, extensions | You use these constantly. Top drawer keeps them at eye level. |
| Upper Middle | Screwdrivers, pliers, cutters | Easy reach for quick jobs. These tools are light and compact. |
| Lower Middle | Wrenches, combination wrenches | Heavy but used often. Lower spot keeps center of gravity low. |
| Bottom Drawer | Hammers, pry bars, large tools | Weight stays low. Prevents the box from tipping when open. |
Step 3: Pick the Right Organizers for Each Drawer
You cannot just toss tools into drawers. They will slide around and become a mess again. You need organizers that hold each tool in place.
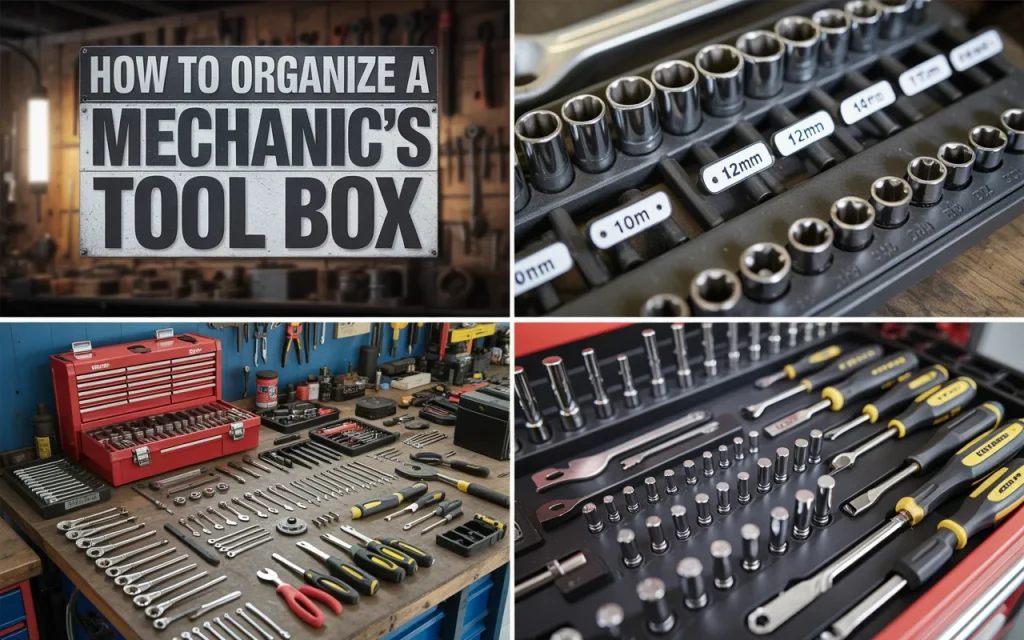
For sockets, use socket trays or rails. These come in clips or posts that hold sockets by size. You can get them in standard or metric, so you keep sets together. Label each post with the size for quick grabs.
For screwdrivers and pliers, use divided bins or foam inserts. Foam is great because you can cut slots for each tool. This method is popular with pro mechanics because it shows exactly where a tool lives. If a tool is missing, you see the empty spot right away.
Wrenches stay neat on wrench racks or magnetic strips. A rail with pegs lets you hang wrenches by size. Magnetic strips hold them firmly but let you pull one off easily.
“Foam inserts changed my work life. I open a drawer and see the outline of every tool. If something is missing, I know before I leave the job site.” – Carlos Mendez, Automotive Technician
Step 4: Arrange Tools by Size and Type
Within each drawer, keep things logical. Put all the metric sockets together and all the standard sockets together. Arrange them from smallest to largest. This order makes it easy to grab the next size up or down.
For wrenches, line them up the same way. Smallest on the left, biggest on the right. If you use combination wrenches, keep the open-end and box-end facing the same direction for consistency.
Screwdrivers can be grouped by tip type. Put flatheads in one row, Phillips in another, and Torx in a third. If you have multiple lengths, organize them from short to long within each type.
This kind of organization becomes a habit. Your hand knows where to go without your eyes having to search.
Step 5: Use Magnetic Strips for Daily Drivers
Some tools come out for almost every job. Things like your favorite ratchet, a pocket screwdriver, or a pair of diagonal cutters. Instead of burying these in a drawer, keep them on a magnetic strip mounted to the side of your box or inside the lid.
Magnetic strips give you quick access. You grab the tool, use it, and put it back in seconds. This method keeps your most-used items from cluttering up your main drawers.
You can also use small magnetic parts trays to hold bolts and screws while you work. Stick one on the side of the box and toss fasteners into it. This keeps them from rolling away and getting lost.
Step 6: Make a Home for Specialty Tools
Specialty tools like brake caliper tools, pullers, or timing light kits do not get used every day. They need a home where they stay safe but out of the way.
Consider a separate smaller box or a deep drawer just for these items. Keep them in their original cases if possible. If the cases are bulky, group similar tools in pouches or small bins. Label each bin so you know what is inside.
Another option is a pegboard on the wall behind your workbench. Hang less-used tools on hooks where you can see them but they do not take up drawer space.
Step 7: Label Everything Clearly
Labels are your best friend. You might think you will remember where everything goes, but over time, things drift. Labels keep you and anyone else who uses your box honest.
Use a label maker or simple masking tape and a marker. Label the front of each drawer with the contents, like “Metric Sockets” or “Pliers.” Inside the drawer, label sections if needed.
If you use foam inserts, you do not need labels. The cutout shapes tell the story. But for bins and trays, a small label saves time.
Table: Simple Labeling Ideas for Your Tool Box
| Drawer Content | Label Suggestion | Extra Tip |
|---|---|---|
| Sockets | 1/4″ Drive Metric | List size range on label (8mm-19mm) |
| Pliers | Pliers / Cutters | Mark which side holds needle nose |
| Wrenches | Combination Wrenches | Add “Metric” or “Standard” clearly |
| Screwdrivers | Flat & Phillips | Separate slots for stubby and long |
| Electrical | Wire Tools | Include crimpers, strippers, tester |
Step 8: Maintain the System Every Week
Organizing is not a one-time job. It is a habit. Spend five minutes at the end of each day or week putting tools back where they belong. Wipe down dirty tools before you store them.
If you notice a drawer getting messy, fix it right away. Do not let small messes grow into big ones. A quick tidy-up takes less time than a full reorganizing session later.
Check your foam inserts or dividers for wear. If a slot gets stretched out, replace the foam or adjust the divider. Keeping the system tight prevents tools from shifting during transport.
Step 9: Upgrade Your Box If Needed
Sometimes the box itself is the problem. If you cannot find a good layout because drawers are too shallow or too few, it might be time for a new box.
Look for a box with deep drawers for big tools and shallow drawers for small items. Ball-bearing slides make opening and closing smooth. A sturdy top surface gives you a place to set tools while you work.
You do not need the most expensive brand. A well-organized mid-range box works better than a high-end box that is a mess inside.
Step 10: Customize for Your Specific Work
A general mechanic works differently than a diesel tech or a home DIYer. Think about your most common jobs. If you work on motorcycles, you might need more metric tools and Torx bits. If you fix appliances, you might use nut drivers and multimeters more often.
Arrange your box to match your actual work, not some ideal layout from a magazine. Put the tools for your most frequent task in the easiest spot. Move less-used items farther away.
This customization makes the box truly yours. It becomes an extension of your hands.
“Your toolbox should tell a story about the work you do. When I open mine, it shows exactly what I value and what I fix every day.” – Diana Ross, Equipment Repair Specialist
Frequently Asked Questions
How often should I reorganize my tool box?
You should do a full clean-out once or twice a year. But a quick tidy-up every week keeps things from getting out of hand. If you notice tools piling up in wrong spots, fix it immediately.
What is the best way to organize sockets?
Socket trays or rails work best. Keep metric and standard separate. Arrange them from smallest to largest. If you use foam, cut holes for each socket so they stand upright and stay put.
Should I keep my tool box locked?
Yes, if you work in a shared shop or have children at home. A lock protects your investment. Many boxes come with built-in locks. Use them whenever you are away from your box.
Can I organize a tool box on a budget?
Absolutely. Use cardboard dividers from shipping boxes to separate tools. Repurpose silverware trays for small parts. Magnetic strips are cheap and hold tools well. Start simple and upgrade organizers over time.
How do I stop tools from rusting in the box?
Keep your box in a dry area. Silica gel packs absorb moisture. You can also use tool box liners that allow air flow. Wipe oily tools with a rag before storing to remove moisture.
What tools should not go in a foam insert?
Very heavy tools like sledgehammers can tear foam over time. They do better in a deep drawer with a mat. Also, sharp tools like chisels can cut foam edges. Use plastic guards on sharp edges.

Conclusion
Learning how to organize a mechanic’s tool box is a skill that pays off every single time you work. You save minutes on every job, protect your tools from damage, and create a workspace that feels calm and under control. Start by emptying everything, sort into logical groups, and choose organizers that fit your drawers. Label the spots and make maintenance a weekly habit. Whether you use high-end foam or simple cardboard dividers, the goal is the same: a place for everything and everything in its place. Take the time now to set it up right, and you will thank yourself on every repair for years to come.