Need to fix loose tools or hinges on a multi tool kit? This guide shows simple steps using basic tools, household items, and proper tightening techniques to restore your multi tool’s function.
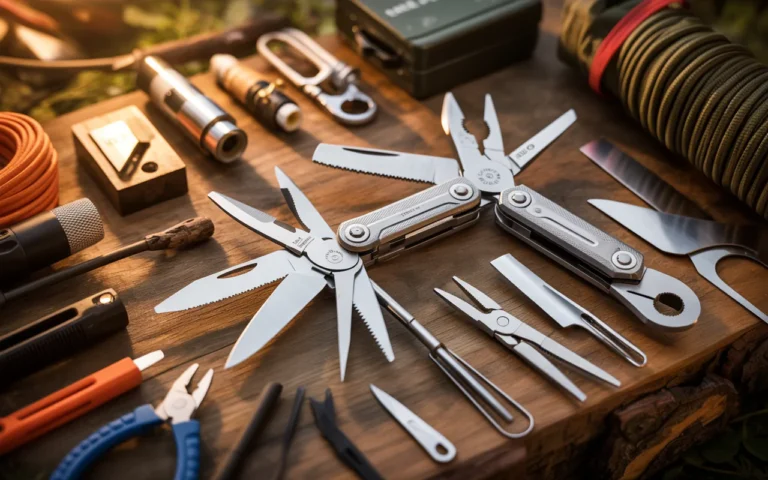
Have you ever pulled out your trusty multi tool only to find that the pliers wobble, the knife blade feels shaky, or the whole thing flops open like a tired old gate? You are not alone. Multi tools are workhorses, but after months or years of use, the hinges and pivots naturally loosen up. The good news is that learning how to fix loose tools or hinges on a multi tool kit is much easier than you think. You do not need a workshop full of fancy gear. Most repairs take less than ten minutes.
In this guide, I will walk you through every simple step. I have fixed dozens of multi tools myself, from budget models to premium brands. I will share the real tricks that work, the tools you actually need, and what to avoid so you do not strip a screw or crack a handle. By the end, your multi tool will feel solid again. Let us get started.
Why Your Multi Tool Hinges Become Loose Over Time
Before you grab a screwdriver, it helps to understand what is happening inside your multi tool. Most multi tools use a pivot joint. This is a small screw, a rivet, or a threaded barrel that holds the handles and tools together. Every time you open a blade, pull out the pliers, or fold a tool back in, you put pressure on that pivot. Over time, metal wears slightly. Lubricants dry out. Dust and pocket lint build up inside the joint.
“Wear and tear is the price of utility. A loose hinge is not a flaw; it is a sign of honest work.” – Mark Henley, tool repair specialist
That quote really hits home. A loose multi tool is not broken. It just needs a little attention. The most common causes of looseness are regular opening and closing (thousands of small movements), carrying the tool in a pocket without a sheath (lint buildup), using the tool for heavier tasks than intended, and factory lubricant drying out after a year or two. Once you know the cause, the solution becomes clear. You need to tighten, clean, and sometimes relubricate the pivot area.
Quick Assessment – Is It the Hinge or the Tool Lock?
How Do I Fix Loose Tools Or Hinges On A Multi Tool Kit. When you try to fix loose tools or hinges on a multi tool kit, first figure out exactly where the movement is coming from. Grab your multi tool and open it fully to plier mode. Hold one handle steady. Wiggle the other handle up and down. If you feel side to side play at the central hinge, that is your main pivot. If only one specific blade wobbles while others are tight, the problem is that individual tool’s pivot.
Here is a simple table to help you diagnose:
| Symptom | Likely Problem | Difficulty to Fix |
|---|---|---|
| Whole tool wobbles at center | Main pivot screw loose | Easy to medium |
| One blade or tool wiggles | Individual tool pivot loose | Medium |
| Handles feel gritty when opening | Dirt or lack of lube | Easy |
| Tool will not stay open | Lock mechanism worn or hinge too loose | Medium to hard |
Another common issue is the locking mechanism. Some multi tools have liner locks or frame locks. If the lock does not engage fully, the tool can feel loose even when the pivot is tight. Check the lock by opening a blade. Push on the spine of the blade. If it moves back without pressing the lock release, your lock is failing. That requires different repair steps, often contacting the manufacturer for warranty. But for most people, the main problem is a simple loose pivot screw. Let us fix that.
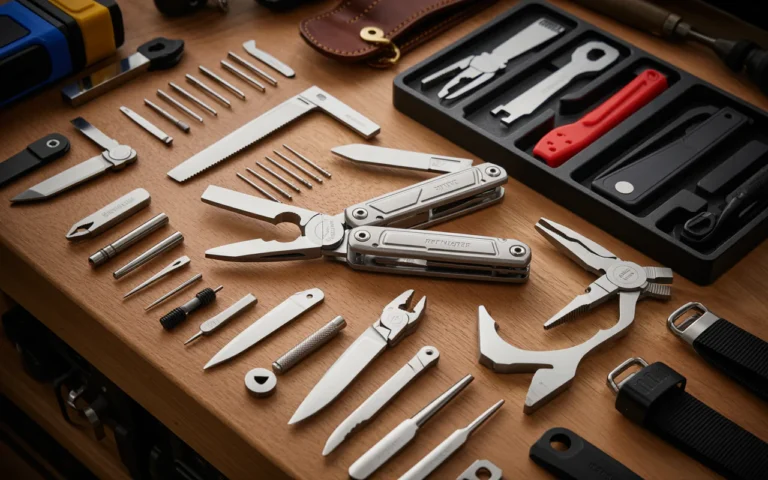
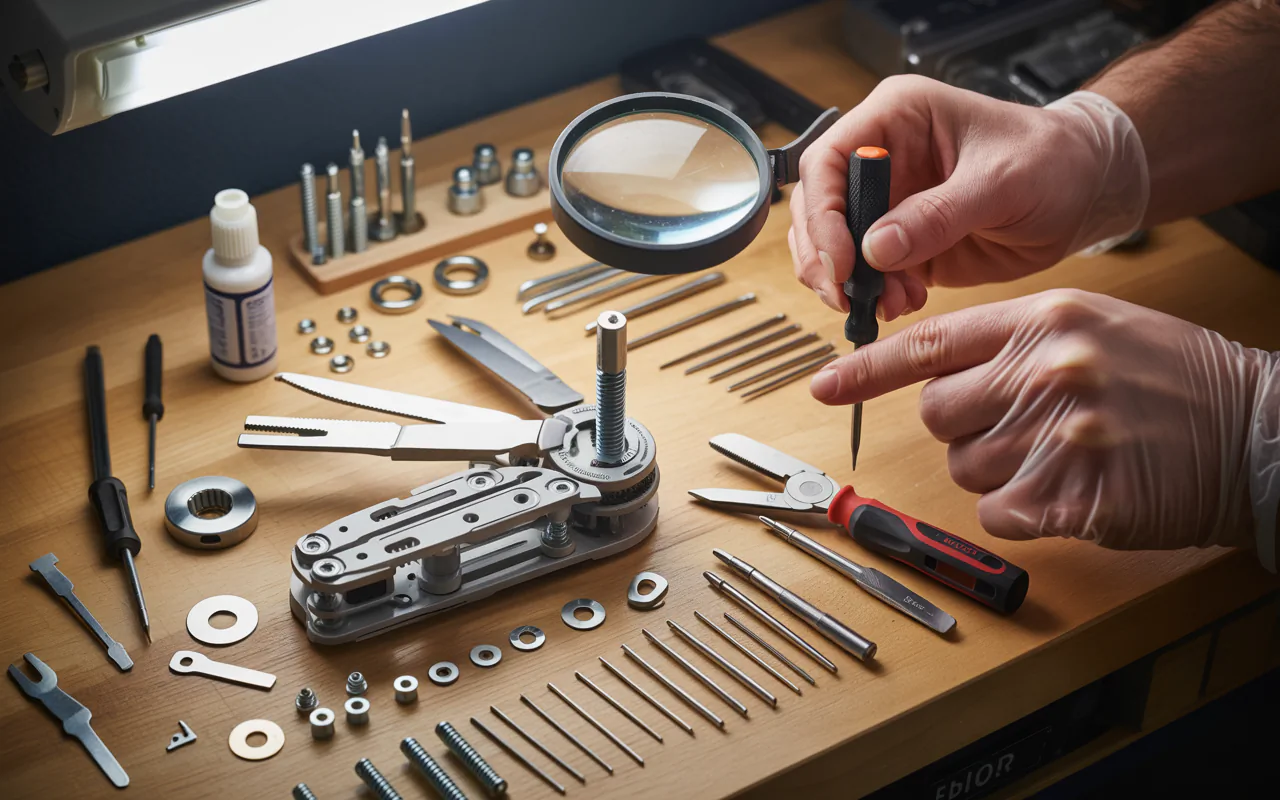
Essential Tools You Probably Already Own
How Do I Fix Loose Tools Or Hinges On A Multi Tool Kit. You do not need a special multi tool repair kit. In fact, you likely have everything you need in your junk drawer right now. Here is what I use for nearly every multi tool hinge fix: a small flathead screwdriver (eyeglass size works great), a precision Phillips head screwdriver (size #0 or #00), a drop of lightweight oil (sewing machine oil or mineral oil), a toothpick or compressed air can, a soft cloth, and optional Loctite 222 (purple, low strength) or a tiny piece of plumber’s tape.
“The best repair is the one you can do with what is already in your house.” – Linda Croft, DIY home repair blogger
How Do I Fix Loose Tools Or Hinges On A Multi Tool Kit. I have used a toothpick and sewing machine oil more times than I can count. Do not use heavy oils like motor oil or cooking spray. They attract dust and make the problem worse over time. Stick to light, clear oils. If your multi tool uses a Torx screw (star shaped) instead of a Phillips or flathead, you may need a small Torx driver. Common sizes are T6, T8, or T10. You can buy a mini Torx set for less than five dollars online or at any hardware store.
Step by Step Guide to Fix Loose Tools or Hinges on a Multi Tool Kit
Now we get to the hands on part. Follow these steps exactly. Go slow. Do not force anything.
Step 1 – Clean the Hinge Area First
Open all the tools slightly. Use compressed air or blow gently into the hinge area to remove loose dust. Then dip a toothpick in a little rubbing alcohol and run it along the pivot gaps. This breaks down old grease and pocket gunk. Wipe with a cloth. Let it dry for two minutes. A clean pivot is essential. If you tighten a dirty hinge, the grit acts like sandpaper and wears the metal faster. Always clean before tightening.
Step 2 – Identify the Pivot Type
Look at the side of your multi tool where the main hinge sits. You will see either a small screw with a slot (flathead), a cross shaped screw (Phillips), a star shaped screw (Torx), or a smooth rivet (cannot be tightened by a user). If you see a smooth rivet, you cannot tighten it with normal tools. For riveted multi tools, you usually need to contact the manufacturer. Some brands like Leatherman offer a 25 year warranty and will fix it for free. For screw type pivots, you are in luck. You can tighten them yourself.
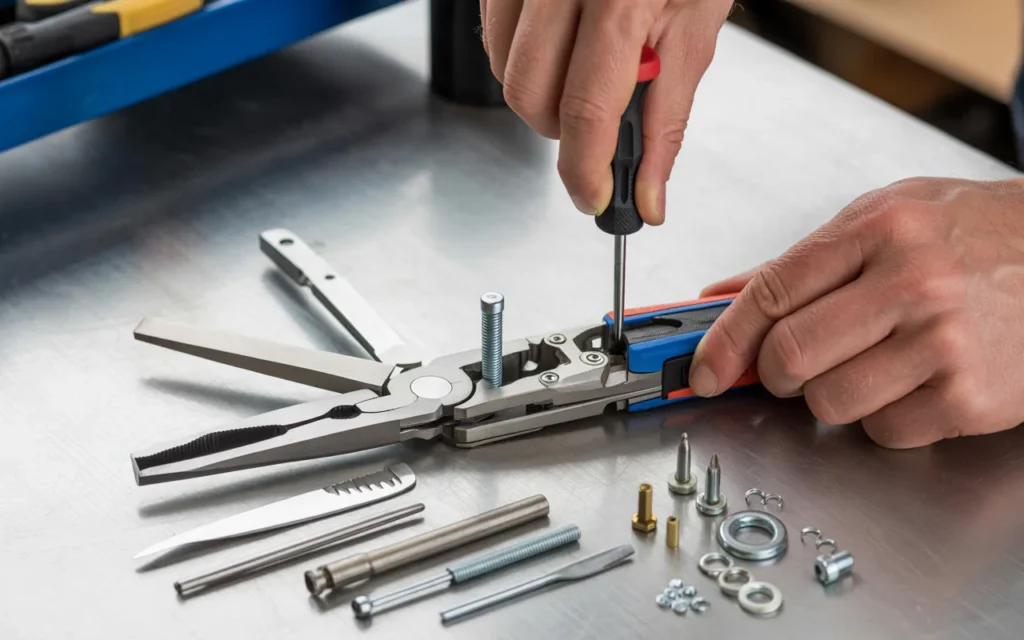
Step 3 – Tighten the Main Pivot
Hold the multi tool firmly in one hand. On most models, one side of the pivot has a screw and the other side is either a nut or a second screw. Use your small screwdriver to turn the screw clockwise (righty tighty). Only turn a quarter rotation at a time. After each small turn, open and close the pliers to test the resistance. You want the tool to open smoothly but with no side wobble. If it becomes too stiff to open with one hand, you have over tightened. Back it off an eighth of a turn.
Here is a quick reference table for tightening feel:
| Feel When Opening | What To Do |
|---|---|
| Falls open with a shake | Too loose, tighten more |
| Smooth but no play | Perfect |
| Stiff, needs two hands | Too tight, loosen slightly |
| Gritty or scratchy | Clean again, add one drop of oil |
Step 4 – Fix Individual Loose Tools
How Do I Fix Loose Tools Or Hinges On A Multi Tool Kit. If only the knife blade or file wiggles, you need to tighten its specific pivot. Open that tool halfway. Look at the base of the tool where it meets the handle. There is usually a small screw on the side. Use the smallest screwdriver that fits perfectly. A loose fit will strip the screw head. Turn clockwise in very small increments. Test the blade by opening and closing it. It should have light resistance but no side shake. If the screw will not turn, it may have threadlocker from the factory. Apply gentle heat from a hair dryer for ten seconds to soften the threadlocker, then try again.
Step 5 – Add Threadlocker for Long Term Fix
Once you have the hinge at the perfect tightness, you can add a tiny drop of purple Loctite 222 to the screw threads. This is a low strength threadlocker. It holds the screw in place but still lets you adjust it later. Do not use red or blue Loctite. Those are permanent or very strong. Purple is made for small screws under 6mm. Apply the tiniest drop you can. Use a toothpick to dab it right onto the screw threads. Then tighten the screw to your final position. Wipe away any excess. Let it cure for one hour before using the tool heavily. If you do not have Loctite, a half inch piece of plumber’s tape wrapped around the screw threads works well too. Just cut a thin strip with scissors.
What Not To Do When You Fix Loose Tools or Hinges
I have made every mistake possible so you do not have to. Here are the big no nos: Do not use super glue. It runs into the hinge and locks it solid. Do not overtighten with a power drill. Hand tighten only. Do not use WD40 as a lubricant. It is a solvent, not a long term oil. It will wash away factory grease and leave the hinge dry. Do not hammer a riveted hinge. You will crack the handle scales. Do not ignore a loose lock. If the lock fails, send the tool to the maker.
“Patience is the secret tool in every repair. Rush and you will break what you meant to fix.” – Sam Reyes, outdoor gear repair instructor
That advice has saved me many times. Go slow. If a screw will not turn, stop and think. Is it reverse threaded? Some multi tools have left hand threads on one side. Try turning clockwise and counter clockwise gently to feel which way moves.
Maintenance Tips to Prevent Future Looseness
How Do I Fix Loose Tools Or Hinges On A Multi Tool Kit. Once you successfully fix loose tools or hinges on a multi tool kit, you want them to stay tight. Here is my simple monthly routine: Open and close all tools a few times to work out dust. Wipe the hinge area with a dry cloth. Add one tiny drop of oil to each pivot. Store the multi tool in a sheath or a dry drawer, not loose in a pocket with coins and keys. Every six months, check pivot tightness. A quarter turn is often enough. I also recommend avoiding using your multi tool as a hammer or a pry bar. That puts sideways pressure on the hinges and bends the pivot barrels. Use a real hammer for hammering. Use a real pry bar for prying. Your multi tool will last for decades.
When to Call the Manufacturer Instead of DIY
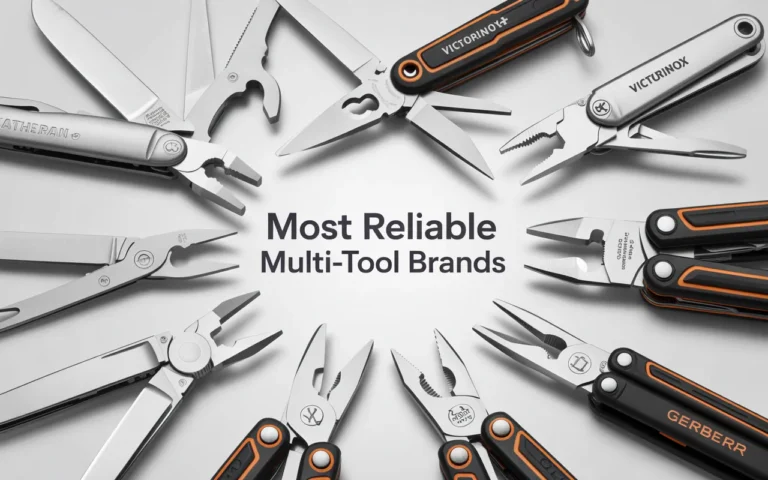
Some loose hinge problems are not user fixable. If your multi tool has a cracked handle, a broken spring, or a riveted pivot that is worn smooth, you need professional help. Good brands like Leatherman, Gerber, Victorinox, and SOG offer warranties. Most are 25 years to lifetime. Before you send it in, clean the tool and take a photo of the loose area. Email customer support. They often send a prepaid shipping label. Turnaround time is usually two to four weeks. This is free except for shipping sometimes. Do not take apart a riveted multi tool yourself. You will void the warranty and likely lose small parts.
Frequently Asked Questions
Can I fix loose tools or hinges on a multi tool kit without any special tools?
Yes. If the pivot uses a screw, a small flathead screwdriver from an eyeglass repair kit works. If you have no screwdriver at all, try a dime or a thin coin for a slotted screw. For Phillips screws, a small knife tip can work in an emergency, but be careful not to slip.
How tight should the hinge be after I fix it?
The hinge should allow each tool to open with one finger but hold its position halfway. There should be no side to side wobble when the tool is locked open. If you shake the closed multi tool, nothing should rattle.
Why does my multi tool keep coming loose again after a week?
This usually means the screw threads are worn or you need threadlocker. Clean the threads with alcohol, dry them, and apply purple Loctite 222. If that still fails, the screw or barrel is stripped. Contact the manufacturer for replacement parts.
Is it safe to use a multi tool with a loose hinge?
No. A loose blade or plier head can close on your fingers during use. A loose saw blade can buckle and cause a bad cut. Always fix loose tools before heavy use. Safety first.
What oil is best for multi tool hinges?
Use a light mineral oil, sewing machine oil, or a specific knife oil like KPL (Knife Pivot Lube). Avoid vegetable oils (they get sticky) and WD40 (too thin and evaporates). One drop every two months is enough.
Conclusion
Learning to fix loose tools or hinges on a multi tool kit is a small skill that saves you money, time, and frustration. You do not need to buy a new multi tool every year. With a tiny screwdriver, a drop of oil, and five minutes of patience, you can bring a wobbly, annoying multi tool back to like new condition. Remember to clean first, tighten in small steps, test the feel often, and add threadlocker for a long lasting fix. Keep your multi tool clean and dry between uses. And if you ever feel stuck, most good brands stand behind their products with real warranties. Now go grab that loose multi tool from your drawer and give it the care it deserves. Your fingers will thank you the next time you need a solid cut or a firm grip.