Learn the best way to organize a tool bag for quick access and efficiency. Simple steps to sort, store, and carry your tools without the mess and frustration.
We have all been there. You need one specific wrench. You know you own it. But your tool bag is a black hole of cords, screwdrivers, and old receipts. You dump everything on the floor. You still cannot find the right size. It is frustrating. It wastes time. It makes a simple job feel like a big chore.
Keeping your gear in order does not require expensive boxes or a workshop. You just need a simple plan. A clean tool bag saves time. It protects your tools. It makes you look professional, even if you are just fixing a shelf at home.
This guide will show you exactly how to organize a tool bag. We will cover sorting, choosing the right bag, and keeping it that way. Let us fix the mess for good.
Why You Need to Organize a Tool Bag Properly
Many people just throw tools into a bucket or an old backpack. This is a mistake. When you learn to organize a tool bag, you are really saving your own energy.
Think about the last time you carried a heavy, messy bag. The weight pulls on your shoulder. The tools shift around. Sharp edges bump against your leg. When you open the bag, everything is tangled.
A well-organized bag solves all of this. It distributes weight evenly. It keeps sharp tools covered. It lets you see everything at a glance.
“Organization is not about perfection; it is about efficiency. Reducing the time you spend looking for a tool is the same as adding time to your life,” says Mark Martinez, a construction site supervisor with 18 years of experience.
When your bag is neat, you also protect your investment. Tools banging together get damaged. Drill bits break. Saw blades dull. A proper setup keeps everything in its place.
Step 1: Empty and Sort Everything
You cannot fix a messy bag by moving things around inside it. You have to start fresh.
Find a large, clean space. A floor or a table works well. Dump the entire contents of your current tool bag onto this surface. Yes, everything. Even the dust and the loose screws from three years ago.
Now, sort the pile into groups.
- Put all the screwdrivers together.
- Gather all the pliers.
- Make a pile for wrenches and sockets.
- Put power tools and batteries in one area.
- Collect all the small stuff: drill bits, nails, tape, pencils.
Look at the pile. Be honest with yourself. Do you need four of the same flathead screwdriver? Probably not. Remove the duplicates. Throw away the broken tools. Recycle the random trash. This step is about clearing the clutter so you only carry what you actually use.
Step 2: Choose the Right Bag
Before you put things back, look at your bag. Is it the right tool for the job? If you try to organize a tool bag that is too small or the wrong shape, you will fail.
Here is a quick comparison to help you pick.
| Bag Type | Best For | Why It Helps With Organization |
|---|---|---|
| Open Tote/Bucket | Heavy tools, quick jobs | You can see everything at once. Easy to grab hammers and large tools. |
| Backpack | Walking long distances, stairs | Distributes weight on both shoulders. Keeps hands free. |
| Zippered Tote | Medium loads, hand tools | Protects tools from dust and rain. Good for carrying to job sites. |
Pick a bag that fits your body and your typical workload. If your current bag is torn or the zipper is broken, this is the time to replace it.
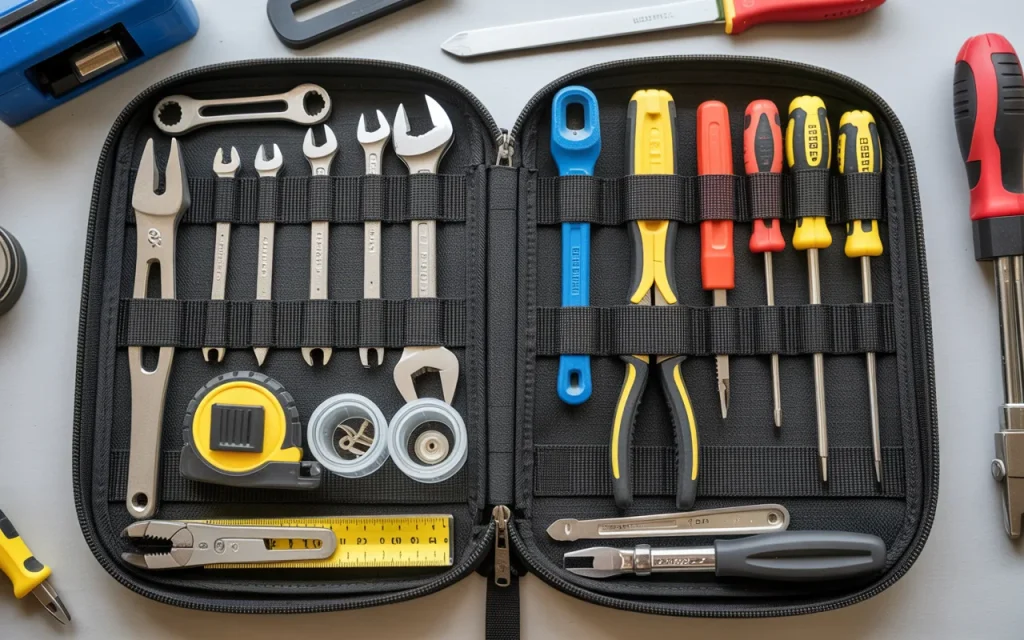
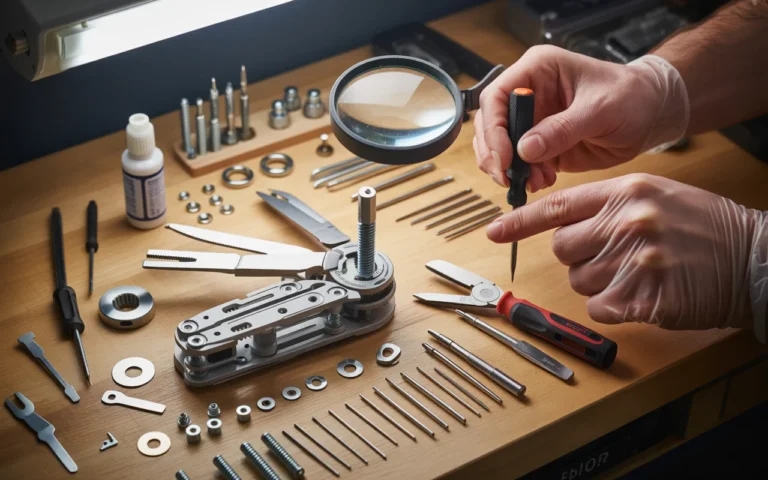
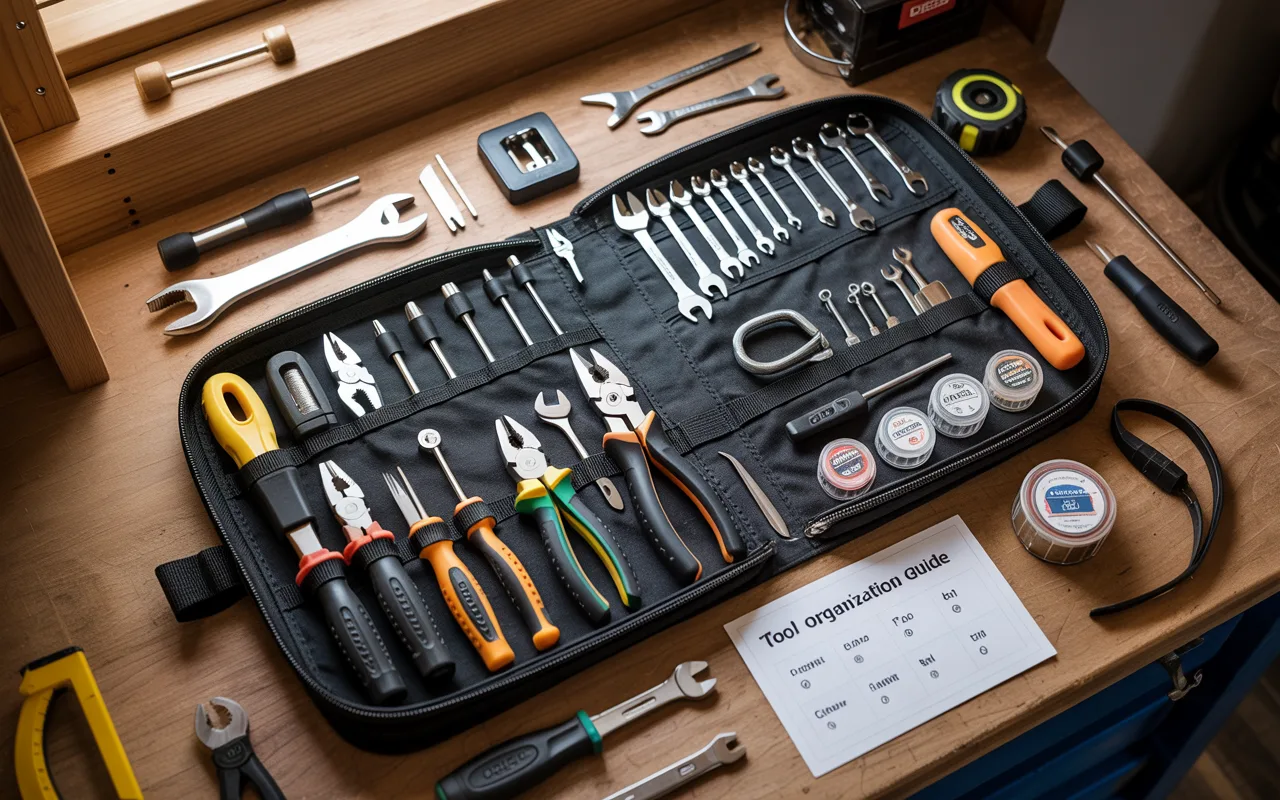
Step 3: Use Pouches and Small Containers
This is the secret to a clean bag. You cannot just put loose screws and bits into the main compartment. They will fall to the bottom. They will get lost.
You need smaller homes inside the big home.
Get a few small zippered pouches. You can find cheap ones at craft stores or hardware stores. Use a clear plastic box for small parts. Even old mint tins work great for holding nails and wall anchors.
Use these small containers to group your smallest items.
- One pouch for drill bits and screwdriver tips.
- One pouch for marking tools: pencils, sharpies, chalk line.
- One small box for anchors, screws, and nails.
“When I see a apprentice struggling, it is almost always because their small parts are loose in the bottom of their bag. Putting those items in a simple plastic box changed their whole day,” notes Elena Rodriguez, a professional organizer and DIY instructor.
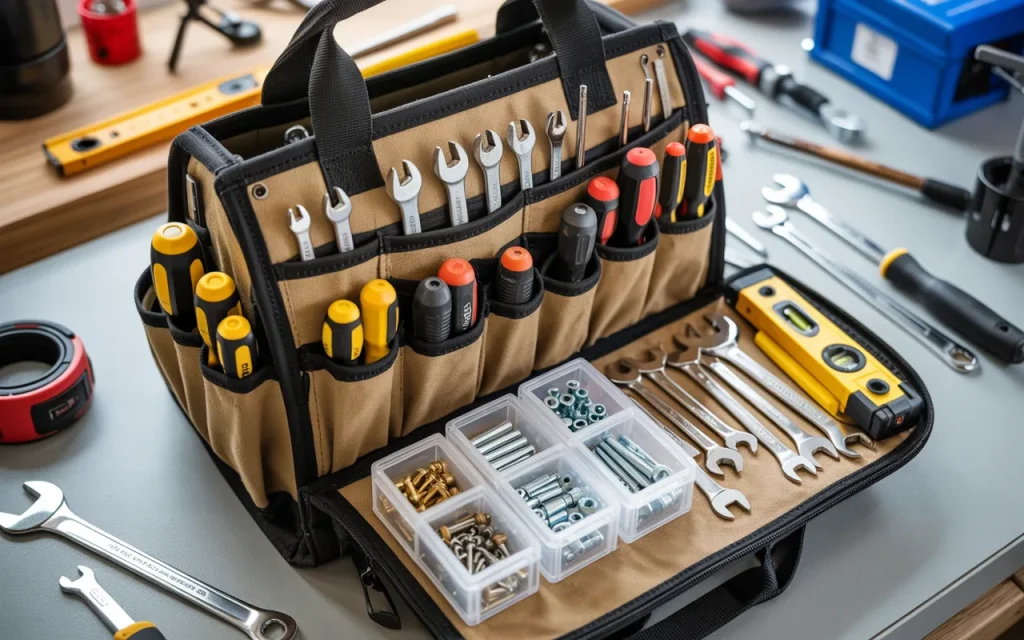
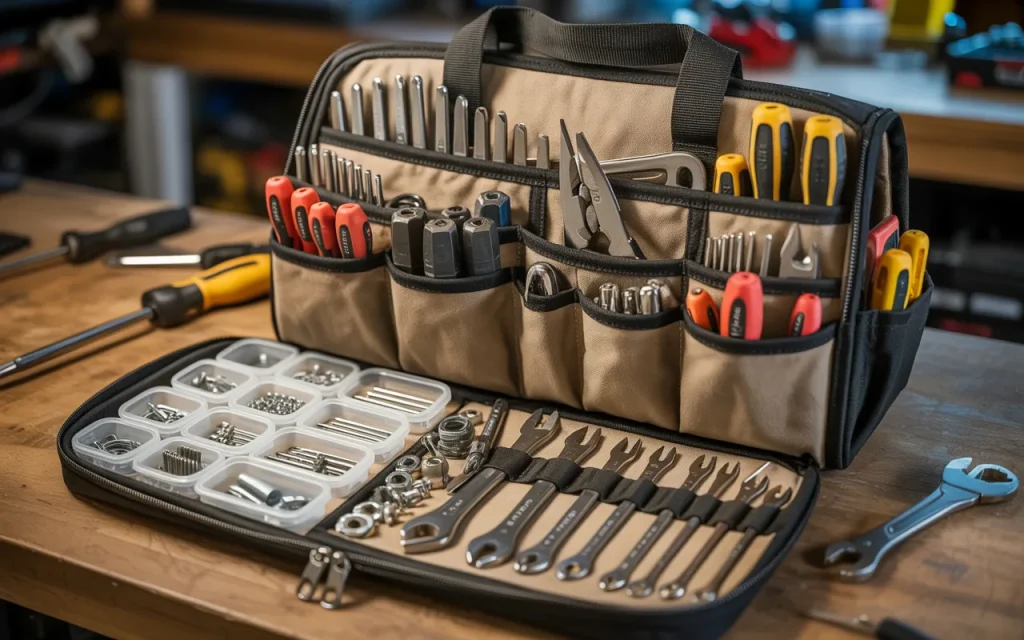
Step 4: Place Heavy Items at the Bottom
Now you are ready to pack. Think about balance. If you put a heavy drill on top of your light tools, the bag will tip over. It will also be hard to carry.
Put the heavy stuff on the bottom or against your back (if using a backpack).
- Power drills and impact drivers go down first.
- Heavy hammers go next to them.
- Large wrenches and heavy pliers sit on the bottom layer.
This lowers the center of gravity. The bag will stand up straight when you set it down. It will also feel lighter on your shoulder because the weight is supported properly.
Step 5: Arrange Tools by Frequency of Use
Think about your workflow. What tool do you grab the most? For most people, it is the tape measure, the utility knife, and the pencil.
These items should not be buried at the bottom of the bag. They need to be in outside pockets or right at the top.
Put things you use all the time in the easiest spots to reach.
- Outside pockets: Tape measure, knife, phone, pencil.
- Top layer: Screwdrivers, hammer, pliers you use often.
- Middle layer: Less common tools, like a specific saw or level.
- Bottom: Heavy tools, spare batteries.
This method means you rarely have to dig. You just open the bag and grab what you need from the top.
Step 6: Secure Long and Sharp Tools
Long tools like pry bars, large screwdrivers, and files can be dangerous in a bag. They can poke you when you reach inside. They can also damage other tools.
If your bag has loops or sleeves on the outside, use them for these long items. If it does not, bundle them together with a velcro strap. Keep them along one side of the bag.
Always point sharp ends down or cover them with a guard. This is a simple safety step that protects your hands. It also stops the sharp tips from cutting through the bag fabric.
Step 7: Maintain the System Weekly
You can organize a tool bag perfectly on a Sunday. But by Friday, it might be a mess again. Why? Because you get busy. You throw things in quickly. You forget to put them back in their spot.
To keep the system working, do a quick reset once a week. It only takes five minutes.
- Empty out the trash.
- Wipe off dirty tools.
- Put all the screwdrivers back in their pouch.
- Check that your bits are in their box.
This habit stops the big mess from coming back. It keeps your bag ready to go at a moment’s notice.
Here is a simple checklist to follow.
| Maintenance Task | How Often? | Why It Matters |
|---|---|---|
| Remove trash and debris | Every time you use it | Keeps dust and dirt from jamming moving parts. |
| Wipe down dirty tools | Weekly | Prevents rust and keeps handles clean. |
| Re-sort misplaced items | Weekly | Saves you time looking for things next job. |
| Check for broken tools | Monthly | Ensures you are not caught without a working tool. |
Common Mistakes When You Organize a Tool Bag
Even with good intentions, people make errors. Here are a few things to avoid.
First, do not overload the bag. A bag that is too heavy to lift is useless. If you cannot carry it comfortably, you have too much stuff. Re-evaluate what you truly need for a typical day.
Second, do not ignore the pockets. Many bags have amazing pockets on the outside. Use them! That is what they are there for. If you leave them empty, you are wasting space.
Third, do not put your expensive tools loose with your wrenches. A loose hammer will scratch the casing of your new drill. A pile of wrenches will dent your wooden level. Keep things separated by using the pouches and containers we talked about earlier.
“A tool bag is a reflection of your mind. If your bag is chaotic, your work will be chaotic. If your bag is orderly, you can focus on the task, not the search,” says David Chen, a master carpenter and author of “The Efficient Workshop.”
Frequently Asked Questions
How often should I clean out my tool bag?
You should do a quick clean every week. A deep clean, where you empty everything, should happen once a month or whenever you notice it getting heavy and messy.
What is the best tool bag for an electrician?
Electricians often have many small parts and specialty tools. A backpack style with many small pockets and compartments is usually the best choice. It keeps wire nuts, strippers, and testers organized and easy to find.
How do I stop my tools from rusting in the bag?
Moisture is the enemy. Keep your bag out of the rain. If you work in a damp area, wipe your tools down with an oily rag before putting them away. You can also put small silica gel packets in the bag to absorb moisture.
Should I organize my tool bag by trade or by job?
For a general home repair bag, organize by type of tool (all screwdrivers together). For a specific job, like tiling, you might pack a separate small bag with just the tools needed for that one task.
Can I use a regular backpack as a tool bag?
Yes, you can. A regular backpack works fine for light duty. However, tool bags are made from thicker fabric and have reinforced bottoms. They are built to handle the weight and sharp edges of tools better than a school backpack.
Conclusion
Learning how to organize a tool bag is a simple skill that pays off every single time you pick it up. It saves your back. It saves your tools. It saves your time.
Start by emptying everything out. Throw away the junk. Group your tools by type. Get small pouches for the little things. Pack heavy items on the bottom and your daily-use tools on top. Make it a habit to clean it out once a week.
A clean bag means you can spend less time looking for tools and more time getting the job done. Take twenty minutes today to fix your bag. You will thank yourself tomorrow.