Learn how to build a home tool kit from scratch with essential tools, smart buying tips, and a simple step-by-step guide for beginners.
How to Build a Home Tool Kit from Scratch
Building your own tool kit is one of the most practical things you can do for your home. Whether you need to fix a loose screw, hang a shelf, or handle small repairs, having the right tools saves time, money, and stress. This guide explains exactly how to build a home tool kit from scratch in a simple, practical way.
You will learn what tools you actually need, how to choose them wisely, and how to avoid common mistakes that waste money. The goal is not to collect every tool available, but to create a reliable, useful kit that covers everyday needs.
Why Every Home Needs a Basic Tool Kit
A home tool kit is not just for major repairs. Most people use tools for small, everyday tasks like tightening cabinet handles, assembling furniture, or fixing minor issues before they become bigger problems.
Having your own tools means:
- You do not have to wait for help or hire someone for small jobs
- You can handle quick fixes immediately
- You gain confidence in basic home maintenance
Even if you live in a small apartment, a basic kit is still useful. You do not need a large space or a big budget to get started.
What to Include in a Starter Tool Kit
When you build a home tool kit from scratch, focus on versatile tools first. These are tools you will use often and across different tasks.
Essential Tools Checklist
| Tool | What It’s Used For |
|---|---|
| Claw hammer | Driving and removing nails |
| Screwdriver set | Tightening and loosening screws |
| Adjustable wrench | Working with nuts and bolts |
| Tape measure | Measuring spaces and objects |
| Utility knife | Cutting materials like cardboard |
| Pliers | Gripping, bending, and cutting wires |
| Level | Ensuring straight alignment |
| Allen keys (hex set) | Furniture assembly |
These tools form the foundation of your kit. You can handle most basic home tasks with just these.
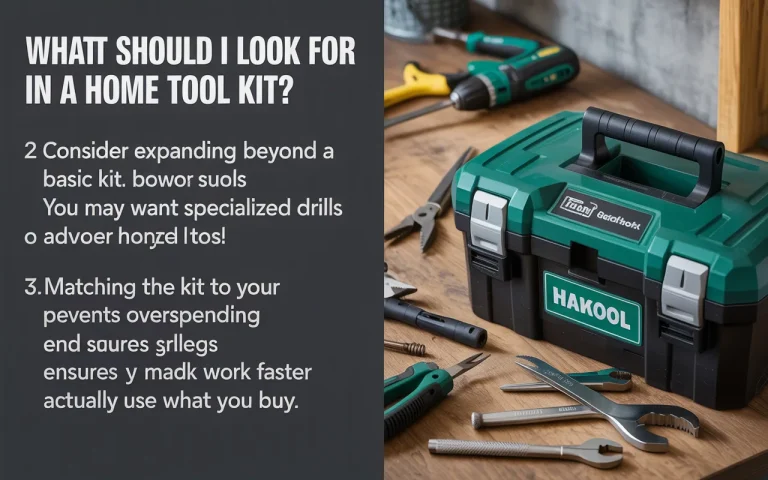
Optional but Helpful Additions
| Tool | When You’ll Need It |
|---|---|
| Cordless drill | Faster drilling and screwing |
| Stud finder | Mounting shelves or TVs safely |
| Flashlight | Working in low-light areas |
| Safety gloves | Protecting your hands |
| Electrical tester | Checking live wires safely |
Start with essentials, then expand based on your needs.
Step-by-Step: How to Build a Home Tool Kit from Scratch
Building your kit does not need to be expensive or complicated. Follow this simple approach.
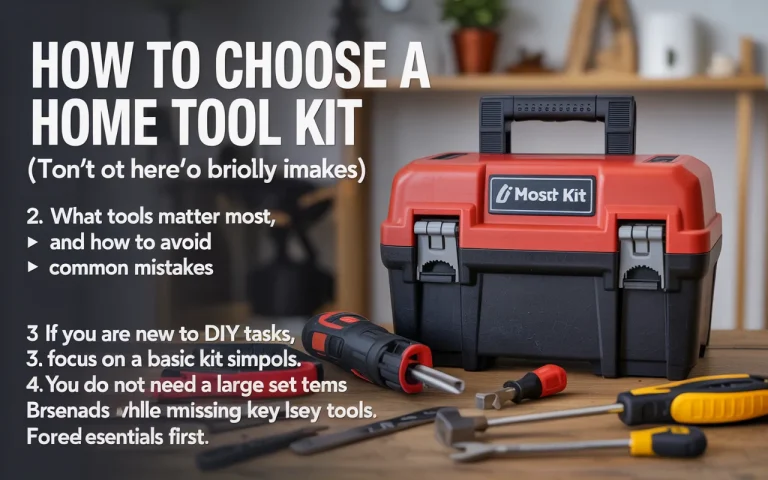
Step 1: Start With Basic Needs
Think about the tasks you are most likely to do. For example:
- Hanging pictures
- Assembling furniture
- Fixing loose screws
Buy tools that match these needs first. Avoid buying tools you may never use.
Step 2: Choose Quality Over Quantity
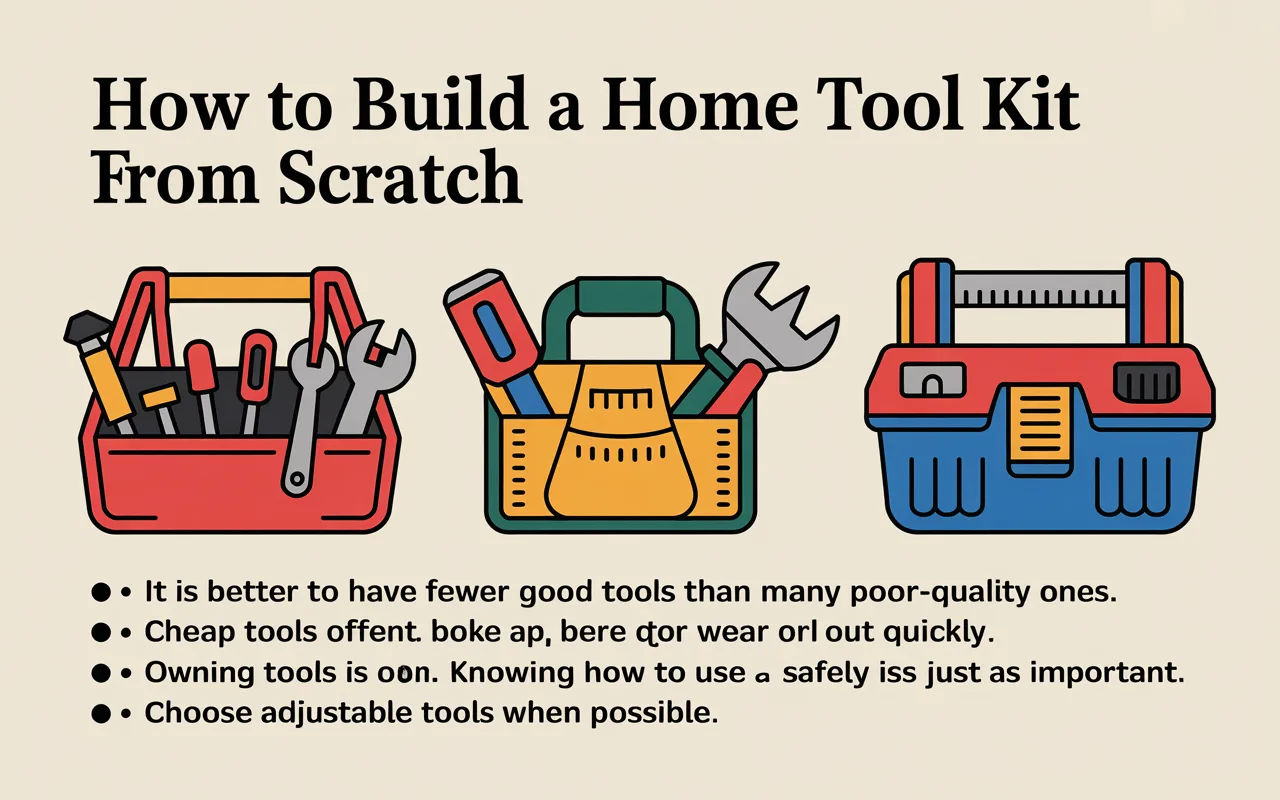
It is better to have fewer good tools than many poor-quality ones. Cheap tools often break or wear out quickly.
Look for:
- Solid metal construction
- Comfortable grips
- Trusted brands or good reviews
You do not need premium tools, but avoid the lowest quality options.
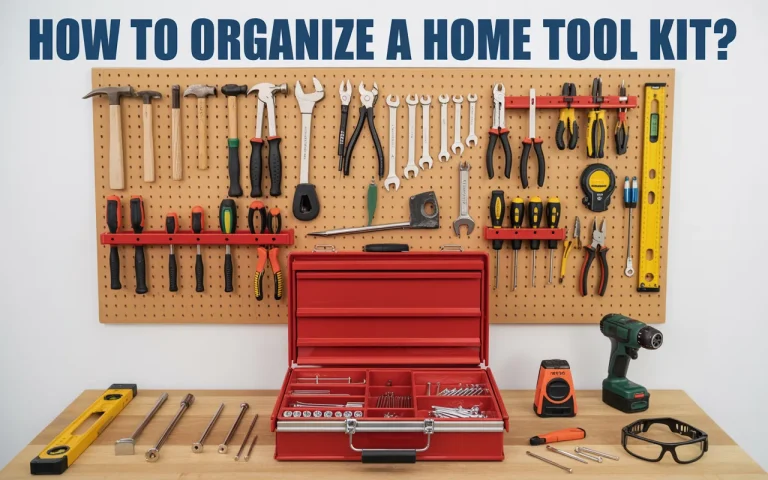
Step 3: Buy a Tool Box or Storage Case
Keeping your tools organized is just as important as owning them. A simple toolbox or storage case helps you:
- Find tools quickly
- Protect tools from damage
- Keep everything in one place
A medium-sized plastic or metal toolbox is enough for beginners.
Step 4: Add Tools Gradually
You do not need everything at once. Add tools as new needs come up. For example:
- Buy a drill when you start wall mounting
- Add a wrench set for plumbing fixes
This approach saves money and keeps your kit practical.
Step 5: Learn Basic Tool Use
Owning tools is one part. Knowing how to use them safely is just as important.
You can:
- Read simple guides
- Watch reliable tutorials
- Practice on small tasks
Avoid using tools without understanding their purpose.
How to Choose the Right Tools
Not all tools are the same. Making smart choices early helps your kit last longer and work better.
Material and Build Quality
Look for tools made from:
- Stainless steel or hardened steel
- Durable plastic handles
Avoid tools that feel too light or fragile.
Comfort and Grip
Tools should feel comfortable in your hand. A good grip:
- Reduces hand strain
- Improves control
- Makes work safer
Rubberized handles are usually a good option.
Size and Versatility
Choose adjustable tools when possible. For example:
- Adjustable wrench instead of multiple fixed sizes
- Multi-bit screwdriver instead of many separate ones
This saves space and money.
Budget Considerations
If you are on a tight budget:
- Start with a basic kit set
- Upgrade individual tools later
Avoid buying very cheap sets that include many tools but lack durability.
Common Mistakes to Avoid
Many beginners make the same mistakes when building a home tool kit from scratch.
Buying Too Many Tools at Once
It is tempting to buy a large kit, but many tools may never be used. Start small and grow your collection based on real needs.
Ignoring Safety Gear
Basic safety items like gloves and a flashlight are often overlooked. These can prevent injuries and make tasks easier.
Choosing the Cheapest Option
Very cheap tools can:
- Break easily
- Damage materials
- Make tasks harder
Balance cost with quality.
Not Organizing Tools
Loose tools get lost or damaged. Always store them properly after use.
Tool Kit for Different Living Situations
Your ideal tool kit depends on your living situation.
For Apartment Living
Focus on compact and essential tools:
- Screwdrivers
- Hammer
- Measuring tape
- Drill (optional)
You likely do not need heavy-duty tools.
For Homeowners
You may need more tools over time:
- Power drill
- Wrench set
- Stud finder
- Level
These help with maintenance and small upgrades.

For DIY Enthusiasts
If you enjoy projects, expand your kit with:
- Power tools
- Saw
- Clamps
- Advanced measuring tools
Build your kit based on the type of projects you plan to do.
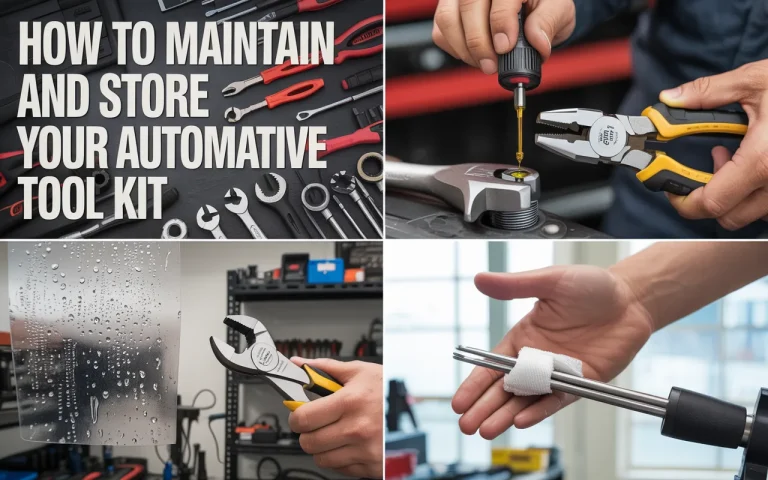
Maintenance and Storage Tips
Taking care of your tools helps them last longer and stay safe to use.
Keep Tools Clean
After using tools:
- Wipe off dirt and dust
- Dry them to prevent rust
Store in a Dry Place
Moisture can damage tools. Keep your toolbox:
- Indoors
- Away from humidity
Check Tools Regularly
Inspect for:
- Loose parts
- Rust
- Damage
Replace or repair tools when needed.
When to Upgrade Your Tool Kit
As your needs grow, your tool kit should grow too.
Consider upgrading when:
- You start doing more complex projects
- Basic tools are no longer enough
- You need faster or more precise work
For example, upgrading from a manual screwdriver to a cordless drill can save time and effort.
FAQ
What is the minimum number of tools needed to start?
You can start with around 6 to 8 essential tools like a hammer, screwdrivers, pliers, tape measure, and a wrench.
Is a pre-made tool kit a good option?
Yes, a basic pre-made kit can be a good starting point, especially if it includes essential tools. Check quality before buying.
How much should I spend on a starter tool kit?
Costs vary by region and brand, but a basic kit can be built gradually on a modest budget by prioritizing essential tools first.
Do I need power tools right away?
No. Start with hand tools. Add power tools like a drill when you have specific tasks that require them.
How do I know if a tool is good quality?
Look for solid materials, comfortable grip, and reliable brand reputation. Avoid tools that feel weak or poorly made.
Can I build a tool kit for small spaces?
Yes. Choose compact tools and a small toolbox. Focus only on essentials to save space.
Conclusion
Learning how to build a home tool kit from scratch is about making smart, practical choices. Start with essential tools, focus on quality, and add more items as your needs grow. A well-planned tool kit helps you handle everyday repairs with confidence and reduces your reliance on outside help.
If you are setting up your home or improving your DIY skills, begin with a simple checklist and build from there. For your next step, consider reading a guide on basic home repairs or tool safety to make the most of your new kit.