Learn How Can I Repair A Managed Multi Tool Kit with simple steps. Fix pliers, blades, and springs at home. Save money and extend tool life today.
How Can I Repair A Managed Multi Tool Kit. A multi tool kit is a friend you keep in your pocket. It helps with loose screws, stuck packages, broken bike chains, and camping gear. But after months of use, things go wrong. Pliers get stiff. Blades chip. Springs pop out. You may ask yourself: How can I repair a damaged multi tool kit without buying a new one?
The good news is that most repairs are easy. You do not need special skills. You just need patience, a few basic items, and this guide. Let me walk you through every step.
“A tool is only as good as the care you give it. Fix it once, trust it for years.”
— Rachel Hargrove, DIY workshop instructor
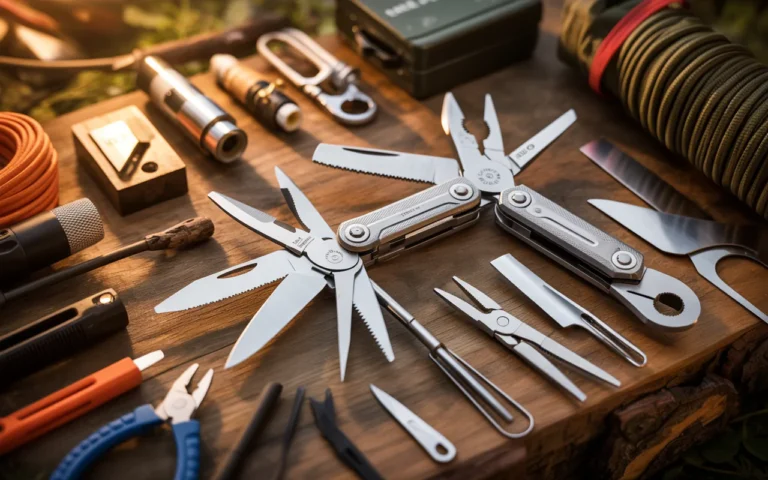
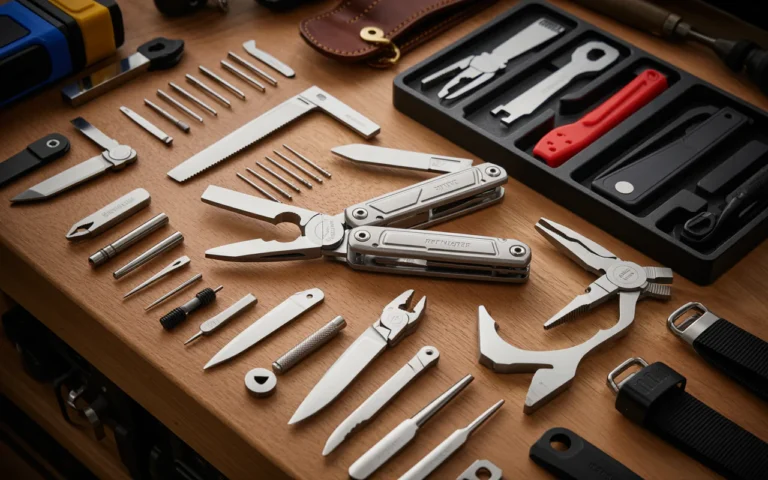
First, Know Your Multi Tool Kit Parts
Before you fix anything, learn the names of the parts. Most multi tools share the same build.
| Part Name | What It Does | Common Damage |
|---|---|---|
| Pliers head | Grips, twists, cuts | Stiff movement, misalignment |
| Blades | Cuts rope, opens boxes | Chips, dull edge, rust |
| Springs | Returns tools to closed position | Lost tension, broken coil |
| Locking mechanism | Holds tools open | Jams, won’t lock |
| Pivot screws | Allows tools to swing | Loosen over time |
Knowing these names helps you search for repair videos or replacement parts later.
Why Does a Multi Tool Get Damaged?
How Can I Repair A Managed Multi Tool Kit. Multi tools break for simple reasons. You drop them on concrete. You use the wrong tool for a heavy job. You forget to clean them after wet work. Rust builds up inside the joints. Dirt from your pocket gets into the pivots.
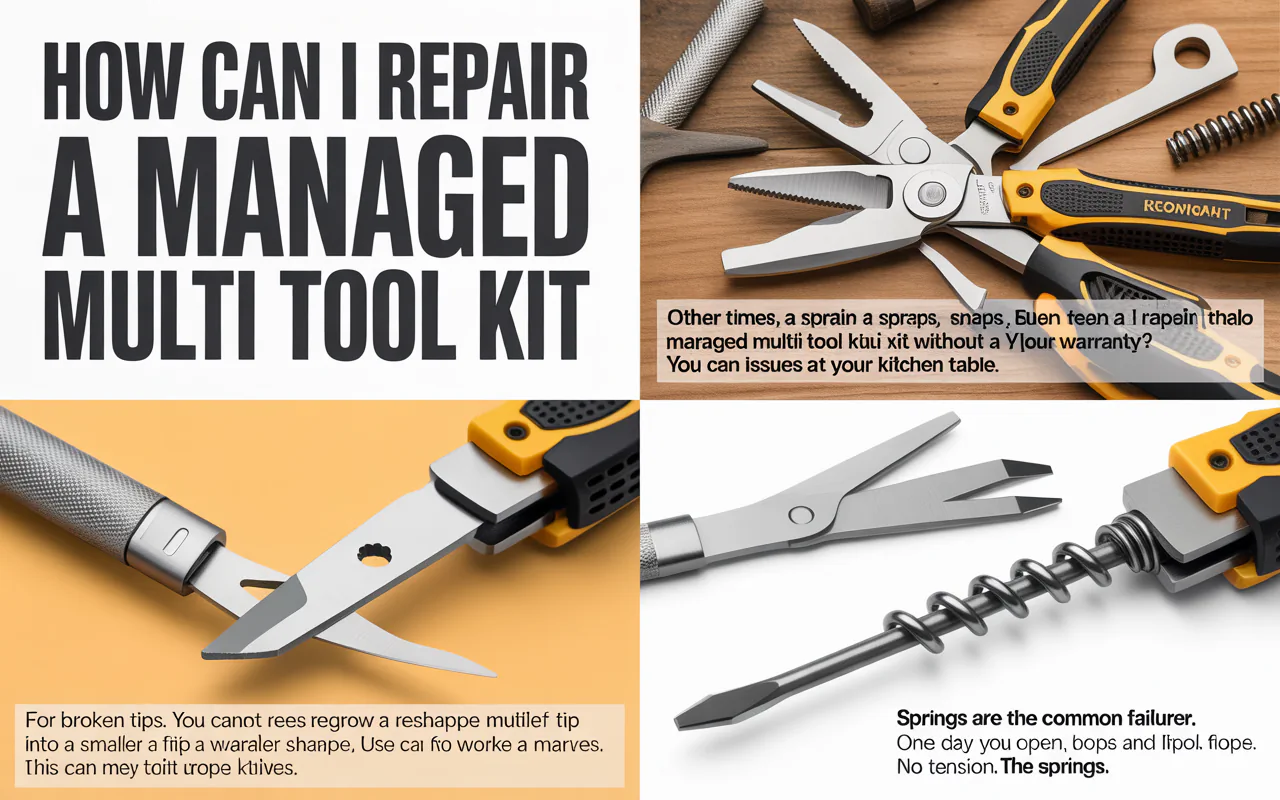
How Can I Repair A Managed Multi Tool Kit. Sometimes the damage is small. A screw just needs tightening. Other times, a spring snaps. Even then, How can I repair a damaged multi tool kit without a warranty? You can fix most issues at your kitchen table.
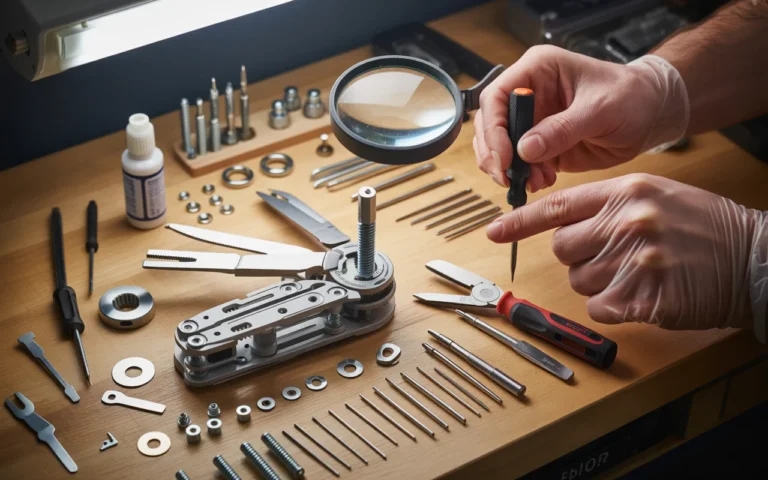
Step 1: Clean Before You Repair
Many “broken” multi tools just need a good wash. Dirt and dried oil make pliers hard to open. Here is the safe way to clean.
What you need:
- Warm water
- Mild dish soap
- An old toothbrush
- A towel
- Canned air (optional)
Steps:
- Open all tools halfway.
- Dip the toothbrush in soapy water.
- Scrub every joint, pivot, and groove.
- Rinse with warm water. Do not soak for hours.
- Shake off extra water. Use canned air to blow out hidden moisture.
- Dry fully with a towel. Let it sit open for 30 minutes.
After cleaning, add one drop of light oil (sewing machine oil or mineral oil) to each pivot. Open and close each tool ten times. If the movement feels smooth, you are done. If not, move to the next step.
“Most multi tool repairs start with soap and water, not a hammer.”
— David Chen, outdoor gear repair specialist
Step 2: Fix Stiff or Stuck Pliers
How Can I Repair A Managed Multi Tool Kit. Stiff pliers ruin the whole tool. You cannot grip a bolt or pull a fishhook. The cause is usually rust or bent metal.
For rust: Use a rust remover like Evapo-Rust or white vinegar. Soak just the pliers head for 2 hours. Scrub with a wire brush. Rinse and dry. Add oil.
For bent alignment: Look at the plier tips when closed. Do they cross? Do they leave a gap? Gently squeeze the pliers in a bench vise. Go slow. Check often. Do not force too much.
For stuck pivot bolt: Some multi tools have a screw in the plier joint. Use a small screwdriver to turn it a quarter counterclockwise. Oil it. Turn back. This loosens years of grime.
If you still ask How can I repair a damaged multi tool kit with bent pliers, you can file the tips. Use a flat file to remove small burrs. Work slowly. Test the grip every few strokes.
Step 3: Sharpen and Fix Blades
How Can I Repair A Managed Multi Tool Kit. Dull blades are dangerous. They slip and cut you instead of the material. Sharpening is easy.
You need a small sharpening stone or a ceramic rod. Even the bottom of a ceramic coffee mug works.
Steps to sharpen:
- Open the blade fully. Lock it in place.
- Hold the stone at a 20 degree angle.
- Push the blade across the stone from base to tip. Like you are slicing a thin layer off the stone.
- Do this 10 times on one side. Then 10 times on the other.
- Wipe off metal dust. Test on a piece of paper.
For chipped blades: Use a coarse stone first. Grind until the chip is gone. Then switch to a fine stone.
For broken tips: You cannot regrow a tip. But you can reshape the blade into a smaller utility shape. Use a file to make a new curve. This works for box cutters and rope knives.
Do not forget the serrated blade. Use a round ceramic rod. Run it through each serration gently.
Step 4: Replace or Repair Springs
Springs are the most common failure. One day you open a screwdriver, and it flops loose. No tension. The spring broke.
How can I repair a damaged multi tool kit when a spring snaps? You have two choices.
Option 1: Buy a replacement spring. Many brands sell spring kits. Leatherman, Gerber, and Victorinox all offer parts. Search online for “multi tool spring replacement (your brand).”
Option 2: Make a temporary spring. Use a rubber band. Wrap it around the base of the loose tool and the handle. This holds the tool closed or open. It is not permanent, but it works for a camping trip.
Option 3: Convert to a non spring tool. Remove the broken spring entirely. The tool will flop, but you can still use it if you hold it in place. Some people prefer this.
To replace a spring:
- Remove the pivot screw (use a small torx or flathead).
- Take out the broken spring.
- Place the new spring exactly as the old one sat.
- Reassemble. Do not overtighten.
“Springs are tiny. But without them, a multi tool feels like a dead fish.”
— Tom Welling, knife and tool repair tech
Step 5: Fix Locking Mechanisms
How Can I Repair A Managed Multi Tool Kit. A locking tool keeps your fingers safe. If the lock slips, stop using that tool immediately.
There are two common locks: liner lock and frame lock.
Liner lock repair: The metal liner moves sideways to block the blade. If it sticks, clean around it with alcohol. If it does not move enough, gently bend it outward using a flat screwdriver. Go 1 mm at a time.
Frame lock repair: The handle itself moves to lock. If it feels loose, remove the pivot screw. Clean both metal surfaces. Add a tiny drop of thick oil. Tighten the screw. Test the lock by pressing the blade spine against a table. It should not close.
If the lock is completely broken, stop using that tool for heavy work. Use it only for light tasks like opening letters.

Step 6: Tighten Loose Pivot Screws
Loose screws make the whole tool rattle. You feel unsafe using it.
Most multi tools use tiny torx screws (T6, T8, or T10). Buy a small torx screwdriver set online for under 10 dollars.
How to tighten:
- Open all tools halfway.
- Tighten each pivot screw just until snug.
- Do not overtighten. Tools will not open.
- Add a tiny drop of removable threadlocker (blue Loctite). This stops screws from vibrating loose again.
If a screw is stripped, replace it. Hardware stores sell small screw assortments. Bring the old screw to match size.
Table: Quick Fixes for Common Damage
| Problem | Quick Fix | Time Needed |
|---|---|---|
| Rust on pliers | Soak in vinegar, scrub | 2 hours |
| Dull blade | Sharpen with coffee mug | 5 minutes |
| Loose screwdriver | Tighten pivot screw | 2 minutes |
| Broken spring | Rubber band hack | 1 minute |
| Stuck locking tab | Clean with alcohol | 3 minutes |
When to Stop Repairing
Not every tool can be saved. You need to know when to let go.
Stop repairing if:
- The pliers head has a crack.
- A blade broke near the pivot.
- The handle is bent so much that tools won’t close.
- Rust has eaten holes in the metal.
A new basic multi tool costs 20 to 40 dollars. If your repair would take more than two hours or cost more than half of a new one, buy fresh.
But for most people, How can I repair a damaged multi tool kit is a question with a good answer. You can fix 80% of problems with cleaning, oil, and a small screwdriver.
Prevent Future Damage
Once you fix your tool, keep it working. Do these three things.
Clean monthly: Wipe off pocket lint. Open and close each tool. Add one drop of oil to moving parts.
Use correctly: Do not use pliers as a hammer. Do not pry with a knife blade. Do not twist screws with the wrong bit.
Store dry: Do not leave your multi tool in a wet backpack or sweaty pocket. Wipe it down at the end of the day.
One more tip: buy a small nylon sheath. It protects the tool from keys and coins. A sheath costs less than a coffee and adds years to the tool life.
Table: Repair vs Replace Decision Guide
| Damage Level | Repair? | Replace? |
|---|---|---|
| Dirty and stiff | Yes | No |
| Dull blade | Yes | No |
| One broken spring | Yes | No |
| Cracked pliers | No | Yes |
| Missing screws | Yes (if you find parts) | Maybe |
| Bent handle frame | No | Yes |
Frequently Asked Questions
Can I use WD-40 to fix a stiff multi tool?
Yes, but clean it off after. WD-40 is not a long term oil. It removes moisture but dries out. Use light machine oil for lasting smoothness.
How can I repair a damaged multi tool kit with no tools at home?
Use a butter knife to turn loose screws. Use a rubber band for spring tension. Use a coffee mug to sharpen the blade. Many fixes need only what you already have.
Where do I buy replacement springs or screws?
Check the brand’s official website. Search eBay for “multi tool repair parts.” Look on Etsy for 3D printed springs. Local hardware stores sometimes have small screw bins.
Is it safe to use a multi tool with a broken lock?
No. The tool can close on your fingers. Use it only for very light jobs. Do not apply force. Better to retire it until you fix the lock.
How often should I oil my multi tool?
Once per month for daily use. Once every three months for occasional use. After any wet exposure, oil it immediately.
Can I fix rust that looks deep and pitted?
You can try. Soak in vinegar for 24 hours. Scrub with steel wool. If pits remain, oil heavily. The tool will work but may break later under hard use.
Conclusion
You do not need to be a mechanic to answer How can I repair a damaged multi tool kit. Start with cleaning. Then tighten screws. Then sharpen blades. Replace springs if needed. Know when to stop and buy new.
A repaired multi tool feels better than a new one. You fixed it. You know its quirks. You saved money and kept a useful tool out of the trash.
Next time your pliers stick or your blade dulls, do not get frustrated. Get a toothbrush, some oil, and ten minutes. Most repairs take less time than driving to a store.
Take care of your tools. They take care of you.
“Repair is a small act of independence. You fix one thing, and you feel ready for anything.”
— Angela Reed, author of “The Home Fixer’s Guide”
Final tip: Keep a small repair kit near your workbench. Include a torx set, oil, a rubber band, a small file, and a sharpening stone. The next time someone asks you How can I repair a damaged multi tool kit, you will have the answer and the tools to help them.